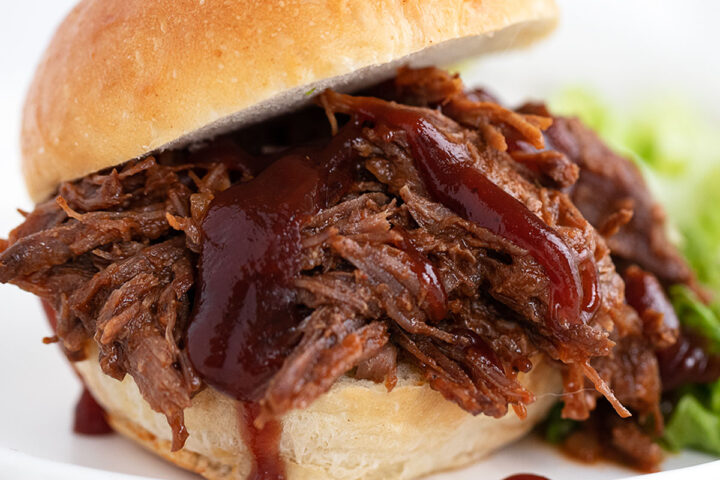
Get the Recipe: Slow Cooked Shredded BBQ Beef
Easy and delicious slow cooked shredded BBQ beef, that's perfect for sandwiches or try it over mashed potatoes or in tacos or quesadillas!
Ingredients
- 2 1/2 lb. blade or chuck beef roast
- 1 medium onion, diced
- 1 cup ketchup
- 2 Tablespoons white vinegar
- 2 Tablespoons Worcestershire sauce
- 1 Tablespoon brown sugar
- 1 teaspoon salt
- 1 teaspoon paprika
- 1 teaspoon prepared yellow mustard
- Splash liquid smoke, optional for a bit of smokey flavour
- 1/2 cup water
Instructions
- Preheat oven to 300F, with rack in centre of the oven.
- Prepare beef by removing and discarding any string wrapping the beef. Remove and discard any large pieces of fat on the roast, as well.
- Place the roast into a Dutch oven, covered baking pan or any deep baking pan with a lid (or you can tightly cover with foil). Season the roast with a bit of salt and pepper. Scatter the onions over and around the beef.
- Mix the sauce in a small bowl or measuring cup, by combining the ketchup, vinegar, Worcestershire, brown sugar, salt, paprika, mustard and liquid smoke, if using. Mix until smooth, then pour over the beef in the pan. Pour the water around the outside of the beef, making a thin layer of water on the bottom of the pan. *Note: If doubling or tripling the recipe, reduce the amount of added water by 25-30%.
- Cover the baking pan with a lid or tightly wrapped foil and bake 5 hours at 300F. *I like the flip the beef once or twice while it cooks, but that is optional. After 4 1/2 hours of cooking time, remove the pan from the oven and use two forks to shred the beef. Cover the pan again, return to the oven and continue cook an additional 30 minutes. The beef mixture should be quite thick at the end of cooking. If you pan seems to have a lot of liquid, you can cook a little longer with the lid off to thicken it up.
- You can enjoy the BBQ Beef immediately or let cool slightly, then refrigerate up to days. After refrigerating, you may notice some fat on the surface of the beef. You can spoon it off and discard, if you like, especially if there is a lot.
- To serve: Spoon onto buns and top with your favourite BBQ sauce. You can add some coleslaw, as well, if you like. BBQ beef is also nice spooned over mashed potatoes or polenta, or use it as a filling for tacos or quesadillas etc.
- Cooked BBQ Beef will also freeze well up to 3 months.
Notes
Be sure to read the notes above this Recipe Card, for more tips on making this recipe. You will also find Step-by-Step photos there, that you may find useful.
Serving: 1serving, Calories: 241kcal, Carbohydrates: 10g, Protein: 22g, Fat: 13g, Saturated Fat: 6g, Polyunsaturated Fat: 1g, Monounsaturated Fat: 7g, Trans Fat: 1g, Cholesterol: 78mg, Sodium: 593mg, Potassium: 494mg, Fiber: 1g, Sugar: 7g, Vitamin A: 240IU, Vitamin C: 2mg, Calcium: 32mg, Iron: 3mg
Tried this recipe?Mention @seasonsandsuppers on Instagram or tag #seasonsandsuppers.