Get the Recipe: Apple Sharlotka
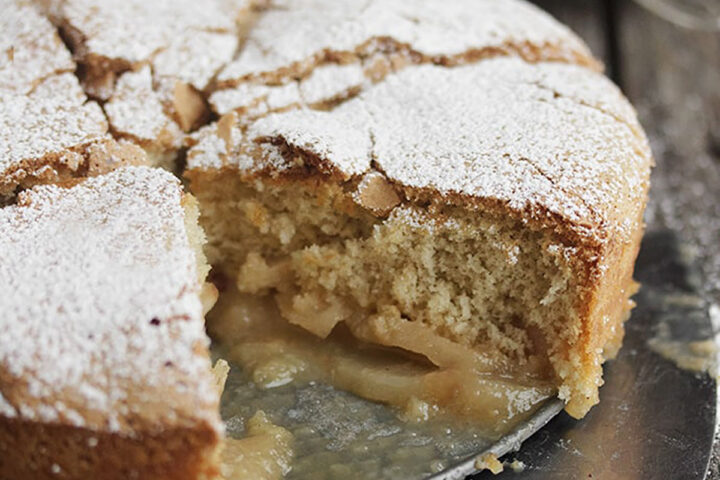
An easy and delicious warm apple sharlotka, which is a light apple cake that is not overly sweet, so it is perfect for enjoying any time of day.
Ingredients
- 4 medium apples, peeled, cored, quartered and thinly sliced
- 1 Tablespoon fresh lemon juice
- 2 Tablespoons white sugar
- 3/4 cup + 2 Tablespoons all-purpose flour
- 1/4 teaspoon ground cinnamon
- 1/4 teaspoon freshly grated nutmeg
- 3/4 cup + 2 Tablespoons white sugar
- Pinch kosher salt
- 3 large eggs, at room temperature
- 1 teaspoon vanilla, or vanilla bean paste
- Icing/Confectioners sugar, for dusting
Instructions
- Preheat the oven to 350° F (non-convection) with a rack in the centre of the oven. Grease the bottom and sides of an 8-inch springform pan and line the bottom with a circle of parchment paper. Set aside on a baking sheet.
- In a large bowl, toss the apples with the lemon juice and 2 Tbsp. of the sugar and let stand for 15 minutes. Meanwhile, in a small bowl, whisk the flour with the cinnamon, nutmeg and salt.
- In a medium bowl with an electric mixer or the bowl of a stand mixer, beat the eggs with the remaining 3/4 cup plus 2 Tbsp. sugar at medium-high speed until thick and pale yellow and a ribbon forms when the beaters are lifted, 8 to 10 minutes. Add the vanilla and mix in. Gently fold in the dry ingredients just until mixed.
- Spread the apples in the prepared pan in an even layer, then pour the batter evenly over them. If you'd like to mix the apples with the cake a bit, run a knife straight through the pan in a few directions to allow the batter to sink down in to the apples a bit. Otherwise, just allow to stand 5 minutes as is. This will bake up with the cake on top and the apples on the bottom.
- Bake the sharlotka (on the baking sheet, to catch any dripfor about 1 hour, or until it is golden and crisp on top and a cake tester inserted in the centre comes out clean. Transfer to a rack and let it rest for 15 minutes. Run a knife around the inside edge of the pan, then remove the outer ring. Dust with confectioners’ sugar and serve warm.
Notes
Be sure to read the notes about this Recipe Card for more tips, options, substitutions and variations for this recipe!
Serving: 1serving, Calories: 299kcal, Carbohydrates: 66g, Protein: 5g, Fat: 1g, Cholesterol: 61mg, Sodium: 74mg, Potassium: 159mg, Fiber: 3g, Sugar: 34g, Vitamin A: 150IU, Vitamin C: 5mg, Calcium: 26mg, Iron: 1.6mg
Tried this recipe?Leaving a review is always helpful and appreciated by fellow cooks!
