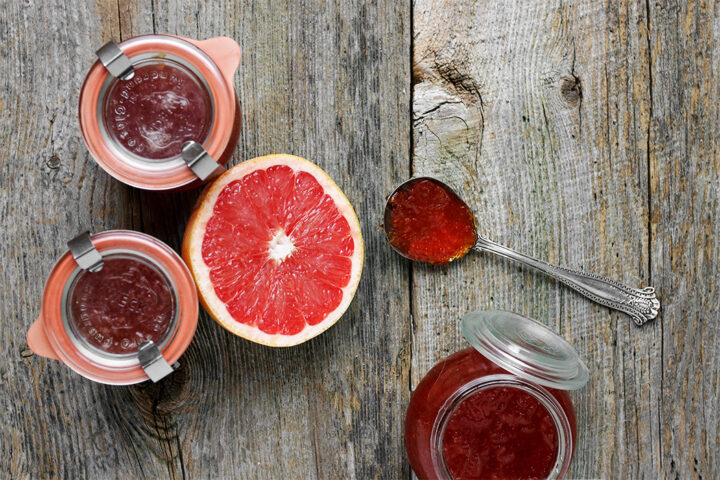
Get the Recipe: Small-Batch Grapefruit Jam
A quick and easy, small-batch grapefruit jam, that's ready in just about an hour! Store in the refrigerator to enjoy anytime.
Ingredients
- 4 lbs. whole red grapefruit, about 6 or 7
- 3 cups white granulated sugar
Instructions
- Place a saucer in your freezer for the wrinkle test, before you begin.
- Prepare the grapefruit: Cut off the top and bottom of a grapefruit and sit flat on a cutting board. Using a sharp knife and starting from the top, cut off the peel along the sides, working your way around until it is all removed. Turn grapefruit over and remove any remaining peel. You should not have any peel or pith left on the fruit.
- While holding the grapefruit over a large bowl, cut between the membranes of the fruit to remove a grapefruit slice. Continue to remove all the slices and give it a gentle squeeze to remove a bit of the juice. Repeat with all the grapefruits.
- Cook the jam: Add the grapefruit and juice to a large, non-reactive, heavy bottomed pot. Add the sugar and stir well to combine. Bring the mixture to a boil, over high heat, stirring regularly until the sugar dissolves. Once the mixture reaches a steady rolling boil, allow to continue boiling, testing regularly with the "wrinkle test", until it's set. It will take about 10-15 minutes. You can also monitor using a thermometer. The jam will set somewhere around 220° F., but the exact temperature will vary a bit, depending on your altitude, so verify setting with the wrinkle test.
- Ladle jam into small jars. Cover and refrigerate to use in the short term. Jam will keep several months in the fridge. (*As it is not properly "canned", do not store at room temperature).
The Wrinkle Test:
- Place a glass plate in the freezer for about fifteen minutes before starting to make your jam.To test your jam, turn off burner under jam. Spoon a puddle of jam onto the cold plate from the freezer. Run your finger through the jam on the plate. If jam wrinkles along the edges next to your finger line, it is set. If it seeps back in to the space where you ran your finger through, it is not yet set.If jam is not set, rinse the plate with cold water and return it to the freezer. Turn the heat back on under the jam and cook for a few minutes longer then test again. Repeat until jam wrinkles when tested.
Notes
Be sure to read the notes above this Recipe Card, for more tips on making this recipe.
Serving: 1jar, Calories: 1028kcal, Carbohydrates: 264g, Protein: 4g, Sodium: 2mg, Potassium: 816mg, Fiber: 9g, Sugar: 241g, Vitamin A: 6955IU, Vitamin C: 188.7mg, Calcium: 133mg, Iron: 0.6mg
Tried this recipe?Mention @seasonsandsuppers on Instagram or tag #seasonsandsuppers.