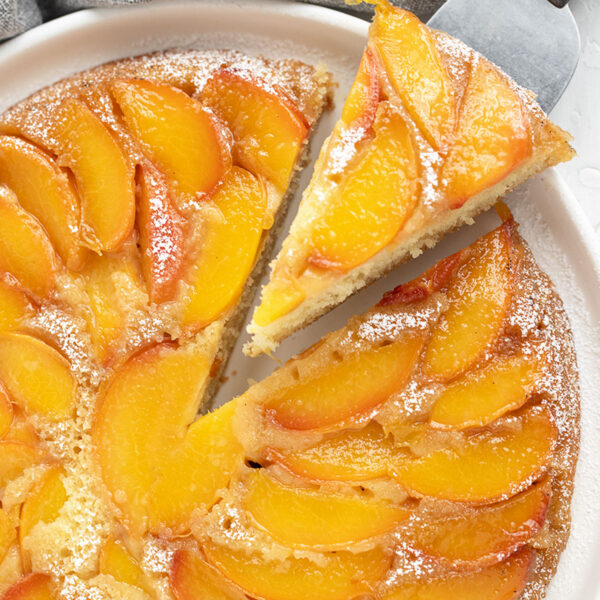
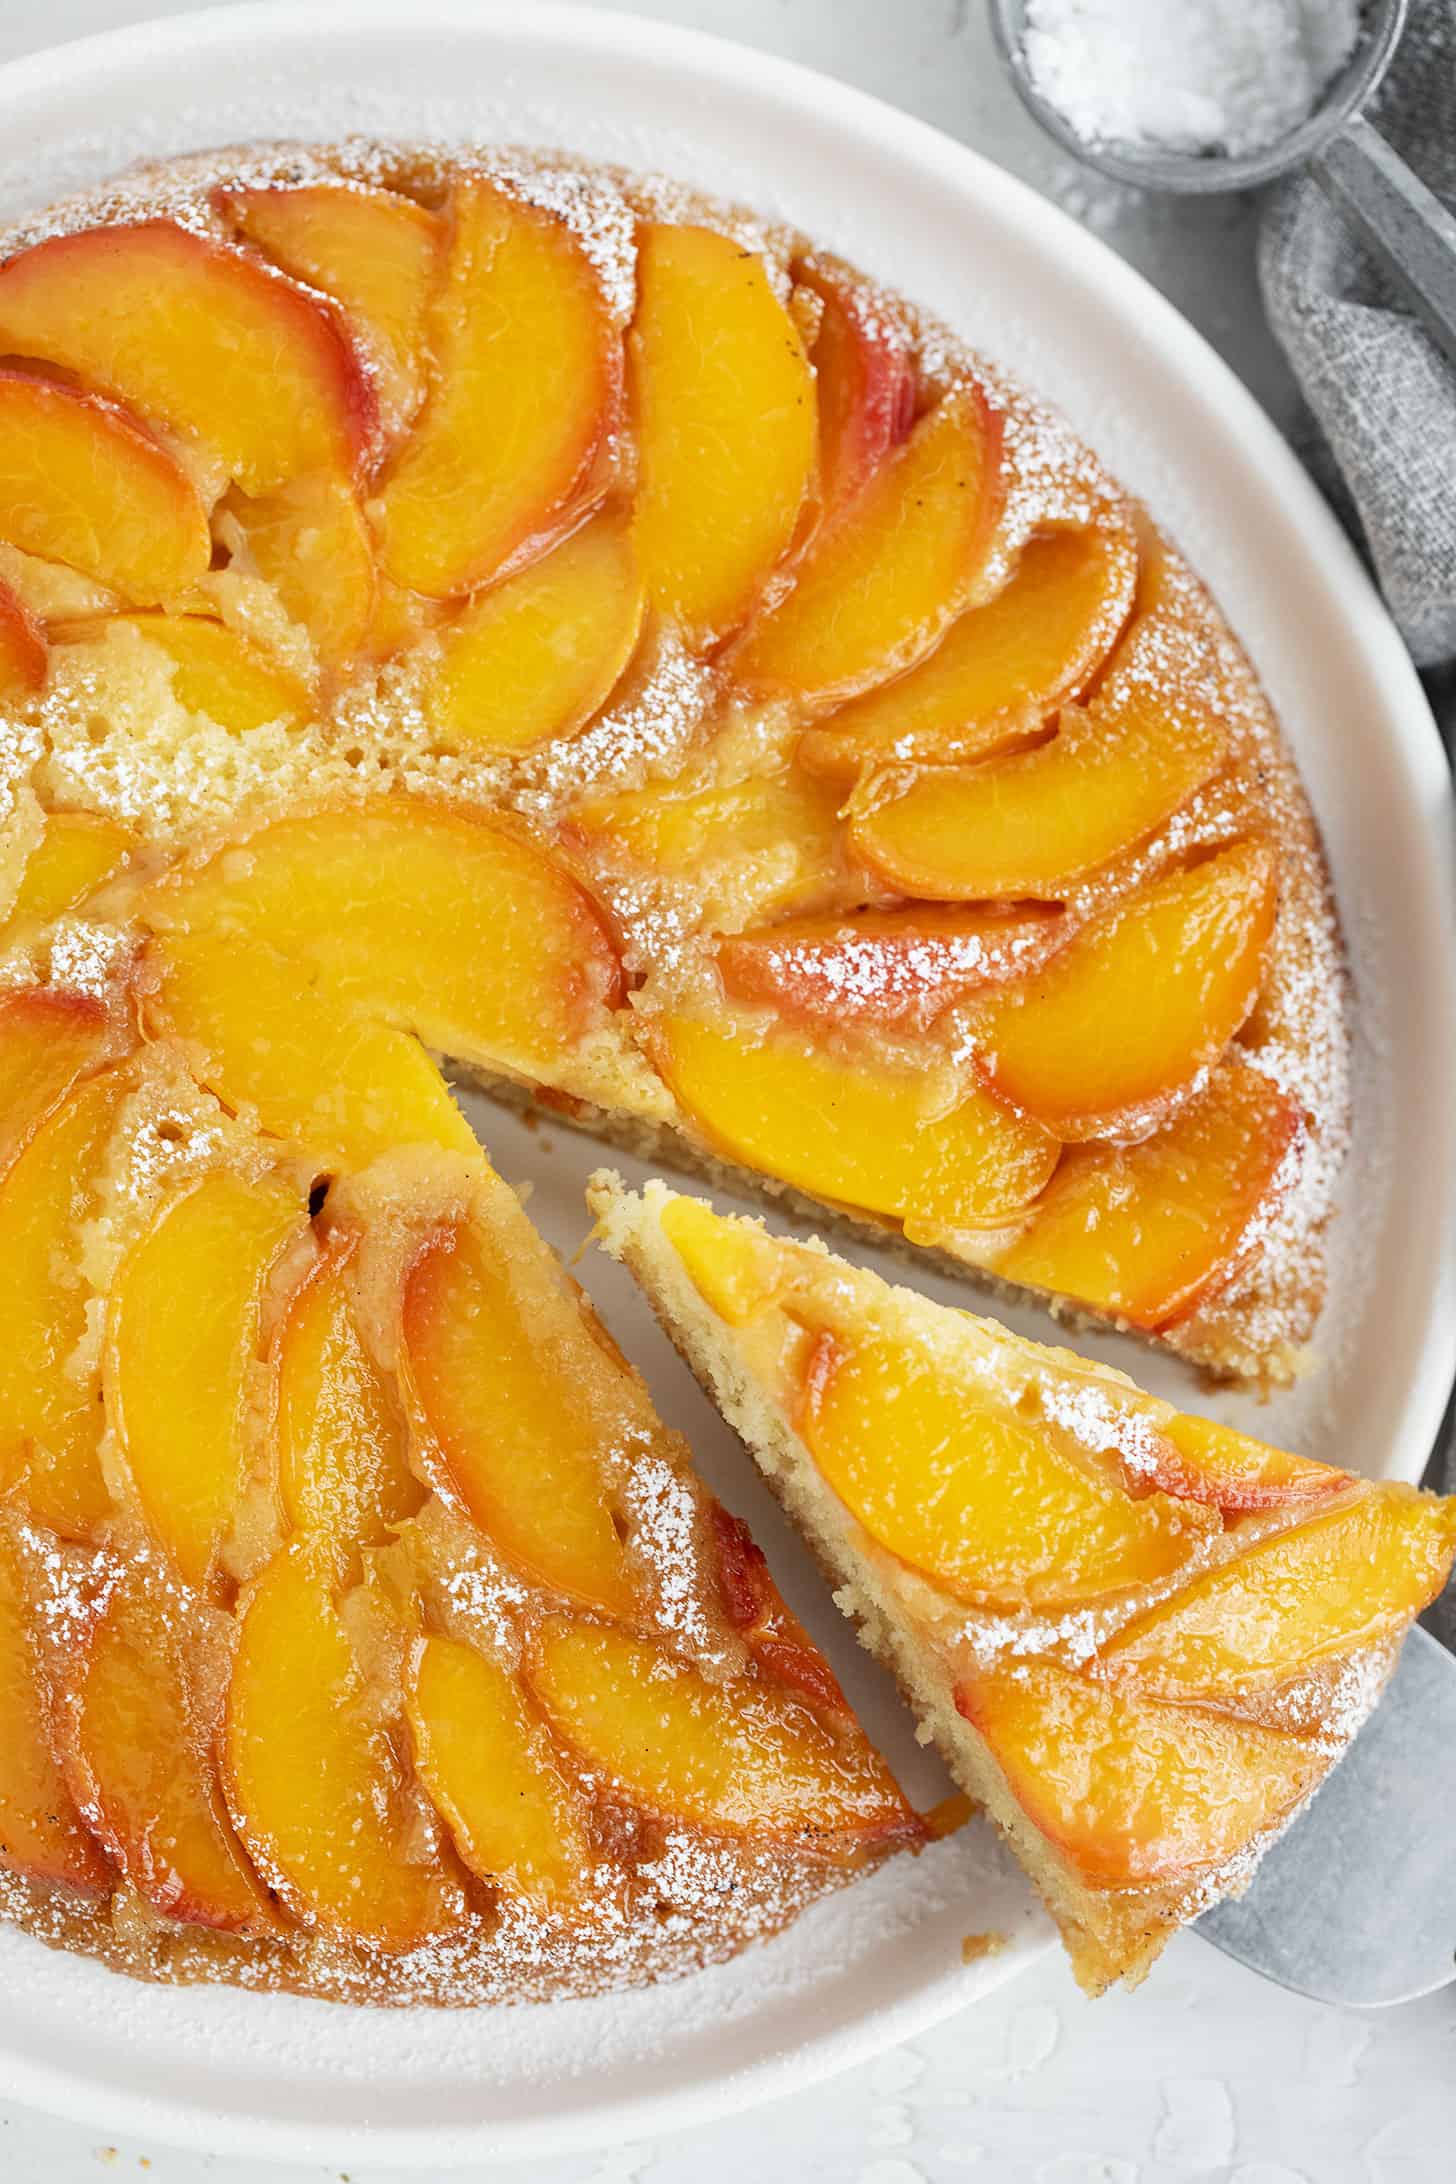
This peach upside-down cake is made in a cast-iron skillet, then flipped out to reveal a beautiful peach-patterned top. A great cake to enjoy during fresh peach season, or try it with canned peaches.
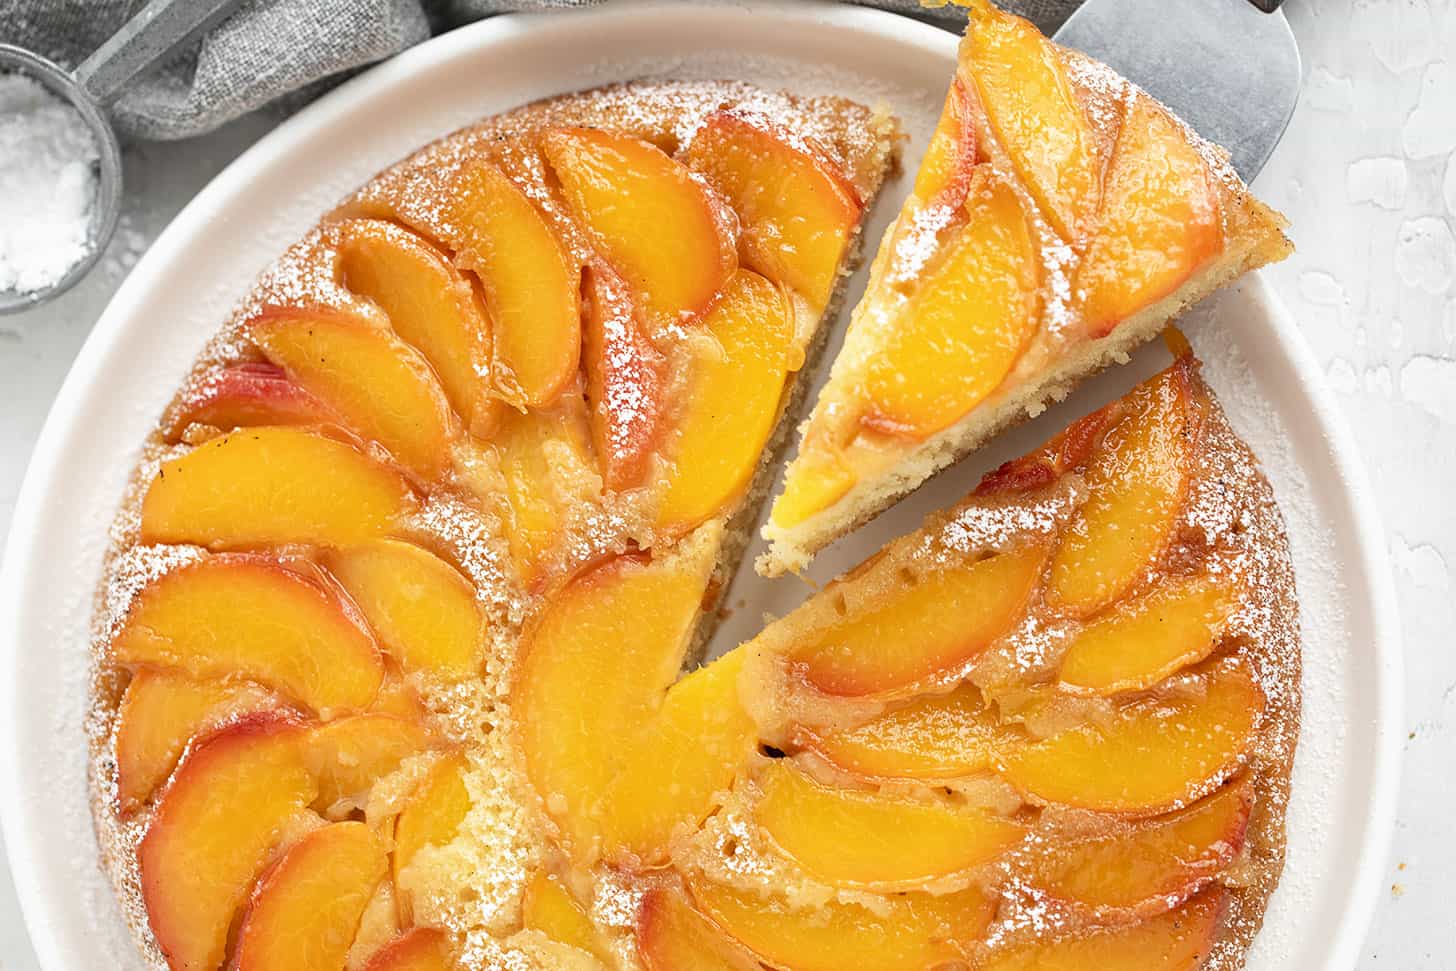
This pretty peach upside-down cake is a great way to celebrate fresh peach season or enjoy it year-round using canned peaches.
I love to bake in my cast-iron skillet, and this upside-down cake released beautifully after baking. Using a skillet also allows you to make melt the brown sugar and butter right in the skillet, so no extra pans or bowls needed!
Ingredients and substitutions
A few notes about the key ingredients …
Peaches – I’ve used fresh peaches here, and I didn’t even bother to peel them. I love the extra colour the pink peach skin brings! You can certainly peel them if you like. If fresh peaches aren’t available, canned peaches will work. Drain, pat dry a bit and slice into thinner slices if needed.
Cast iron skillet recommendations (and alternatives)
A 10-inch cast iron skillet (10-inch top diameter/8-inch bottom diameter) is required for the amount of specified batter. If you only have the larger 12-inch cast-iron skillet, increase the ingredients by 1/2 in order to fill it properly.
In place of a cast-iron skillet, you can use a 9-inch cake tin with about 2-inch-high sides. For the cake tin, melt the butter and brown sugar outside the pan (in a microwave or saucepan), then pour it into the pan before adding the peach slices. You may wish to line the bottom of the pan with a parchment round, for best release.
How to make cast-iron skillet peach upside down cake: step-by-step
This is a visual summary of the steps to make this recipe. Scroll down to the Recipe Card below for the complete list of ingredients and instructions.
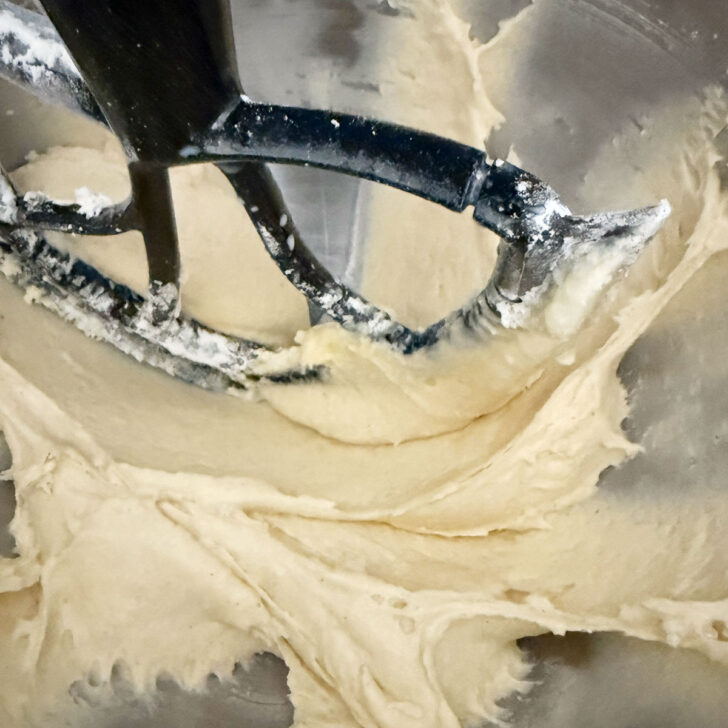
Step 1: Mix together the cake batter until smooth and fluffy. Set aside briefly.
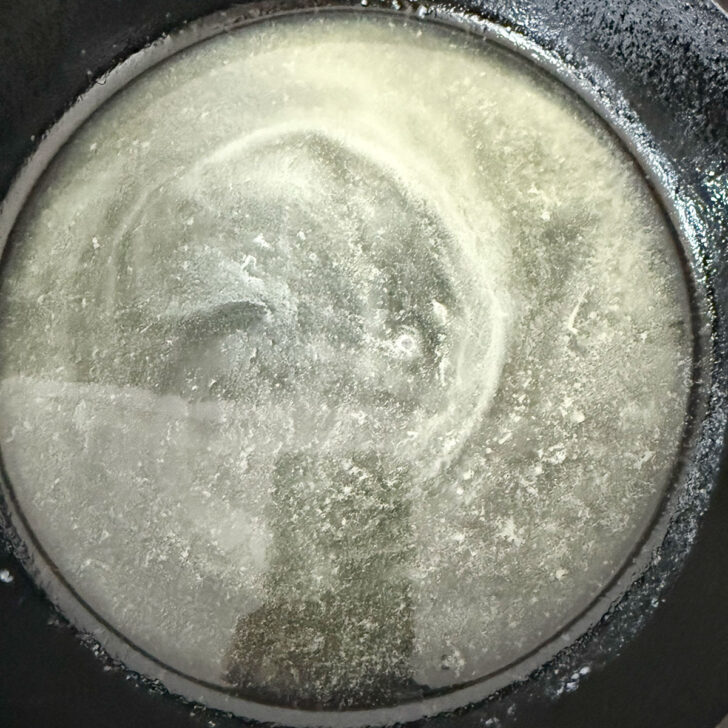
Step 2: Melt the butter in the cast iron skillet on the stovetop.
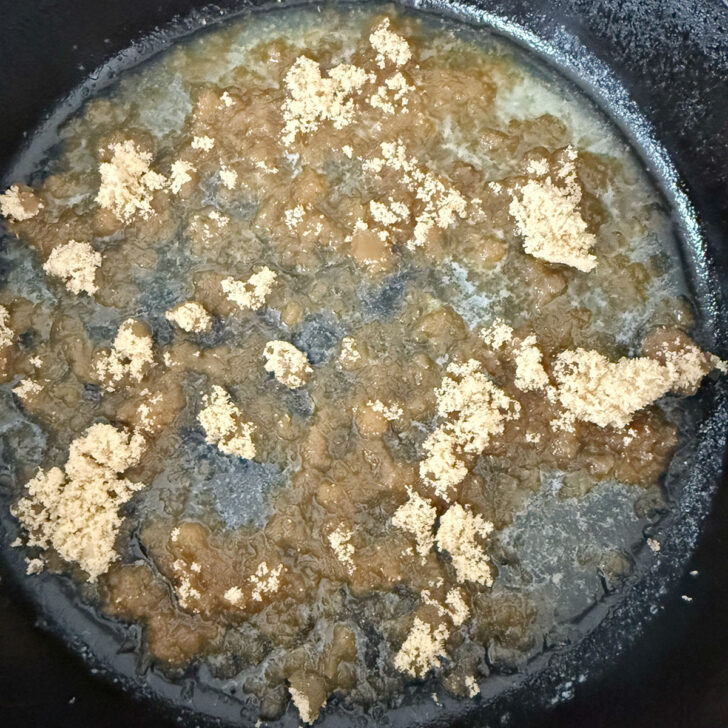
Step 3: Add the brown sugar and stir together until melted.
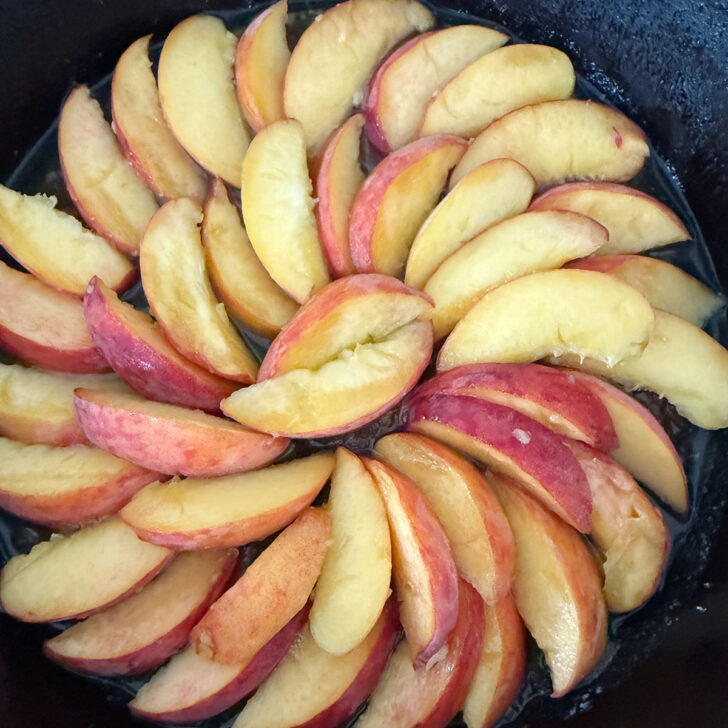
Step 4: Arrange the fresh peach slices in a spiral pattern on top of the butter and brown sugar mixture.
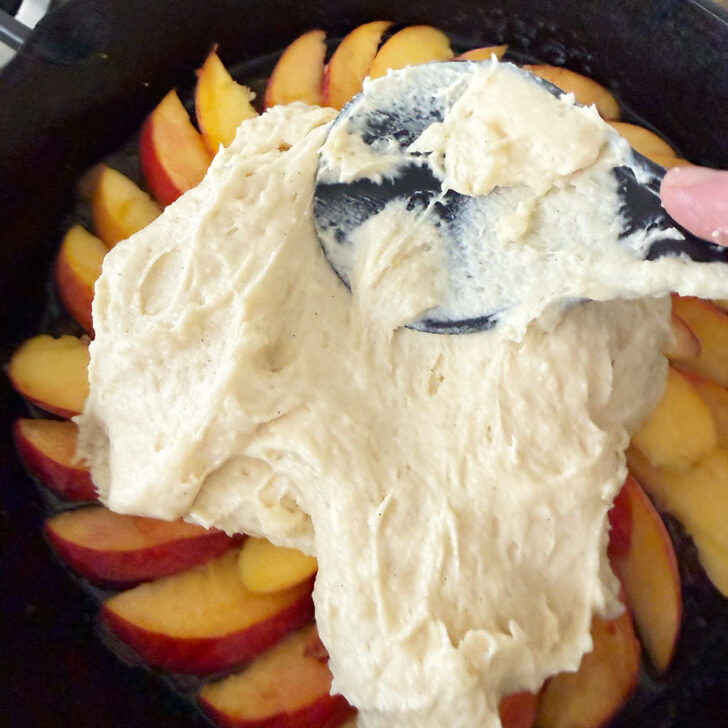
Step 5: Spoon and spread the cake batter over the peaches.
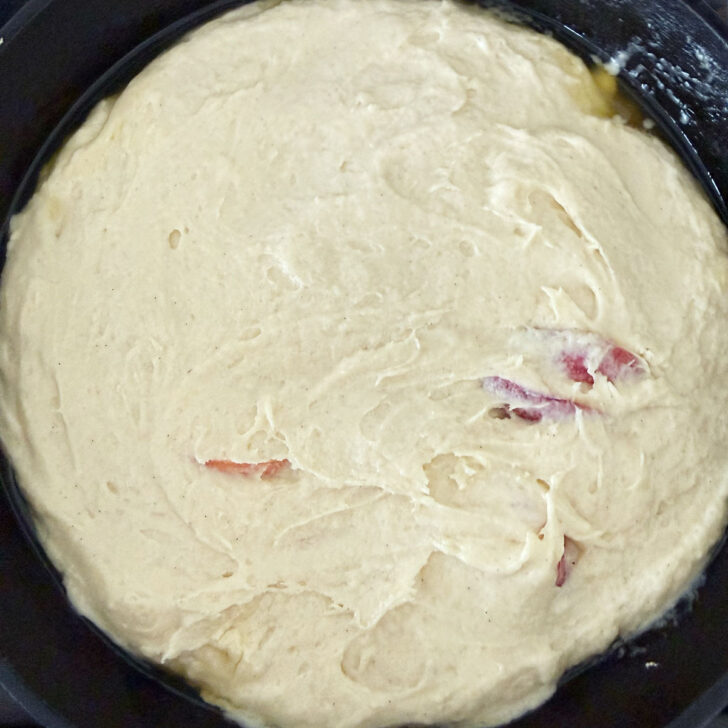
Step 6: Spread the batter until smooth and even.
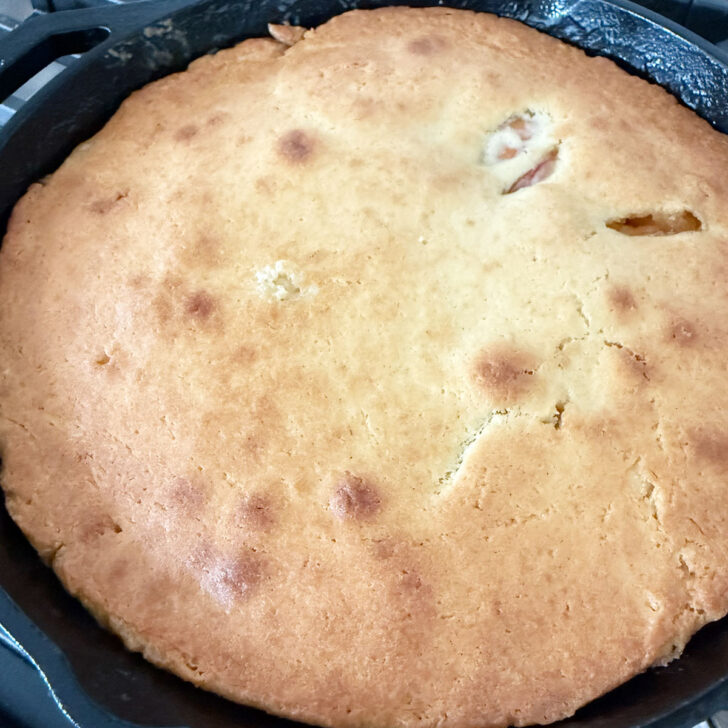
Step 7: Bake the cake until deep golden, then allow the cake to cook in the pan for about 45 minutes.
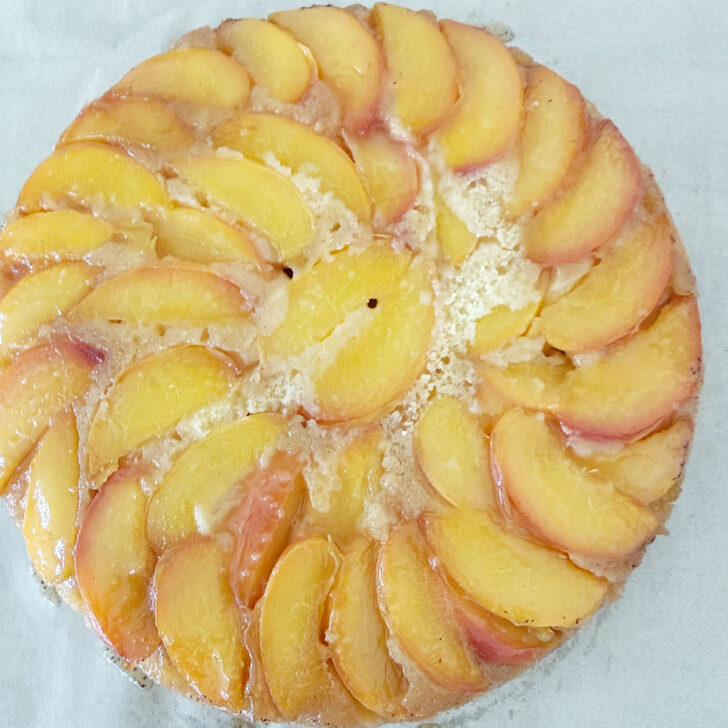
Step 8: Flip the cake out to reveal the pretty peach pattern. Dust with icing sugar before serving.
Recipe tip!
If you’re feeling it, you can increase the amount of butter and brown sugar in the topping to make a gooier cake. Try 1/3 cup of butter with 2/3 cup of brown sugar.
Making ahead, storing and freezing
This cake keeps quite well, but is best enjoyed on the day it is baked. The longer it sits, the more the moisture from the peaches will be absorbed into the cake.
Store at room temperature, covered loosely and covering any cut edges.
This cake will not freeze perfectly, as the peaches will release a lot of moisture into the cake from the freeze/thaw process.
Want to save this recipe?
Enter your email and I’ll send it to your inbox. Plus, you’ll get great new recipes from me every week!
By submitting this form, you consent to receive emails from Seasons and Suppers.
You can unsubscribe at any time.
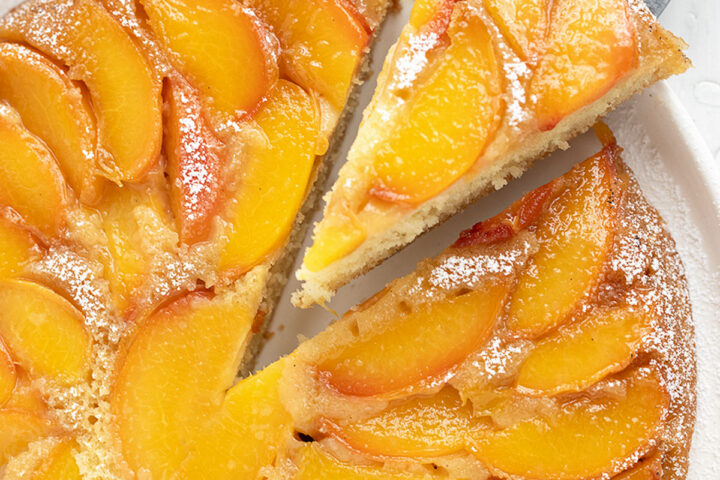
Get the Recipe: Cast Iron Skillet Peach Upside-Down Cake
Ingredients
For the cake batter:
- 1 1/2 cups all-purpose flour, spooned and levelled
- 3/4 teaspoon baking powder
- 1/4 teaspoon baking soda
- 1/2 teaspoon fine salt, reduce to 1/4 tsp if using salted butter
- 1/2 cup unsalted butter, at room temperature (can use salted butter, but reduce the added salt as noted above)
- 1/2 cup white granulated sugar
- 2 large eggs
- 2 teaspoons vanilla, or vanilla bean paste
- 1/2 cup milk
For the peach layer:
- 1/4 cup butter
- 1/2 cup brown sugar, packed
- 5-6 peaches, pitted and thinly sliced, peeled or unpeeled
For serving:
- icing/confectioners/ sugar, for dusting
Instructions
- Preheat the oven to 350F (regular bake setting – adjust as needed for convection/fan-asssted).
- In a medium bowl, whisk together the 1 1/2 cups all-purpose flour (spooned and levelled), 3/4 teaspoon baking powder 1/4 teaspoon baking soda and 1/2 teaspoon fine salt (reduce to 1/4 tsp if using salted butter). Set aside.
- In the bowl of a stand mixer fitted with the paddle attachment or a large bowl with an electric beater, cream together the 1/2 cup unsalted butter (at room temperature (can use salted butter, but reduce the added salt as noted above)) and 1/2 cup white granulated sugar at medium speed until light and fluffy, about 2 minutes. Beat in the 2 large eggs, one at a time, then beat in the 2 teaspoons vanilla (or vanilla bean paste). Set aside briefly.
- Add the butter to a 10-inch cast-iron skillet and place on the stovetop over medium heat. Melt the butter, then sprinkle the brown sugar evenly over the melted butter. Remove from the heat.
- Slice the peaches and arrange in a spiral pattern over the butter/brown sugar, starting around the outside of the pan, slightly overlapping and working into the centre until the pan is completely filled with a single layer of peaches.
- Spoon the cake batter over the peaches and carefully spread it to cover the peaches. It will be a thin layer and it doesn't have to be perfect :)
- Bake the cake for 30-40 minutes, or until the top of the cake is set, deeply golden and has pulled away from the edges of the pan. You can test the cake layer with a toothpick.
- Remove from the oven and let the cake cool in the pan for 45 minutes. Cover a wire cooling rack with a sheet of parchment paper, then place it over the skillet, parchment paper side down. Holding both the skillet and the wire rack, flip the skillet over and allow the cake to fall onto the parchment paper. Allow to cool completely before transferring to a serving plate. Serve dusted with icing/confectioners' sugar, if you like.
- This cake is best enjoyed on the day it is baked. Store loosely covered at room temperature, covering any cut edges, as needed.
Notes
More peach recipes to love!


Hi! I’m Jennifer, a home cook schooled by trial and error and almost 40 years of getting dinner on the table! I love to share my favourite recipes, both old and new, together with lots of tips and tricks to hopefully help make your home cooking enjoyable, stress-free, rewarding and of course, delicious!