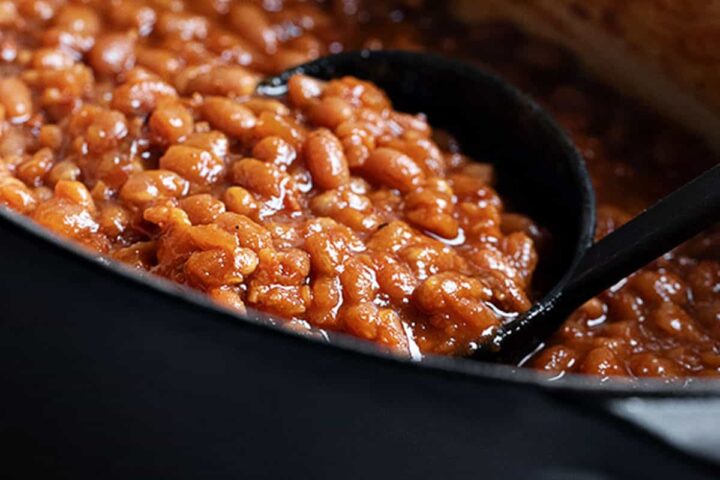
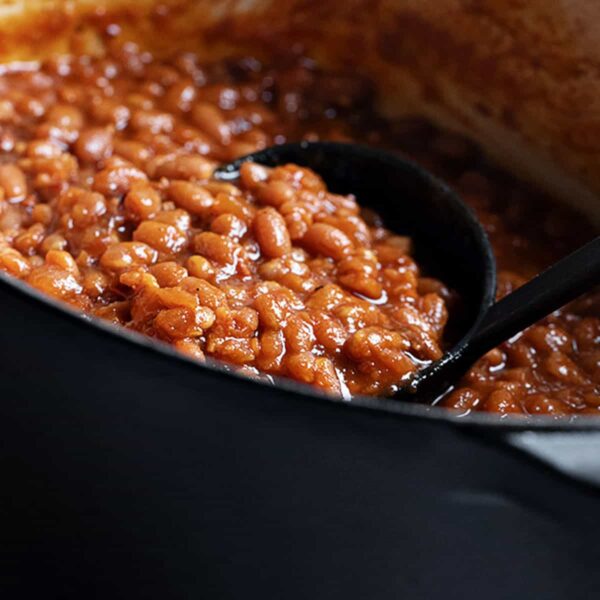
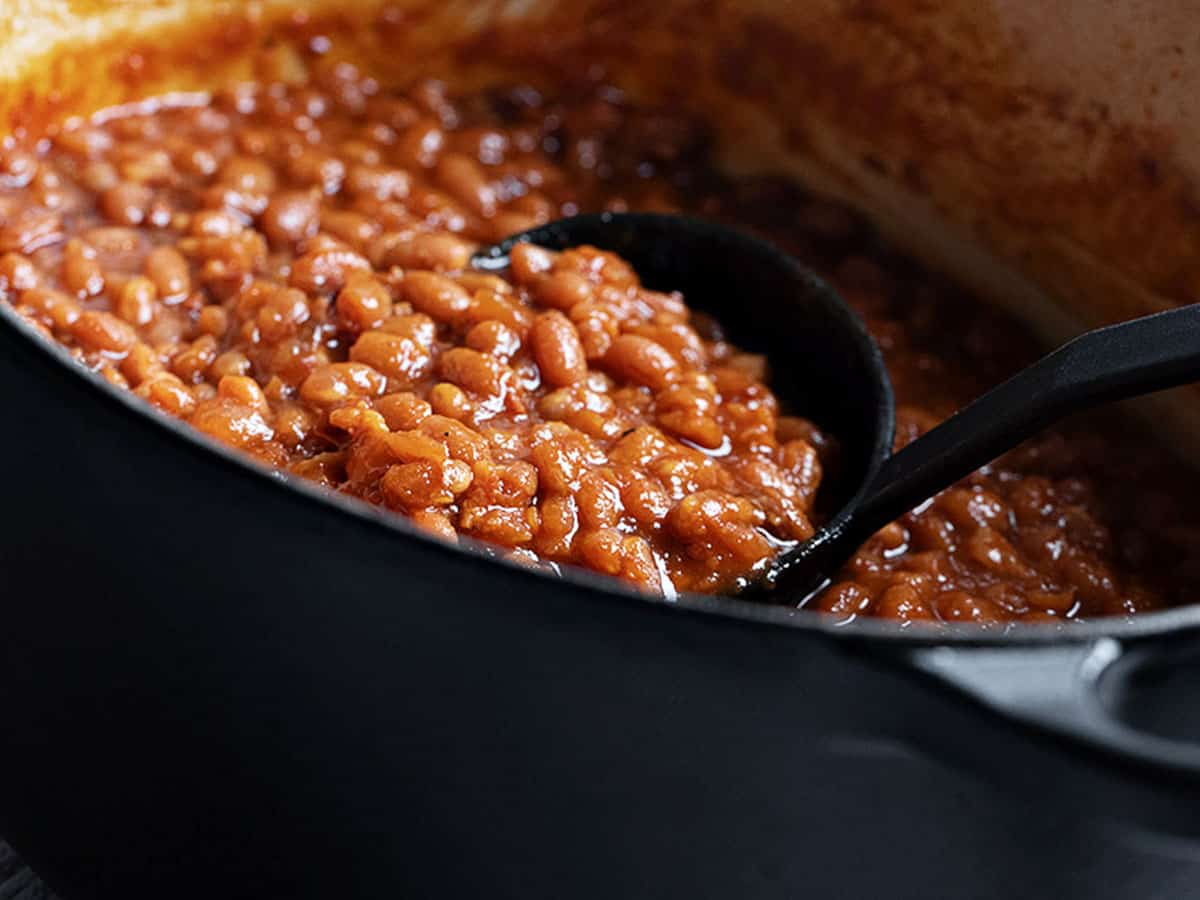
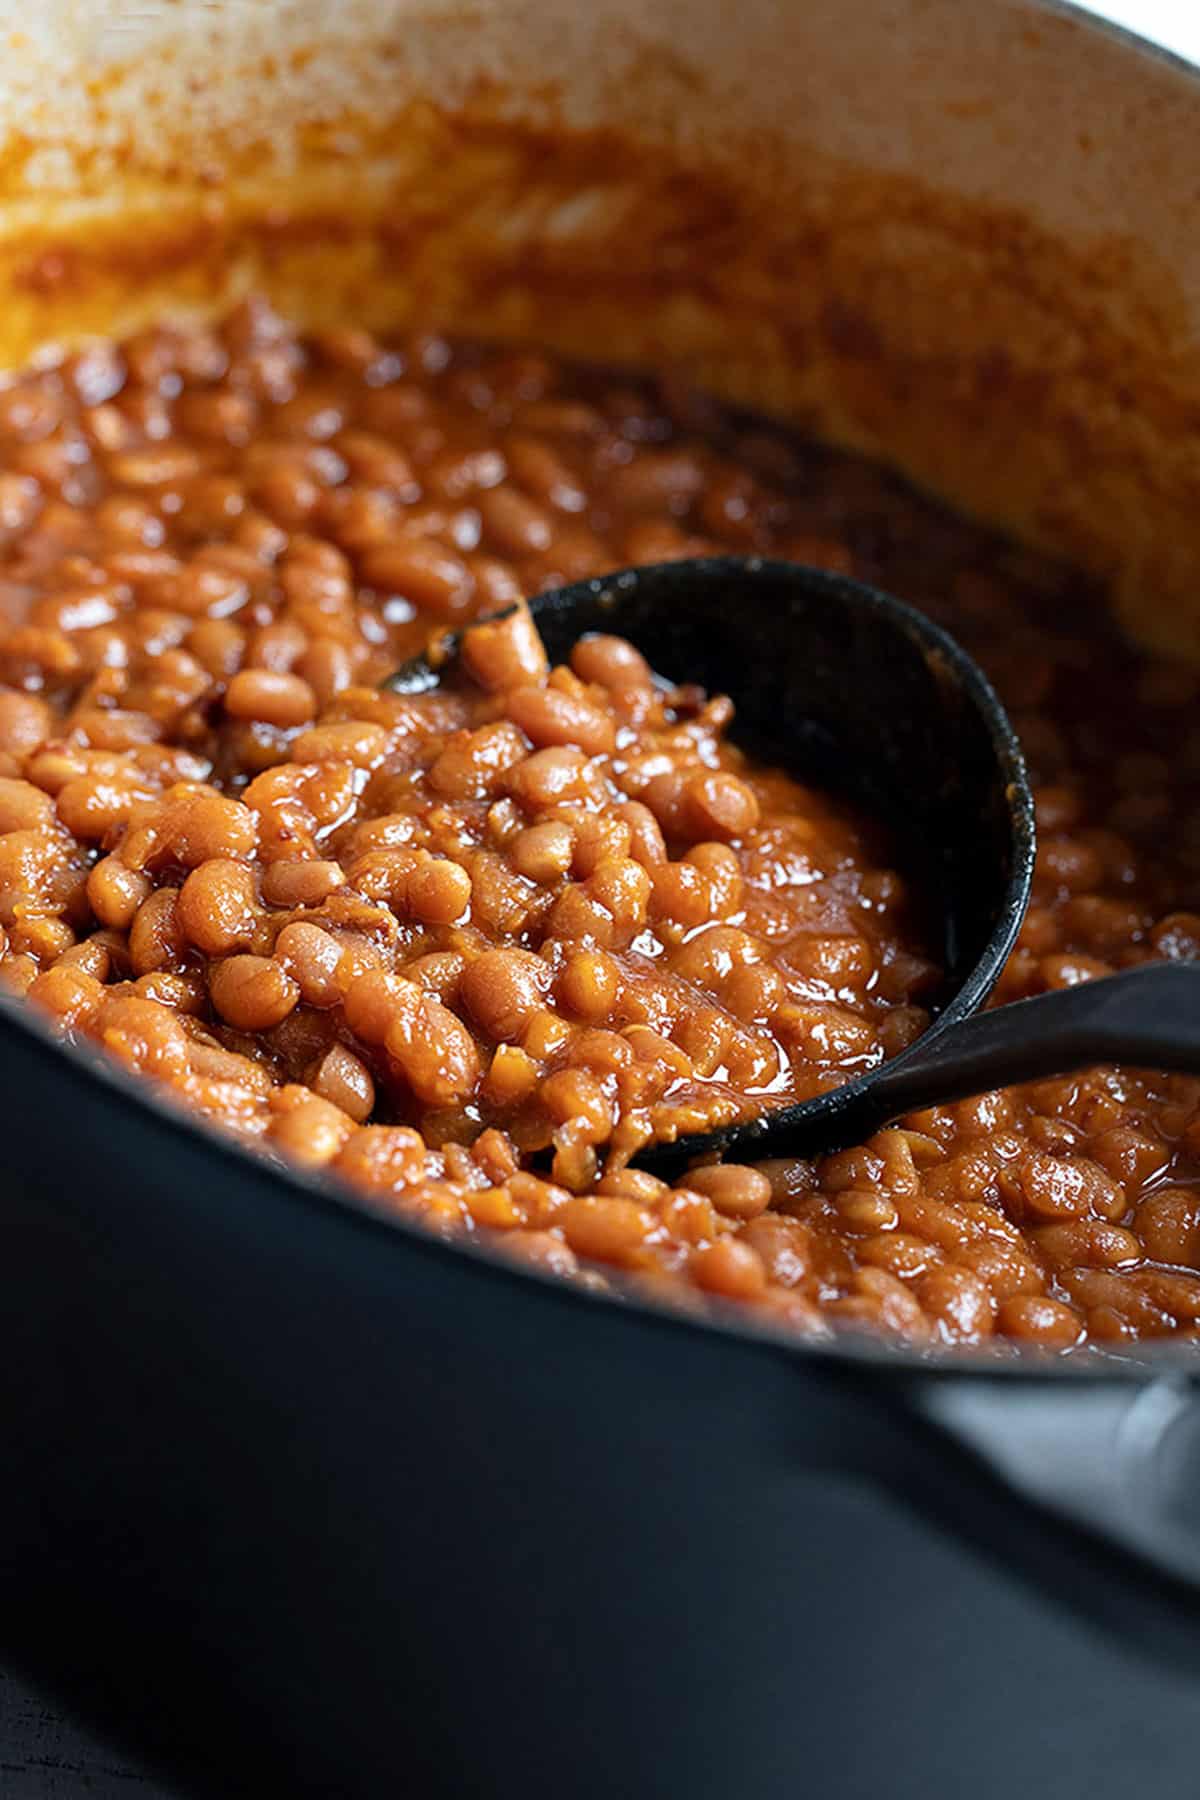
Classic Boston-style baked beans, made from dried beans, flavoured with molasses and cooked low and slow with bacon and onion.
There is no doubt that baked beans made from scratch are a real treat, but they need two things – dried beans and time to shepherd them through a long cooking time. Since a lot of us have those two things covered right now, I thought it was the perfect time to share this homemade baked beans recipe.
Flavoured with molasses and cooked low and slow with bacon and onion, these Boston-style baked beans are a classic and so easy to do. Perfect as a side dish anytime, on the Easter table with your ham or for your summer BBQ.
Ingredients
Here are the ingredients you will need …
- Dried navy beans (aka Pea beans) – a fresh bag is best vs that one that has been at the back of your cupboard for a few years :)
- Onion
- Bacon – or omit for vegetarian baked beans
- Salt and Pepper
- Molasses – “Fancy” molasses recommended. See FAQ below for other options
- Dry mustard powder
- Light brown sugar – See FAQ below if you only have dark brown sugar
- Ketchup
- Boiling water
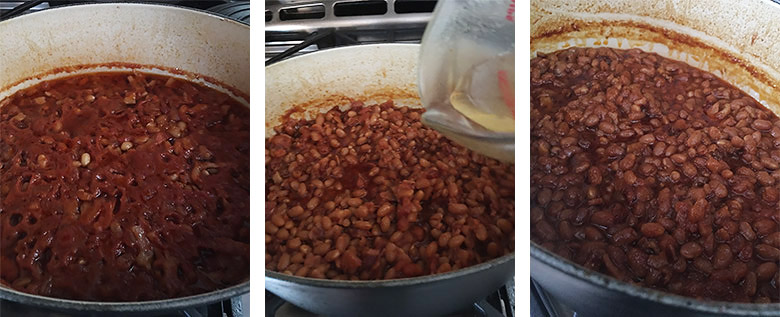
Step by Step Photos
Here are the easy steps to make homemade baked beans …
- Step 1: Soak your dried beans overnight in a large uncovered pot of cold water, covering the beans by about 2 inches of water. Next morning, drain the soaked beans and place into a large pot. Cover the beans with several inches of cold water and bring just to a boil, then reduce heat to the level that will maintain just a gentle simmer, to avoid splitting the skin of the beans. Continue gently simmering the beans, stirring once in a while to prevent sticking and adding additional hot water to the pot if needed to make sure the beans are covered with water while cooking. Simmer until the beans are tender, but not mushy, about 1 hour (taste test to be sure they are tender).
- Step 2: Mix together your sauce ingredients and measure out your water. Set aside. Chop your onion and bacon. Set aside. When beans are tender, drain well and rinse with cold water to stop the cooking process. Preheat oven to 275F.
- Step 3: Add 1/2 the bacon and 1/2 the onion to the bottom of an oven-safe pot with a lid. Top with 1/2 the cooked beans. Add the remaining bacon and onion, then top with the remaining beans.
- Step 4: Combine the sauce and boiling water, then pour over the beans and stir gently to combine. Place lid on your pot and place in a preheated 275F oven. Set the timer for 4 hours.
- Step 5: After 4 hours of cooking, remove the pot from the oven and stir. Your beans should still be somewhat liquidy enough at this point, but if not add a bit of water. You want don’t want to completely cover the beans with liquid, but you should have puddles of liquid on top at all times.Return pot to the oven, checking the beans every 30 minutes for the last 2 hours of cooking and stirring, then adding a bit more water if needed, to keep those puddles on the top.
- Step 6: After 6 hours of cooking, your beans should be done and the sauce should be nice and thickened. Let the beans stand 5 minutes uncovered or 10-15 minutes covered to allow the sauce to thicken further. If for some reason, your sauce is too liquidy, place your pot on the stove-top and simmer it over low heat for a bit to reduce the sauce.
- Step 7: Finally, taste your beans and add assess whether additional salt ais needed. The sauce has a minimum amount of salt added to keep the beans tender and to avoid the pot from getting overly salty as a result of the long cooking process, so you may need a touch more at the end to just to really round out the flavours.
Top Tip
Be sure your beans are tender before you stop simmering them on the stove-top. Taste test a couple just to be sure. You may think that the 6-hour oven time will further soften your beans, but in reality, if your beans go into the oven tough, they may still be that way even after 6 hours in the oven. Don’t be afraid to simmer as long as needed, to make sure they are tender before baking.
FAQ
How long will the baked beans keep in the fridge? Leftover baked beans will keep in the fridge for 3-4 days, though they are best eaten within about 2 days.
Can I freeze baked beans? Yes, BUT you can only freeze them once fully cooked. Baked beans will keep well in the freezer for 2-3 months.
Can I use Dark Brown Sugar? Yes. As dark brown sugar has more molasses in it already, reduce the added molasses slightly.
Can I use Cooking or Blackstrap Molasses? If you only have blackstrap molasses, you would probably be best to seek out a baked bean recipe written specifically for blackstrap molasses, as I don’t have any guidance on how much you would use and quite honestly, I feel like the flavour would be much too harsh for these Boston-style baked beans.
If you only have Cooking molasses, which is a blend of Fancy and blackstrap molasses, you could possibly try reducing the amount of molasses in half and replacing the extra with honey or maple syrup. I haven’t tested this myself.
Can I make these in a slow cooker/instant pot? As I often like to say, you can do whatever you like, but this classic recipe is written to be baked in the oven and that is the only way I have ever made them. As such, you might be better to seek out a recipe written especially for the slow cooker or instant pot for the adjustments that would be needed.
Want to save this recipe?
Enter your email and I'll send it to your inbox. Plus, you'll get great new recipes from me every week!
By submitting this form, you consent to receive emails from Seasons and Suppers.
You can unsubscribe at any time.
Get the Recipe: Homemade Baked Beans from dried beans
Ingredients
- 1 lb. dried navy beans
- 1 1/2 cups onion, diced
- 1/2 lb. bacon, diced
Sauce:
- 1 1/2 tsp salt
- 1/4 tsp pepper
- 5 Tbsp molasses, Fancy (not Cooking or Blackstrap)
- 1 1/2 tsp dry mustard powder
- 3/4 cup light brown sugar
- 3/4 cup ketchup
- 1 1/2 cups boiling water
Instructions
- Soak beans in a large bowl over-night, covering with about 2 inches of cold water.
- In the morning, drain soaked beans and place in a large pot. Cover with several inches of water and bring just to a boil, then immediately reduce heat to somewhere between medium and medium-low or whatever level maintains a gentle simmer. Cook beans for 50-60 minutes, or until beans are tender (but not mushy). Taste test to be sure they are tender before you stop cooking. Drain beans and rinse under cold water to stop the cooking process.
- Preheat oven to 275F. Start 1 1/2 cups water to boil.
- In a large oven-safe casserole dish with a lid (or alternately, to be covered with aluminum foil), scatter 1/2 of the onion and 1/2 of the bacon over the bottom of the dish. Add 1/2 of the cooked beans. Scatter the remaining onion and bacon, then top with the remaining cooked beans.
- In a 4-cup measuring cup or similar sized bowl, stir together the sauce ingredients well. Add 1 1/2 cups of boiling water and stir. Pour over beans and mix gently with a fork. If necessary, add a bit more hot water so that the liquid just barely covers the beans. Cover the pot with a lid or doubled up aluminum foil and place in preheated 275F oven.
- Beans will cook in the oven for a total of 6 hours, but should be checked at intervals to ensure there is enough liquid in the pot.
- Cook beans for 4 hours, then remove from oven and gently stir with a fork. There should still be enough liquid in the pot to just barely cover the beans, but if not, add more as needed.
- Return pot to the oven, covered, checking beans every 30 minutes for the last 2 hours of cooking, first stirring, then adding a bit more water to the pot, if needed. You want to have some puddles of liquid showing on the top of the beans, but you don't want to add too much water to the pot.
- After 6 hours of cooking, remove from oven and stir gently with a fork. Let stand, uncovered for 5 minutes or covered for 10-15 minutes before serving.
Notes
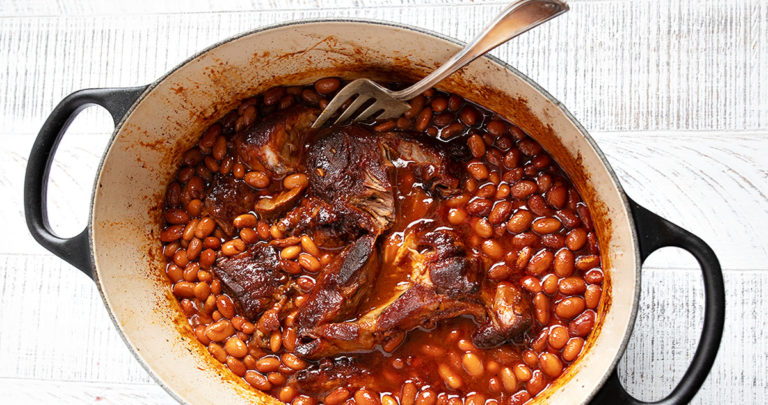
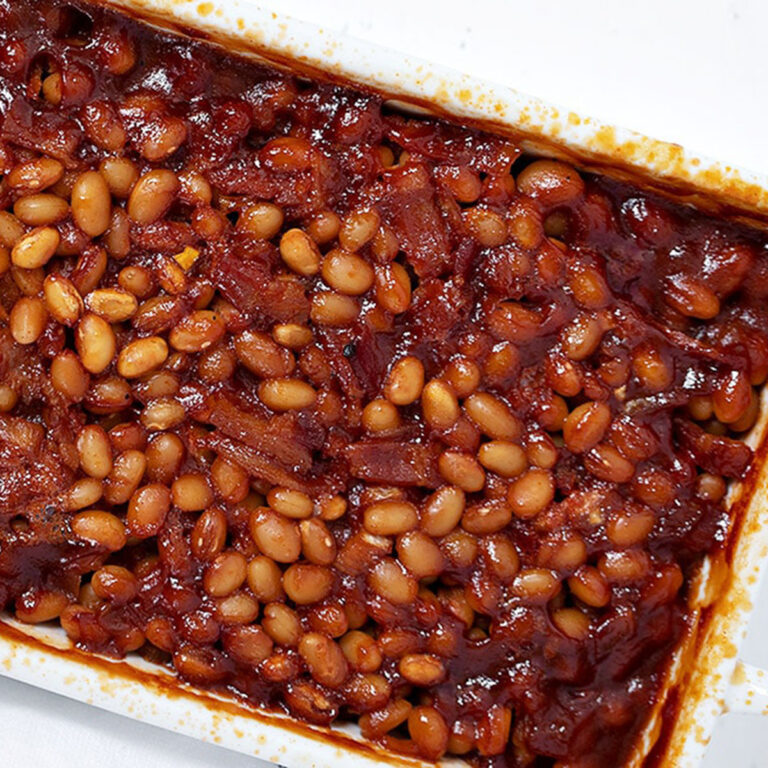
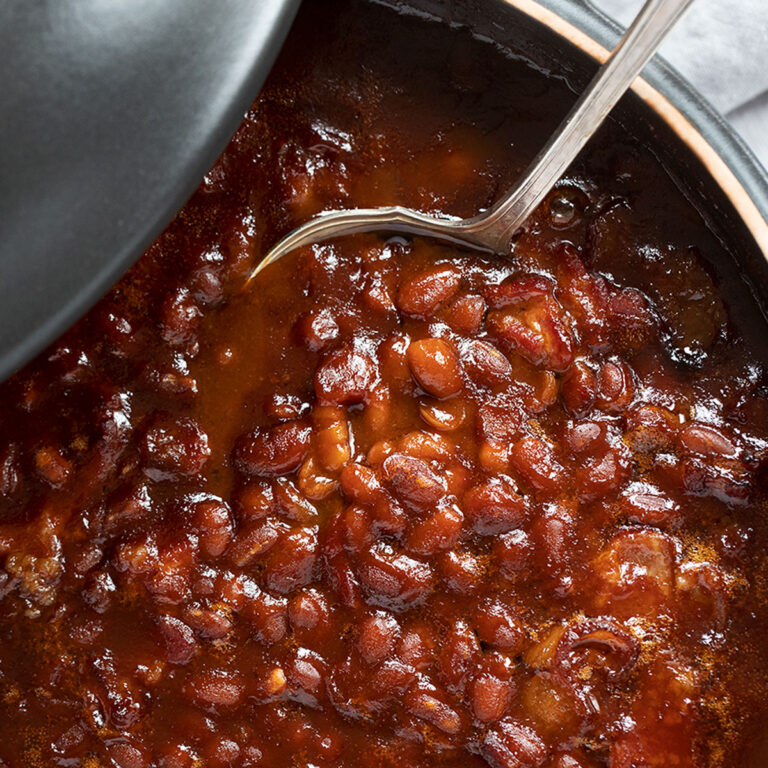
More bean recipes you might like …
Hi! I’m Jennifer, a home cook schooled by trial and error and almost 40 years of getting dinner on the table! I love to share my favourite recipes, both old and new, together with lots of tips and tricks to hopefully help make your home cooking enjoyable, stress free, rewarding and of course, delicious!





My family loved this recipe. It’s now my go to bean recipe. Thanks
So glad to hear, Barbara :) Thanks so much!
These are soooo good! Question; do you soak your beans in the refrigerator or on the counter?
Thanks!
Hi Linda and thanks! I generally soak the beans on the counter as long as I know I’ll be boiling them within about 12 hours of starting the soak. They should probably go in the fridge if the soak extends beyond that time.
Thank you it looks delicious I shall try it
I’m looking for a good baked bean recipe to preserve by pressure canning. I normally do 36 pints at a time. Would you have any idea how many pints one recipe of these would make?
Hi Maureen, I’d be totally guessing here :) The Dutch oven shown is a 5 qt. Since it seems about 1/2 full, I’d say 2 1/2 qts. or about 5 pints. Again, just a guess.
DELICIOUS MY go to baked bean recipe and tey freeze well for future eats,
So pleased to hear, Linda! Thanks :)
I don’t have Navy Beans…will Great Northern beans work?
Hi Helen and yes, they should work. Just refer to the cooking instructions on the bag of dried beans, in case it differs from that of navy beans. Enjoy!
Fantastic recipe. My go to now for proper baked beans!
So pleased to hear :) Thanks!