
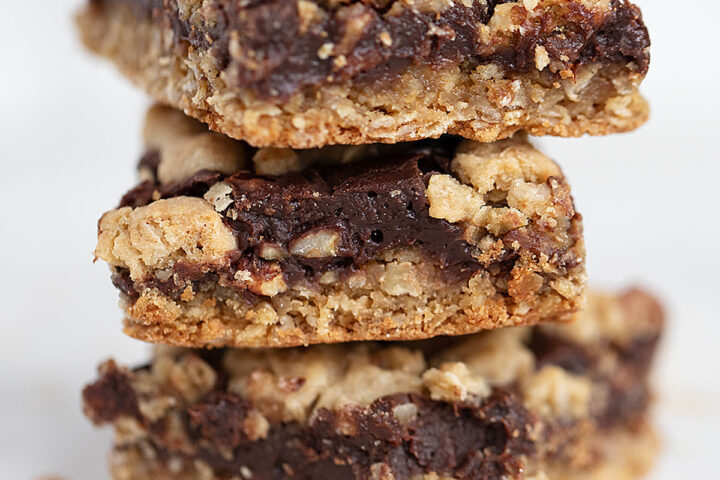
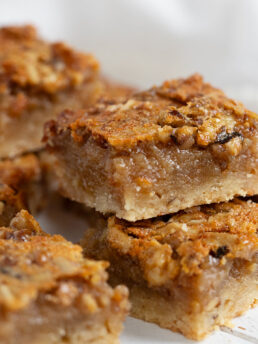
Delicious chocolate oatmeal bars, with a creamy, fudge-like chocolate filling. Can be made ahead and they keep and travel well. Perfect for picnics, BBQs and bake sales.
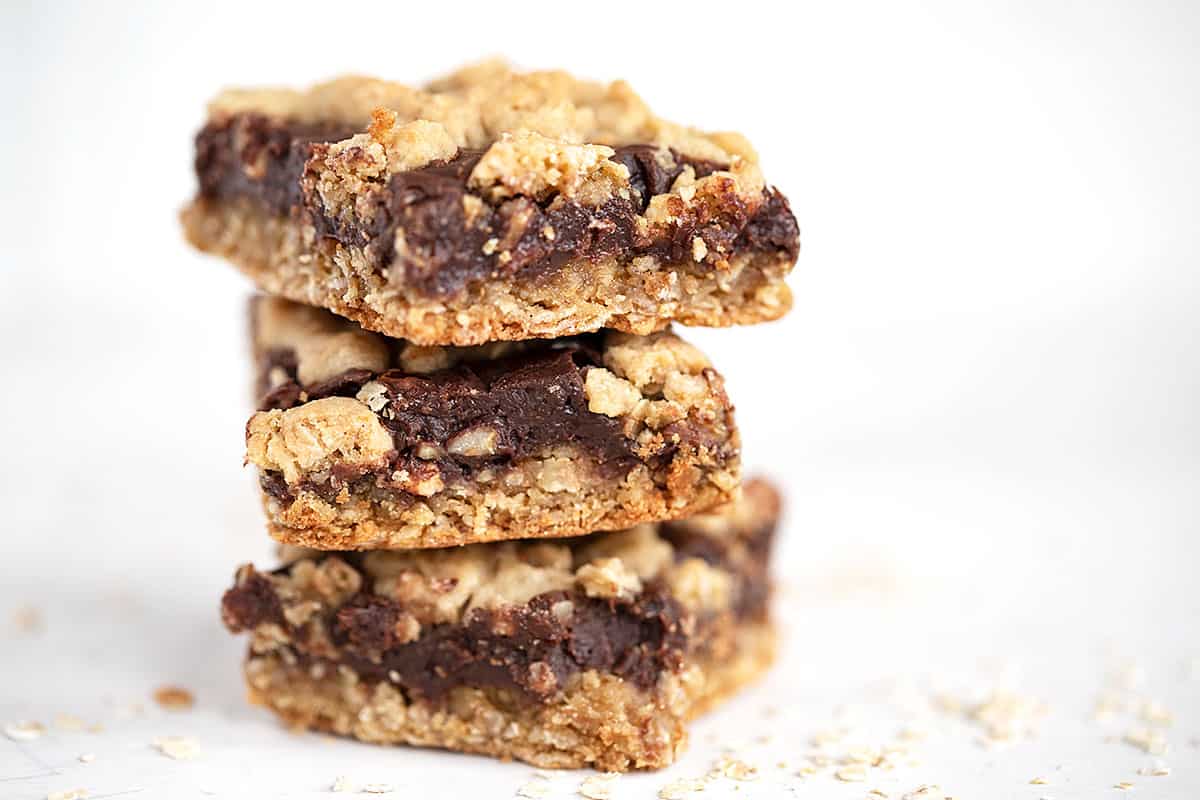
These chocolate oatmeal bars are delicious and always a crowd-pleasing treat! They are sturdy and neat bars, so they cut and travel well.
These chocolate and oat bars can easily be made ahead. They keep well when stored in the fridge for up to a week (and they also freeze well!).
Ingredients and substitutions
A few notes about the key ingredients …
Sweetened Condensed Milk – Most brands of sweetened condensed milk come in 300 ml cans (or about 10oz), so you won’t use all of the can for a single recipe. Don’t throw the extra out though, as you can stir it into your iced coffee for a Vietnamese coffee!
Quick oats – aka quick cooking oats. These are the smaller pieces of oats. If you only have large-flake oats, just run them through a food processor (or you can chop them down by hand with a knife a bit), before measuring. I haven’t tested with “Instant” oats. Steel-cut oats would not be suitable here.
Chocolate chips – regular, semi-sweet chocolate chips are all you need here.
Walnuts – to add walnuts or not to add walnuts? Without walnuts, you’ll have a silky smooth, chocolate filling, combined with the oatmeal cookie-like base and topping. This simpler version produces a delicious bite, that is most likely to be liked by all, if you happen to be making for a crowd, children etc.
Adding in the walnuts adds another flavour and texture layer and because walnuts are ever so slightly bitter, it tempers the overall sweetness a bit. It’s a bit like the difference between chocolate fudge and chocolate walnut fudge or brownies. Both are good … but different. Try both ways and decide which you prefer.
How to make chocolate oatmeal bars
This is a visual summary of the steps to make this recipe. Always refer to the complete instructions in the Recipe Card below when making the recipe.
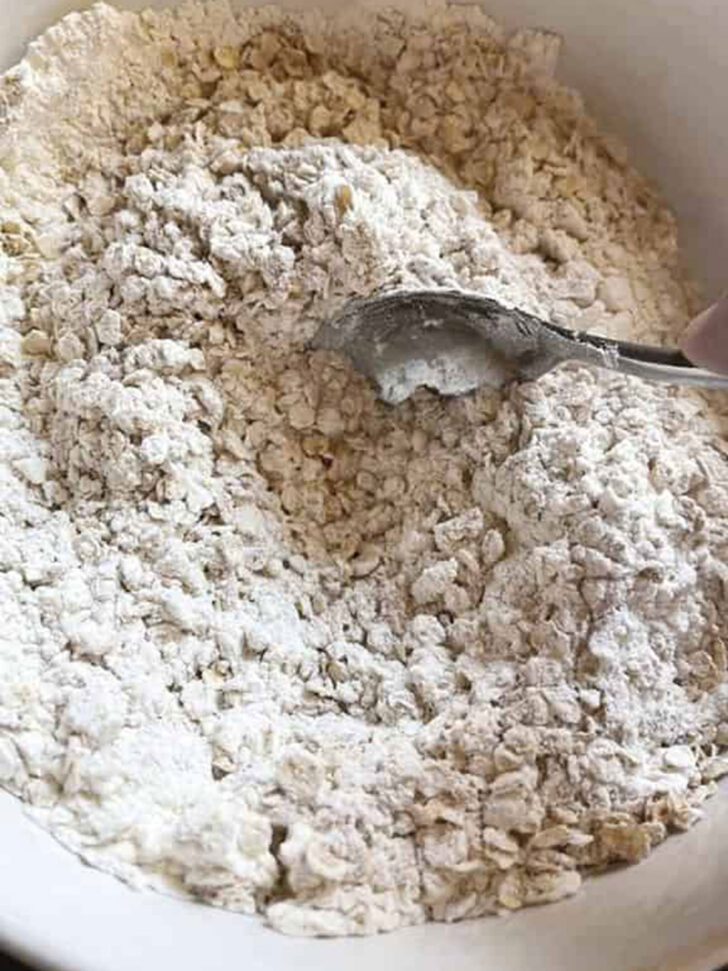

- Mix up the dry ingredients and set aside.
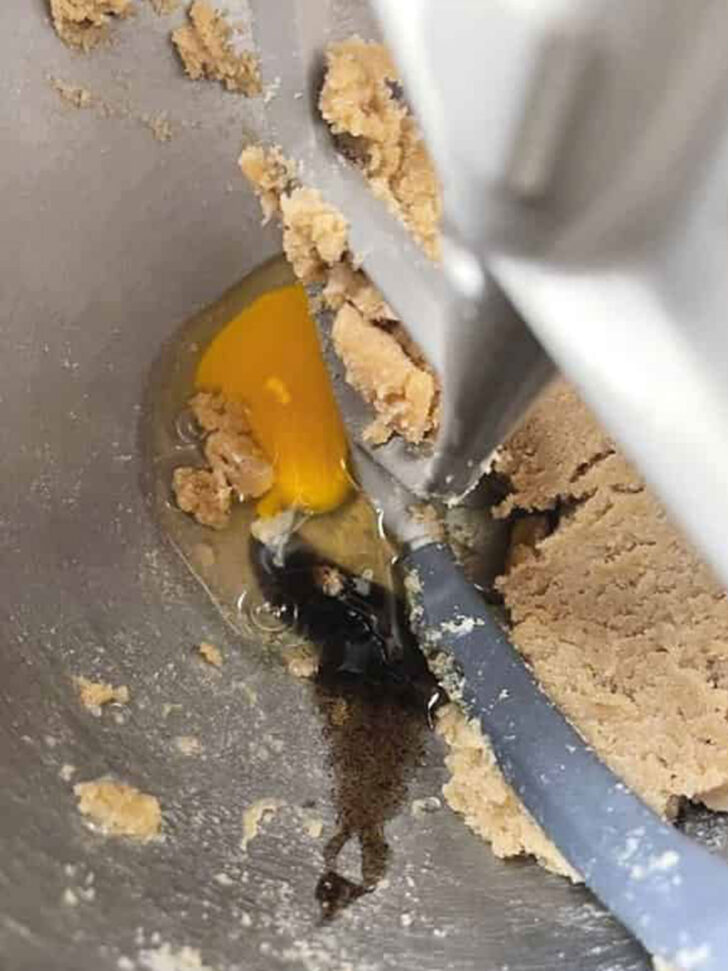
- Creamy together the brown sugar and butter until light and fluffy.
- Beat in the egg.
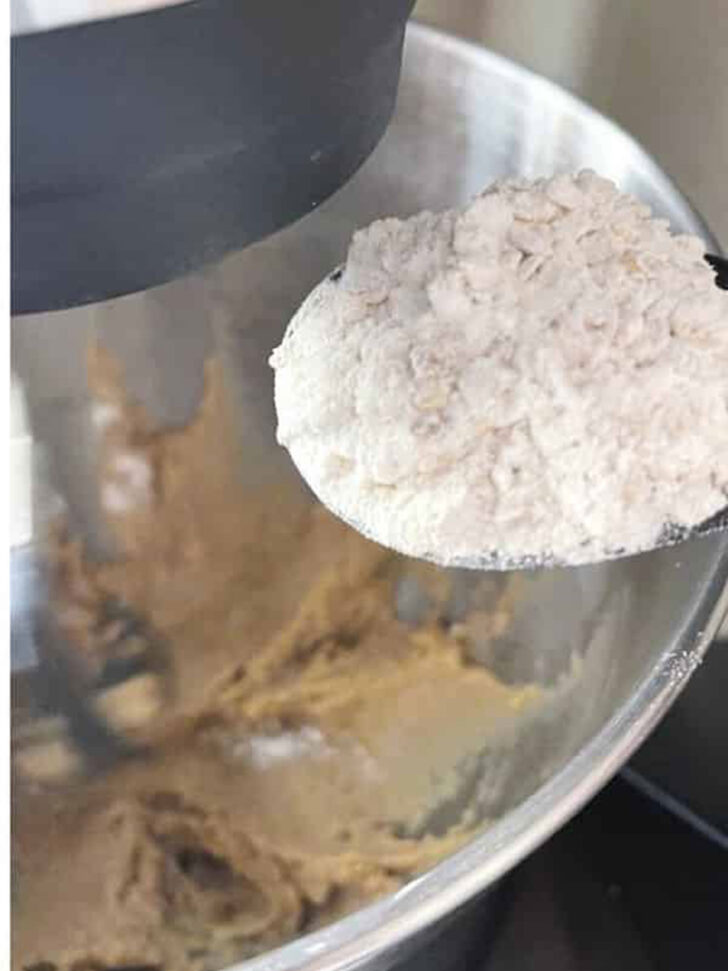
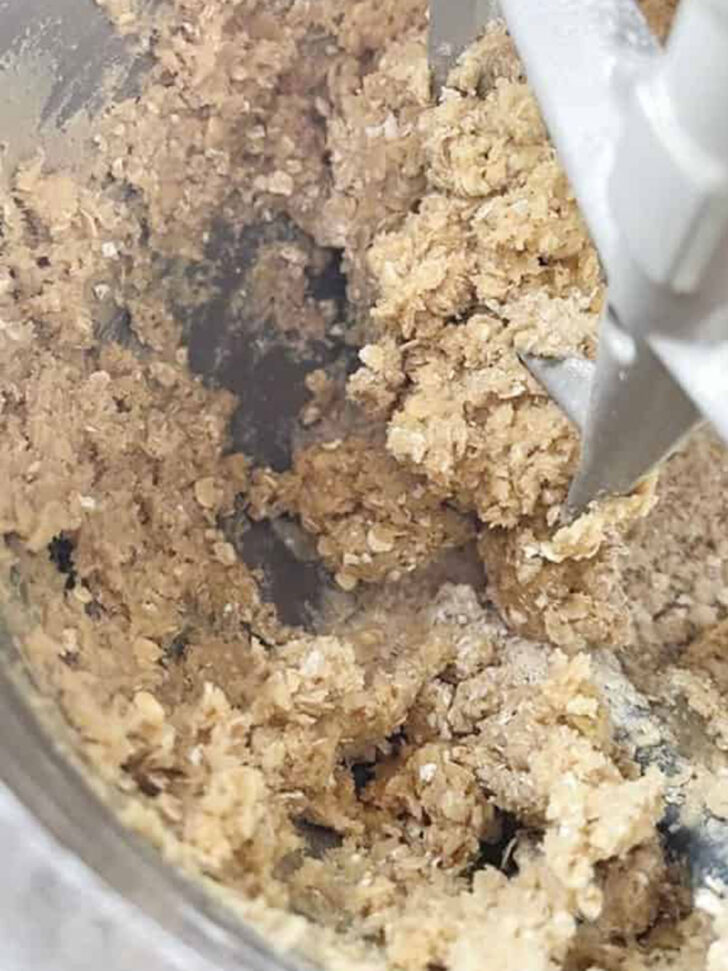
- Add the dry ingredients to the mixer.
- Mix until combined.
- Set aside 1 cup of the base mixture, then spoon the rest into the prepared baking pan.


- Press the base mixture into the pan and set aside.
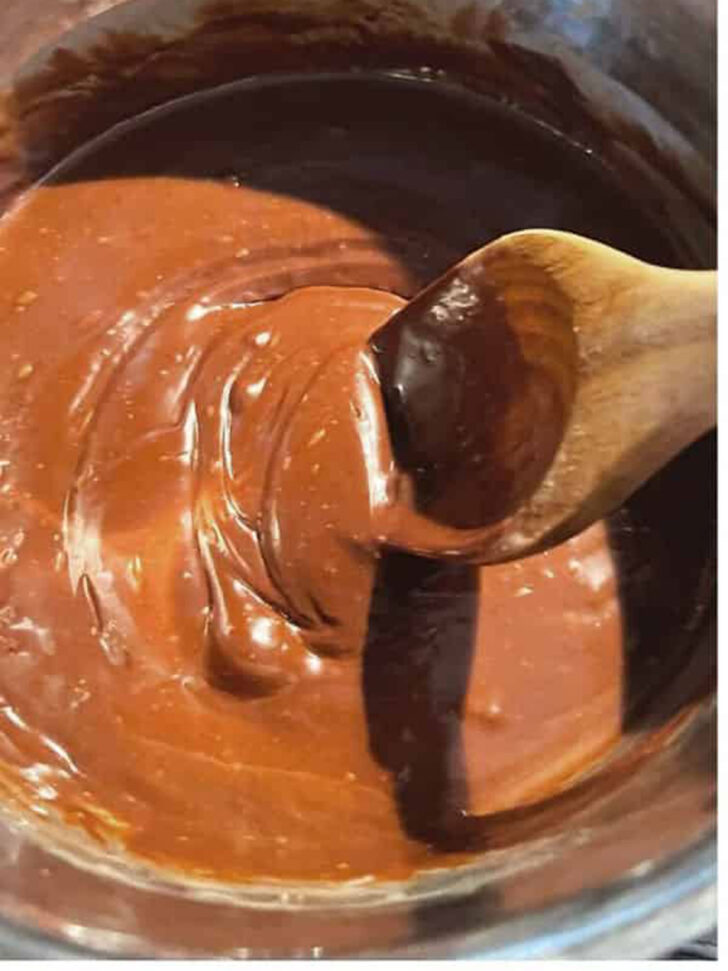
- Start the chocolate filling by melting the condensed milk, butter and chocolate together.
- Melt until smooth and stir in the walnuts, if using.
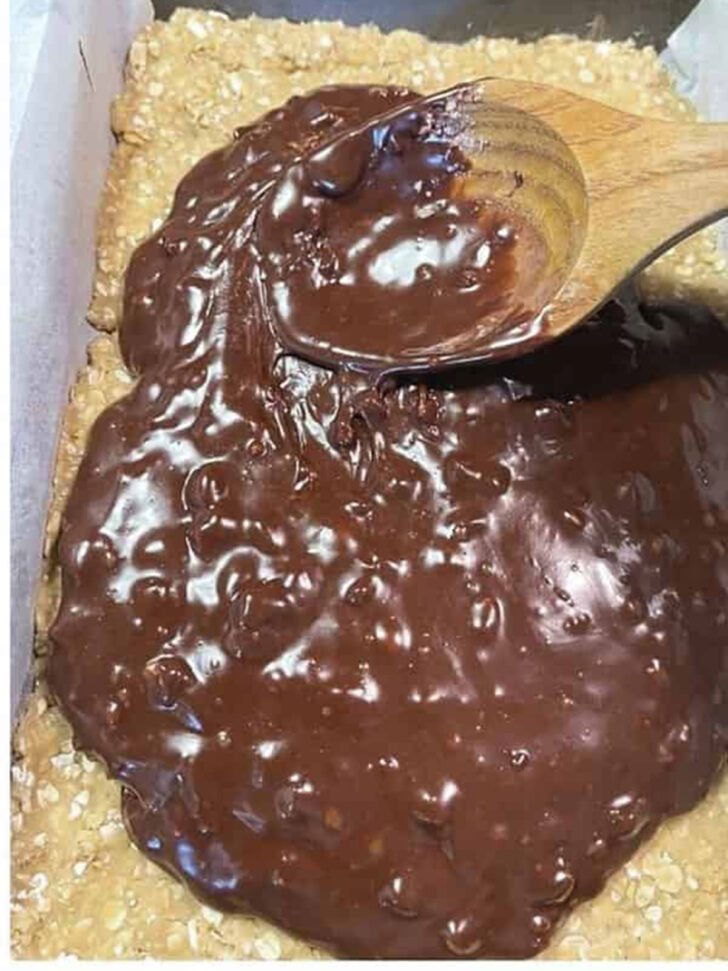

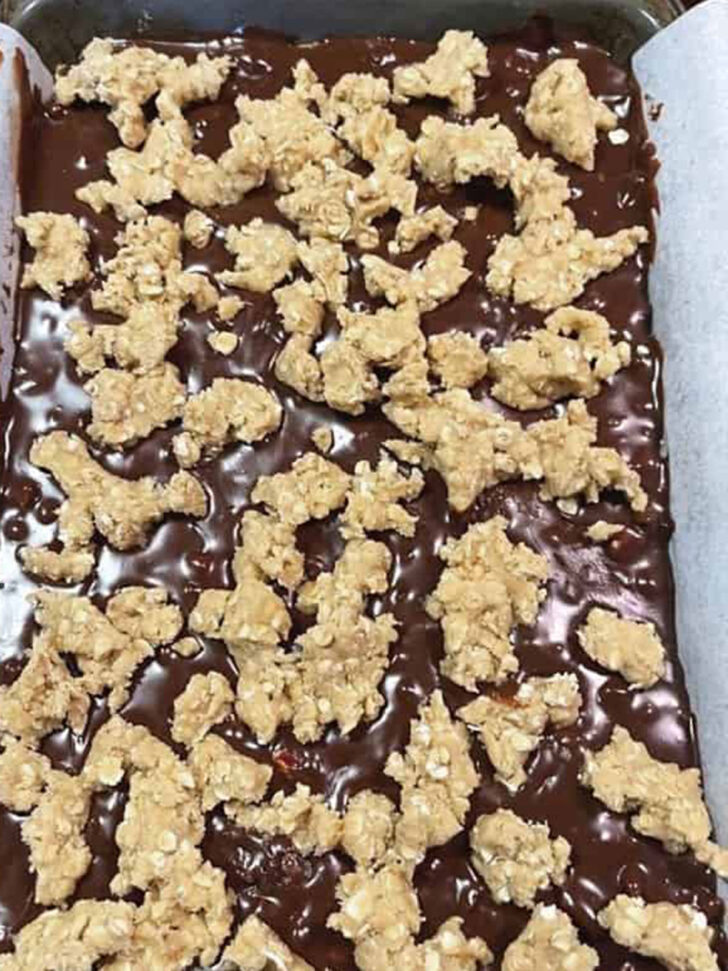
- Pour the chocolate mixture over the base layer.
- Spread the chocolate mixture into an even layer.
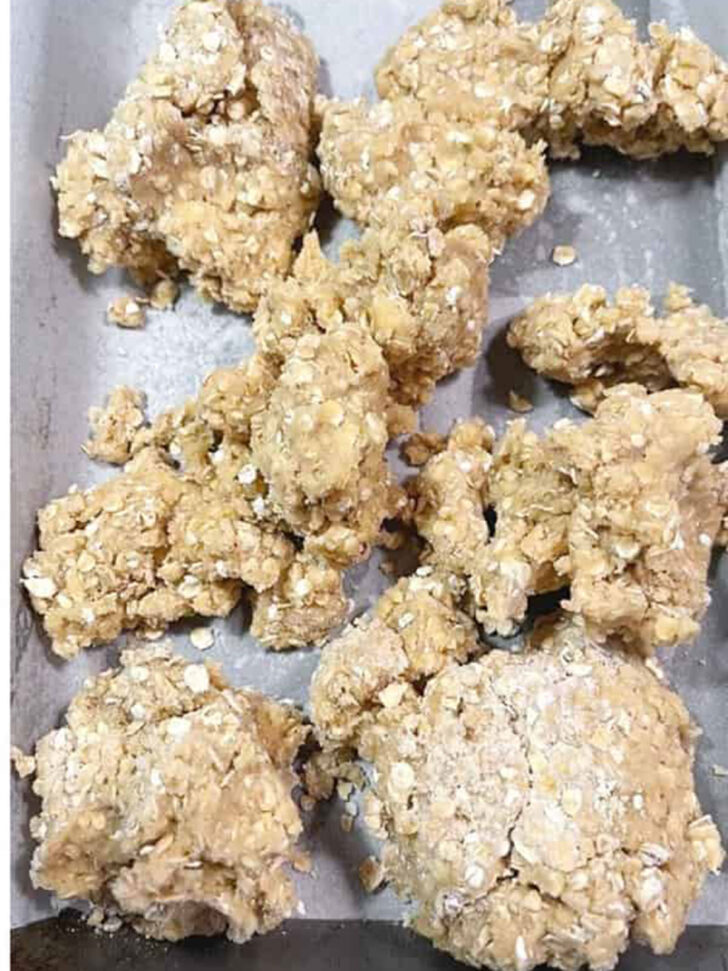
- Drop walnut-sized clumps of the reserved base mixture on top of the chocolate. Bake and enjoy!
Recipe tips!
- When pressing the base into the pan, try to get it as even as possible, but don’t stress any small gaps, as the base will expand as it cooks and fill in nicely.
- If your hands are sticking to the base, run under cold water, shake off the excess and press.
- I’ve included weight and metric measures here and I encourage you to bake from the weights if you have a kitchen scale. Baking with weights ensures that the bake turns out perfectly and the same every time, since it eliminates any potential differences in cup sizes and measurement techniques (eg. how you measure flour).
- Feeding a crowd? Double the recipe and bake in a 9×13-inch pan or triple the recipe and bake in an 11×17-inch pan. (use the “2X” or “3X” button on the Recipe Card to automatically double or triple the ingredient amounts).

Making ahead, storing and freezing
Don’t hesitate to make ahead, as these keep really well stored in the fridge! You can easily make a day ahead, store un-cut and well-covered in the fridge, and then cut and enjoy them the next day. The chocolate filling stays soft, so no worries about needing them to sit to soften. I actually enjoy them right from the fridge.
Store in an an air-tight container in the fridge, where these bars will keep for at least a week. The cookie part does tend to soften slightly as they sit, but they are still delicious.
These bars will freeze well for up to 2 or 3 months.
Want to save this recipe?
Enter your email and I’ll send it to your inbox. Plus, you’ll get great new recipes from me every week!
By submitting this form, you consent to receive emails from Seasons and Suppers.
You can unsubscribe at any time.
Get the Recipe: Chocolate Oatmeal Bars
Ingredients
Crumb mixture:
- 1/2 cup (113 g) butter, at room temperature
- 1 cup (180 g) light brown sugar, packed
- 1 large egg
- 1 teaspoon vanilla extract
- 1 1/2 cups (360 ml) quick-cooking oats
- 1 1/4 cups (155 g) all-purpose flour
- 1/2 teaspoon fine salt, reduce to 1/4 tsp if using salted butter
- 1/2 teaspoon baking soda
Chocolate filling:
- 7 oz. (200 g) sweetened condensed milk, about 3/4 cup + 1 1/2 Tbsps.
- 1 cup (240 ml) semisweet chocolate chips
- 1 Tablespoon butter
- 1/4 teaspoon salt
- 1 teaspoon vanilla
- 1/2 cup (120 ml) chopped walnuts or pecans, optional
Instructions
- Preheat oven to 350F (non-convection/not fan-assisted). Reduce oven temperature by 25F if using a glass pan.
- Spray a 7×11-inch baking pan with baking spray and line the bottom and long sides with a piece of parchment paper, overhanging the sides by an inch or so, to use as handles to remove from the pan later. *Alternate pan options: 8×8 or 9×9-inch pan. If doubling the recipe, use a 9×13-inch pan. If tripling, use an 11×17-inch pan.
- In a medium bowl, stir together the oats, flour, salt and baking soda. Set aside.
- Make the crumb mixture: In a large bowl with an electric beater or in the bowl of a stand mixer fitted with the paddle attachment, cream the butter and brown sugar together on medium speed, until light and fluffy, about 2 minutes. Beat in the egg and vanilla, scraping down the bowl as necessary.
- Gradually add the flour mixture to the creamed mixture and mix until well blended. Remove and set aside about 1 cup of the crumb mixture (180-200g), well packed. Press the remaining oatmeal mixture into an even layer on the bottom of the baking pan. (If sticking to hands, rinse hands under cold water, then shake off excess, then press in). The base will seem thin, but will expand and fill in as it bakes.
- Make the chocolate filling: In a large saucepan, combine the sweetened condensed milk, chocolate chips, salt and butter. Cook over low heat, stirring constantly, until chocolate is melted and mixture is completely smooth. Remove from the heat, then stir in vanilla and walnuts, if using. Spread filling evenly over the crust in the pan. Drop small dollops of the reserved oatmeal mixture randomly over the top.
- Bake at 350° for 20-25 minutes or until the filling is set and the oatmeal dollops on top have started to become a little golden. If doubling or tripling, the baking time may be slightly longer. Remove from oven and cool completely in the pan set on a wire cooling rack before cutting into squares. *I like to refrigerate in the pan for a bit before cutting, for the neatest cuts.
- Store in an airtight container in the refrigerator for up to 1 week. Enjoy cold from the fridge or at room temperature. These will also freeze well up to 2 months.
Notes
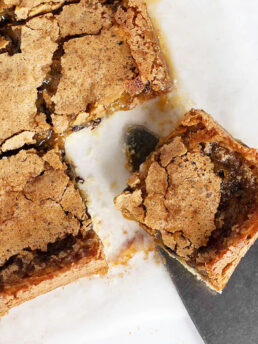
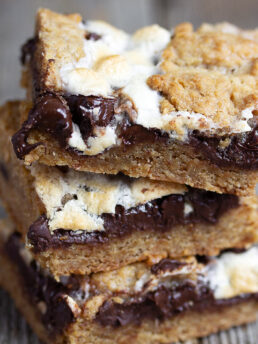
More bar and square recipes to love!
Hi! I’m Jennifer, a home cook schooled by trial and error and almost 40 years of getting dinner on the table! I love to share my favourite recipes, both old and new, together with lots of tips and tricks to hopefully help make your home cooking enjoyable, stress-free, rewarding and of course, delicious!