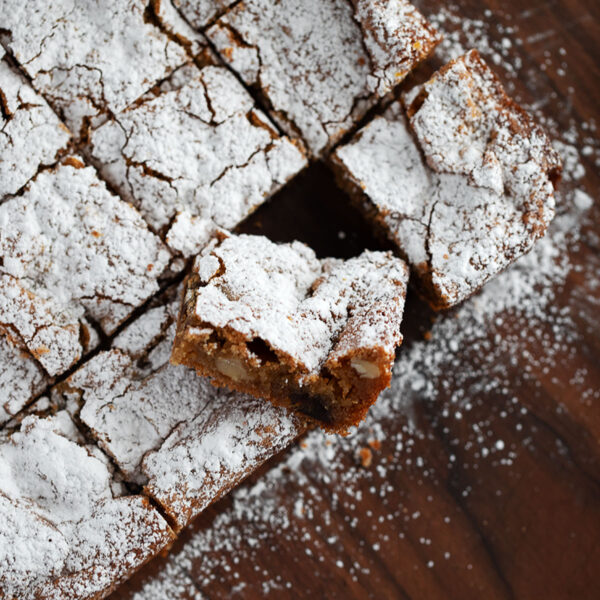
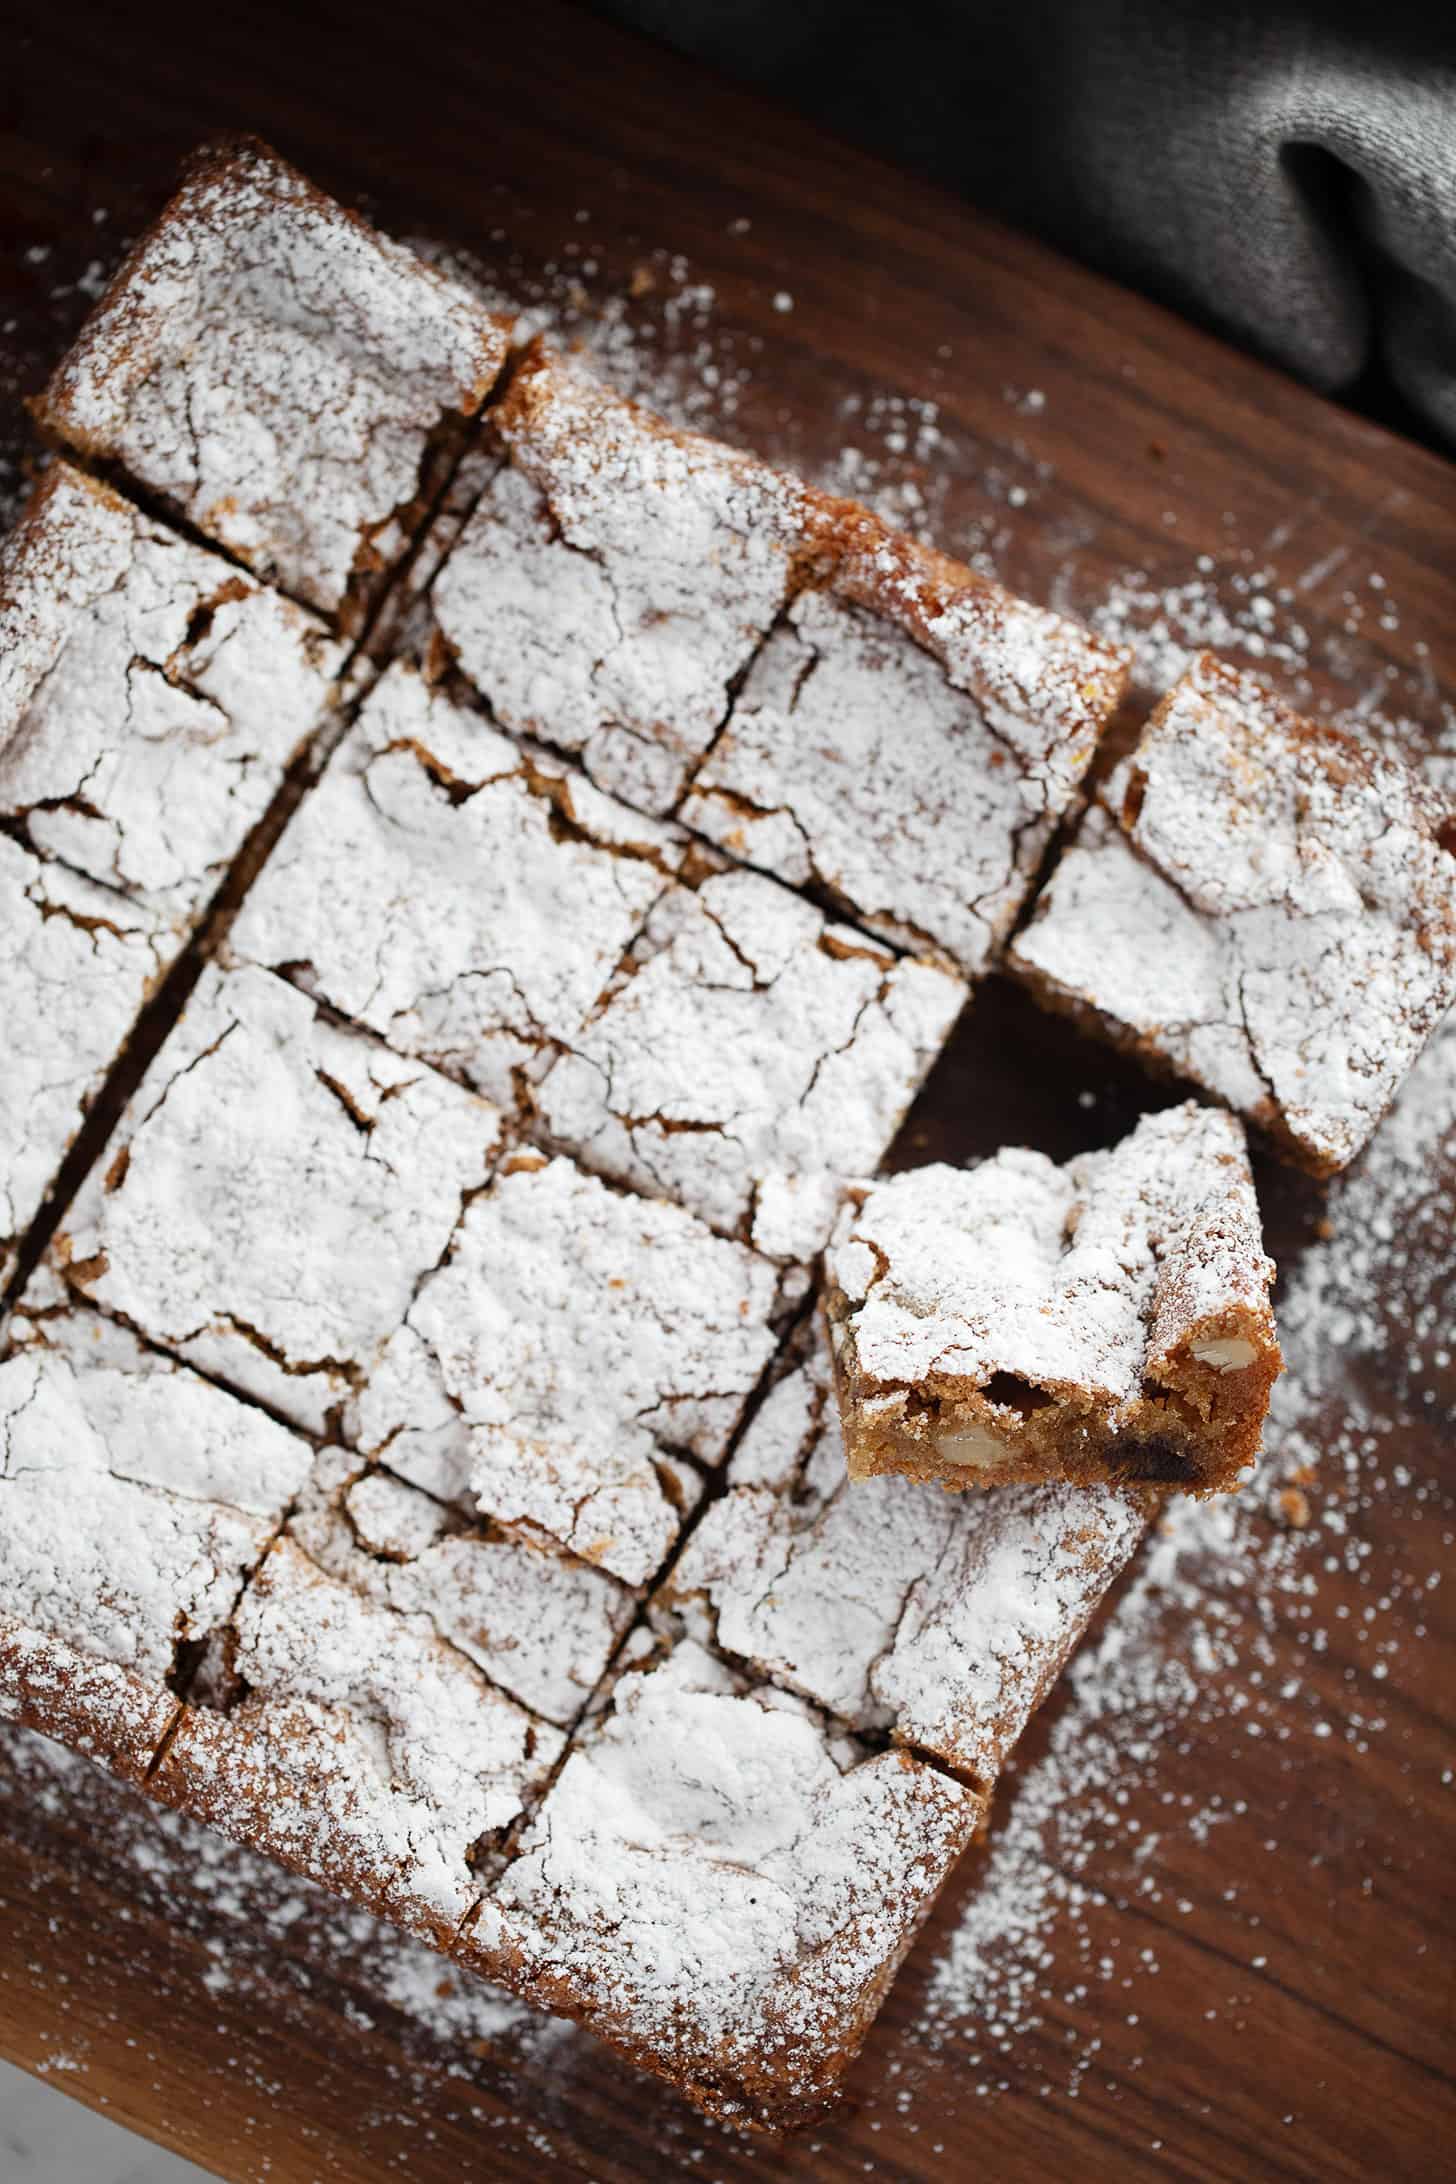
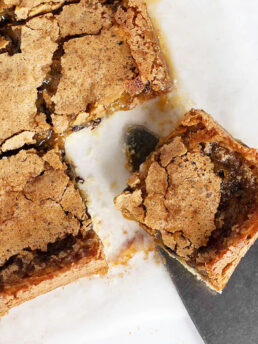
These date and nut chews come together quickly and easily in one bowl (no mixer needed!). They are lovely and buttery, wonderfully chewy and full of dates and nuts. A great snack square!
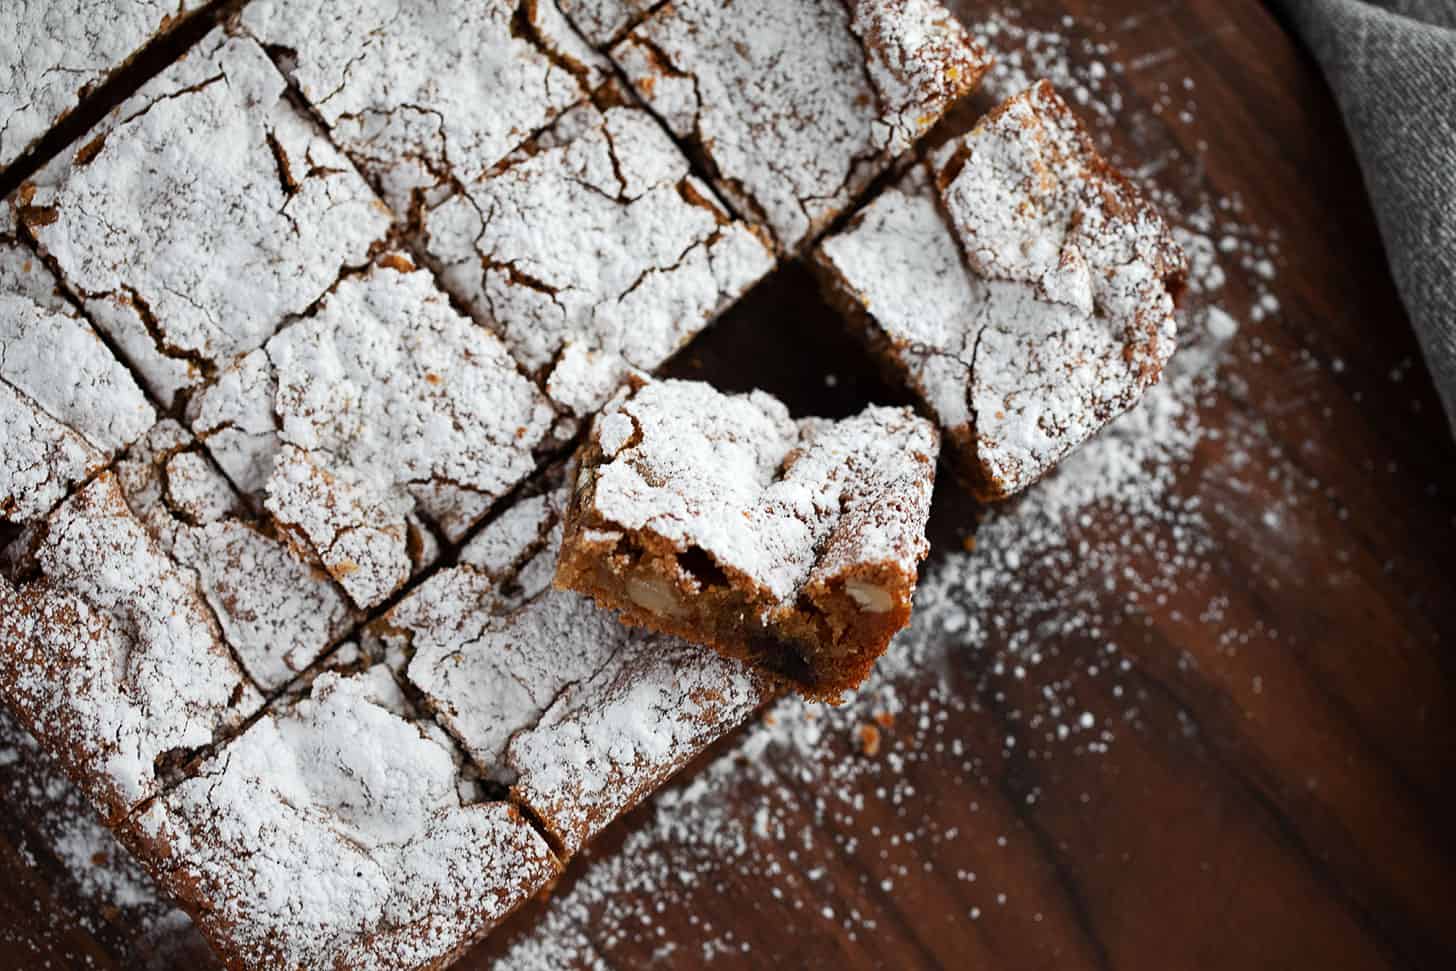
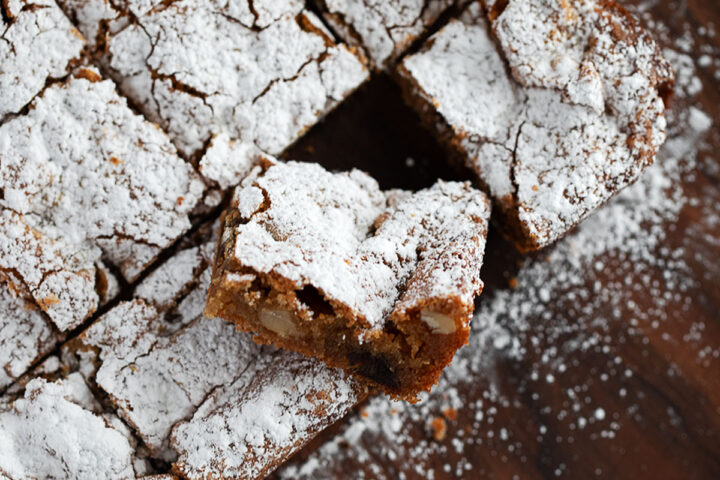
These date and nut chews are all at once sweet, buttery, crunchy, crispy, crackly and chewy. Filled with pecans and dates, they are a great little square for when you just want a little something.
Ingredients and substitutions
A few notes about the key ingredients …
Dates – You don’t need the fancy dates for these squares. Use whatever you have on hand.
Pecans – I have made these squares with both pecans and walnuts. I prefer pecans myself, but use what you have on hand or enjoy.
How to make date and nut chews
This is a visual summary of the steps to make this recipe. Always refer to the complete instructions in the Recipe Card below when making the recipe.
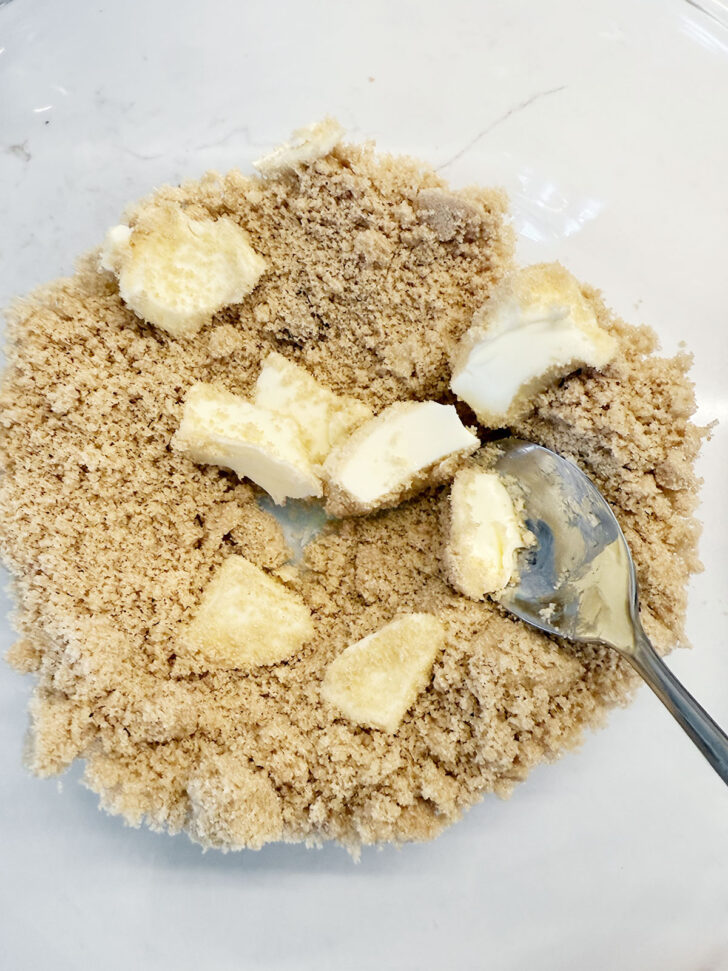
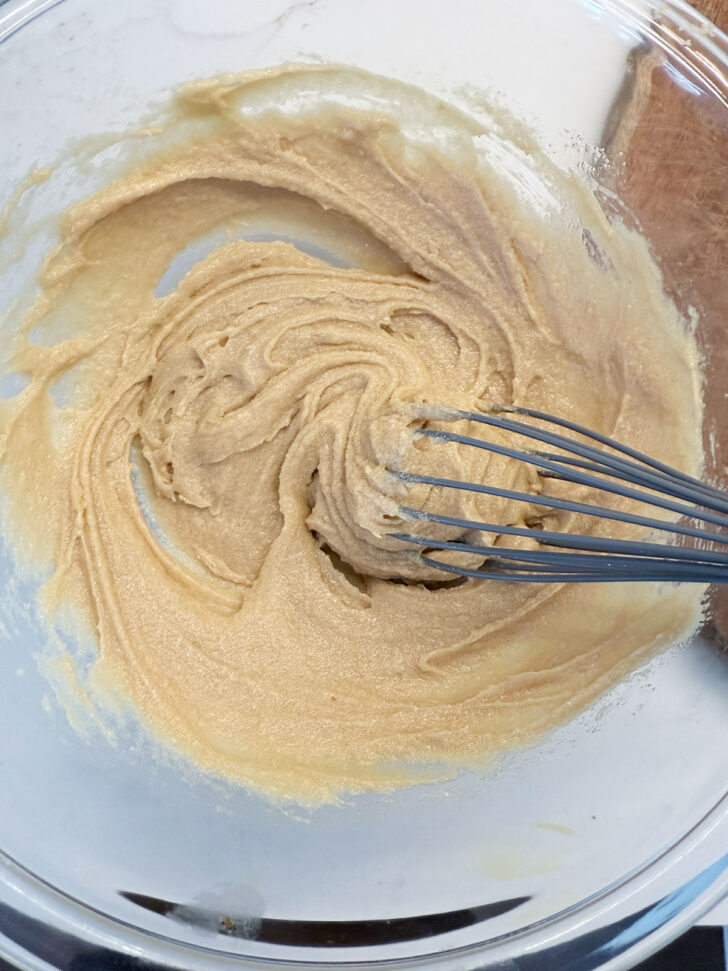
- Start by add the room temperature butter to the brown sugar and use the back of a spoon to rub the butter into the sugar.
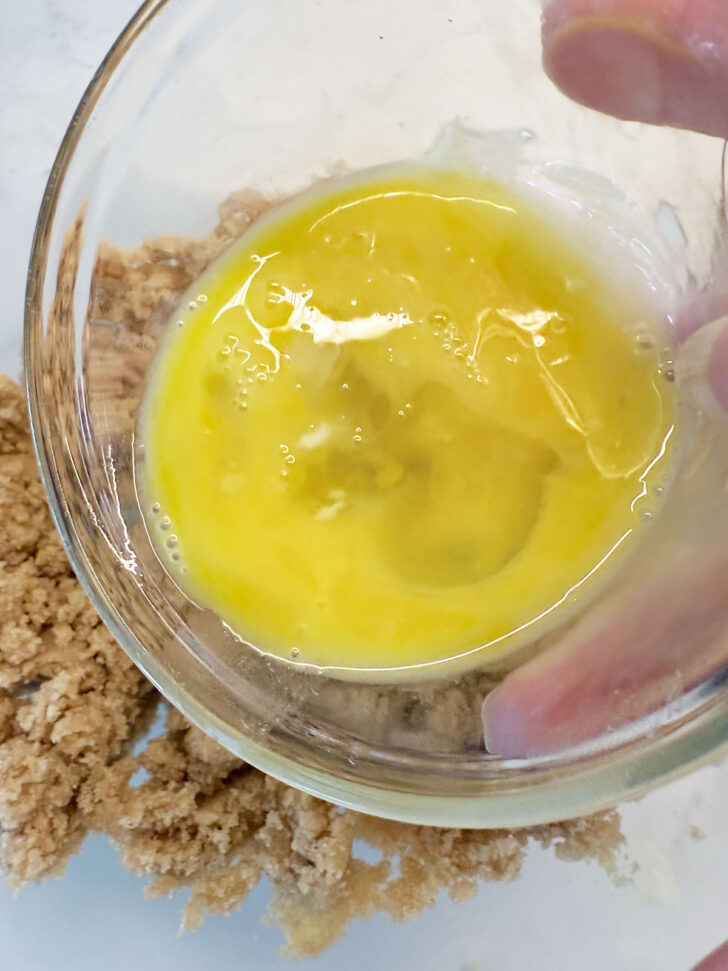
- Add the eggs and vanilla to the brown sugar and butter mixture.
- Use a whisk to create a smooth batter.
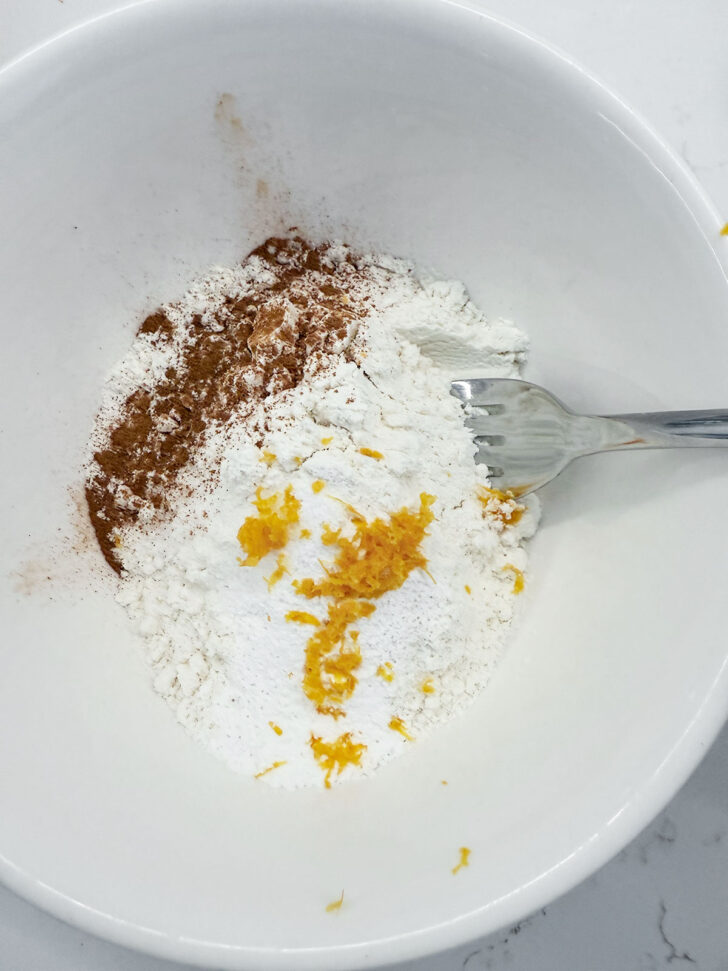
- In a separate bowl, stir together the flour, baking powder, salt, cinnamon. Add a bit of orange zest, if you like.
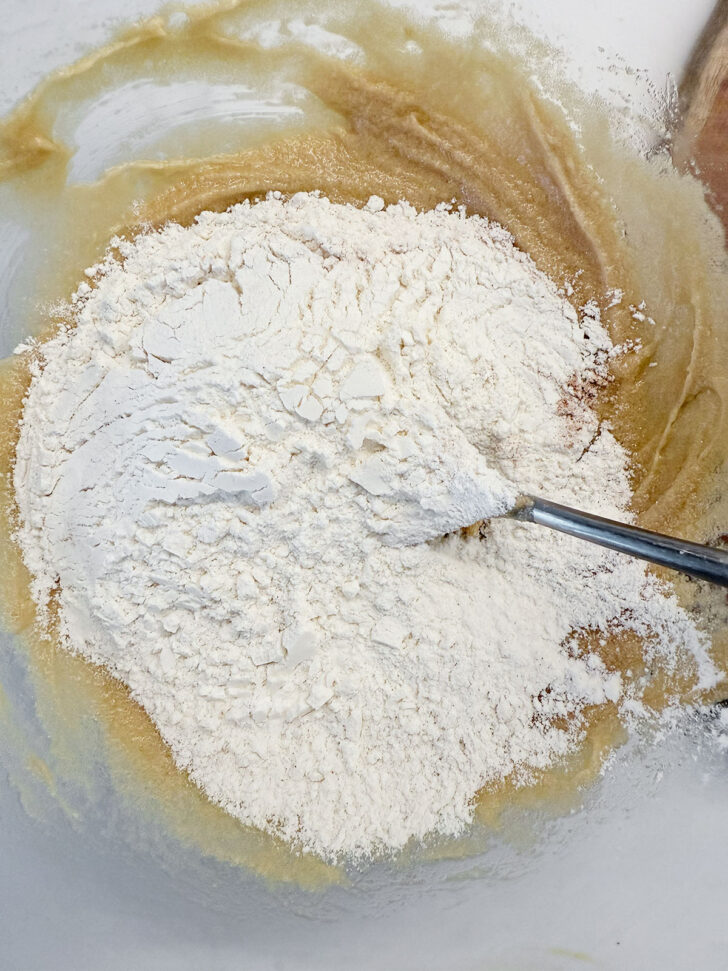
- Add the flour mixture to the batter and stir to combine.
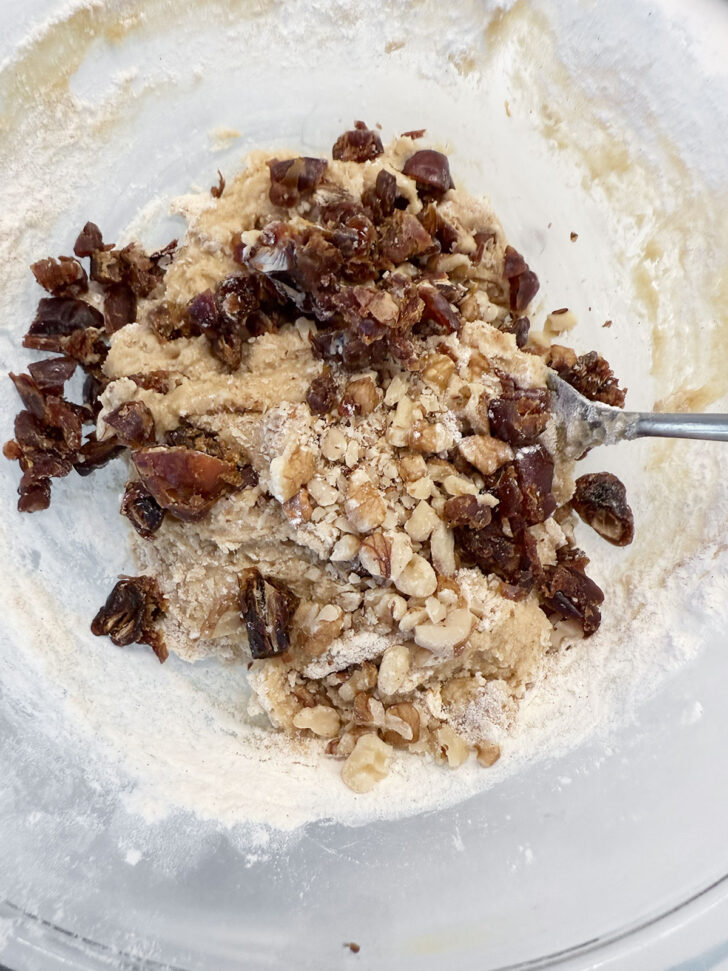
- Add the chopped dates and nuts to the batter.
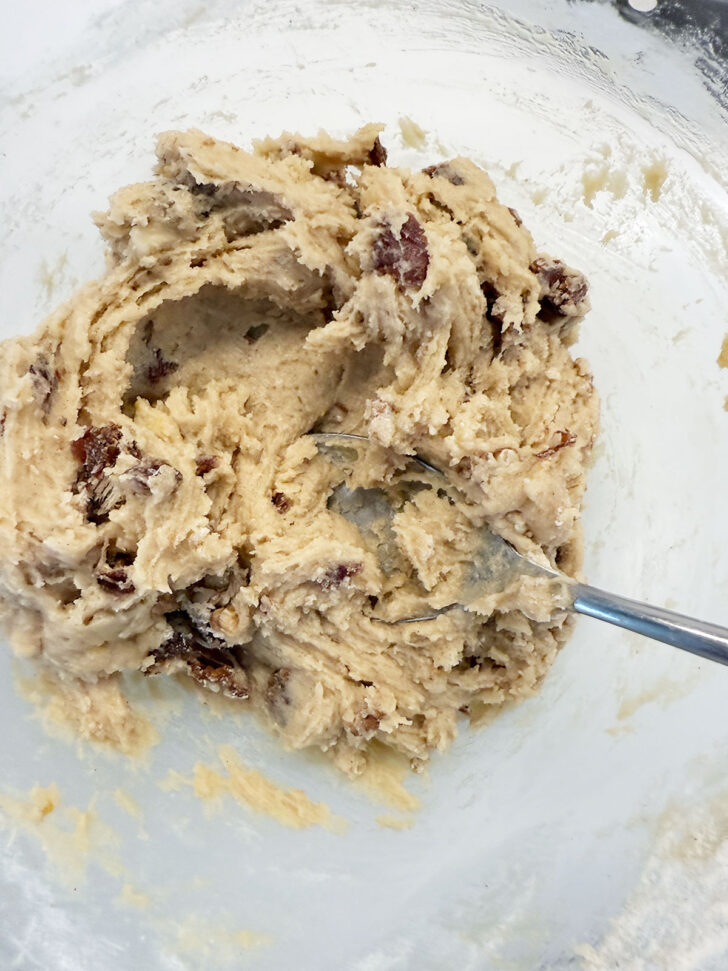

- Stir the dates and nuts into the batter until well combined.
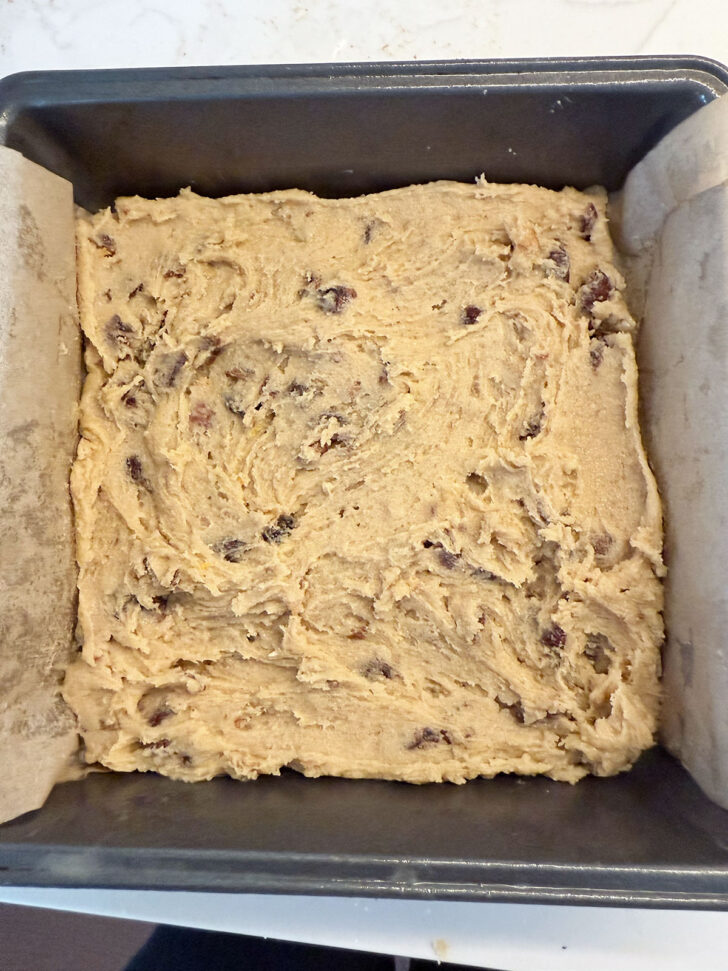
- Spread the batter into a parchment-lined 8×8-inch baking pan.
- Bake the chews until deep golden and cooked through in the centre, about 25-30 minutes.
Recipe tips!
- While I don’t make these with a mixer, you certainly can if you like. I have a large mixer and it struggles with small quantities of batter.
- You’ll want to be sure the butter is softened (vs regular “room-temperature”) or you will struggle to rub it into the butter by hand.
- The squares will need 25-30 minutes in the oven, but the top of the squares might brown before that. If so, lay a sheet of aluminum foil loosely over the top of the pan to prevent further browning while the squares finish baking.
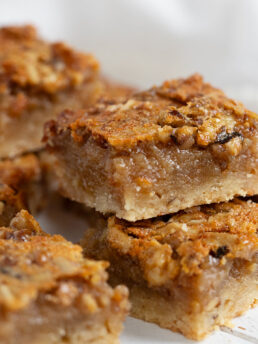
- These finished squares are quite thin, and they may sink in the centre, even when fully baked.
- These squares keep well stored in an airtight container for at least 4 days. They will also freeze well for up to 3 months.
- If you’re feeding a crowd, you can double this recipe and bake it in a 9×13-inch pan. Baking time may increase slightly.
Want to save this recipe?
Enter your email and I’ll send it to your inbox. Plus, you’ll get great new recipes from me every week!
By submitting this form, you consent to receive emails from Seasons and Suppers.
You can unsubscribe at any time.
Get the Recipe: Date and Nut Chews
Ingredients
- 1 1/4 cups light brown sugar, well-packed
- 1/4 cup butter, softened
- 1 1/2 large eggs, beaten *see Note 1 below
- 1/2 teaspoon vanilla
- 3/4 cup all-purpose flour, spooned and levelled
- 1 teaspoon baking powder
- 1/4 teaspoon cinnamon
- 1/8 teaspoon salt
- 1/8 teaspoon orange zest, optional
- 1/2 cup dates, pitted and chopped
- 1/2 cups pecans or walnuts, chopped (I prefer pecans)
- Icing/confectioners' sugar, for dusting after baking and cooling
Instructions
- Preheat oven to 350F (non-convection/not fan-assisted). Spray an 8×8-inch metal baking pan, then line the bottom and two sides with a sheet of parchment paper, allowing the edges to overhang by an inch or so, to serve as handles for removing the squares after baking. **For glass pans, reduce the oven temperature to 325F.
- In a medium mixing bowl, combine the brown sugar and the softened butter. Using the back of a spoon, rub the softened butter into the brown sugar until no pieces of butter are visible and you have an even, dry crumb mixture. Add the eggs and vanilla and stir in, then use a whisk to beat the batter until smooth.
- In a separate small bowl, add the flour, baking powder, cinnamon, salt and orange zest, if using. Stir together well. Add the flour mixture to the batter and stir in until well combined and no dry flour is visible. Add the chopped dates and nuts to the batter and stir in until evenly combined.
- Spread evenly in the prepared baking pan and bake in the preheated oven for 25-30 minutes or until golden and well set. **Check the bake after about 20 minutes. If the top is already well-browned, you can loosely lay a sheet of aluminum foil over the top of the pan to prevent further browning while the squares continue baking.
- Remove from the oven and allow to cool in the pan for about 10 minutes, then lift out using the parchment paper onto a wire cooling rack to cool. The squares will deflate in the centre as they cool.
- Once cooled completely, dust generously with icing sugar and cut into 16 squares. Store in an airtight container for about 4 days or freeze for up to 3 months.
Notes
More delicious squares to enjoy!
Hi! I’m Jennifer, a home cook schooled by trial and error and almost 40 years of getting dinner on the table! I love to share my favourite recipes, both old and new, together with lots of tips and tricks to hopefully help make your home cooking enjoyable, stress-free, rewarding and of course, delicious!
I made a double batch of this recipe last week and it didn’t last long!! Delicious and chewy. I will definitely make this one again.
I’m so glad you enjoyed them, Janet :) Thanks so much!