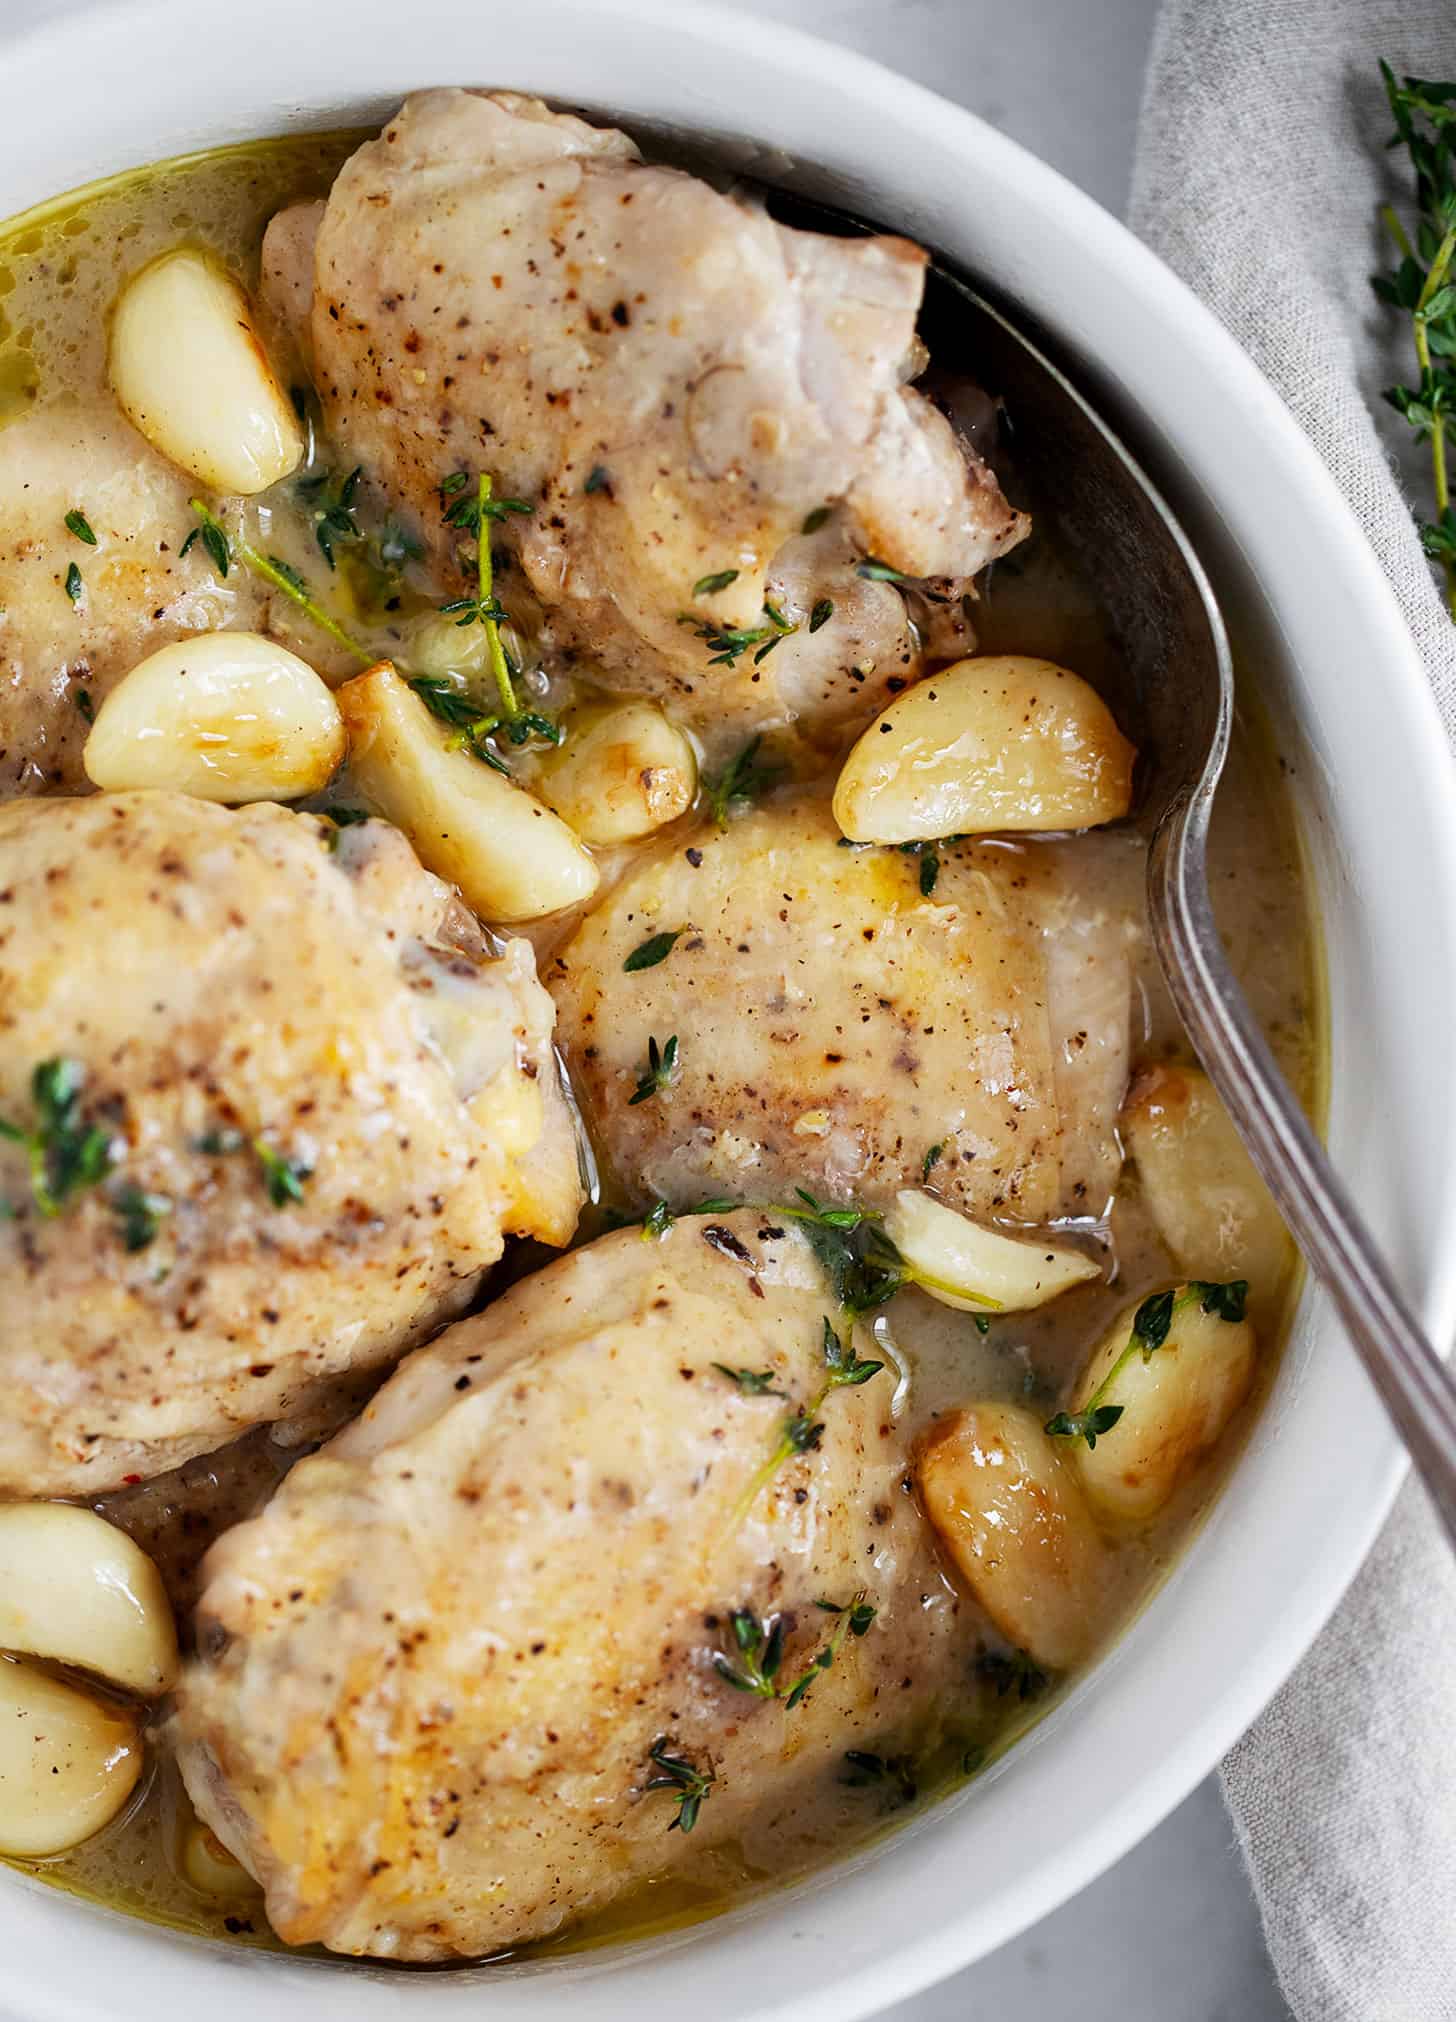
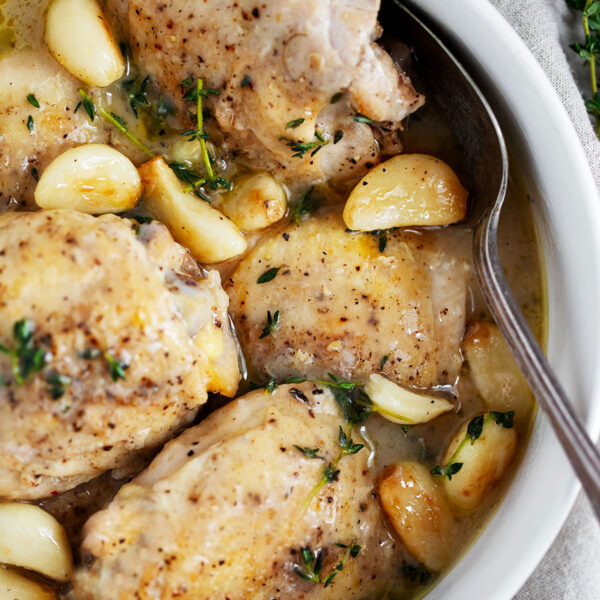
In the mood for chicken and gravy? This delicious garlic chicken fits the bill perfectly and is a garlic lover’s dream. You’ll want to bust out the mashed potatoes to soak up every bit of this fabulous gravy!
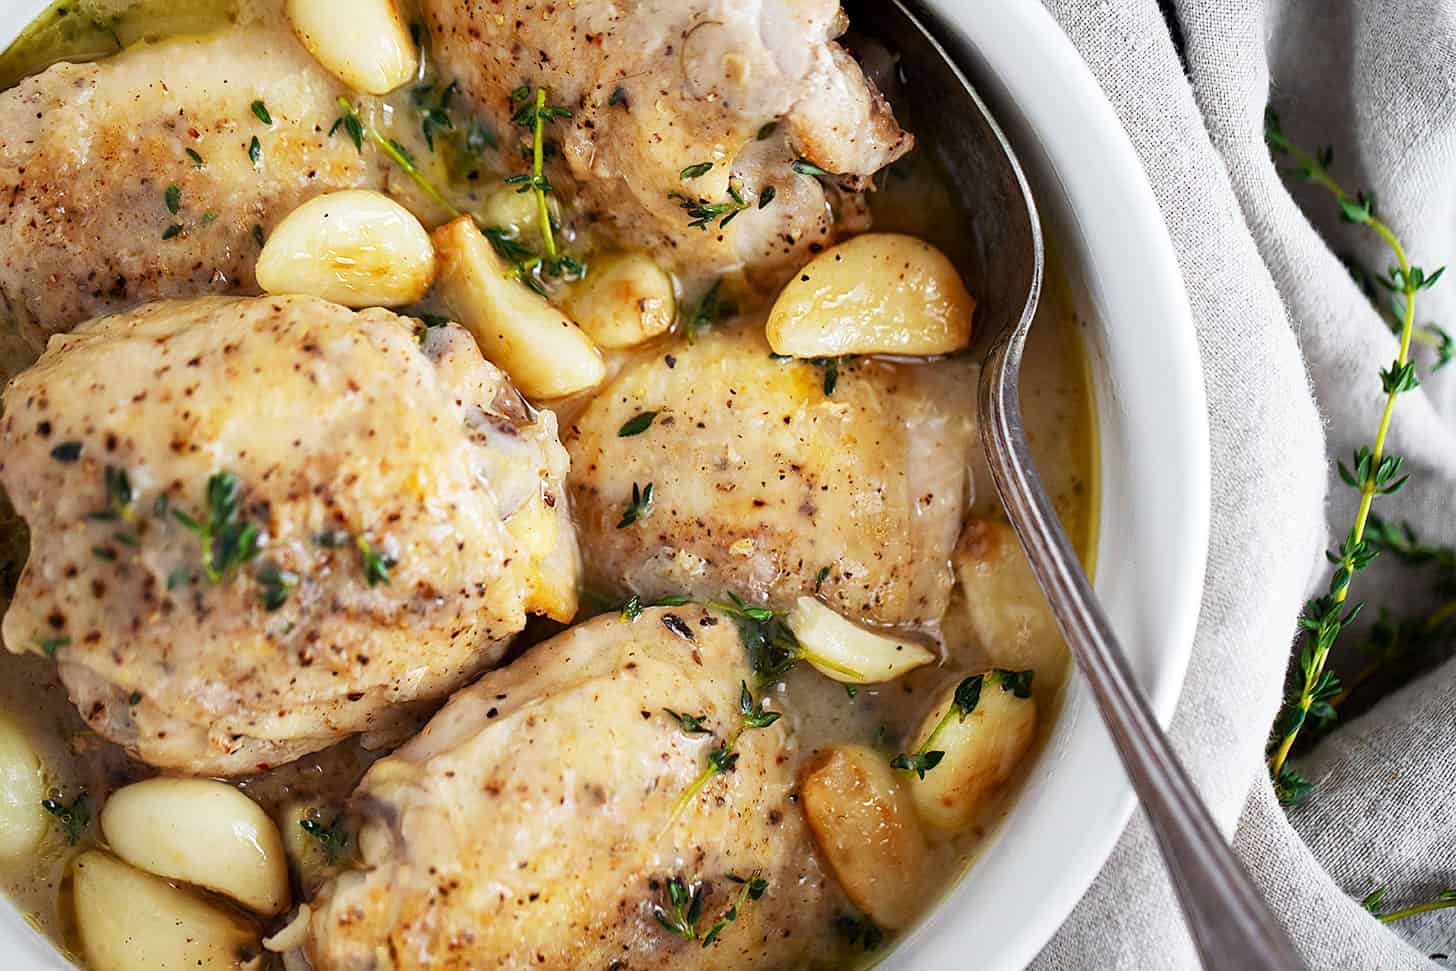
This rustic chicken recipe features a fabulous garlic gravy, that’s tailor-made for spooning over mashed potatoes. Just a vegetable for a delicious chicken dinner!
What you’ll need
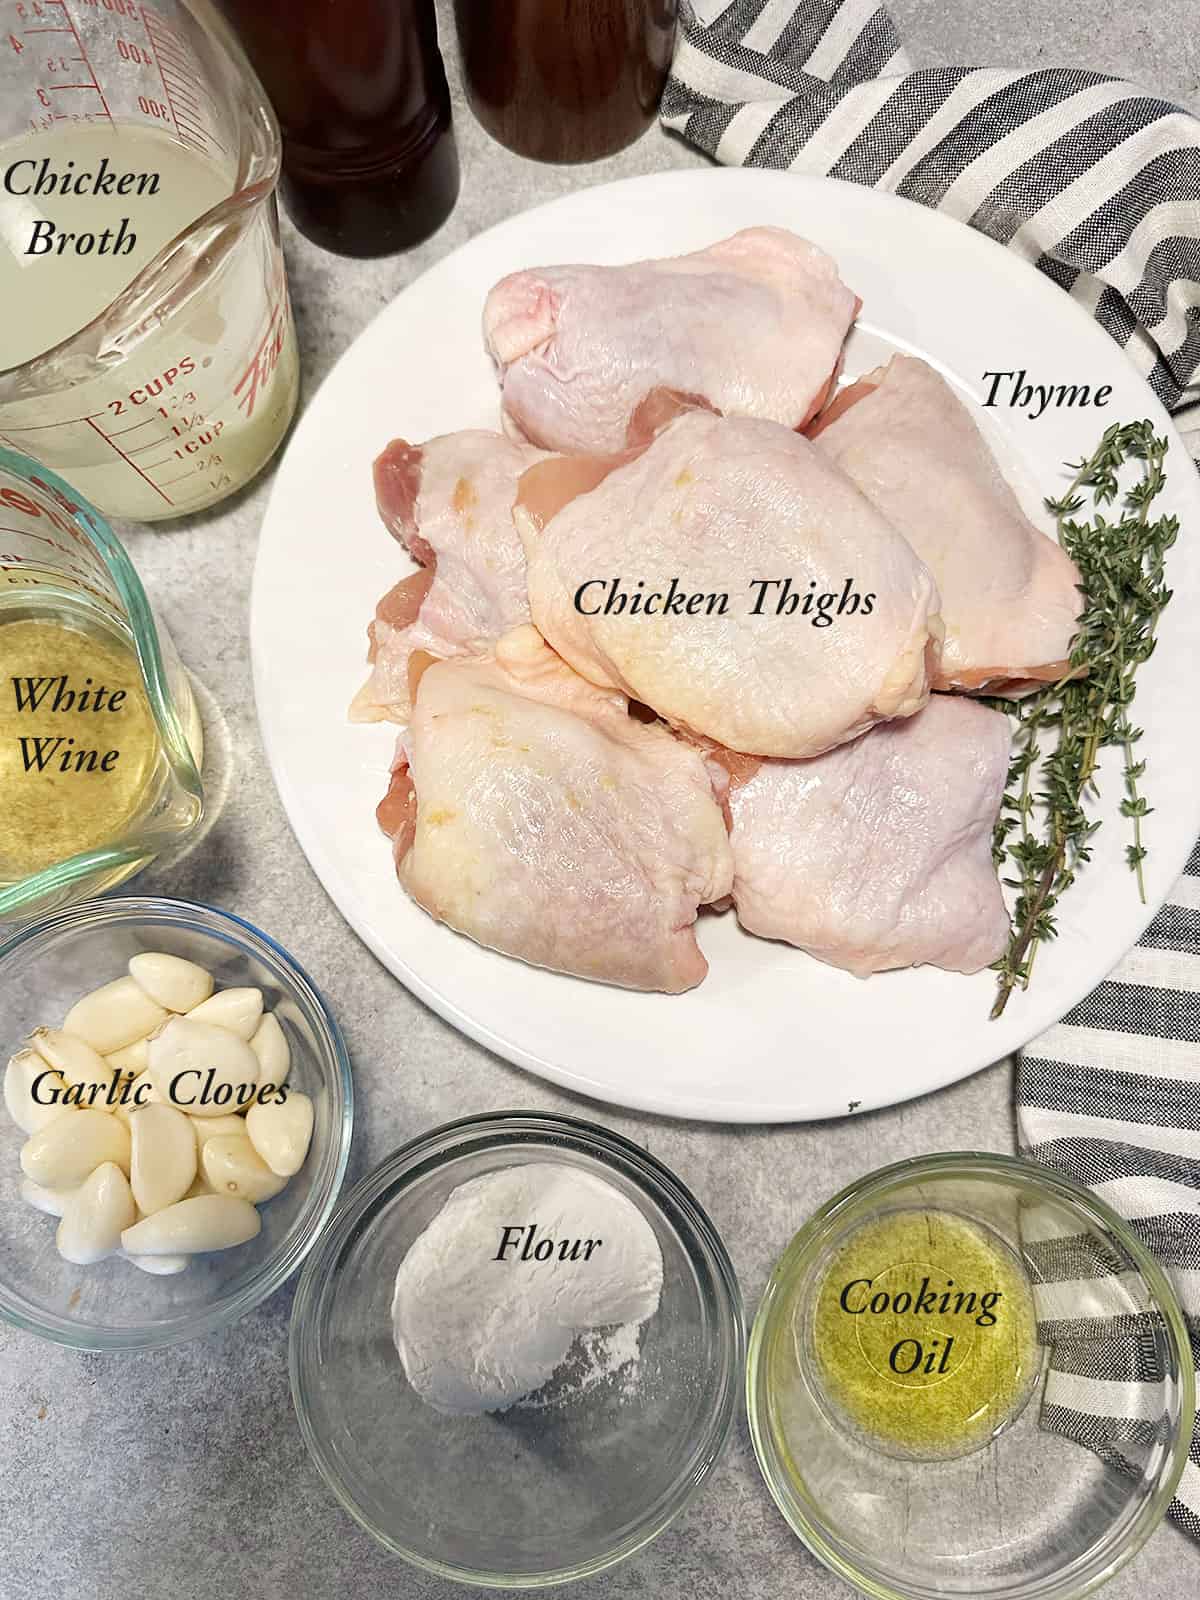
Garlic – If you’re like me, the thought of separating and peeling the 20 cloves of garlic for this recipe isn’t super appealing. I picked up a bag of pre-peeled cloves at the grocery store for about $1. Money well spent, if you ask me :) And again, don’t worry that you won’t be able to leave the house for days after eating this. Like roasted garlic, this garlic becomes very mellow. You’ll know it’s there, but it won’t knock you (or anyone else) over.
Chicken – As for the chicken, any cut will work here. I used skin-on/bone-in thighs and I left the skin-on for a more moist chicken. Boneless/skinless chicken thighs will also work here, as will chicken breasts, though the breasts will need longer in the oven to cook through. Be sure to check and test the chicken. It should be cooked to 165F internal temperature in the oven.
White Wine – the recipe specifies some wine to de-glaze the pan after it comes out of the oven. Any wine will do. If you don’t have wine on hand or you prefer not to use it, simply skip it and use 3/4 cup more chicken broth instead. If you skip the wine, you may like to add a little acidity to the gravy that the wine usually brings, maybe add a splash of fresh lemon juice or white wine vinegar to the gravy. Just a teaspoon or so. It makes all the difference!
Other ingredients you will need – chicken broth, thyme (fresh or dried), flour, cooking oil, salt, pepper and butter.
Step-by-step photos
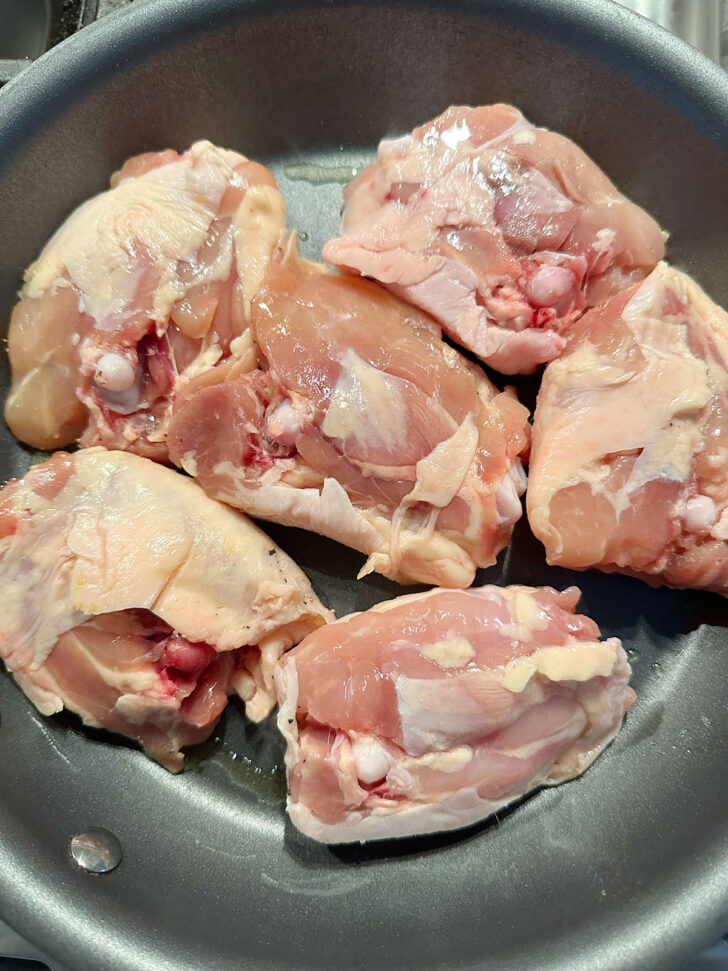
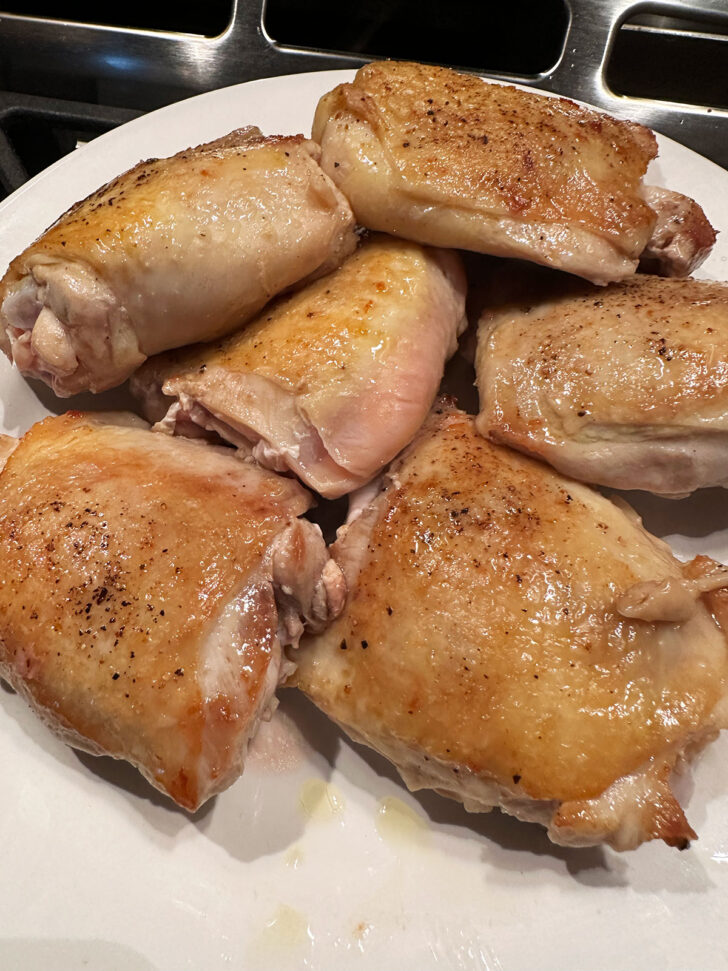
- Heat a bit of oil in a skillet, then place the chicken thighs into the skillet skin side down.
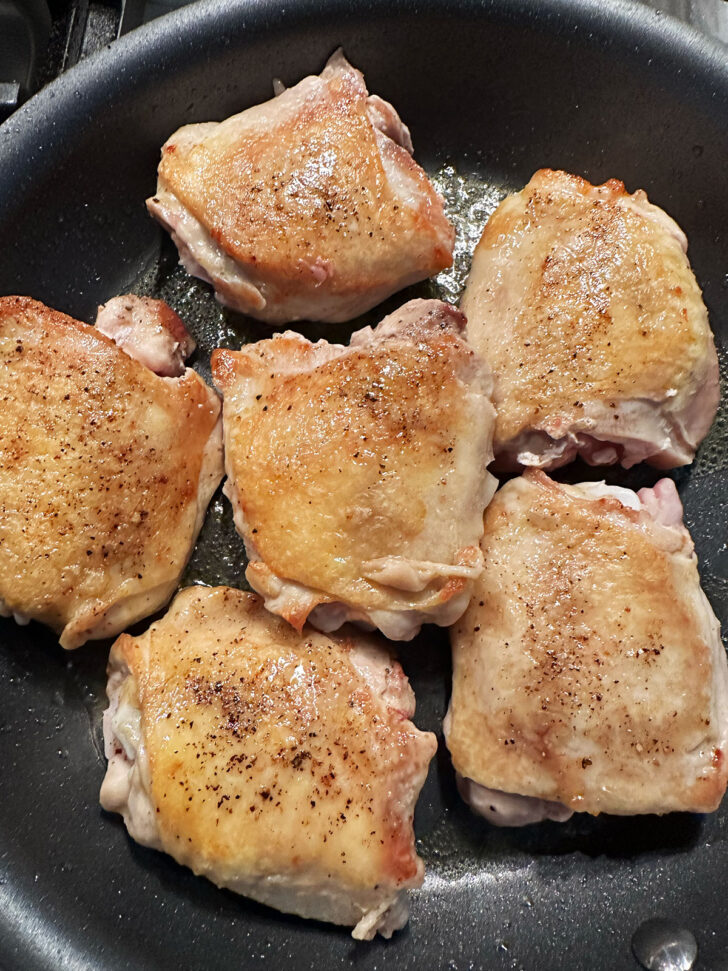
- After the skin is browned, flip and cook a few more minutes.
- Remove the chicken thighs to a clean plate.
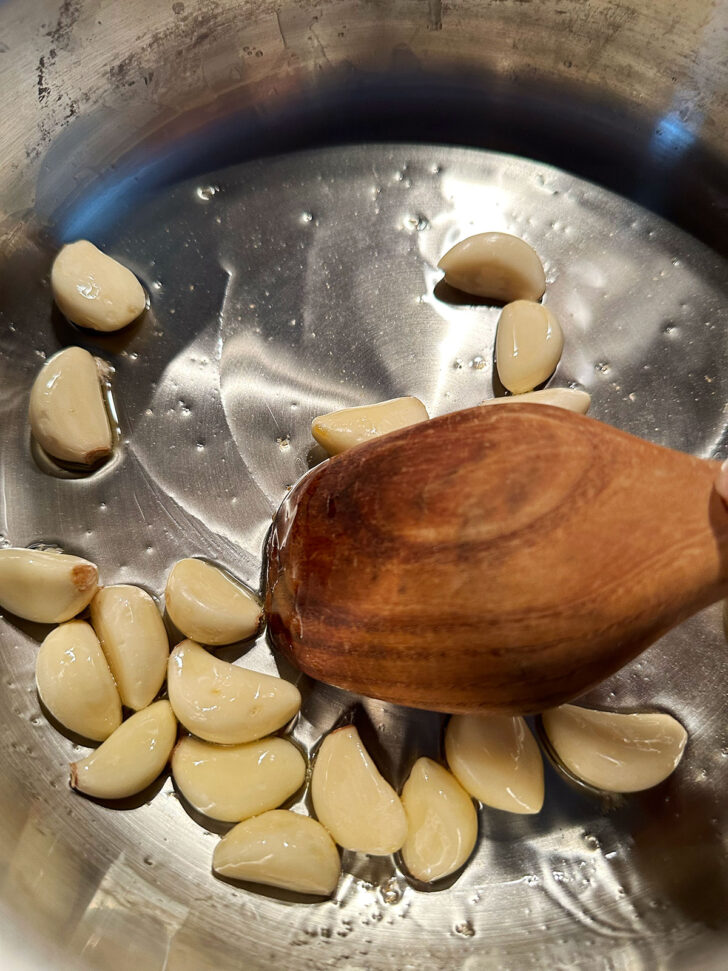
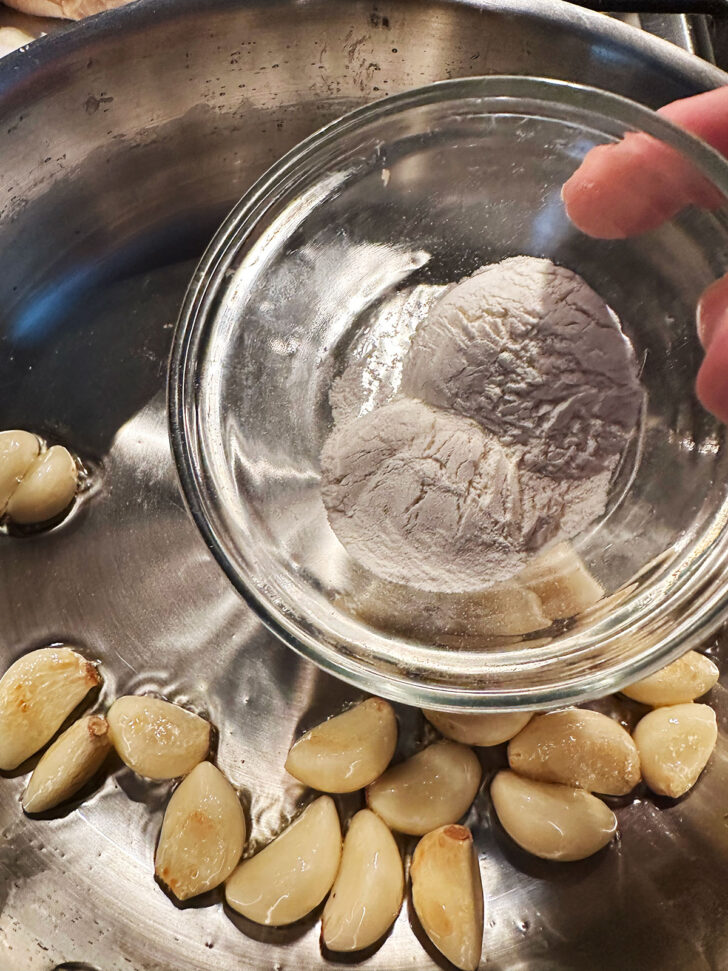
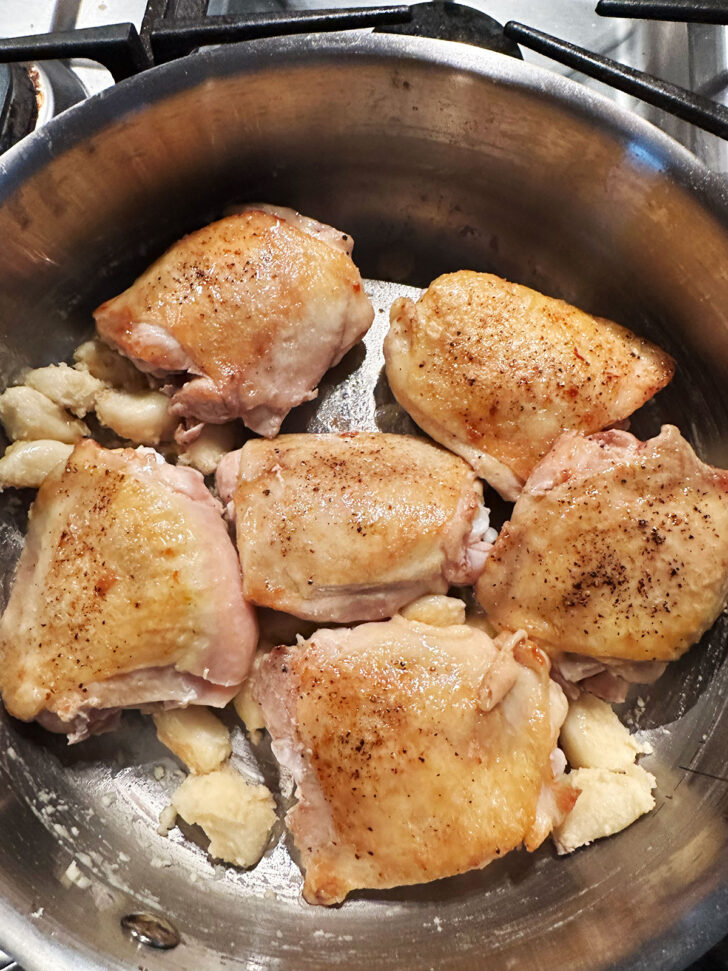
- Add the garlic cloves to the skillet and cook, stirring, until golden.
- Add the flour to the skillet and cook with the garlic cloves briefly.
- Return the chicken to the skillet, cover the skillet and place into a 400F oven for about 15 minutes.
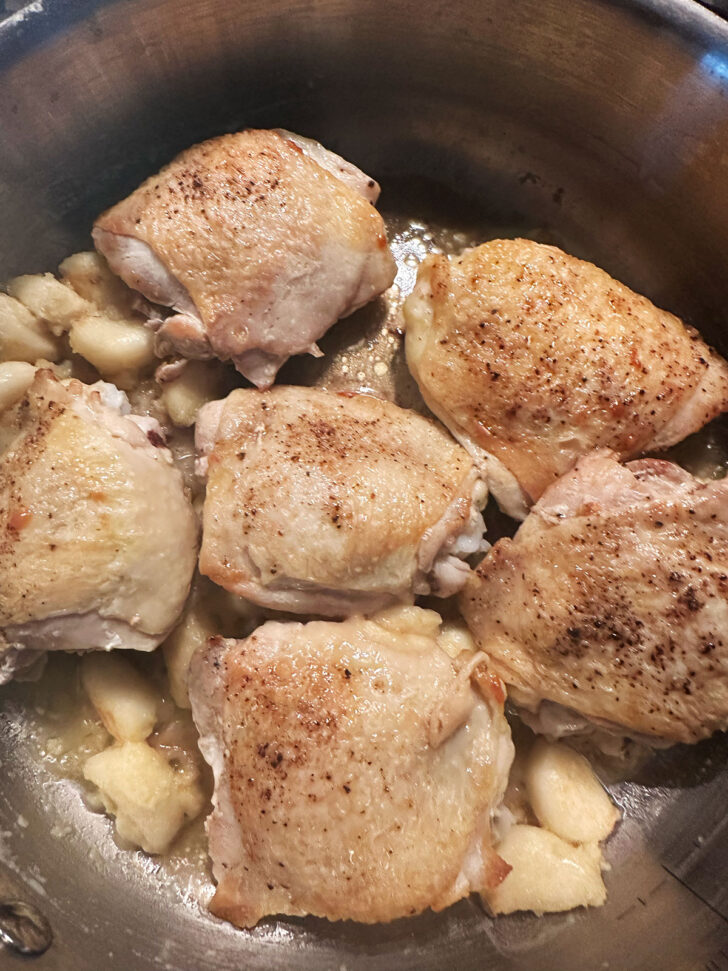
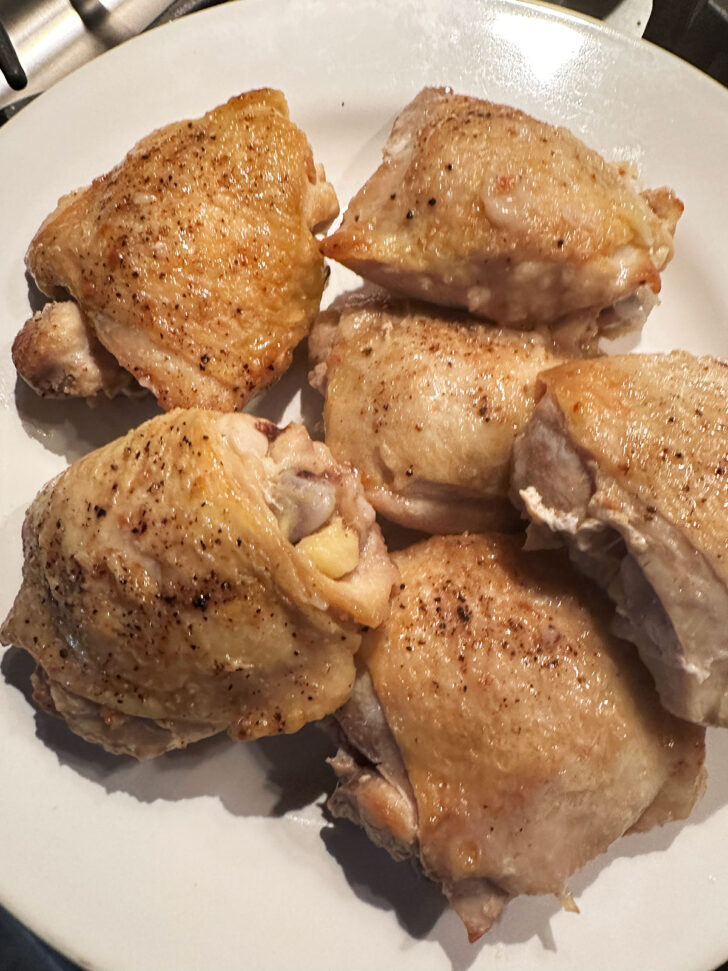
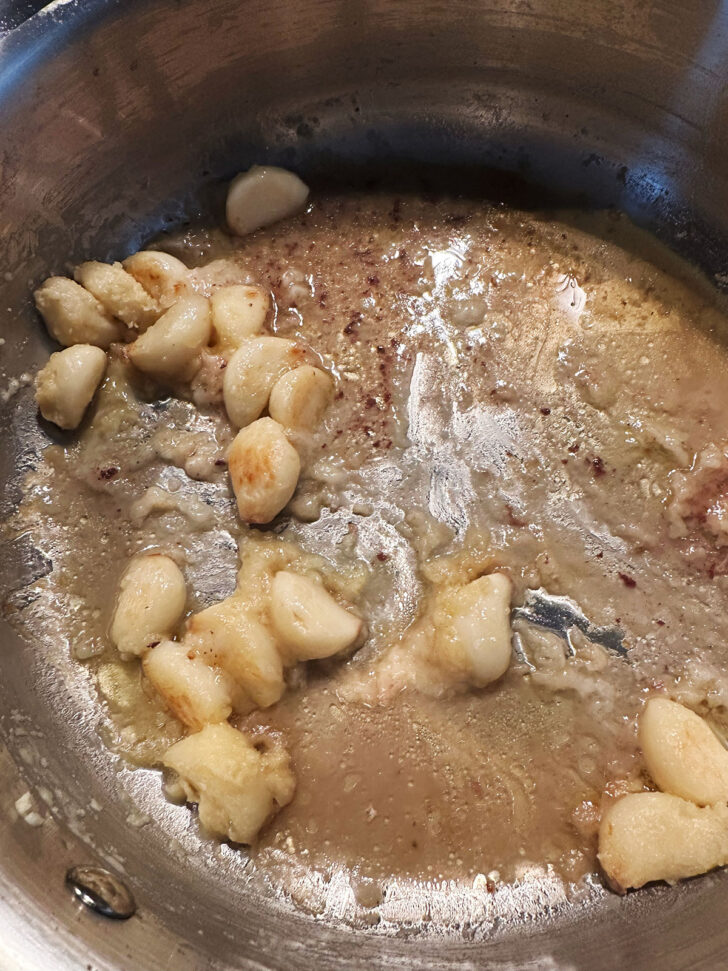
- Remove the skillet from the oven.
- Remove the chicken to a clean plate.
- Start the gravy by heating the juice and garlic over medium-high heat on the stovetop.
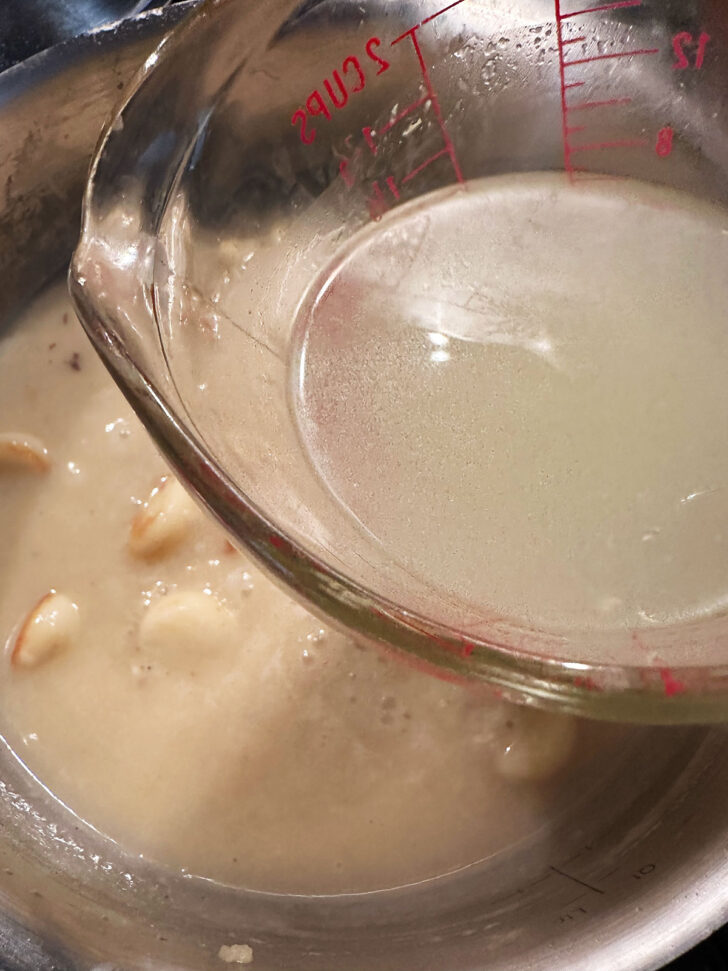
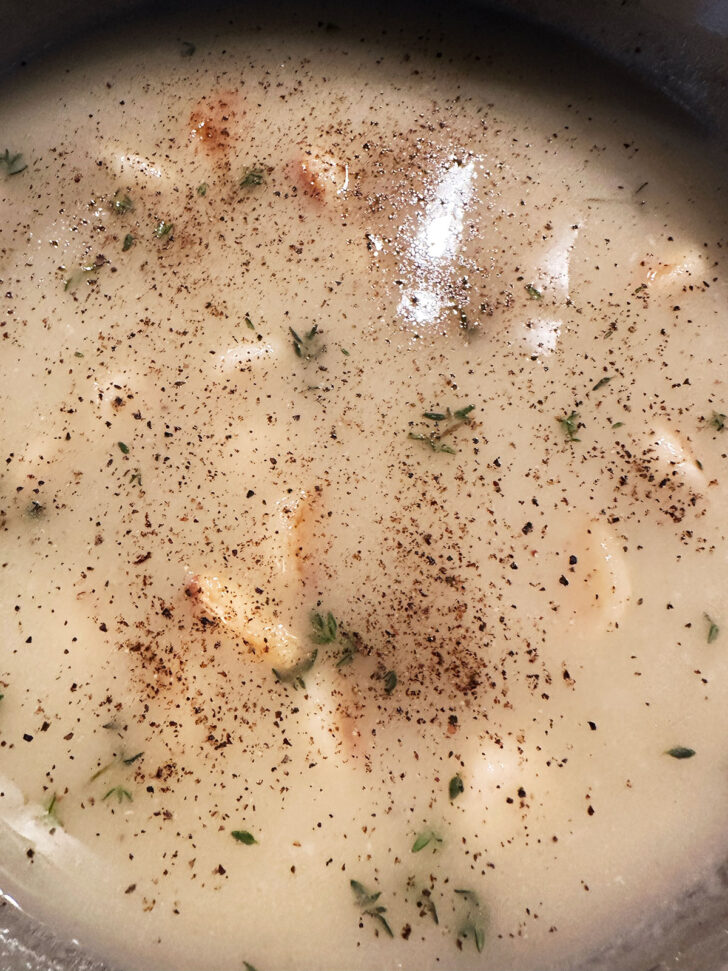
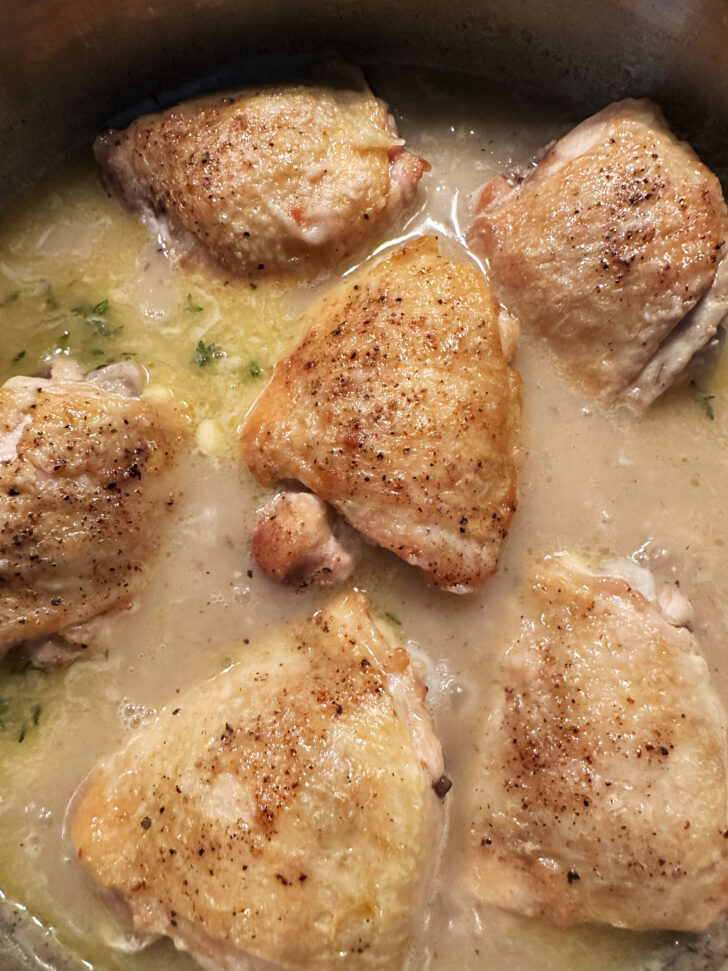
- Deglaze the hot pan with the wine and cook for one minute, scraping up the browned bits, then add the chicken broth.
- Season the gravy with thyme, salt and pepper.
- Return the chicken to the pan and simmer with the gravy until re-warmed.
Recipe video
Recipe tips!
- Take your time browning the chicken and garlic to get some nice colour, for the best flavour and presentation.
- Don’t forget to taste your gravy at the end of cooking and add additional salt and freshly ground pepper, as needed, to really bring all the great flavours together.
- You can eat the cooked garlic or not, as you like :) If you don’t want to eat it, you can mash some of it and add it to mashed potatoes for garlic mashed potatoes.
What to serve with garlic chicken
You’ll want to serve this with something on the side to make the most of the delicious garlic gravy. My choice is usually a creamy mashed potato, but pasta or rice would also be nice. At the risk of carb overload, I’d even throw a great crusty bread into the mix, to dip in the gravy. Add a salad or veg for a complete meal. I also love green beans or broccoli with this dish.
Making ahead, storing and freezing
You can make this chicken ahead, cover and refrigerate, then re-heat it later to serve. Simply reheat in a skillet on the stovetop over medium heat until the chicken is warmed through.
Store leftovers in the refrigerator for up to 3 days.
This chicken with gravy will also freeze well for up to 3 months.
Want to Save This Recipe?
Enter your email & I’ll send it to your inbox. Plus, get great new recipes from me every week!
By submitting this form, you consent to receive emails from Seasons and Suppers.
Get the Recipe: Rustic Garlic Chicken with Gravy
Ingredients
- 1 Tablespoon cooking oil, for the pan
- 6 pieces skin-on/bone-in chicken thighs, or any skin-on chicken, such as breasts or drumsticks, about 2 lbs.
- Salt and freshly-ground black pepper
- 20 cloves garlic, separated and peeled (2 full heads) or start with pre-peeled garlic cloves
- 2 Tablespoons all-purpose flour
- 3/4 cup dry white wine, any kind, or alternately replace by using more chicken broth instead
- 1 cup chicken broth
- 1 1/4 teaspoons fresh thyme leaves, or about 3/4 tsp. dried thyme leaves
- 1 Tablespoon butter
Instructions
- Preheat the oven to 400F. (not fan-assisted)
- Heat the oil in a non-stick skillet over medium-high heat. Dry the chicken pieces well by patting them with a paper towel. Sprinkle with a bit of salt and pepper. Add the chicken thighs to the hot skillet, skin side down and cook until well browned underneath. Flip the chicken over and cook on the other side for a couple of minutes. Remove the chicken to a plate. *Chicken thighs can be fatty! If you have a lot of fat in the pan, you can remove and discard some of it, but do leave a bit in the pan to cook the garlic in the next step.
- Reduce the heat under the skillet to medium. Add the garlic cloves and cook, stirring regularly, until the garlic is golden, about 3 minutes. Sprinkle the flour over the garlic and stir until combined. Return the chicken to the pan, COVER, and bake for about 15-20 minutes in the pre-heated 400°F oven (*If your pan or skillet doesn't have a lid, you can tightly cover the top with tin foil instead.) Be sure to cook until the chicken is cooked to 165F internal temperature. *Bone-in chicken breasts will take longer.
- Remove the pan from the oven and put it on a burner. *Be careful not to touch the panhandle! It's hot! Remove the chicken pieces from the pan to a clean plate. Heat the skillet over medium-high heat, whisk in the wine and simmer for 1 minute to cook off the alcohol. Whisk in the broth, thyme and a bit more salt and pepper, then reduce heat and simmer, stirring regularly, until the gravy thickens. Turn the heat off and stir in the butter. Taste the sauce and add more salt and pepper, as needed. Add the chicken back to the pot to re-warm with the sauce. Serve spooned over mashed potatoes, rice or pasta.
Notes
- Take your time browning the chicken and garlic to get some nice browning, for the best flavour and presentation.
- If you’d like to make this with boneless chicken thighs or boneless chicken breasts, simply adjust the oven time accordingly, cooking the chicken until it is cooked through and reaches 165F internal temperature.
- You can eat the cooked garlic or not, as you like :) If you don’t want to eat it, you can mash some of it and add it to mashed potatoes for garlic mashed potatoes.
- If you’d like a thicker gravy, you can use a Beurre Manié, which is a fancy name for butter combined with flour, which is used as a thickener at the end of cooking. So instead of just adding 1 Tablespoon of butter at the end, you can rub 1 Tablespoon of flour into the butter instead, then add it a bit at a time to the pan, until the desired thickening is achieved. The additional flour will thicken the gravy more, without worry of lumps.
More Bone-in Chicken Thigh Recipes to Love!
Hi! I’m Jennifer, a home cook schooled by trial and error and almost 40 years of getting dinner on the table! I love to share my favourite recipes, both old and new, together with lots of tips and tricks to hopefully help make your home cooking enjoyable, stress free, rewarding and of course, delicious!




My parents were impressed, thought it was “fancy”. I must be a peasant, I thought the wine (used sauvignon blanc) was more prominent than I would like. I’ve had the same problem with 2 other recipes that required beer, so I believe it’s my issue, not the recipe’s. I will keep this, and tweak it, perhaps only 1/2 cup wine and see, or replace with a squeeze of lemon, or a splash of cider vinegar.
The chicken and garlic, roasted out of the oven, was tastey as is!
Thank you!
Hi Margaret and so glad you enjoyed it. I think wine in food is very subjective, so certainly tweak to your taste. You could try a different wine (chardonnay maybe) or as you say, replace some of it with more stock.
This was delicious. I used red wine because I had no white, so the sauce was a little pinkish but still appealing. It was a Pinot Noir. I used four thighs (one package) and two leftover boneless breasts that were in my freezer. The combination cooked fine together. I am wondering about baking the chicken covered — that step made the previously crisp skin rather limp. Maybe I will try the recipe again but bake uncovered to see if that works better.
Glad you enjoyed this, Lisa :) You could certainly cook it uncovered. It would create a bit of a different style of dish, but if you are looking to preserve the crispy skin, that would be the way to go.
Comfort food at its finest. Amazing, intense flavors with very simple ingredients that was easy to make. My only changes were I added an onion, sliced into rings, and Herb de Provence. So good, will be adding this to meal plan on a regular basis.
Great to hear, Joy and so glad you enjoyed it! Love your additions to make it your own. That’s what cooking is all about :)
Ummmm… Absolutely AMAZING!! Just made this and it was phenomenal! I used a nonstick pan and coated the chicken directly cause the oil never seems to coat the entire bottom of a nonstick pan. I also used chicken stock. This dish is packed with flavor! Thank you so much! Definitely a keeper!
So glad you enjoyed it, Blake :) I have taken to browning my chicken in my non-stick pan, too. No fuss, no muss. Love your idea of putting the oil right on the chicken!
OMG…this was so good. Thank you for the recipe. My family thoroughly enjoyed it. Was fairly easy to make. It was amazing how all that garlic had such a mellow flavor. Made it with wild rice. Definitely a keeper and would make it again.
So glad to hear! Would be perfect with wild rice. Thanks for coming back to let me know :)
I have made this dish twice now, first as written and second with minor adjustments as this dish is very good on its own.
My adjustments are as follows: because I used a Le creuset pan, and it tends to get hot and stay hot, is the main reason for adjusts but it worked. I found my pan, not the chicken was starting to burn just as I was adding the garlic. And found the chicken a bit bland for our taste (that is just us though) so I seasoned chicken with salt, pepper, as well as garlic and onion powder. Then placed chicken on top of the garlic. I tooted the chicken with 1 diced shallot, and sprigs of thyme. Because I was afraid of additional burning I skipped adding the flour. And added a 1/4 cup of broth to pan. Once I took it from the oven, removed thyme sprigs, removed the chicken, and scraped shallots into the juices, then added the flour and cooked for a few minutes. Then proceeded as written, except used less wine and more broth.
If was fantastic as written, but for our tastes, amazing with the adjustments.
Thank you for the great recipe, it’s a keeper.
So glad you enjoyed this dish Jenni! That’s the wonderful thing about cooking, too. You get to make it your own :) I know what you meant about Le Creuset getting quite hot and staying hot.
Do you think I can crockpot and slow cook this recipe?
Hi Jessica, I don’t think it’s ideally suited for the slow-cooker, as the bone-in chicken would pretty much disintegrate. I suppose you could try it with boneless/skinless thighs. It would be worth a try, I guess :)
So glad you are enjoying these! You have eaten well this week :)
I feel like I’m eating my way through your site! Such inspiring and mouthwatering posts!. Sunday it was Stuffed Acorn Squash, Monday Polenta with Chorizo and Shrimp, and Tuesday night Rustic chicken with garlic gravy! Thank you for the ideas, your recipes work and turn out just as they look, delicious! This is such a great site to visit when your stumped for ideas.
Fantastic recipe! Made this last night.
I did start the thighs in a cold (cast iron) pan, which I’ve found really gets them crisped up nice! Otherwise, followed the recipe exactly and we enjoyed it tremendously with some rice.
So glad you enjoyed it, Rachel. Will try your cold cast iron pan idea :)
This is the article that introduced me to it: http://www.thekitchn.com/recipe-lemon-thyme-chicken-thighs-recipes-from-the-kitchn-201199
Looking forward to making hasselback butternut squash recipe this weekend. :)
They certainly look good :) Thanks! Enjoy the squash!
Tonight was one of those “fall” evenings in SoCal..a hint of crispness in the air and gusts of wind. As I was just finishing cooking this meal, my hubby walked in from work and my daughter clamoured down the stairs. I served them and they both loved it. My hubby declared it his new favorite meal, and my picky daughter ate 90%. I served the chicken and gravy over rice, and I cooked it in my cast iron pan. My pan is small, I was able to fit 6 thighs. Covering the pan with foil also worked well. I thought my usual pan was oven safe, but it wasn’t. Thank you Jennifer for the foil tip, I panicked and thought it was a $5 pizza night, thank goodness, no. I placed the chicken skin side down in a hot pan with hot oil and only turned it once, the skin was nice and crispy. Such a delicious and easy dinner, your instructions were perfect!
So glad you all enjoyed it, Sarah and there’s nothing like a cast iron pan to cook with!
OMG! This chicken is so delicious. My 7 yr old semi- vegetarian even loved this and she rarely eats any meat. There are few new recipes that I try that get requested again and this was one. Super moist and flavorful but not overpowering, the chicken was excellent. I will be making this again. I used a whole chicken that I cut up so I used more garlic and oil/flour and used Italian seasoning since I discovered that I was out of thyme after I took the chicken out of the oven but I loved this meal. Thanks! I saw this on Pinterest and will definitely try more of your recipes.
Thanks! Happy you all enjoyed it, even your semi-vegetarian :) My daughter was like that with meat at that age, so I know it’s always nice to find meals that everyone will eat!
Woops! Sorry Jennifer, your reply wasn’t there when I started typing :)
Absolutely no worries, Chris. Thanks so much for jumping in to answer Robyn’s question. And I forgot about lemon juice as an option. (I always use the wine ;)
Thank you! Both of you!
This looks great and I want to try it but I have questions.
1. Can I substitute something else instead of white wine?
2. Do you strain the gravy to get rid of the whole cloves of garlic? I don’t think I’d want to bite into one!
Hi Robyn, I’ll answer the easiest question first. No, you don’t strain the gravy to get rid of the garlic. Trust me. It’s beautiful and mellow – liked roasted garlic. As for the substitute for wine, yes, you can just use more chicken stock, or the best alternative would be part chicken stock with a bit of apple or grape juice (for acidity).
I’m from Australia so I’m not sure if you can find verjuice where you are, but if you can it makes a great wine substitute. Otherwise just use chicken stock/broth and a squeeze of lemon or a dash of a mild white wine vinegar. Leave the garlic cloves in! They cook down to a soft sweetness that is entirely unlike raw garlic. You’ll love it :)
I just made this tonight and it was OUTSTANDING!!! This is a new staple in our house. We loved it and the garlic was perfect!! Thank you for sharing.
So nice to hear, Theresa. Thanks for coming back to let me know :)