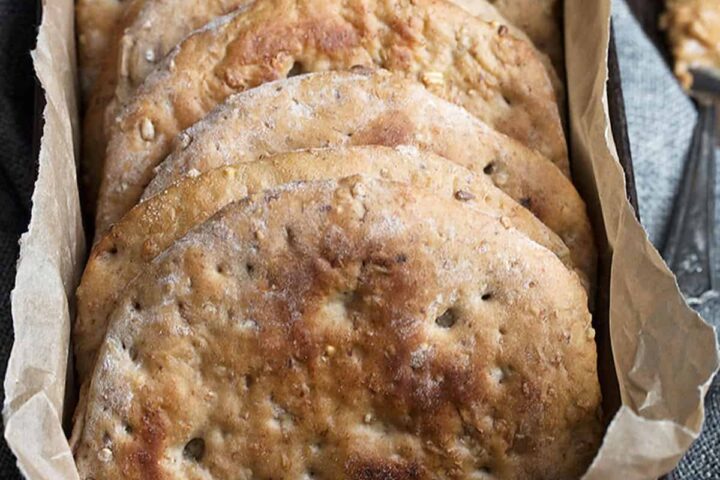
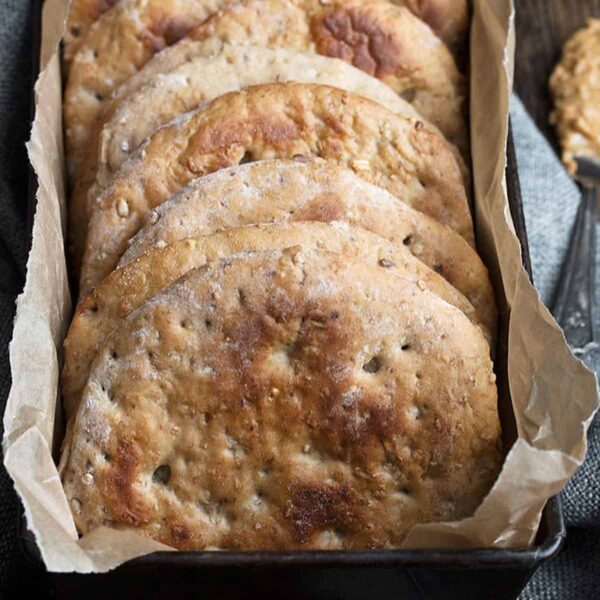
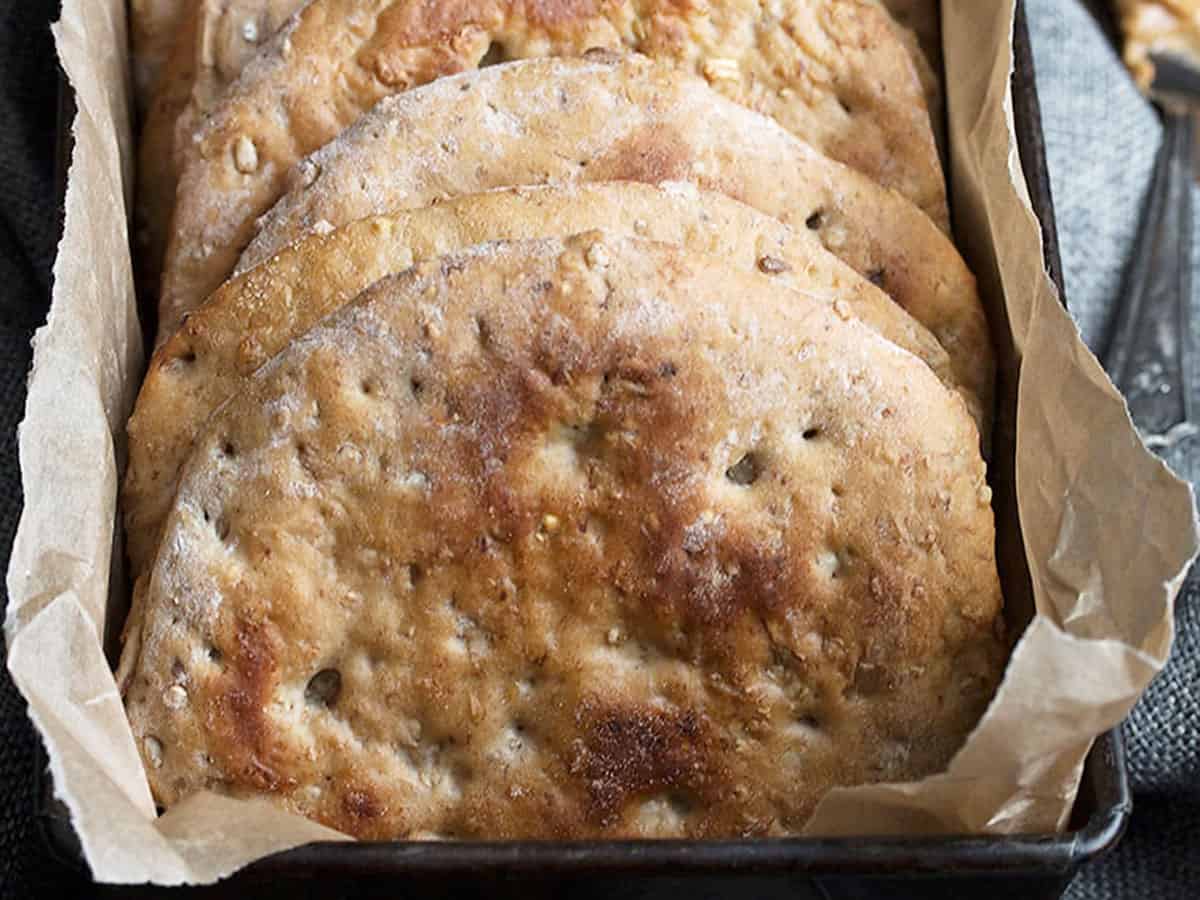
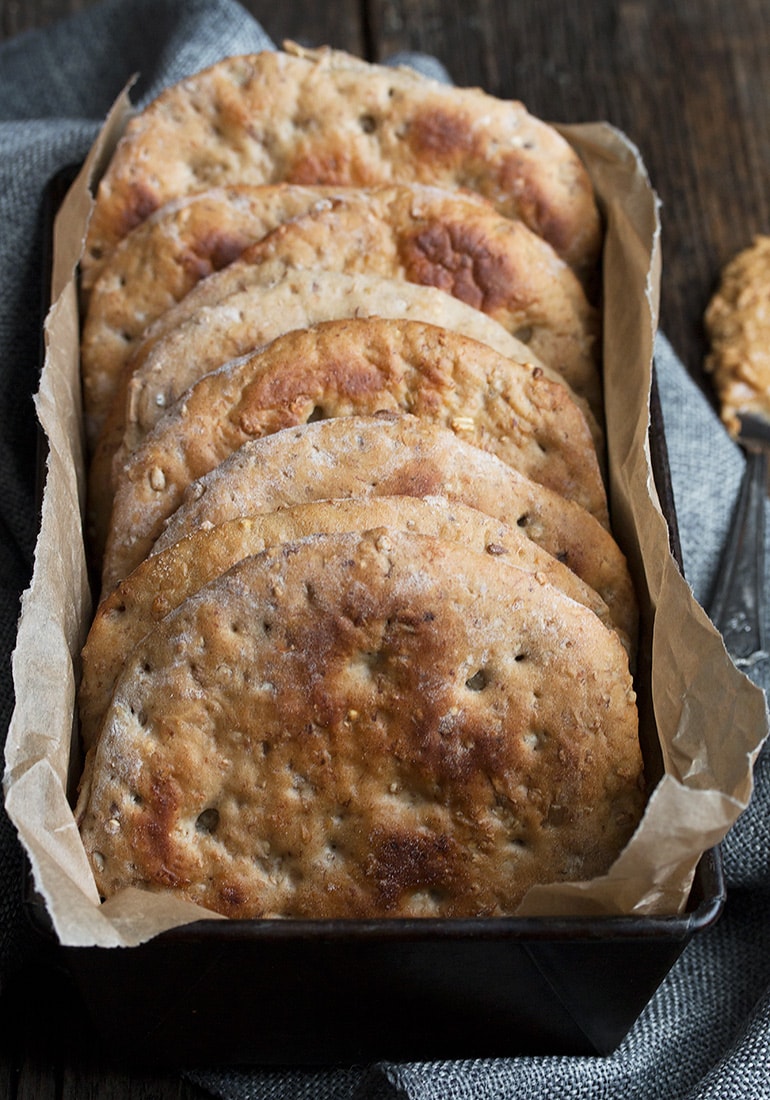
Love Morning Rounds™? Well you can make your own at home, too! My Banana Walnut Multigrain Breakfast Rounds are both easy and delicious, as well as endlessly customizable.
Are you familiar with Morning Rounds ™? My daughter is a big fan and after she was talking about them as her “go to” breakfast lately, I sought them out and tried them for myself. And they were great. But I’m a bread baker and with every bite I took, I was analyzing and plotting how I was going to recreate them at home.
I’m super excited to share this one with you. I tested it many (many!) times to get it just right :) I experimented with many different flavour combinations, which you can read more about in the notes below. This Banana Walnut one was my favourite.
This Banana Walnut version came about simply due to the fact that I had a bunch of over-ripe bananas at the time I was developing this recipe. That and the fact that banana is such a great flavour with peanut butter and/or nutella and or sliced bananas.
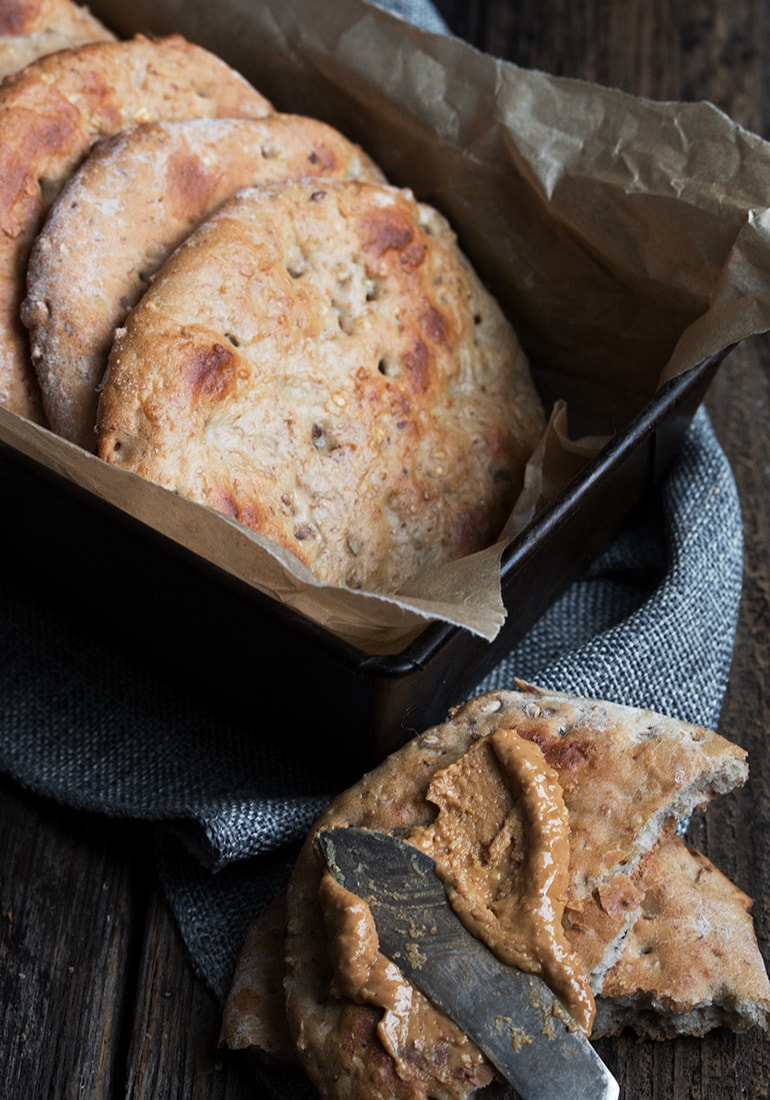
To thoroughly enjoy your homemade breakfast rounds, simply pop them in the toaster long enough to warm them, then load them up with your favourite toppings and enjoy!
Ingredients and Substitutions
Recipe Tips
Once you get the hang of making these, you can start experimenting with different flavours. A couple of things to note …
If you are using fresh fruit, such as mashed banana or shredded apple, you will need to add more flour to your dough, due to the extra moisture in the fruit. Likewise, if you are using dried fruit, you will need to add less flour. For those with the lesser amount of flour, since you will have less dough bulk, you may wish to reduce the number of rounds down to 8, to keep the same size.
You can also play around with adding some fruit juice to the mix. Replace part of the added water with apple or orange juice, to play up those flavours.
I’ve mentioned before how much easier it is when you have a kitchen scale. To be sure all my rounds are the same size, I weigh the dough ball and then divide by 10, to get the weight for each round. Then I cut off pieces and weigh them individually. Making sure all the rounds are roughly the same size/weight, means that they will cook evenly, too!
The best way to pick up the ingredients for these Breakfast Rounds is to make a trip to your local bulk ingredient store or section (Bulk Barn is one in Canada). There you can pick up small amounts of the required ingredients, or pick up enough for several batches and keep it all together in one place so it’s handy when you want to make another batch.
How to Enjoy Breakfast Rounds
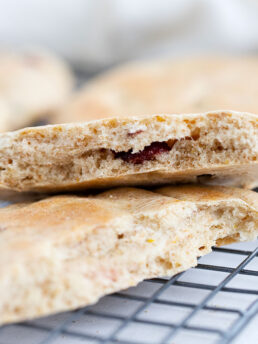
As mentioned above, I loved the banana flavour, as it pairs so well with peanut or other nut butters and/or nutella. Other toppings, such as jam, honey or cinnamon butter are also good. You can also add fruit, such as sliced bananas or apples.
You can eat these at room temperature or my preferred method, is to pop them in the toaster to warm them. They don’t need long in the toaster, as you’re not really toasting as much as warming, so just leave them in as long as needed to warm.
Variations
Cranberry Orange, Apple Cinnamon, Blueberry Lemon, Date and Walnut, Cinnamon Raisin, Cherry Almond or Banana Chocolate Chip. For the cranberry and cherry, dried fruit is recommended. You could also go with dried blueberries, if you like.
All that said, you can also leave out the flavours altogether and just make a “multigrain” version, that you can top with savoury items such as avocado and bacon or sliced eggs, for a great lunch.
Storing and Freezing
Store cooled breakfast rounds in an airtight bag in the refrigerator up to a week, or freeze, well-wrapped, up to 3 months.
Want to save this recipe?
Enter your email and I'll send it to your inbox. Plus, you'll get great new recipes from me every week!
By submitting this form, you consent to receive emails from Seasons and Suppers.
You can unsubscribe at any time.
Get the Recipe: Banana Walnut Multigrain Breakfast Rounds
Ingredients
- 1/4 cup (40 g) 7-grain cereal, or similar *See Note 1 below
- 2 Tablespoons (10 g) large-flake, old-fashioned rolled oats
- 3/4 cup (175 ml) boiling water
- 2 teaspoon (7 g) instant or dry active yeast
- 2 Tablespoons (15 g) whole wheat flour, or wheat bran
- 2 Tablespoons (20 g) brown sugar, or honey
- 1 teaspoon (1 tsp) ground flax seed, optional, can omit
- 2 teaspoon (8 g) sunflower, vegetable or canola oil , or olive oil, if you prefer
- 1/2 teaspoon (1/2 tsp) salt
- 2/3 cup (160 g) mashed banana, from about 1 1/2 medium bananas, very ripe bananas for best flavour
- 2 Tablespoons (13 g) walnuts, finely chopped
- 2 1/4 cups (290 g) unbleached all purpose flour, spooned and levelled, plus more as needed and for dusting
For brushing tops before baking:
- 2 Tablespoons (57 ml) water
Instructions
- Add the 7-grain cereal and rolled oats to a large bowl or the bowl of a stand mixer fitted with a kneading hook. Pour boiling water over. Stir, then let stand until water cools to just lukewarm, about 10 minutes.
- *Be sure mixture is not too hot when you add the yeast. For instant yeast, you want it no more than 120-125F. For active dry yeast, it should be more like 105-110F.
- Add the yeast, whole wheat flour (or wheat bran) brown sugar (or honey), ground flax seed (if using), oil and salt. Stir to combine. Add mashed banana and walnuts and stir in. Add the flour and stir to combine. *If mixing by hand, remove dough from bowl to a very well floured surface if it gets too hard to stir and begin adding flour through kneading instead.
- Continue adding flour a couple of tablespoons at a time, then a tablespoon at a time, mixing between additions, until you have dough that wraps the kneading hook and cleans the bowl a bit, but that is still quite moist and just a bit sticky. If making by hand, remove dough to a greased bowl. If making in a stand mixer, just remove the kneading hook and leave the dough in the mixer. Cover the bowl or stand mixer bowl with plastic wrap and let stand 45 minutes.
- Preheat oven to 375F (regular bake/not fan assisted) and have two small or one large baking sheets out and ready. Position racks in upper third and bottom third of the oven.
- Remove dough to a well floured surface and gently deflate. *At this point, I use my kitchen scale to measure the weight of the entire dough ball in grams. I then divide that amount by 10 (since we will be needing 10 pieces) and I start cutting off and weighing pieces of dough, adjusting so that they are the calculated weight. If you don't have a kitchen scale, start by cutting the dough ball equally in half, then form each half into a bit of a log. Do your best to cut the log into 5 equal pieces. Repeat with the other half of the dough.
- *As the dough is very moist, dust surface and top of dough with flour as often as needed to prevent the dough sticking to the surface or the rolling pin.
- Working fairly quickly, form each piece of dough into a ball. Working with one ball of dough, roll into a 1/4-inch thick and about 5 1/2 inch diameter circle. Place on prepared baking sheet as you go, until you have rolled all 10 (placing 5 pieces on each baking sheet).
- *You want to complete this process fairly quickly, to prevent the dough from rising too much further before they go in the oven. Otherwise, your rounds will end up too thick. For this reason, you will also need to bake them off in one batch (rather than one sheet at a time).
- With floured fingertips, make dimples in the top of each dough round by pressing all your fingers down on the dough a couple of times (to deflate the dough a bit). Brush the tops of rounds with water (to keep them soft, rather than getting crispy), then immediately place both baking sheets in the oven.
- Bake for 8 minutes, then remove and flip the rounds over. Return the rounds to the oven placing on the opposite racks and baking a further 5-7 minutes, or until golden in spots underneath.
- Remove trays from oven and immediately remove rounds to a cooling rack to cool completely.
- Once cooled, store in an airtight container in the fridge for up to 1 week or freeze.
Notes
More Breakfast Round Recipes to Love!
Hi! I’m Jennifer, a home cook schooled by trial and error and almost 40 years of getting dinner on the table! I love to share my favourite recipes, both old and new, together with lots of tips and tricks to hopefully help make your home cooking enjoyable, stress free, rewarding and of course, delicious!




These turned out wonderfully! I wanted to use up some multi-grain instant oatmeal plus some quick-cooking oats that I had in the cupboard, so I subbed those for the 7-grain and old-fashioned oats, and these turned out so good! Can’t wait to make them again and with different ingredient combos! 🤩
So glad to hear, Angela and yes, I love to experiment with these, too :) Thanks!
I just found your site. I really want to make these but I want to use only whole wheat flour not all purpose, any suggestions on how to adjust the flour to liquid ratio?
Hi Linda, I rarely bake with 100% whole wheat flour unless I am using a recipe specifically developed for all whole wheat flour. Whole wheat baking often requires special formulas and methods to avoid an overly dense end product. You can easily replace about 1/2 of the all-purpose flour with whole wheat flour with minimal adjustment. If you want to try all whole wheat, my suggestion would be to add the large amount of flour (the all-purpose flour measurement) in small increments and mixing in between additions, adding only as much as needed to produce a smooth, moist and kneadable dough, however much that is.
Hello,
I really want to try this recipe but I am having a difficult time finding 7-grain cereal. Do you have a brand you like in mind? And where I might be able to find it.
I’ve found 7-grain hot cereal but i believe it has been milled and processed and I was hoping for whole grains.
Thank you!
Hi Kayla, I generally use the Bulk Barn (Canadian bulk food store) 7-grain cereal. Bob’s Red Mill also has a number of mixed grain cereal mixes (usually found in the Health Food section of most grocery stores). If you’d like, you can just make your own grain mix using the whole grains of your choice.
How do you eat these? Split down the middle like an English muffin, or opened like a pita pocket? Plain or Toasted? I’m assuming some might like butter or cream cheese. But how are they intended to be enjoyed?
Hi Bethy, I use them like a piece of bread, so eat either plain or toasted. I cut them in half across the equator (as they are quite large otherwise) and will top with peanut butter (or other nut butter) and maybe sliced banana. I enjoy them toasted with, too. Cream cheese is also a good topping for these ones, as is Nutella. You can get more creative with different flavours of breakfast rounds, too.
Good Morning! Any chance of you putting up the recipe for their sandwhich rounds? I would love to know how to make those!!
I’ll put it on my list, LS :) I usually go out and buy them and then try to recreate. I assume they are Ozery?
Can you check the weight in grams of the 7-grain cereal? To me, it doesn’t seem right that the 2 tablespoons of oats weigh more than 1/4 cup of 7-grain cereal. Thank you!
Hi Deborah and yes, seems off. I’m going to double check the metric amounts. In the meantime, use the 1/4 cup (4 Tablespoons) measure.
Hello, this bread looks great. Just a question, have you tried making it as a loaf?
Hi Deborah and no I haven’t. This one was specifically developed not to rise too much, so I’m not sure how it would translate to a loaf. That said, you could certainly take a loaf recipe and add some banana and grains and maybe get what you are looking for.
These are so good! I am always on the hunt for new breakfast ideas to feed my hungry crew of toddlers. And I’m tired of cream of wheat and oatmeal. So this is a nice healthy change.
Do you think you cold make the dough ahead of time and pop in into the fridge overnight without it rising too much. As I would love to be able to prep them the night before and pop them into the oven while I get my crew ready for the day
Hi Natasha and so glad you are enjoying these! I haven’t tried overnight in the fridge with this one, but generally it works out pretty well most of the time. If you roll in the morning, you should be fine. If they seem too puffy, you can dock them with a fork, too. If you try it, let me know how it works out!
Hi Jennifer
Thank you for this recipe. I’m a fan of morning rounds and was disappointed to find that when we moved north from Toronto they were hard to find. As I have taken up baking bread, I was hoping to find a homemade version and here it is!
So far I’ve just made the banana walnut version so I could get a feel for the recipe. Can’t wait to experiment with new flavours.
Mary
Hi Mary and so glad you enjoyed them! Thanks so much!
This recipe turned out WONDERFUL! So delicious! The procedure was well explained :)
So glad to hear, Melissa :) Thanks so much!
I would love to try this recipe, but unfortunately, I’m gluten free. I’m still scratching my head on where to begin in converting the ingredients; any suggestions?
Hi Grace and I’m afraid I can’t be of much help, as I have zero experience in baking gluten free. I do know that it’s more than just swapping out the flour with gluten free. I think other ingredients need to be added to make up for the absence of gluten, which is, of course, integral to any sort of bread product. I guess my best advice is to seek out some gluten free bread recipes and see what they are adding and then see if you can incorporate some of those ideas here.
I’m not sure if this product is available in Canada, but perhaps you can find King Arthur Baking’s Measure for Measure flour?