

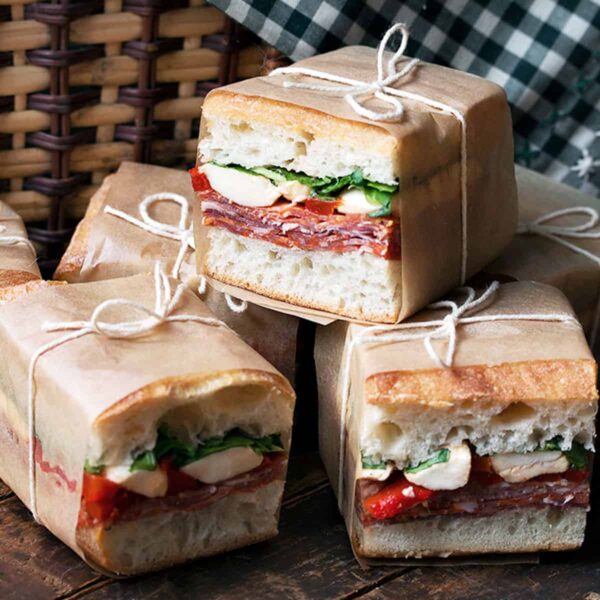
Perfect picnic sandwiches, these Italian-inspired pressed sandwiches are great for Summer eating, whether at a BBQ or a picnic. Make-ahead friendly, and they travel well!
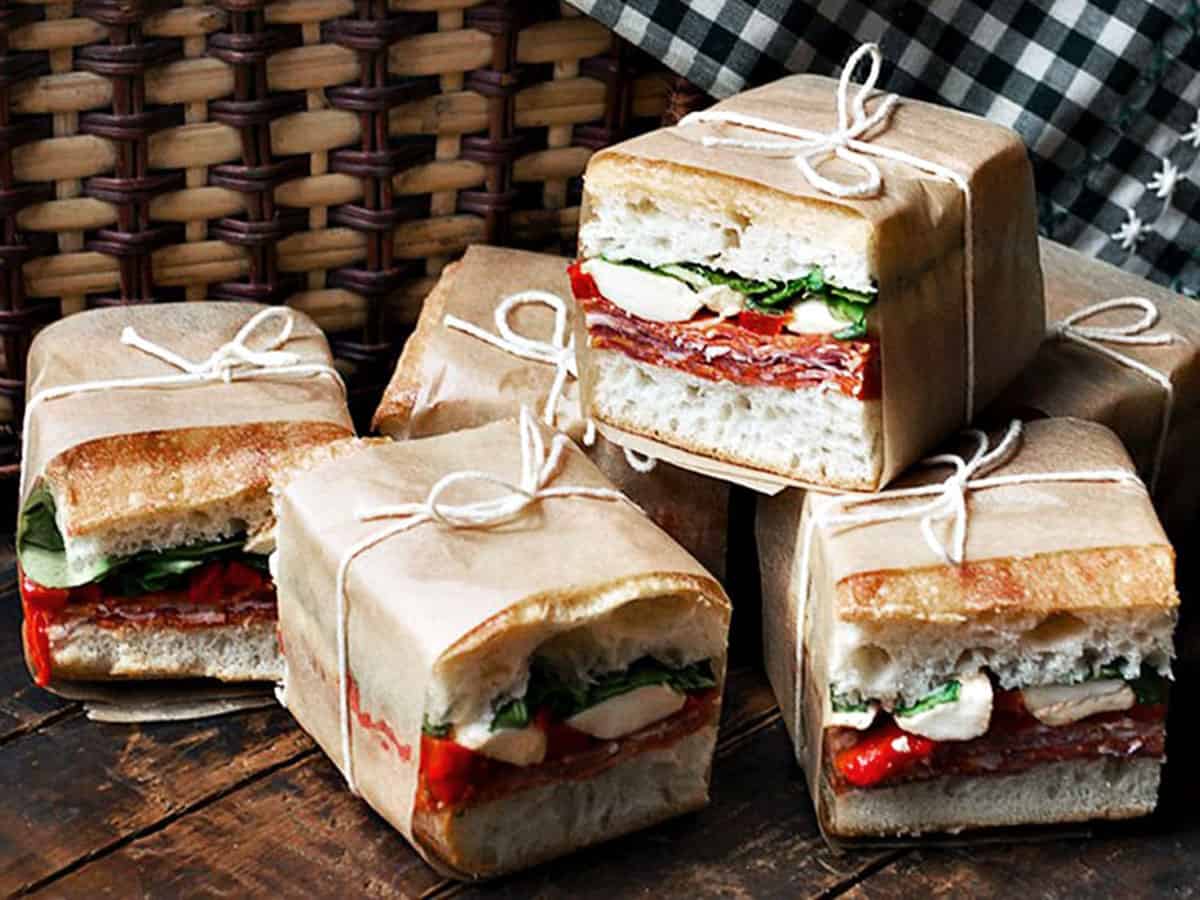
Pressed sandwiches: at a glance
What are they? Pressed sandwiches are typically made with ciabatta bread, filled with Italian-inspired fillings (think Italian deli meat, bocconcini, roasted red peppers, etc.). After assembly, they are refrigerated with weights on top to flatten and compress them, making them easier to eat, and pretty!
Why you’ll love them! Pressed sandwiches are make-ahead friendly; they travel well and keep well in the fridge for several days. The fillings are endlessly customizable, to suit all tastes.
How do you make them? Start with a long ciabatta loaf, cut in half, layer the fillings, then wrap tightly with plastic wrap. Refrigerate overnight with a baking pan topped with filled canned goods, for weight to flatten and compress the sandwiches. The next day, cut into serving-sized sandwiches and wrap with parchment and string, if desired.
- Pressed sandwiches: at a glance
- Ingredients and substitutions
- How to make pressed Italian sandwiches: step-by-step
- How to make pressed Italian sandwiches: video
- Recipe tips!
- How to cut and wrap pressed sandwiches
- How to store pressed sandwiches
- Get the Recipe: Pressed Italian Picnic Sandwiches
- More sandwich recipes to love!
Ingredients and substitutions
A few notes about the key ingredients …
Ciabatta loaf – Ciabatta bread is recommended as it holds up well with the moist fillings, slices neatly and isn’t so thick that when sliced in half it is too much bread. Look for ciabatta lunga (a long ciabatta loaf) or sometimes called ciabatta baguette. If the longer loaf is unavailable, opt for ciabatta rolls or buns.
Roasted red peppers – I’ve made my own roasted red pepper here, but you can use jarred roasted red peppers if you like. Just be sure to dry them well with paper towels to avoid introducing too much moisture to the sandwiches.
Arugula – I love arugula in these sandwiches, but you can substitute baby spinach, if you like.
Fillings – While there are endless possibilities of fillings for pressed sandwiches, my Italian version features homemade roasted red peppers, a variety of Italian deli meats, bocconcini (with a little balsamic drizzle) and arugula, all on a lovely ciabatta bun.
Other options for fillings include basil pesto, sun-dried tomato pesto, whipped ricotta, fresh mozzarella slices, burrata cheese, other deli sliced meats (turkey, ham, etc.) or deli sliced cheese (Swiss, gruyere, cheddar, etc.), sun-dried tomatoes, sliced tomatoes, avocado or red onion slices.
How to make pressed Italian sandwiches: step-by-step
This is a visual summary of the steps to make this recipe. Scroll down to the Recipe Card below for the complete list of ingredients and instructions.
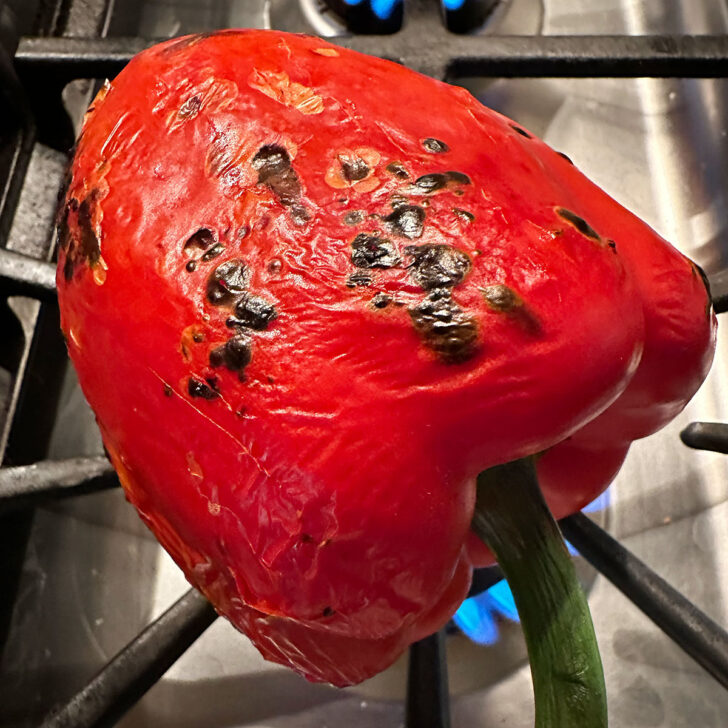
Step 1: Roast the red peppers either on a gas stove or under the broiler in the oven.
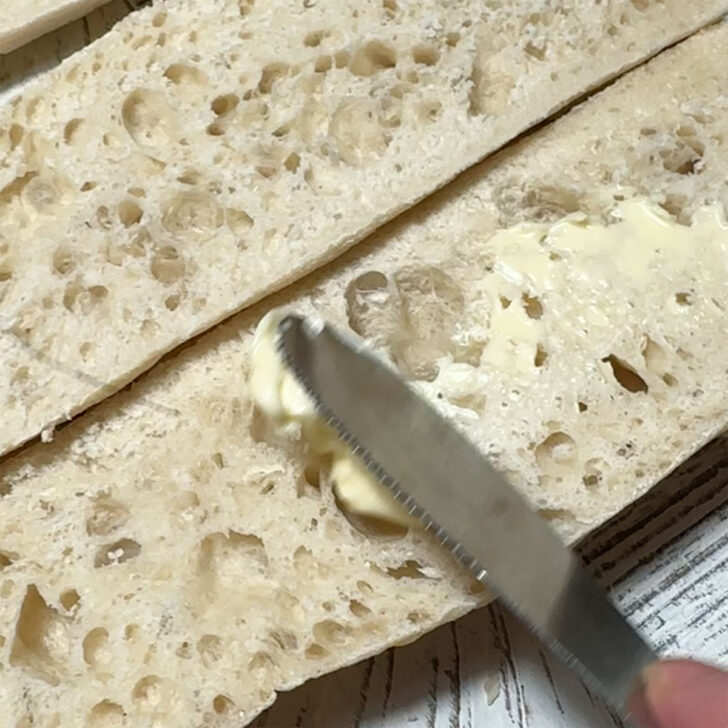
Step 2: Slice the ciabatta in half and butter both sides.
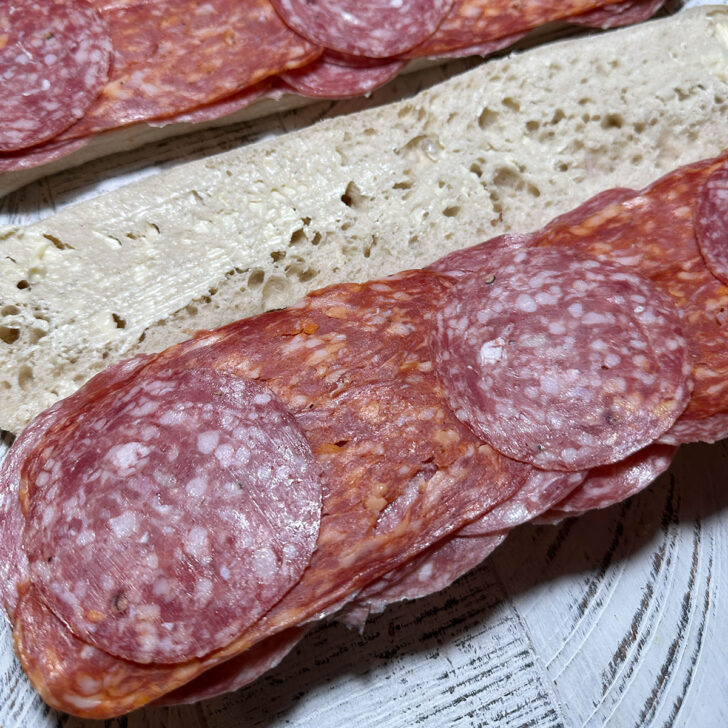
Step 3: Layer the Italian deli meats on the bottom half of the ciabatta loaf.
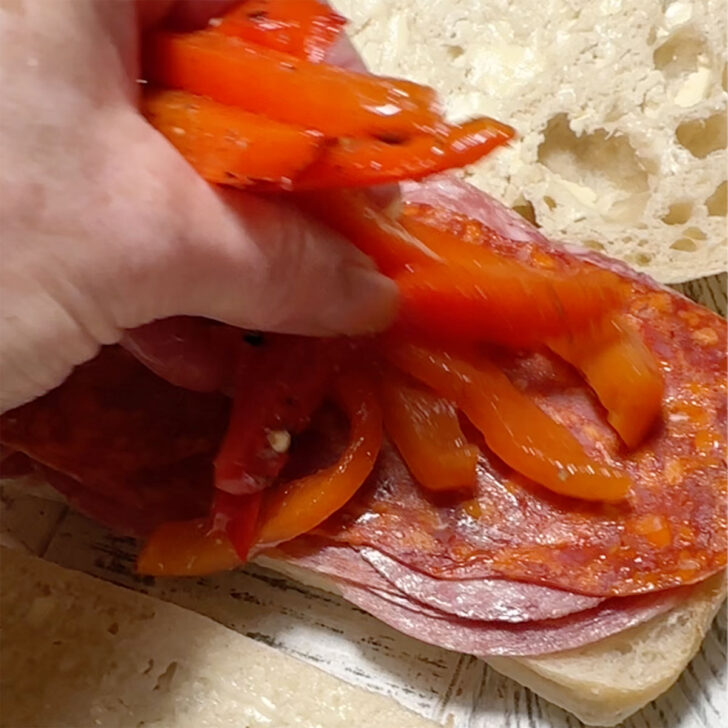
Step 4: Slice the roasted red peppers and add to the sandwich.
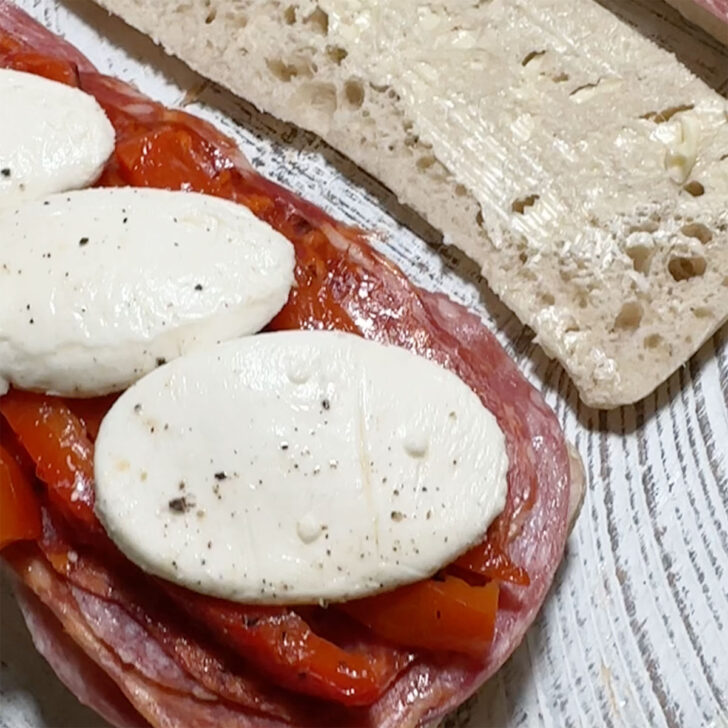
Step 5: Add the bocconcini to the sandwich.
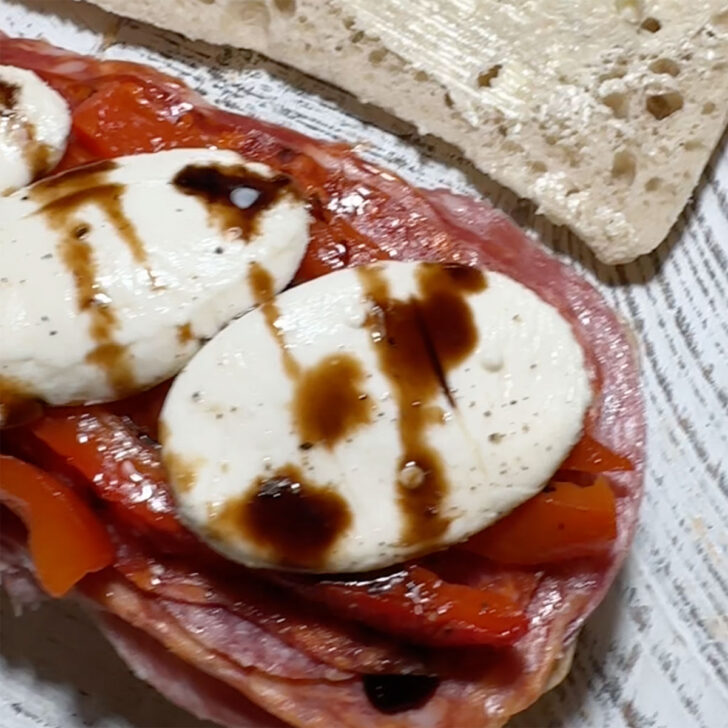
Step 6: Season the bocconcini with salt and pepper and drizzle with balsamic glaze.
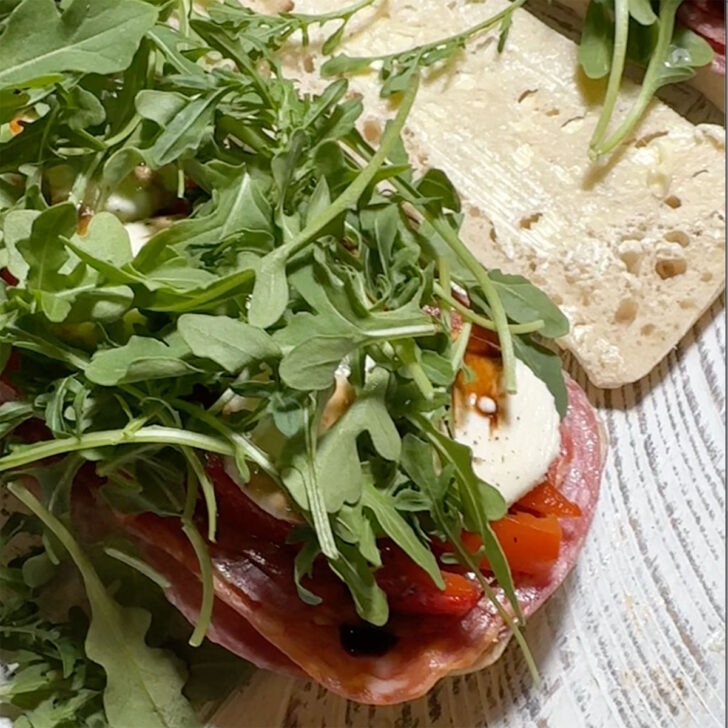
Step 7: Top the sandwich with arugula.
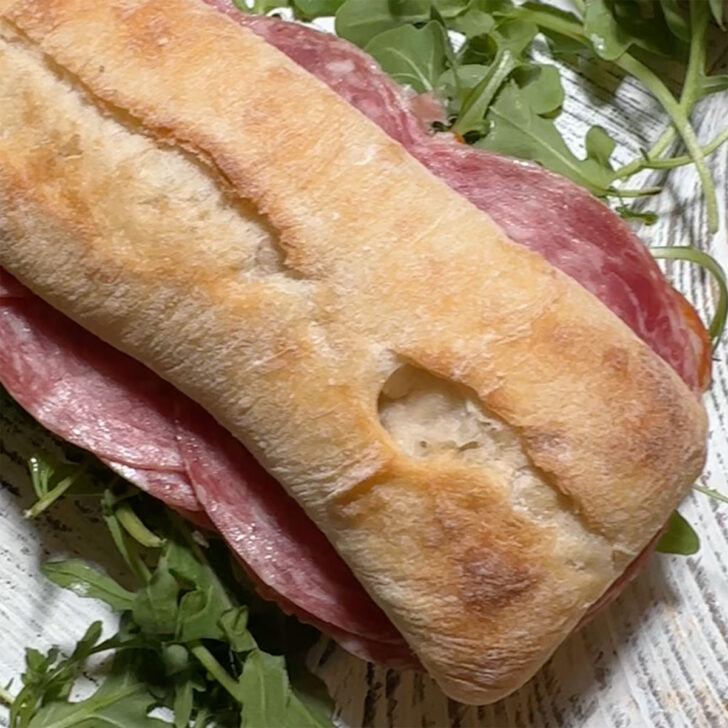
Step 8: Place the top slice onto the filled sandwich.
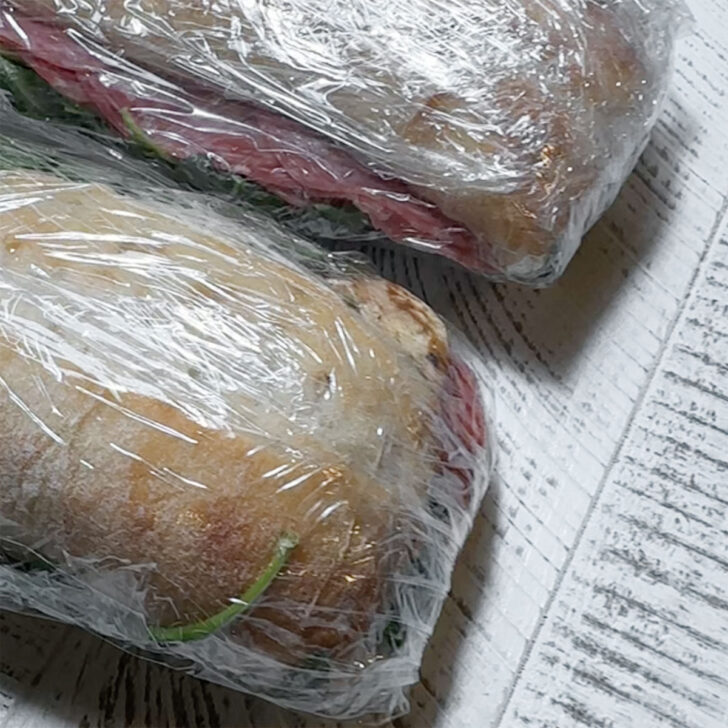
Step 9: Wrap the filled loaves tightly with plastic wrap. Refrigerate with weights on top to press the sandwiches.
How to make pressed Italian sandwiches: video
Recipe tips!
- I like to butter the bread, as the butter acts as a moisture barrier between the moist fillings and the bread, while adding buttery flavour at the same time. You can skip the butter if you like.
- When it comes to adding weight to press the sandwiches in the fridge, I use a baking sheet right on top of the sandwiches to evenly distribute the weight, then I start adding canned goods from the cupboard onto the baking sheet until I can see the weight is exerting pressure onto the sandwiches.
- Refrigerate the filled and wrapped sandwich with a weight on top for at least 6 hours, ideally overnight.
- I like to trim the edges off the sandwiches to make them neat squares and to enjoy seeing all the layers. But don’t throw away the trimmings! Chop them up and combine with some leafy greens and a drizzle of balsamic or Italian dressing for an absolutely fabulous salad.
- To keep the sandwich freshest, keep it in the fridge, tightly wrapped in plastic wrap and untrimmed. When ready to serve or transport, simply trim and wrap. You can then re-wrap the individual sandwiches in plastic wrap if needed to keep them from drying out while they wait to be eaten.
How to cut and wrap pressed sandwiches
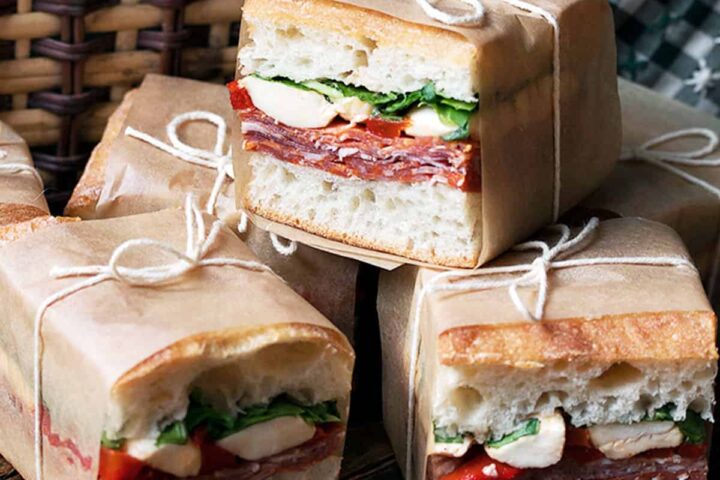
Trim the edges: I like to trim the loaf or rolls before cutting into individual sandwiches. Trimming makes nice, neat, square sandwiches that reveal the pretty filling layers. Simply use a serrated knife to trim about 1/2-inch off the sides and ends of the loaf (or rolls).
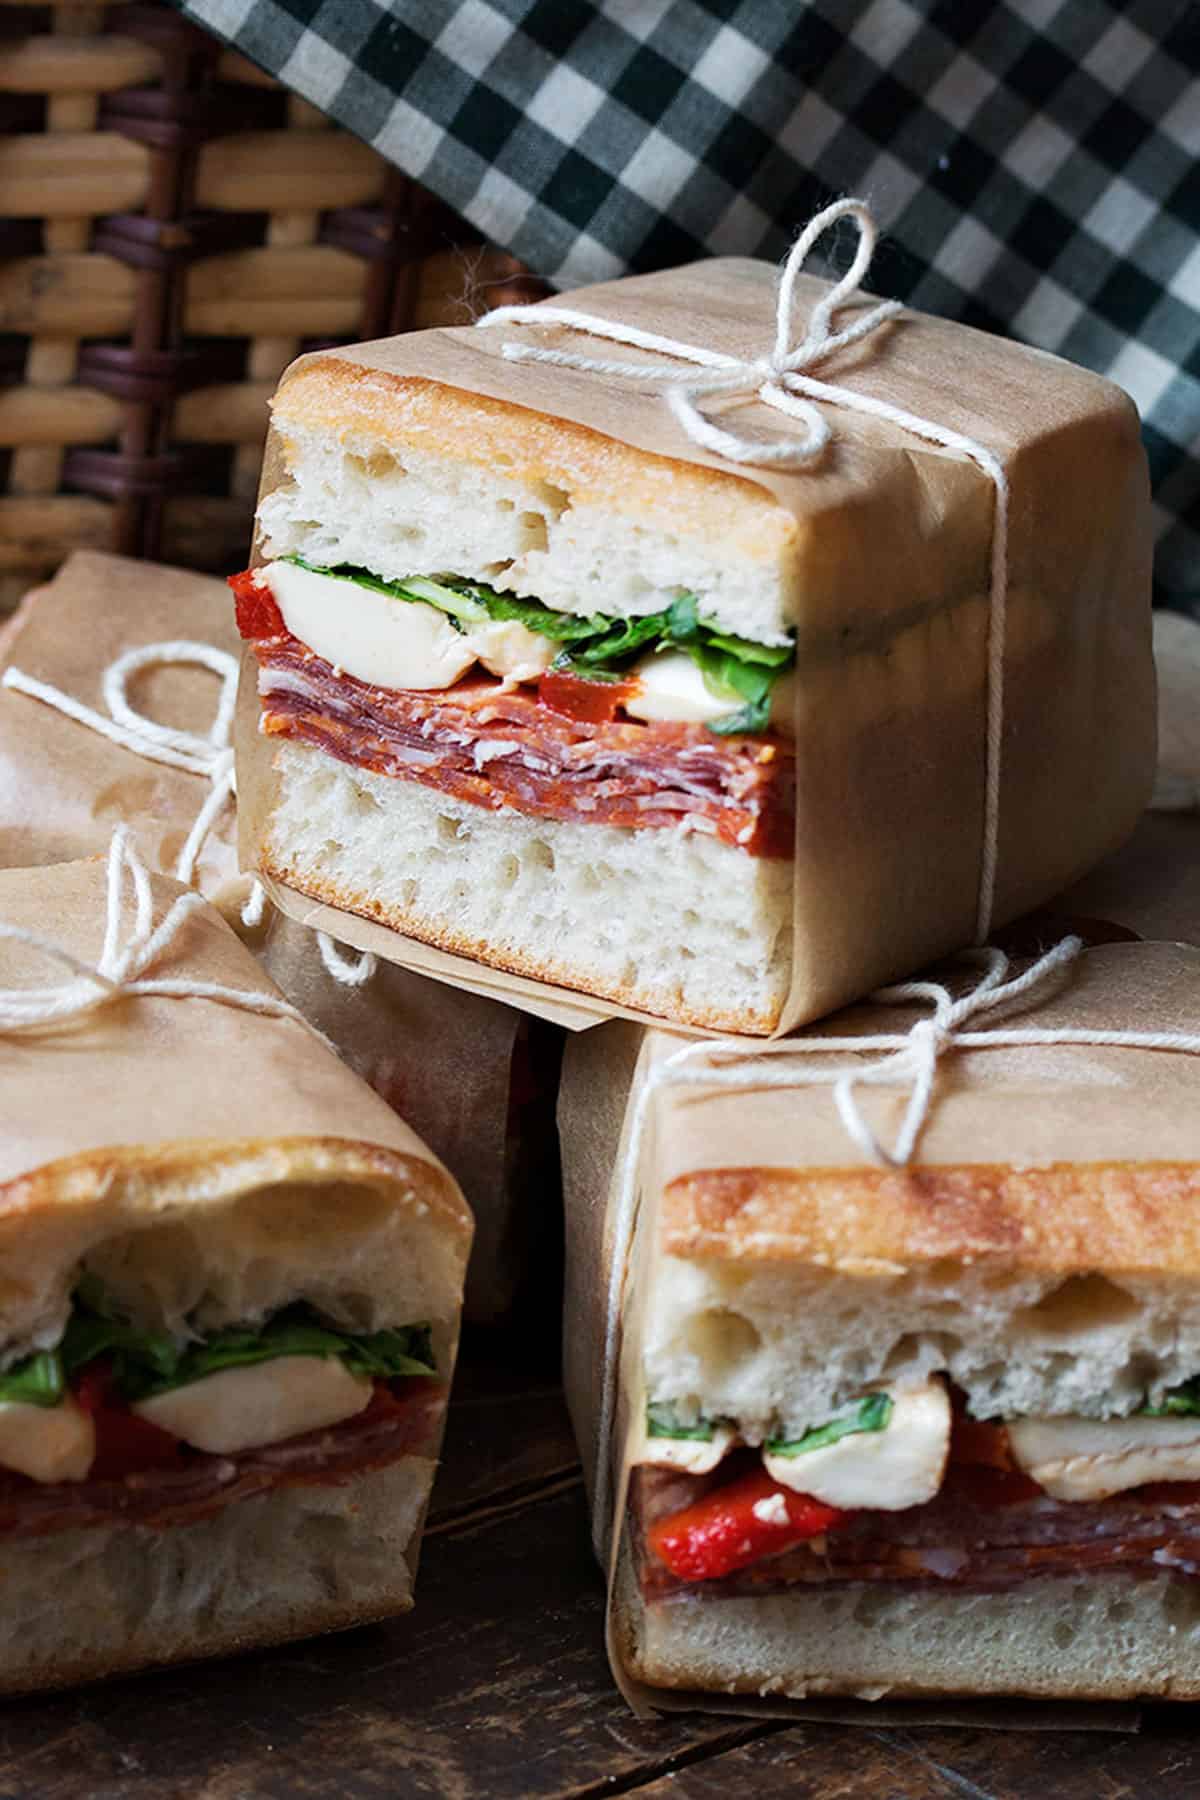
Cut into squares: These pressed sandwiches look nicest when they are cut into squares, so I like to measure the height of the sandwich after pressing, then I cut the filled loaf into similar-sized slices (so if the sandwiches are 3 inches tall, cut the long loaf into slices every 3 inches). If you haven’t over-filled (or over-pressed) the sandwiches, the pressed sandwiches should be 2 1/2-3 inches tall.
Wrap the sandwiches: To wrap the sandwiches, cut pieces of parchment paper that are slightly narrower than the sandwiches, so that the ends peek out just a bit, and with the strips long enough to wrap around the sandwiches and overlap slightly. I like to use a tiny piece of Scotch tape to secure the parchment underneath. Alternatively, you can make the strips a bit longer and fold the ends together to secure. Once wrapped, tie a piece of string around the sandwiches.
How to store pressed sandwiches
These picnic sandwiches will also keep really well in the fridge for several days, either before they are trimmed and cut or after. Wrap well in plastic wrap to prevent the bread from drying out.
Want to save this recipe?
Enter your email and I’ll send it to your inbox. Plus, you’ll get great new recipes from me every week!
By submitting this form, you consent to receive emails from Seasons and Suppers.
You can unsubscribe at any time.
Get the Recipe: Pressed Italian Picnic Sandwiches
Ingredients
- 1 Ciabatta Baguette, cut in half to make approx. two 12-inch pieces
- 3 Tbsp butter
- 3 medium red peppers
- 3 cups arugula, rinsed and patted dry
- 2 cups bocconcini, sliced
- 10 oz Assorted Italian deli meats, (I used Soppressata Salami, Capocollo and Napoli Salami)
- Balsamic Vinegar
- Olive Oil
- Salt and Pepper, to taste
Instructions
- To roast the red peppers: Set your oven to the Broil setting. Slice the sides off the red peppers and place skin side up on a baking sheet (*I like to trim the ends so they lie as flat as possible, as they will brown better than pieces that are sloped). Place under the broiler until very well charred (blacon top, about 10 minutes (watch closely after 5 minutes. You’ll want them to be mostly blackened on top.) Remove from the oven and immediately place the peppers in a plastic ziploc bag. Pop in the refrigerator for 30-40 minutes. Remove peppers from bag and peel off the blackened skin with a knife. Discard the skin and slice the peppers in to strips. Place in a bowl and drizzle with a bit of olive oil and sprinkle with salt and pepper. Set aside.
- To prepare the sandwiches: Cut your ciabatta in half and butter each piece (or you could brush with a bit of olive oil, if you prefer, but butter will help prevent moisture from getting into the bread. Place a generous layer of cold meats (4-5 over-lapping layers). Top with cooled roasted red pepper strips. Take your Bocconcini slices and place on a piece of paper towel. Top with another piece of paper towel and pat to dry a bit. Top the red peppers with a layer of the Bocconcini slices. Drizzle some balsamic vinegar over the Bocconcini slices and sprinkle with salt and pepper. Top with a generous layer of arugula. Top with top slice of ciabatta.
- Wrap each sandwich tightly with plastic wrap and place on a platter or baking sheet. When all the sandwiches are prepared, place the platter in the refrigerator. Place a heavy skillet on top of sandwiches to apply weight (if you don’t have a heavy skillet, top with another baking sheet and place some large cans on top for the weight).
- Refrigerate at least 6 hours or ideally, overnight.
- When ready to serve, remove from plastic wrap. If desired, you can trim the sides and ends of the sandwiches to make neat sides and to enjoy the wonderful colours of these sandwiches.
Notes
Watch how to make it
More sandwich recipes to love!
Hi! I’m Jennifer, a home cook schooled by trial and error and almost 40 years of getting dinner on the table! I love to share my favourite recipes, both old and new, together with lots of tips and tricks to hopefully help make your home cooking enjoyable, stress-free, rewarding and of course, delicious!


Muy bueno..si no tengo vinagre balsamico como lo sustituyo..
Puedes utilizar vinagre de vino tinto endulzado con sólo un toque de miel o azúcar blanca.
Would focaccia work for these?
Hi Leslie and it might. I haven’t tried it myself. My only concern would be that the lighter and airier structure of focaccia might become soggy or mushy from the pressing process. Ciabatta has a more dense structure that holds up well.
Exquisito, especial con pan integral.
¡Me alegra que hayas disfrutado estos sándwiches! Gracias :)
Sandwiches look gorgeous. Just want to confirm that they can be made 36 hours before serving? Going to an evening summer concert and these seem perfect to enjoy!
Hi Marta and yes, 24 hours is pretty much built in with the overnight pressing and they keep really well for some time after that. Just make sure they are really well wrapped (I double wrap with plastic wrap) and don’t cut them into individual pieces until closer to serving.
For vegetarians what can we use instead of the meat ?
Hi Tejal, you might want to try my roasted vegetable pressed sandwiches. You can find them here – https://www.seasonsandsuppers.ca/pressed-vegetable-goat-cheese-sandwich/
We make these for my husband every Father’s Day. We add a little pesto and use balsamic glaze instead of the vinegar. Delicious! Thank you!
Sounds lovely, Samantha and perfect for Father’s Day! Thanks so much :)
What size are the squares? Looking forward to making them. Know they will be gone in a minute.
Hi Kathy, these ones are roughly 2″ x 2″, but it somewhat depends on how wide your sandwich is. I just cut then as long as they are wide, to make a nice neat square.