These fluffy and light brioche hot dog buns are the perfect way to elevate your next BBQ! Makes 8 jumbo hot dog buns or use them for sausage as well. Make them plain or top them with poppy seeds or sesame seeds if you like.

These light brioche hot dog buns are sturdy enough to hold all the fixings, but still wonderfully light in texture. The bun dough is enriched with egg, milk and just enough butter to bring great flavour, without making them too rich or heavy.
Ingredients and substitutions
A few notes on the key ingredients …
All-purpose flour – These buns come out perfectly with all-purpose flour. I haven’t tested them with bread flour. If you want to use bread flour, you may need to adjust the flour amount slightly to achieve the correct dough consistency.
Yeast – I only use SAF Instant Yeast and I highly recommend it for all yeast bakes. It requires no proofing and can be added directly to the dry ingredients. If you only have Active Dry yeast, you will need to proof it in the lukewarm milk before adding it to the bowl.
Butter – Real butter is what makes these buns brioche. I recommend using butter here, for best results.
Milk – I have only tested these buns with dairy milk, typically 2%. I recommend at least 2% or 3% milk. These may work fine with non-dairy milk, but I haven’t tested that substitution.
How to make brioche hot dog buns


- Remove the kneaded dough to a work surface. It should be very moist and just a touch sticky. Knead briefly with only as much flour as needed to make the dough kneadable.
- Set the dough to rise in a covered bowl or measuring cup.
- Let the dough rise until doubled, about 60-75 minutes.
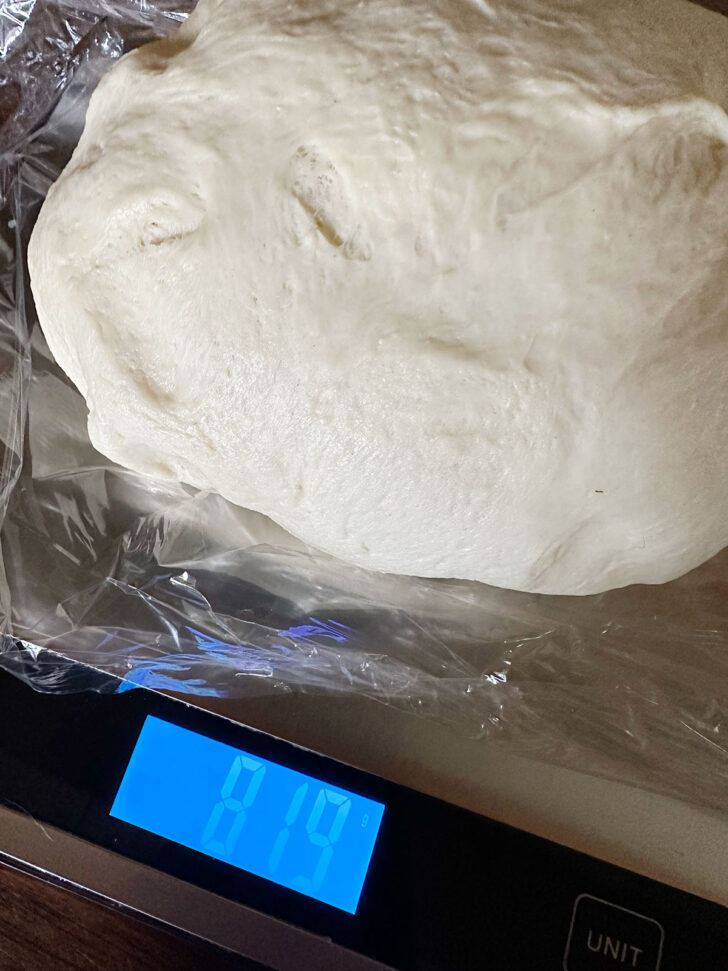
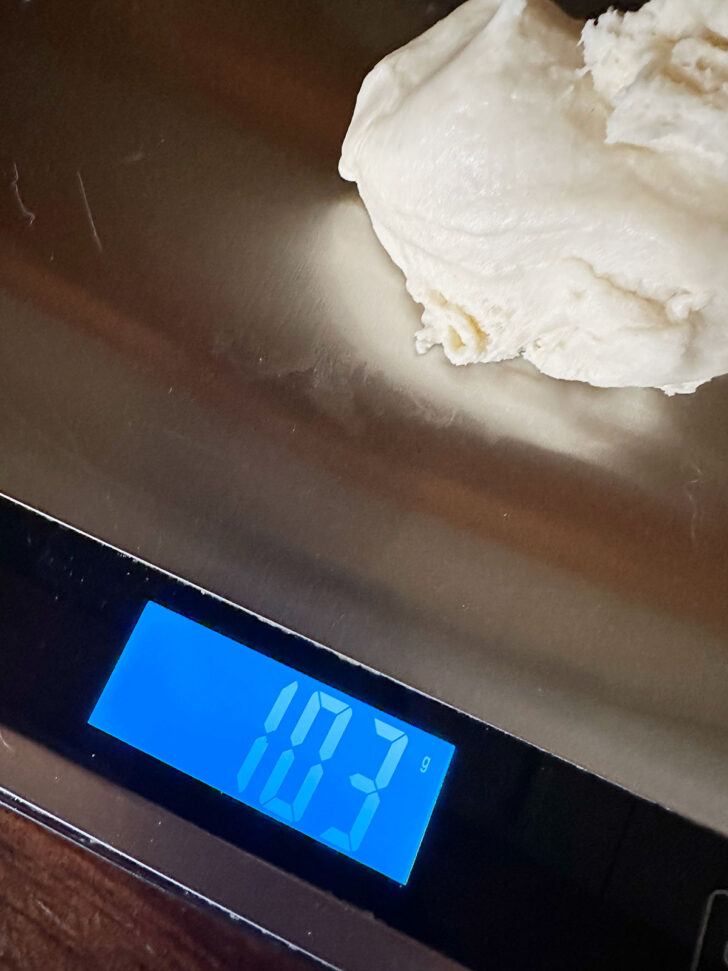

- Once the dough has risen, weigh the dough ball (or if you don’t have a scale, simply divide it into 8 equal pieces).
- With a scale, weigh out the individual pieces.
- Let the dough pieces rest for 10 minutes, then form into a ball.


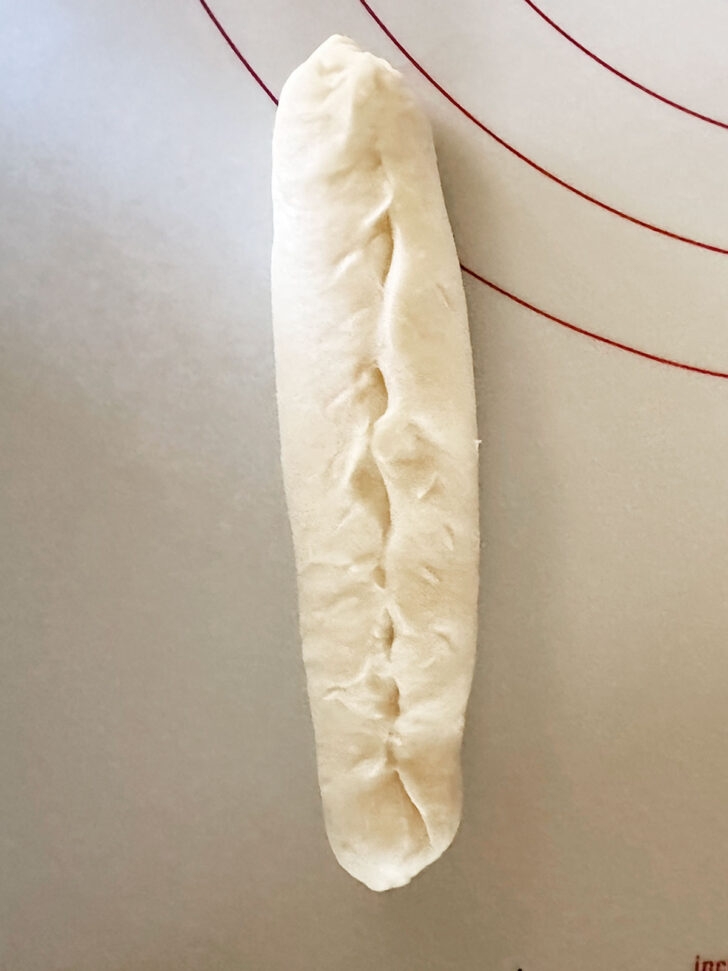
- Roll each dough piece into a rectangle about 4 inches wide and 6 inches long.
- From the long side, roll up the rectangle tightly.
- Pinch the seam together and pinch the ends in as well, to make rounded ends.
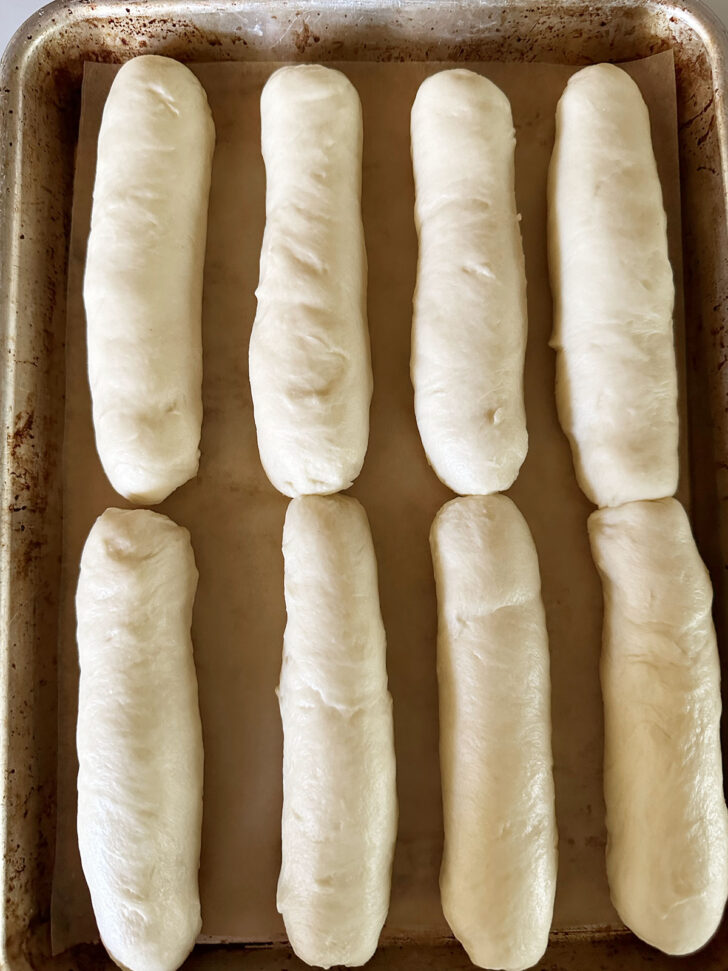


- Place the buns onto a parchment-lined 9×13-inch baking sheet.
- Cover with plastic wrap and allow the buns to rise for 30-45 minutes, or until doubled in size.
- Brush the buns with egg wash and if desired, sprinkle with sesame seeds and/or poppy seeds.
Recipe tips!
- I always recommend using a kitchen scale to weigh the flour, for the best accuracy. If you don’t have a kitchen scale, be sure to measure the flour by first stirring it, then spooning it into measuring cups and levelling it with the back of a knife. This will avoid using too much flour, which will prevent nice, light buns.
- The standard recipe makes 8 “jumbo” hot dog buns or sausage buns. For smaller buns better for standard weiners or smaller sausages, you can adjust to make 10 smaller buns. Directions are in the Recipe Card.
Recipe video
I highly recommend watching the video so you can see the how the dough comes together and the consistency of the dough (it’s a sticky dough in the bowl!) and how to shape the hot dog buns.

Storing and freezing brioche hot dog buns
Once the buns are cooled, place into an airtight bag or container and store at room temperature if using with 24 hours. For longer storage, freeze the buns well-wrapped for up to 3 months. Thaw at room temperature in the wrapping.
Want to save this recipe?
Enter your email and I’ll send it to your inbox. Plus, you’ll get great new recipes from me every week!
By submitting this form, you consent to receive emails from Seasons and Suppers.
You can unsubscribe at any time.

Get the Recipe: Brioche Hot Dog Buns
Ingredients
- 3 1/2 cups (450 g) all-purpose flour
- 2 1/4 teaspoons instant yeast, *See Note 1 if using Active Dry yeast
- 1 1/2 teaspoons salt
- 1 teaspoon white granulated sugar
- 1/4 cup (60 g) butter, at room temperature and cut into small pieces
- 1 large egg, beaten before adding to dough
- 1 cup (250 ml) milk, warmed to lukewarm, about 105F
For topping:
- 1 large egg, beaten
- poppy seeds and/or sesame seeds, optional
Instructions
- Tip! I highly recommend using a scale to weigh out the flour, for best accuracy. If you don't have a scale, be sure to measure the flour by using the stir, spoon and level method (stir the flour, spoon it into a dry measuring cup and then level using the back of a knife). This will prevent using too much flour and making for less light buns.
- Weigh or measure out the flour and place into the bowl of a stand mixer fitted with the kneading hook. Add the Instant yeast, sugar and salt. Turn the mixer on to speed 2 and mix the ingredients together briefly. Add the lukewarm milk and beaten egg and mix together on speed 2 until most of the flour has been moistened, but the dough is shaggy. With the mixer running on speed 2, add the pieces of room temperature butter to the bowl. Continue kneading the dough on speed 2 for 10 minutes. (Set a timer, to be sure!)
- When the dough has kneaded 10 minutes, the dough will be very moist and will be sticking to the bottom of the bowl, but should wrap the kneading hook.
- Tip! The dough will look sticky in the mixer, but avoid adding additional flour to the bowl. If needed, you can add a bit more on the work surface.
- Remove the dough to a lightly floured work surface, using a silicone scraper to remove it from the bowl. Begin kneading the dough, adding additional flour only if the dough is sticking to your hands or the work surface. Knead for 1-2 minutes, then form into a ball. Place into a greased bowl or large measuring cup. Cover with plastic wrap and let rise at room temperature until doubled in size, about 60-70 minutes.
- Prepare a 9×13-inch baking sheet or baking pan by lining the bottom with parchment paper. Set aside.
- Remove the dough to a lightly floured work surface. Gently deflate. Divide the dough into 8 equal-sized pieces. *I like to weigh the dough ball to get the total weight, then I divide by 8 to get the weight for each piece. Weigh out each piece of dough. (Mine are usually 100-105g each piece.)
- Tip! If you aren't clear on how to form the dough into balls or how to shape the buns, refer to the Recipe Video above this Recipe Card, where both of these techniques are shown.
- Form each piece of dough into a ball by stretching out, then pinching together well on the bottom. Use the palm of your hand to roll the ball on the work surface to seal. Repeat with all 8 pieces.
- Use a rolling pin to roll a ball into a 6-inch wide x 4-inch tall rectangle. Starting from the 6-inch side, roll the rectangle up tightly, pressing the roll into the dough as you roll. Pinch together the seam, pinching the ends as well, to form rounded ends. Place the roll seam side down and gently roll with your palms to seal the seam and even the roll. Measure it again to confirm it is 6 inches. Place the bun onto the prepared baking sheet with the seam-side down. Repeat with the remaining dough balls, forming 8 buns and placing them onto the baking sheet in two rows of 4. The two rows of buns should just touch each other in the middle, while the buns themselves should be about 1-inch apart.
- Spray a large piece of plastic wrap with cooking spray, then cover the buns with the sprayed side down. Allow the buns to rise until doubled in size, about 30-40 minutes.
- Preheat to the oven to 375F (not convection/fan-assisted).
- When the buns have risen, remove the plastic wrap. Brush the buns thoroughly with the beaten egg. Sprinkle with poppy seeds and/or sesame seeds, if using.
- Bake the buns in the middle rack of the preheated oven for about 20 minutes, rotating the pan from front to back halfway through baking. The finished buns should be golden and register at least 190F when tested with an instant-read thermometer.
- Remove from the oven. Let stand a few minutes, then transfer the buns to a wire cooling rack to cool completely.
- Once cooled, store the buns in an airtight container or plastic bag for up to 24 hours at room temperature. For longer storage, wrap well and freeze for up to 3 months. Thaw at room temperature still wrapped.
Notes
More bun recipes to love!
Hi! I’m Jennifer, a home cook schooled by trial and error and almost 40 years of getting dinner on the table! I love to share my favourite recipes, both old and new, together with lots of tips and tricks to hopefully help make your home cooking enjoyable, stress free, rewarding and of course, delicious!



Best recipe!!
Thanks so much, Lisa :)
Best recipe!
I made these a couple nights ago. They turned out so beautifully soft and delicious. The written directions were so easy to follow. It was also handy have a video to reference as well. I highly recommend this recipe. I’ll definitely be making them again.
Thanks Crystal :) So glad you enjoyed them!
Hi there, i can’t find the video, help please
The video is in the blog post. If you can’t see it, turn off your ad blocker and try again.
Hello! Have you ever doubled the recipe? I’m baking our bread staples from scratch. We have a family of 7 so I’m trying to do monthly batch-baking. Thanks!
Hi Emily, I haven’t myself. There is no reason this wouldn’t double fine EXCEPT you’d need to be sure that your mixer can handle the added bulk of the dough without straining the mixer.
Good morning!
I may be crazy 😜…. But I am going to attempt to make these today for a church luncheon that happens tomorrow.
How would you heat them up tomorrow if you were me ??
I was thinking about place them for a few minutes over boiling water to stem for a few minutes . Just thinking out loud …
Thank you so much . I know they’ll be delicious.
Barbara
Hi Barbara, You could steam them for sure. I’ve also heard people wrapping them in just damp paper towel and microwaving briefly (15-20 seconds). Do enjoy them!
They turned out great! I won’t be going back to store made buns. These are so much better.
So glad to hear, Shel! Thanks so much :)