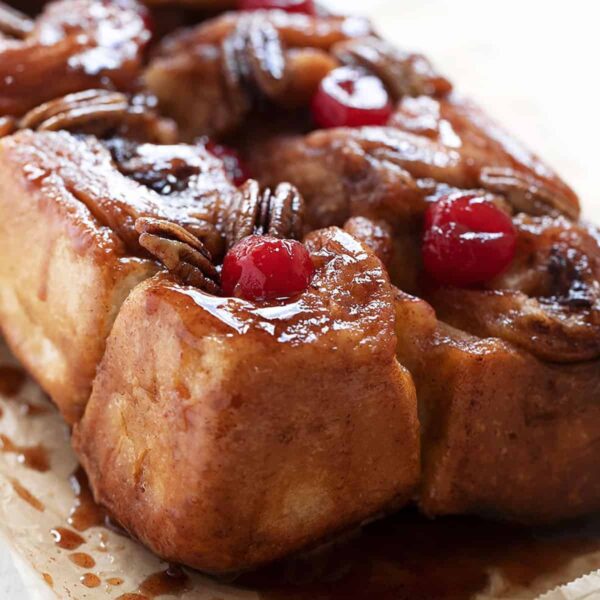
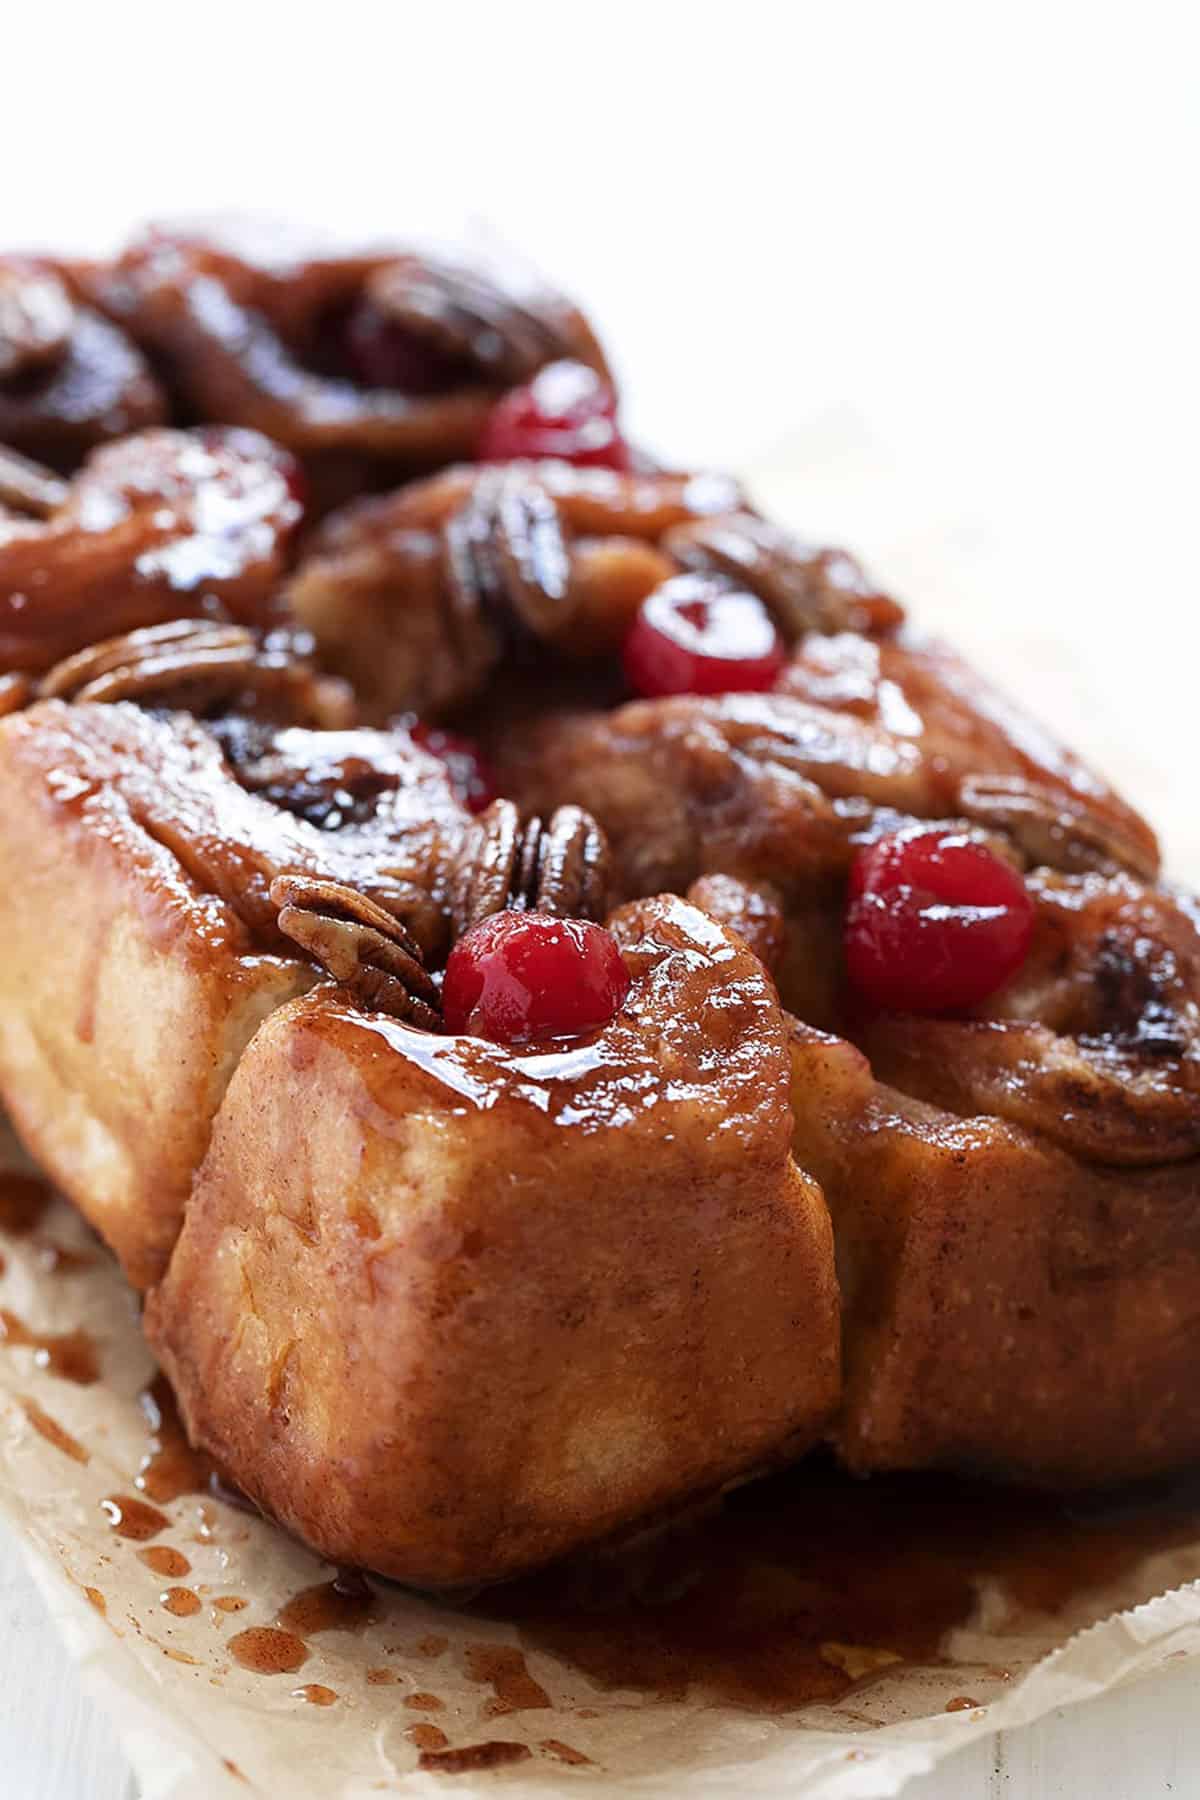
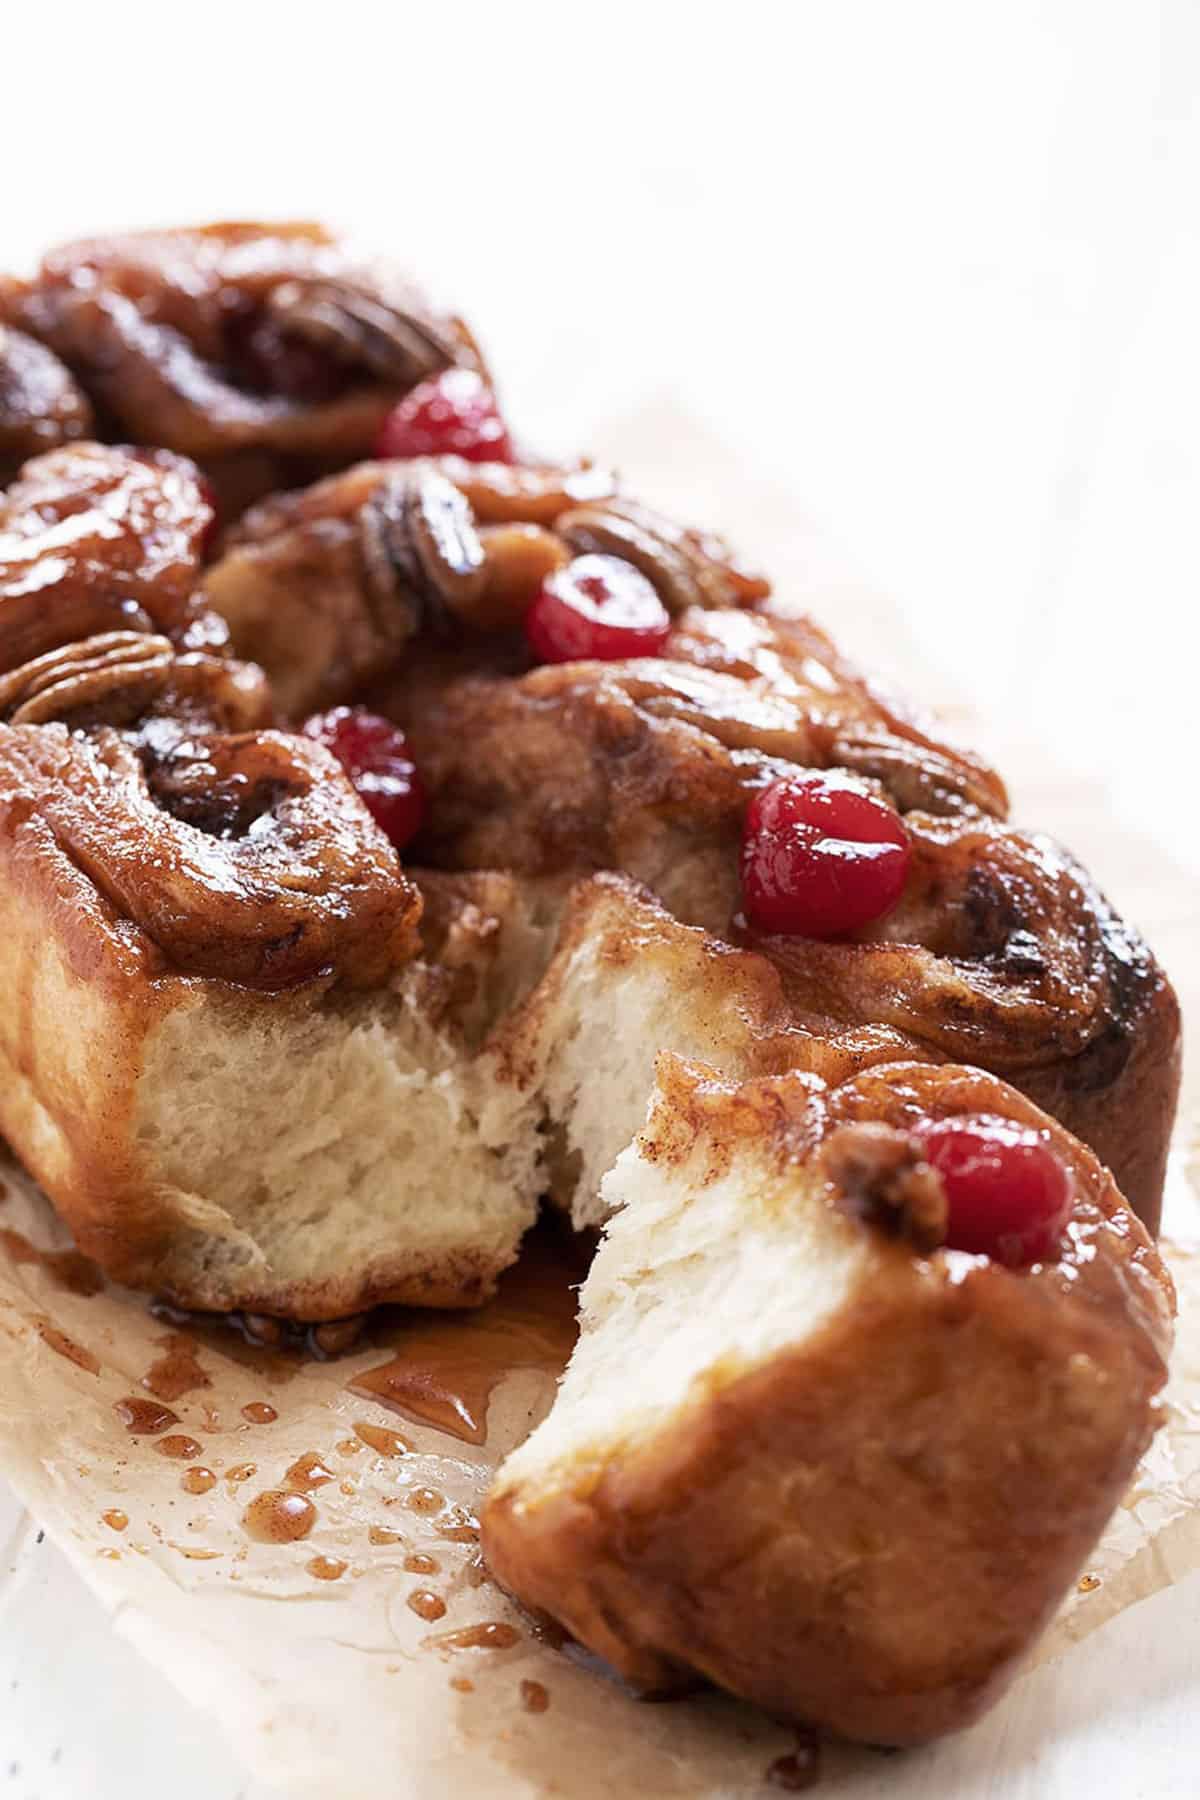
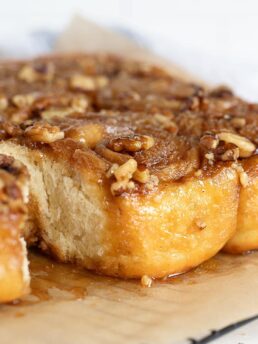
These sticky Chelsea Buns are a cottage country staple! This Muskoka cottage country favourite is made as a fun pull apart loaf and is quick and easy, too!
There are two kinds of Chelsea Buns. There’s the traditional British style, which are sweet rolls with a bit of a sugary glaze and studded with currants. I’m sure they’re very good, but these aren’t those kind of Chelsea buns.
These are the kind of extra sticky Chelsea Buns that you’ll find in small bakeries and Farmer’s Markets all over cottage country in the central Ontario regions of Muskoka, Haliburton and Kawartha Lakes.
Ingredients and Substitutions
Quick or Rapid-Rise Instant Yeast – Starting with quick/rapid-rise instant yeast means you can be enjoying these delicious buns in no time, as you can skip the typical first rising period. Simply mix the dough, let rest a short 10-minutes, then shape and let rise to doubled before baking. Quick/rapid-rise yeast also doesn’t need proofing in water, so you can add it directly to the bowl with the flour.
If you only have active-dry or regular instant yeast, see the notes in the recipe card below for how to adapt this recipe for regular yeast.
Maraschino Cherries – This is the traditional topping for this style of Chelsea Buns. You only need a few. Also note that as this is an upside-down loaf, you will be adding the cherries to the bottom of the pan to start. Once baked and inverted, they will end up as the topping. If you don’t have or want to use cherries, you can simply omit.
Pecans – Again, halved pecans are another common topping and again, they actually start out on the bottom of the pan, so they end up on top of the loaf. Be sure to put the pretty top of the pecan facing down, so they end up facing up :) If you want a nut-free loaf, simply omit.
Raisins – Raisins always seem to be a bit divisive. I love them and I love them and always include them in my buns. That said, they are easily omitted if you are not a fan.
You will also need – All-purpose flour, white sugar, salt, brown sugar, cinnamon and butter.
Step-by-Step Photos
This is a visual summary of some of the steps to make these Chelsea Buns. Always refer to the complete instructions in the Recipe Card below.
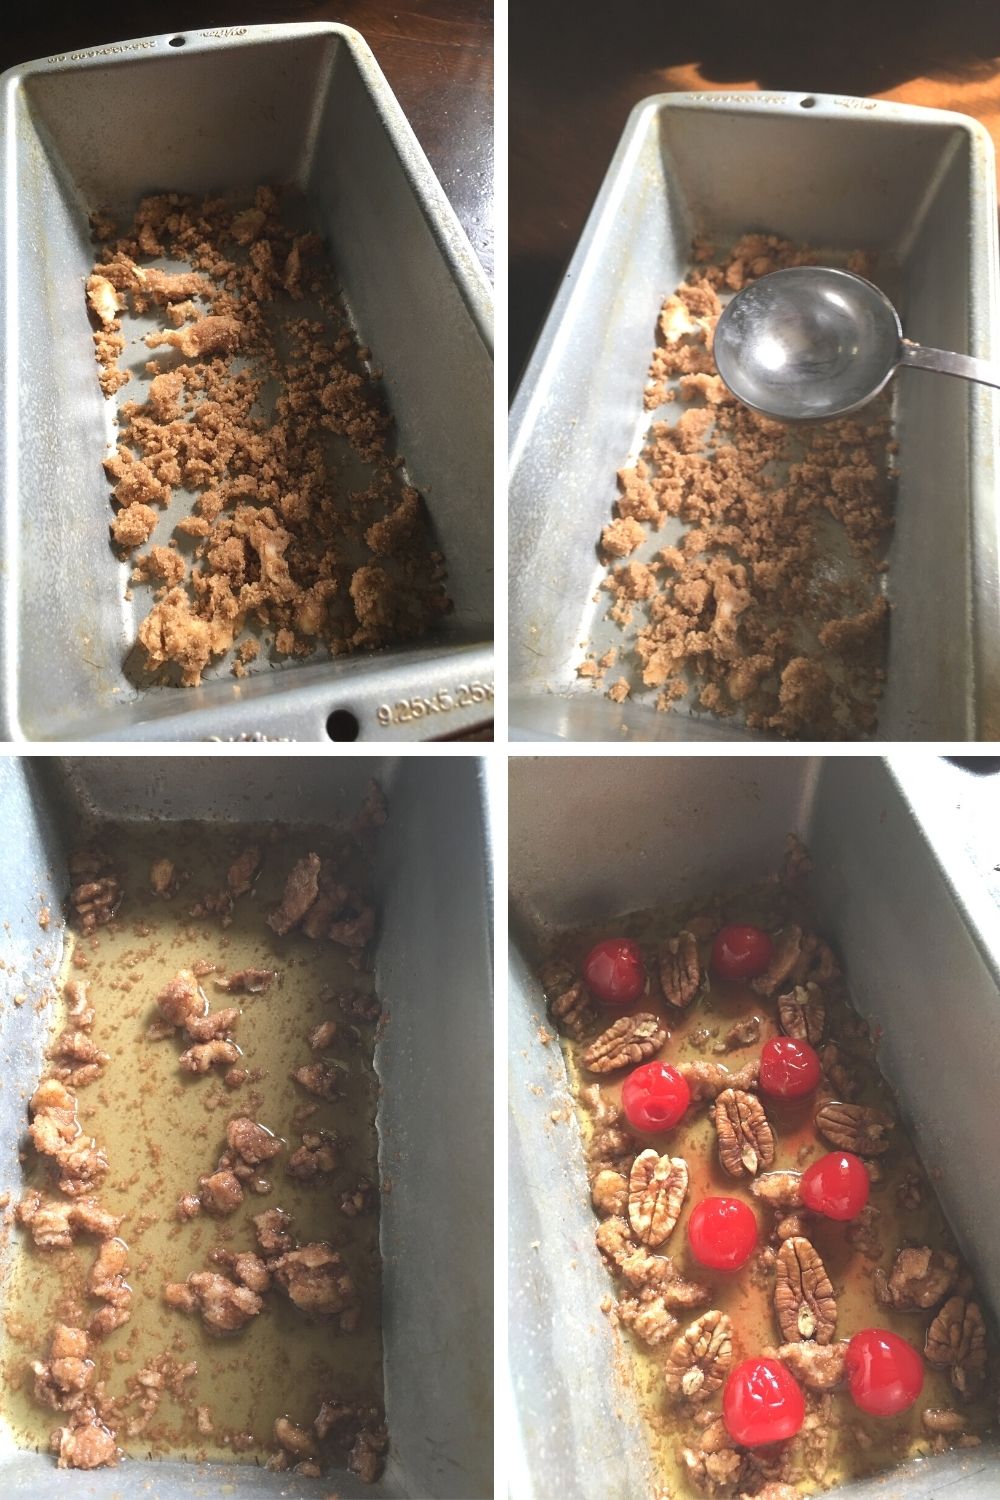
These easy Chelsea Buns use some of the brown sugar/butter/cinnamon filling mixture to make the sticky topping. Simply add some to your loaf pan and mix with a couple of tablespoons of water. You’ll also add your cherries and pecans to the bottom of the loaf pan. As the pan will be inverted after baking, the cherries and pecans will end up on top of your loaf and the sticky mixture will turn to syrup and bath your buns in sticky goodness.
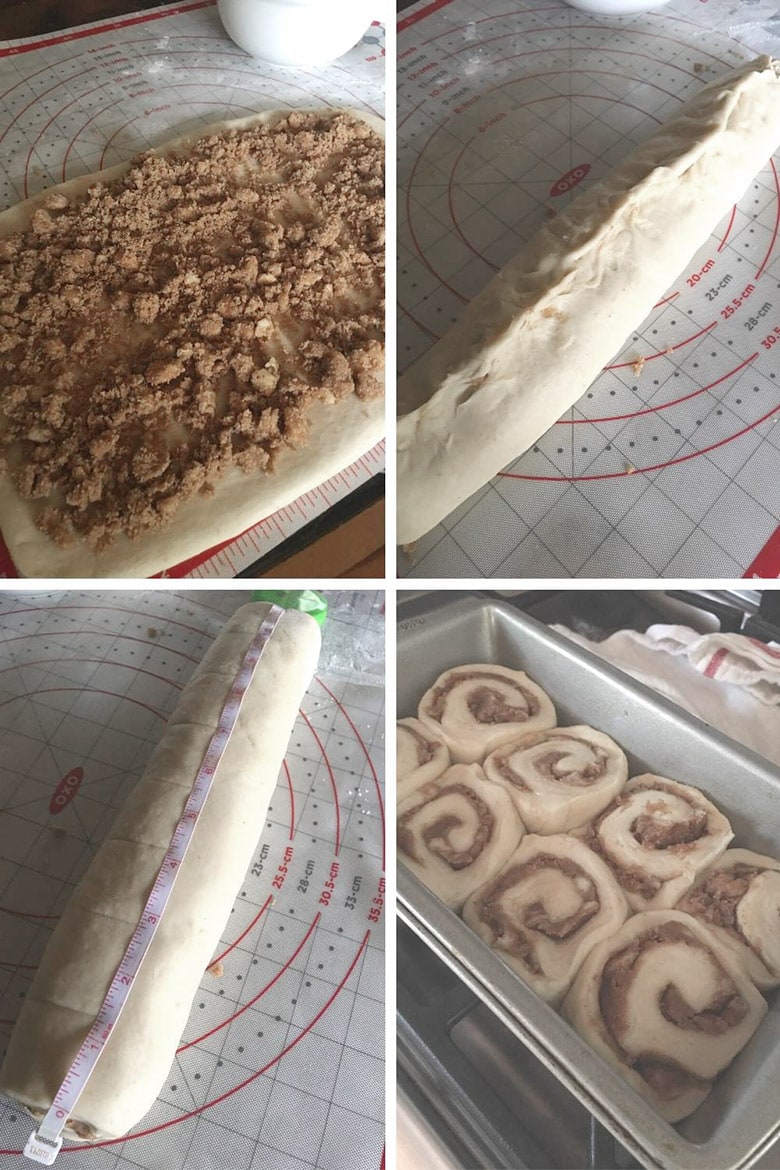
It’s helpful to make use of a measuring tape to make sure your buns end up the same size. I like to trim off about 1/2-inch from both ends of the rolled log of dough, as it usually thin and with little filling anyway. Then measure and mark out your dough, cutting into 8 even slices (usually around 1 1/2 inches wide-ish).
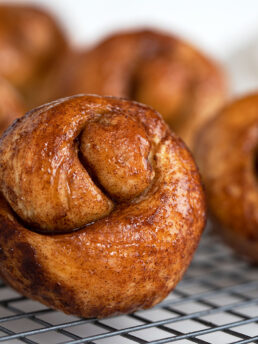
Love Chelsea Buns? Check out my round loaf Muskoka Chelsea Buns as well, which are made with regular Active Dry yeast.
Recipe Tips
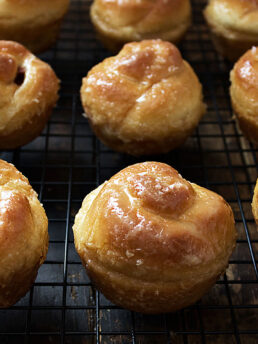
- You can use this same recipe to make a round-shaped pan of pull apart sticky Chelsea buns. Simply cut your rolled up log of dough into 12 pieces instead of 8 and place them into a round cake pan (somewhere around 9-inch is about right). The resulting buns will not be as high as the ones you get from the loaf-shape. You could use a springform pan, but unless your springform pan is super tight, the butter may leak out as they bake.
- I always bake these on top of a baking sheet, just to be sure to catch any bubble-overs from the hot butter and sugar mixture that fills these buns.
- Be sure to invert the buns while still quite warm. I like to let them sit in the pan for about 5 minutes, then invert. Be sure to run a knife around the edges before flipping, to ensure they come out without any sticking.
- Looking for a Chelsea Buns Round? Check out my Muskoka Chelsea Buns recipe!
Storing and Freezing
Chelsea buns are best on the day they are baked, but will keep reasonably well another day, well wrapped, at room temperature.
Chelsea buns freeze beautifully!
Want to save this recipe?
Enter your email and I’ll send it to your inbox. Plus, you’ll get great new recipes from me every week!
By submitting this form, you consent to receive emails from Seasons and Suppers.
You can unsubscribe at any time.
Get the Recipe: Sticky Chelsea Buns Loaf
Ingredients
- 2 1/2 – 3 cups (325 – 390 g) all-purpose flour, plus more as needed
- 1/4 cup white granulated sugar
- 1 teaspoon fine salt
- 2 1/4 teaspoons quick or rapid-rise yeast, *see Note below for using regular instant yeast or active dry yeast
- 1/2 cup water
- 1/4 cup whole milk
- 2 Tablespoons butter
- 1 large egg
Filling:
- 6 Tablespoon butter, cold, cut into 6 pieces
- 1 cup brown sugar, packed
- 2 teaspoon cinnamon
- 2/3 cup raisins, optional
Topping:
- 6-8 pecan halves
- 6-8 Maraschino cherries, whole
Instructions
- Combine 2 1/2 cups of the all purpose flour, the white sugar, salt and quick-rise yeast in a large bowl or the bowl of your stand mixer, fitted with the kneading hook. In a small saucepan or in the microwave, heat the water, milk and 2 Tablespoons butter until just warm to the touch (about 105F). Stir the milk mixture into the dry ingredients, then add egg and mix in until well combined, scraping down the bowl as needed to combine the flour. Start adding more flour, in small increments, mixing in well before adding more. Continue adding flour until you have a moist dough that wraps around the hook and cleans the bowl of the mixer. Dough will look a bit sticky at this point. Remove dough to a lightly floured surface and knead briefly. Form into a ball, cover with a clean tea towel and let rest 10 minutes.
- Meanwhile, make the filling by stirring together the brown sugar and cinnamon in a medium bowl. Add the 6 Tablespoons cold butter, cut into cubes. Using your fingertips or a pastry blender, rub or cut the butter into the brown sugar until you have an even, crumbly mixture. Place 1/3 cup of brown sugar mixture into the bottom of a greased 9-inch x 5-inch loaf pan. Add 2 Tbsp. water and stir together to make a sauce (may be a bit lumpy, but not to worry. The lumps are butter and that will melt). Place the halved cherries and pecans (good side down) on top of the sauce.
- Once dough has rested, roll into a 9 x 14-inch rectangle. Spread the remaining brown sugar/cinnamon mixture evenly over the dough, then sprinkle raisins on top, if using. Starting from the long side, roll up jelly roll style, trying not to pull or stretch the dough too much as you roll (aim for a gentle push. This prevents the dough spirals from exploding upwards when they cook). Pinch the seam together and place on a cutting board, seam side down. Cut into 8 even slices (*I like to cut 1/2-inch off each end and then measure the remaining, divide by 8 and then pre-mark the dough lightly with the edge of the knife. You could wing it, but that never works out well for me well when I do that.). The slices will probably be 1 1/2-inches wide-ish. Place the slices cut side up in the pan. Cover the pan with plastic wrap and let rise in a warm place for about 40 minutes, or until doubled.
- Preheat oven to 350° F. (regular bake setting/not fan assisted)
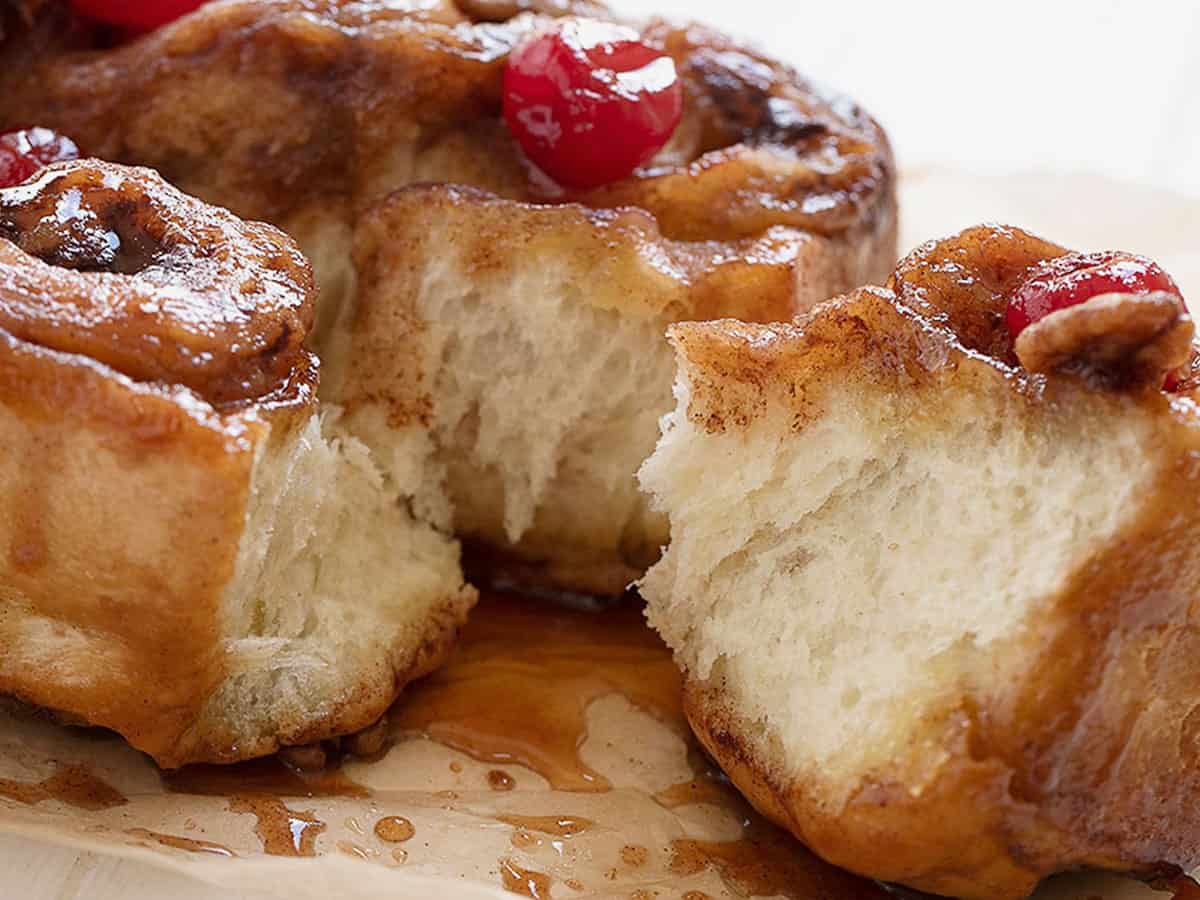
- Once the rolls have doubled, place loaf pan on top of a baking sheet (to catch any bubble-overs) and bake for about 35 minutes. Check at the 30 minute mark and cover loosely with foil the top is at risk of getting too brown. Remove from oven. Allow to rest in the pan for 5 minutes. Run a knife around the edges, then invert onto a cooling rack with a piece of parchment paper on top, to catch the syrup. To avoid a gummy dough, allow to cool almost completely before pulling off that first piece (I know it's hard to resist, but remember you can always warm it back up a bit with a few seconds in the microwave later).
Notes
More Sticky Bun Recipes to Love!
Hi! I’m Jennifer, a home cook schooled by trial and error and almost 40 years of getting dinner on the table! I love to share my favourite recipes, both old and new, together with lots of tips and tricks to hopefully help make your home cooking enjoyable, stress free, rewarding and of course, delicious!
This is great. I thought everybody had forgotten this style of chelsea bun from my childhood. I made it on the weekend with some leftover bread dough….they did not survive the day.
So glad you enjoyed them! Thanks :)
I’m just wondering how I would reheat them after they have been frozen. Thanks.
Waites bakery in Bracebridge used to make the best Chelsea buns
Hi Jackie and yes, Waites did make fabulous Chelsea buns (and chocolate iced donuts!!). As for re-warming, you can microwave briefly or wrap in foil and pop into a 350F oven for 5-10 minutes.