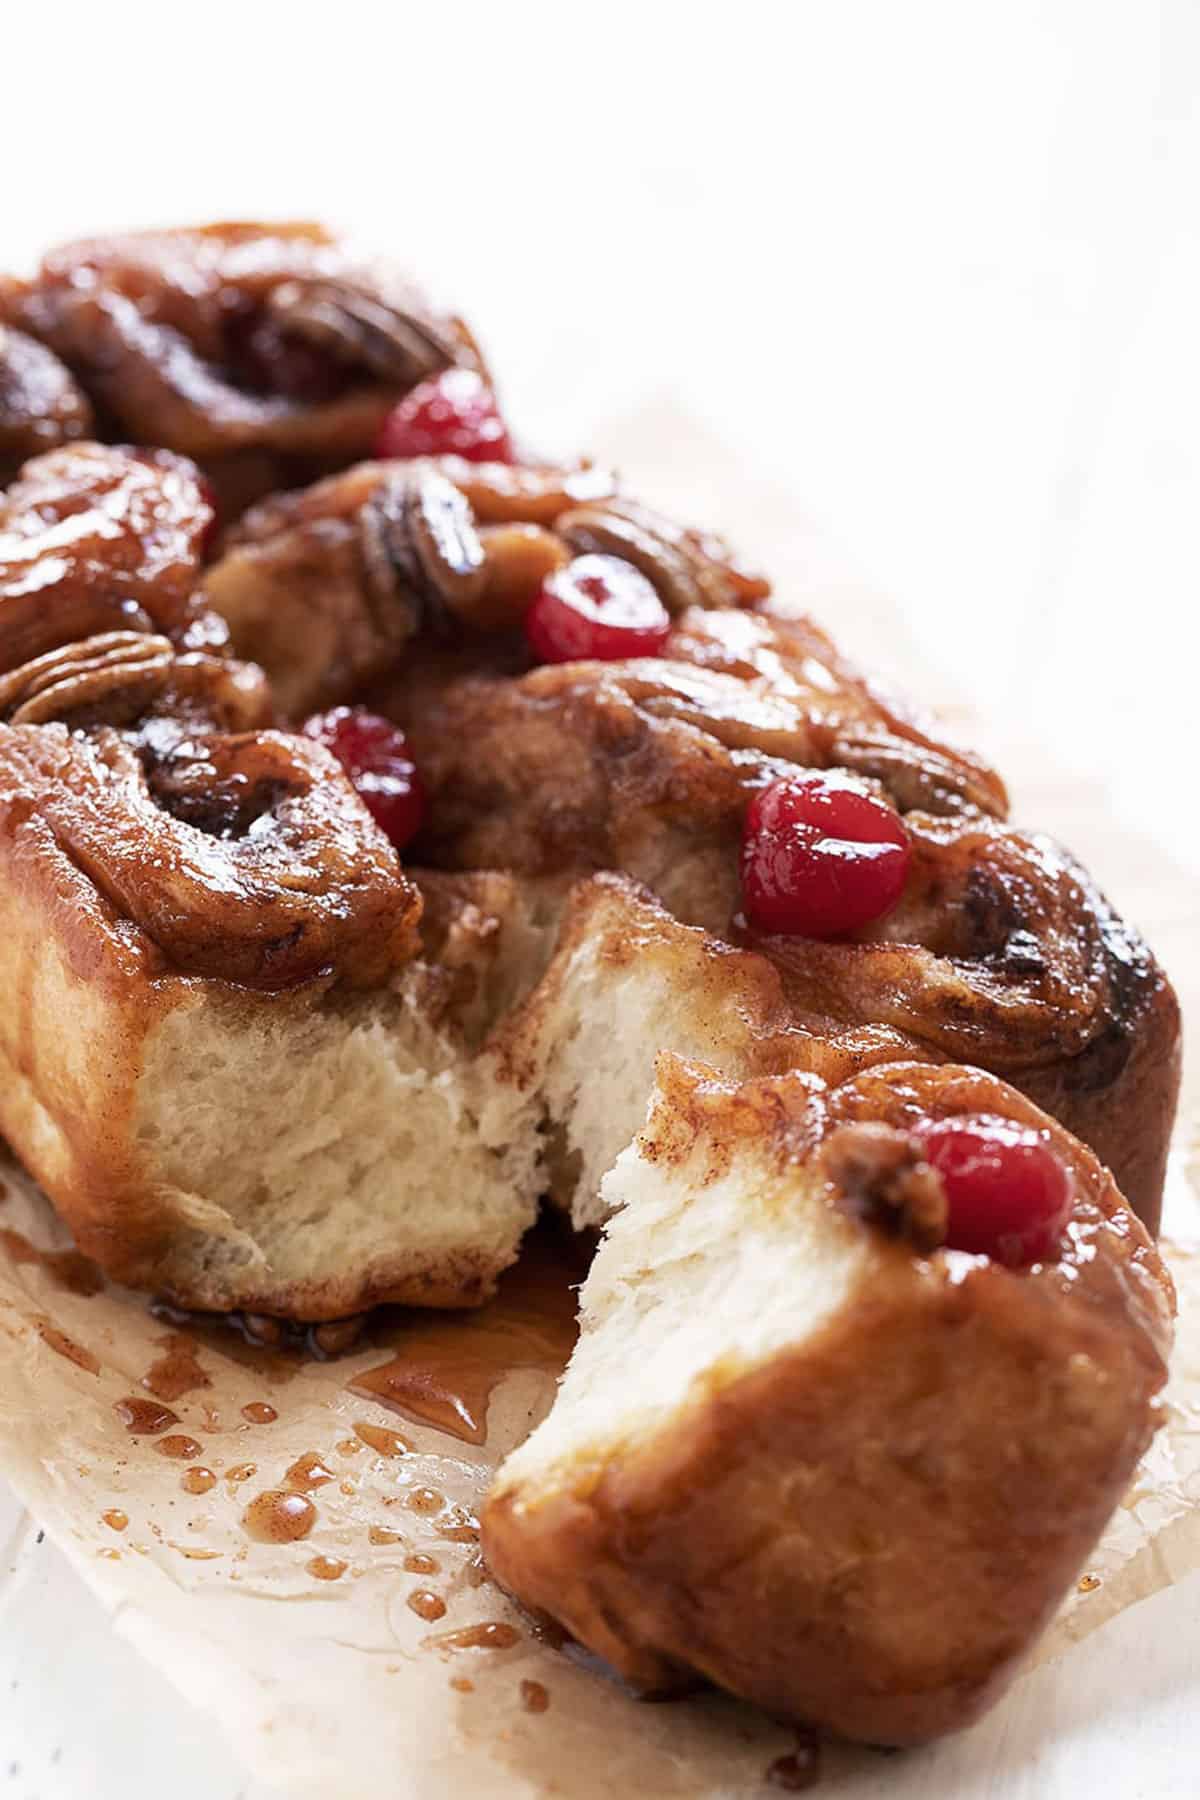
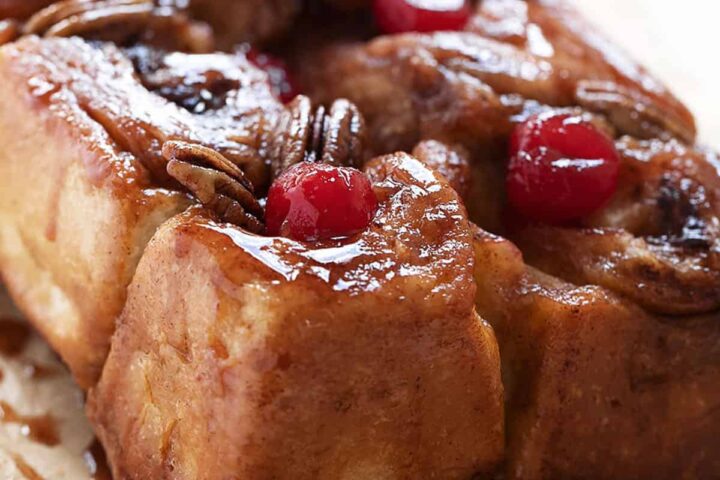
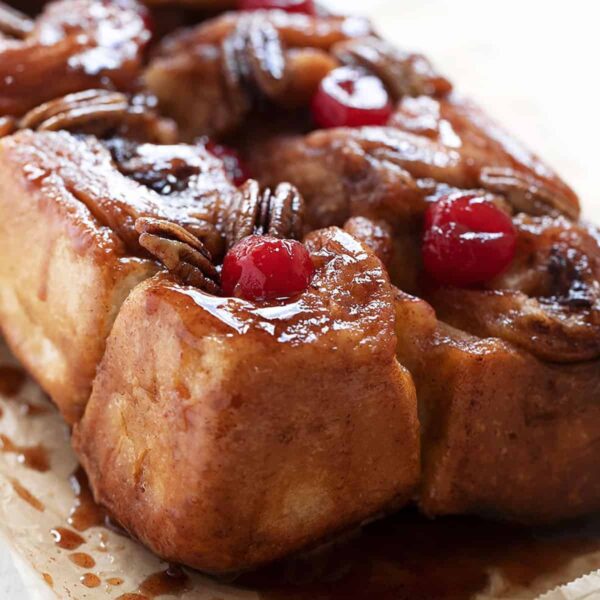
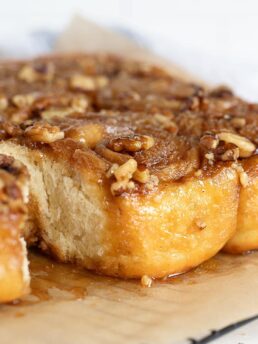
These sticky Chelsea Buns are a cottage country staple! This Muskoka cottage country favourite is made as a fun pull apart loaf and is quick and easy, too!
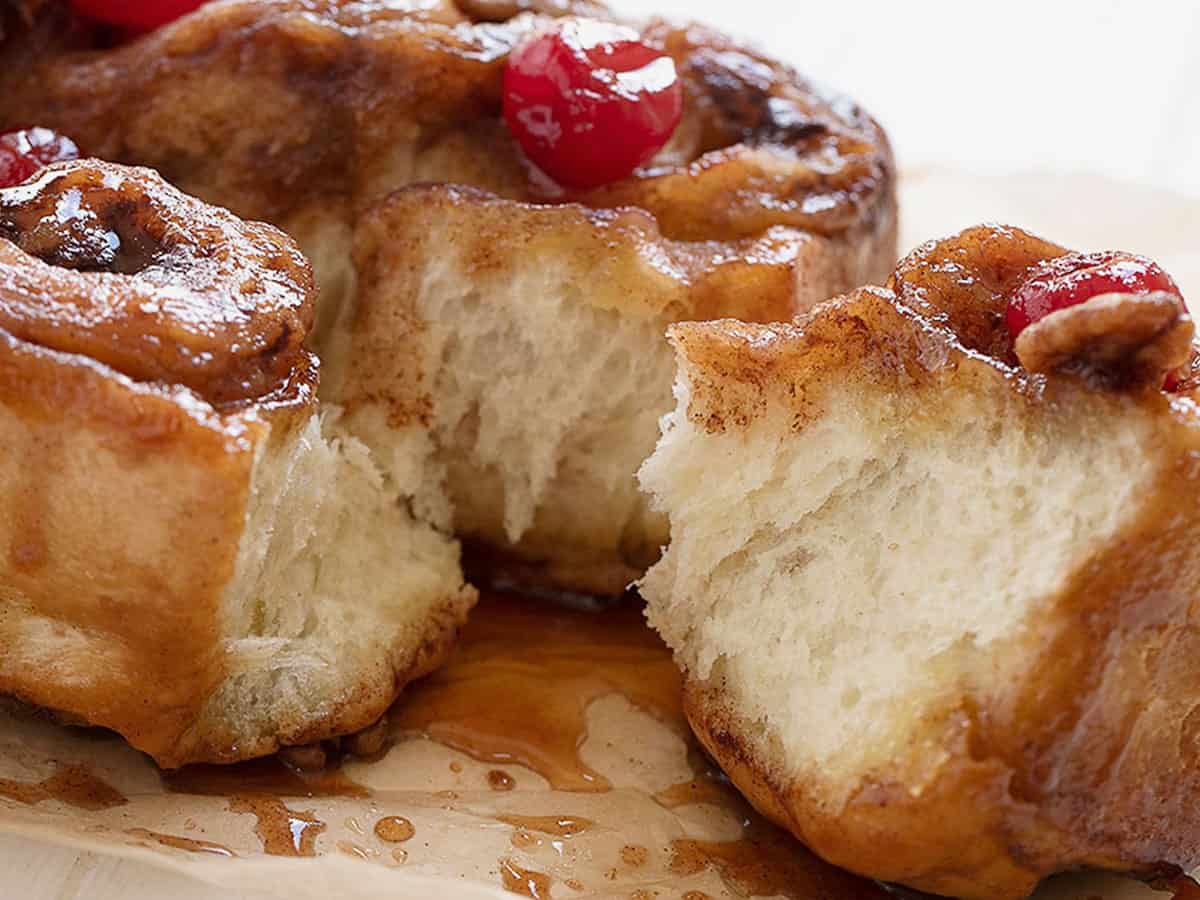
There are two kinds of Chelsea Buns. There’s the traditional British style, which are sweet rolls with a bit of a sugary glaze and studded with currants. I’m sure they’re very good, but these aren’t those kind of Chelsea buns.
These are the kind of extra sticky Chelsea Buns that you’ll find in small bakeries and Farmer’s Markets all over cottage country in the central Ontario regions of Muskoka, Haliburton and Kawartha Lakes.
Ingredients and Substitutions
Quick or Rapid-Rise Instant Yeast – Starting with quick/rapid-rise instant yeast means you can be enjoying these delicious buns in no time, as you can skip the typical first rising period. Simply mix the dough, let rest a short 10-minutes, then shape and let rise to doubled before baking. Quick/rapid-rise yeast also doesn’t need proofing in water, so you can add it directly to the bowl with the flour.
If you only have active-dry or regular instant yeast, see the notes in the recipe card below for how to adapt this recipe for regular yeast.
Maraschino Cherries – This is the traditional topping for this style of Chelsea Buns. You only need a few. Also note that as this is an upside-down loaf, you will be adding the cherries to the bottom of the pan to start. Once baked and inverted, they will end up as the topping. If you don’t have or want to use cherries, you can simply omit.
Pecans – Again, halved pecans are another common topping and again, they actually start out on the bottom of the pan, so they end up on top of the loaf. Be sure to put the pretty top of the pecan facing down, so they end up facing up :) If you want a nut-free loaf, simply omit.
Raisins – Raisins always seem to be a bit divisive. I love them and I love them and always include them in my buns. That said, they are easily omitted if you are not a fan.
You will also need – All-purpose flour, white sugar, salt, brown sugar, cinnamon and butter.
Step-by-Step Photos
This is a visual summary of some of the steps to make these Chelsea Buns. Always refer to the complete instructions in the Recipe Card below.
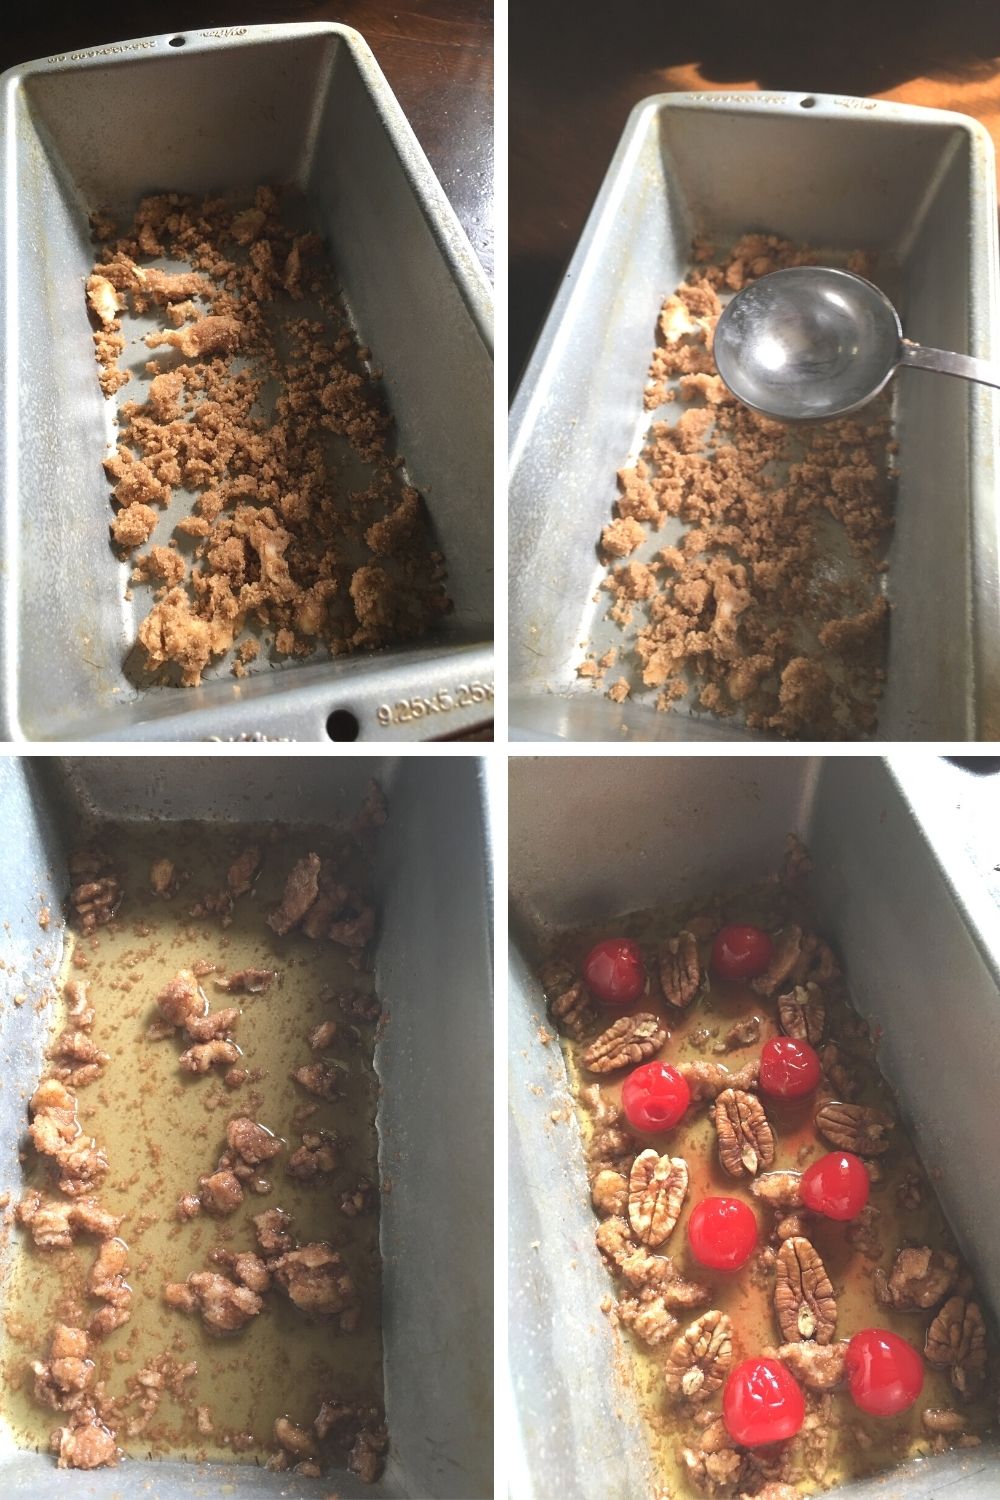
These easy Chelsea Buns use some of the brown sugar/butter/cinnamon filling mixture to make the sticky topping. Simply add some to your loaf pan and mix with a couple of tablespoons of water. You’ll also add your cherries and pecans to the bottom of the loaf pan. As the pan will be inverted after baking, the cherries and pecans will end up on top of your loaf and the sticky mixture will turn to syrup and bath your buns in sticky goodness.
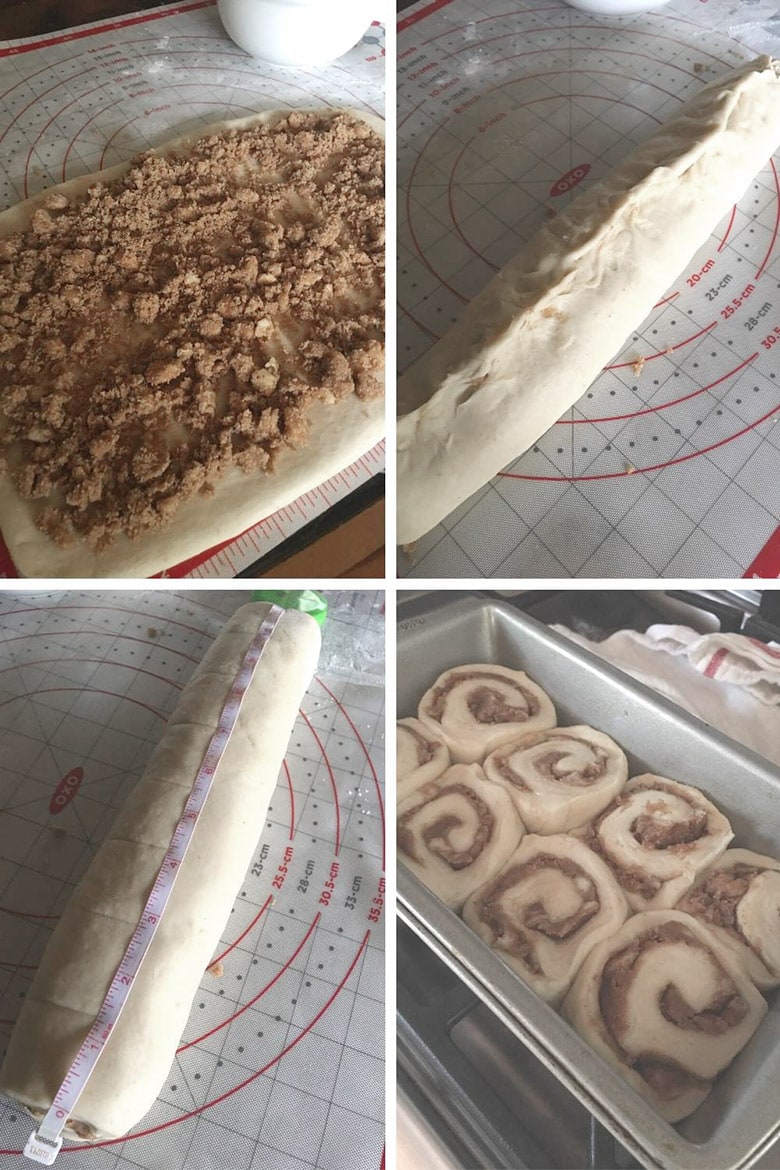
It’s helpful to make use of a measuring tape to make sure your buns end up the same size. I like to trim off about 1/2-inch from both ends of the rolled log of dough, as it usually thin and with little filling anyway. Then measure and mark out your dough, cutting into 8 even slices (usually around 1 1/2 inches wide-ish).
Love Chelsea Buns? Check out my round loaf Muskoka Chelsea Buns as well, which are made with regular Active Dry yeast.
Recipe Tips
- You can use this same recipe to make a round-shaped pan of pull apart sticky Chelsea buns. Simply cut your rolled up log of dough into 12 pieces instead of 8 and place them into a round cake pan (somewhere around 9-inch is about right). The resulting buns will not be as high as the ones you get from the loaf-shape. You could use a springform pan, but unless your springform pan is super tight, the butter may leak out as they bake.
- I always bake these on top of a baking sheet, just to be sure to catch any bubble-overs from the hot butter and sugar mixture that fills these buns.
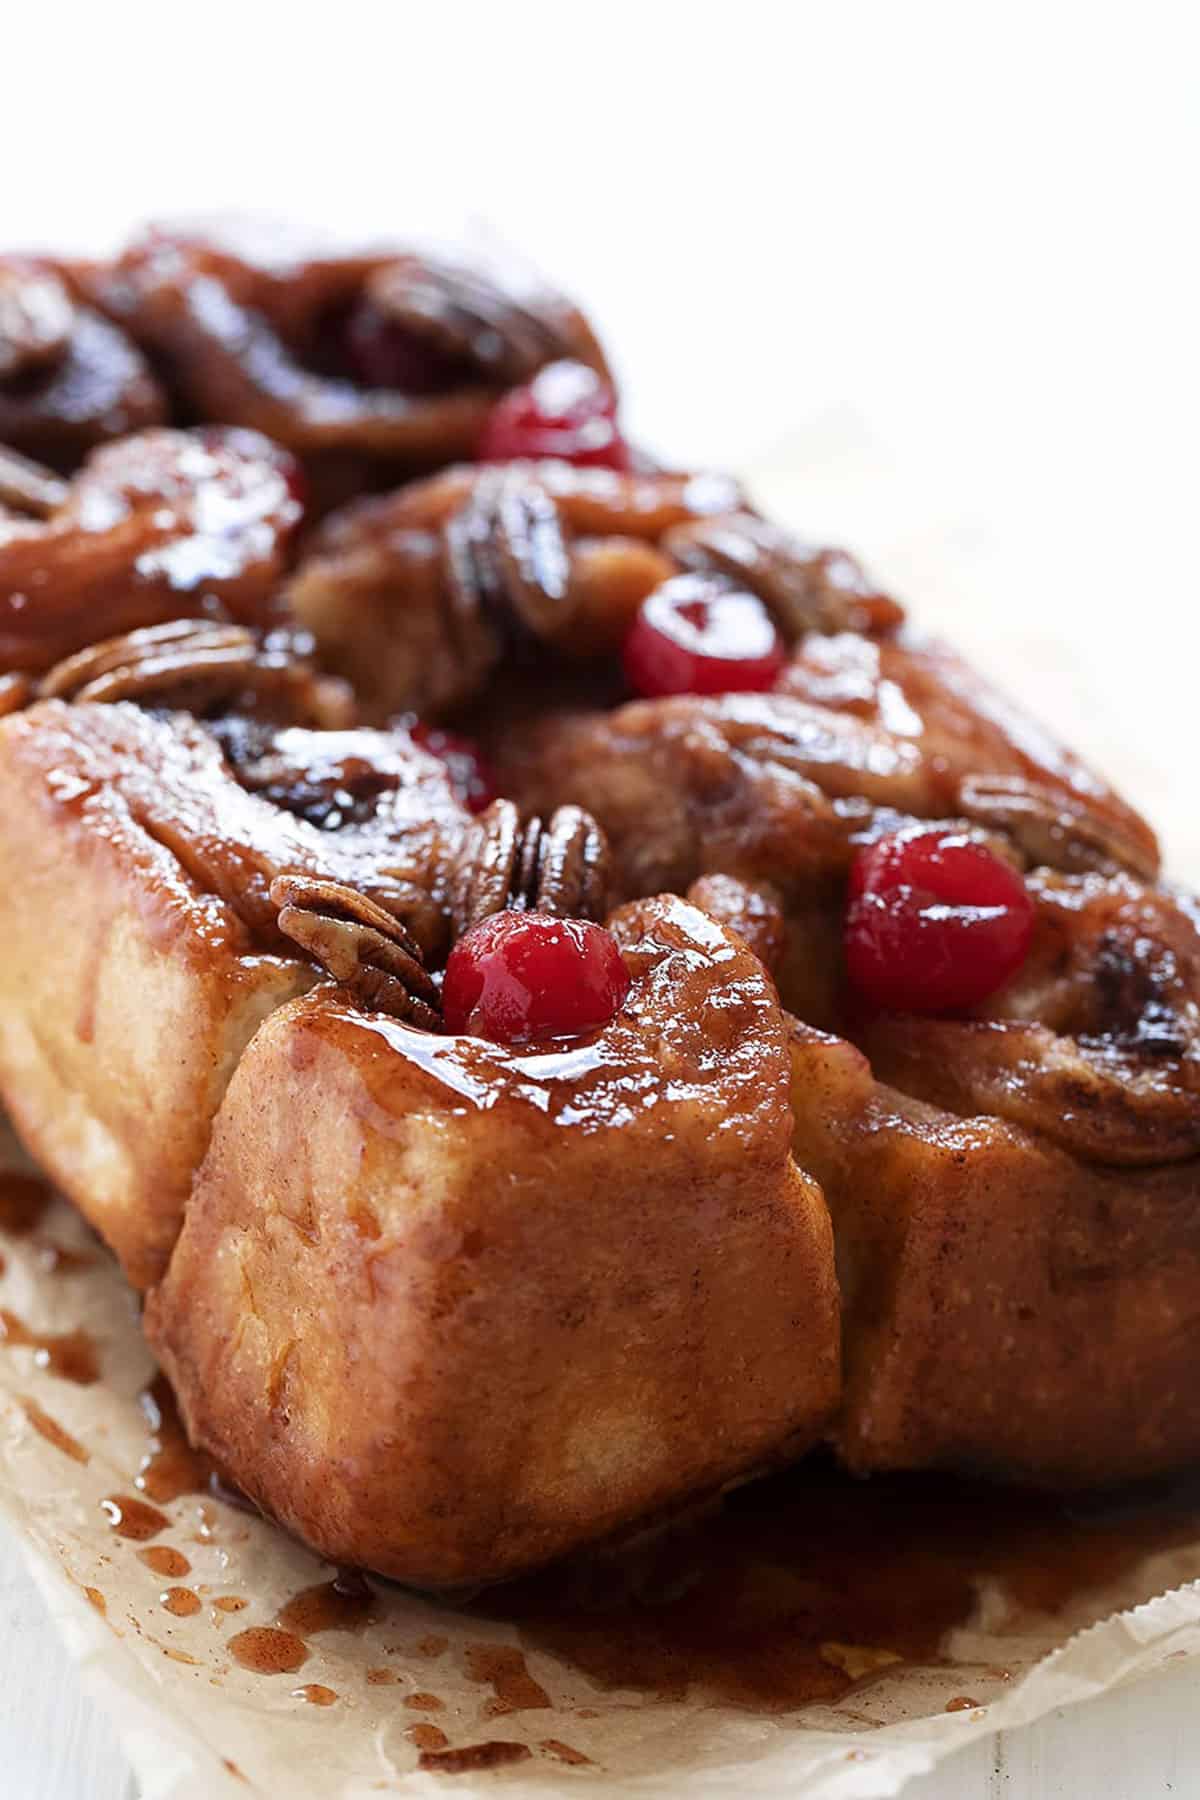
- Be sure to invert the buns while still quite warm. I like to let them sit in the pan for about 5 minutes, then invert. Be sure to run a knife around the edges before flipping, to ensure they come out without any sticking.
- Looking for a Chelsea Buns Round? Check out my Muskoka Chelsea Buns recipe!
Storing and Freezing
Chelsea buns are best on the day they are baked, but will keep reasonably well another day, well wrapped, at room temperature.
Chelsea buns freeze beautifully!
Want to save this recipe?
Enter your email and I’ll send it to your inbox. Plus, you’ll get great new recipes from me every week!
By submitting this form, you consent to receive emails from Seasons and Suppers.
You can unsubscribe at any time.
Get the Recipe: Sticky Chelsea Buns Loaf
Ingredients
- 2 1/2 – 3 cups (325 – 390 g) all-purpose flour, plus more as needed
- 1/4 cup white granulated sugar
- 1 teaspoon fine salt
- 2 1/4 teaspoons quick or rapid-rise yeast, *see Note below for using regular instant yeast or active dry yeast
- 1/2 cup water
- 1/4 cup whole milk
- 2 Tablespoons butter
- 1 large egg
Filling:
- 6 Tablespoon butter, cold, cut into 6 pieces
- 1 cup brown sugar, packed
- 2 teaspoon cinnamon
- 2/3 cup raisins, optional
Topping:
- 6-8 pecan halves
- 6-8 Maraschino cherries, whole
Instructions
- Combine 2 1/2 cups of the all purpose flour, the white sugar, salt and quick-rise yeast in a large bowl or the bowl of your stand mixer, fitted with the kneading hook. In a small saucepan or in the microwave, heat the water, milk and 2 Tablespoons butter until just warm to the touch (about 105F). Stir the milk mixture into the dry ingredients, then add egg and mix in until well combined, scraping down the bowl as needed to combine the flour. Start adding more flour, in small increments, mixing in well before adding more. Continue adding flour until you have a moist dough that wraps around the hook and cleans the bowl of the mixer. Dough will look a bit sticky at this point. Remove dough to a lightly floured surface and knead briefly. Form into a ball, cover with a clean tea towel and let rest 10 minutes.
- Meanwhile, make the filling by stirring together the brown sugar and cinnamon in a medium bowl. Add the 6 Tablespoons cold butter, cut into cubes. Using your fingertips or a pastry blender, rub or cut the butter into the brown sugar until you have an even, crumbly mixture. Place 1/3 cup of brown sugar mixture into the bottom of a greased 9-inch x 5-inch loaf pan. Add 2 Tbsp. water and stir together to make a sauce (may be a bit lumpy, but not to worry. The lumps are butter and that will melt). Place the halved cherries and pecans (good side down) on top of the sauce.
- Once dough has rested, roll into a 9 x 14-inch rectangle. Spread the remaining brown sugar/cinnamon mixture evenly over the dough, then sprinkle raisins on top, if using. Starting from the long side, roll up jelly roll style, trying not to pull or stretch the dough too much as you roll (aim for a gentle push. This prevents the dough spirals from exploding upwards when they cook). Pinch the seam together and place on a cutting board, seam side down. Cut into 8 even slices (*I like to cut 1/2-inch off each end and then measure the remaining, divide by 8 and then pre-mark the dough lightly with the edge of the knife. You could wing it, but that never works out well for me well when I do that.). The slices will probably be 1 1/2-inches wide-ish. Place the slices cut side up in the pan. Cover the pan with plastic wrap and let rise in a warm place for about 40 minutes, or until doubled.
- Preheat oven to 350° F. (regular bake setting/not fan assisted)
- Once the rolls have doubled, place loaf pan on top of a baking sheet (to catch any bubble-overs) and bake for about 35 minutes. Check at the 30 minute mark and cover loosely with foil the top is at risk of getting too brown. Remove from oven. Allow to rest in the pan for 5 minutes. Run a knife around the edges, then invert onto a cooling rack with a piece of parchment paper on top, to catch the syrup. To avoid a gummy dough, allow to cool almost completely before pulling off that first piece (I know it's hard to resist, but remember you can always warm it back up a bit with a few seconds in the microwave later).
Notes
More Sticky Bun Recipes to Love!
Hi! I’m Jennifer, a home cook schooled by trial and error and almost 40 years of getting dinner on the table! I love to share my favourite recipes, both old and new, together with lots of tips and tricks to hopefully help make your home cooking enjoyable, stress free, rewarding and of course, delicious!



I would love to try this recipe but have never made anything with yeast. My mother used to make Chelsea buns and they were excellent. During these times I could only get traditional dry yeast and I cannot find your notes regarding different yeast types. Could you tell me how much to use and are the instructions any different from above?
Thank you
Hi Candy and no worries. The “note” is actually at the bottom of the instructions. Just go ahead and use your traditional yeast. After you warm the milk/water mixture and making sure that it’s only just warm (Make sure it’s not too hot, or it will kill the yeast. It should be just lukewarm – about 110F, if you have a thermometer), add the traditional yeast to that mixture and let stand a few minutes before adding to the flour mixture. Also, the second rise period will be longer with the traditional yeast, but that should be the only other change. Enjoy!
This was a lovely recipe, thank you for posting it!
My dad always made Chelsea buns for Christmas morning when we were kids. He had his own version with walnuts and raisins. I decided to make them for my parents this year for when I went to see them, following this recipe, and they were a hit!
I always have people split on the “raisins in bread” thing, so next year when I make them, I’ll probably make one with chopped pecans inside instead of raisins!
So glad you enjoyed them and yes, raisins are always divisive. I think they’re nice without anything added, too. Thanks!
I fondly remember the buns from Don’s in Bala and would love to try this recipe but I am confused about the yeasts.
You seem to be referring to 3 different ones: quick rise, instant and active dry. I use a bread machine yeast. Can you tell me which one of the 3 it is?
And if I use it should I use a double rise for best results?
I thought I would use the dough cycle on my machine, remove the dough, rest it, roll it and make the final rise in the loaf pan.
Thank you
Hi Donald, bread machine yeast is instant yeast so yes, a double rise would be good. Your plan sounds perfect! Enjoy :)
Hi Jennifer,
Back in the 60’s, early 70’s there was a bakery on Flint Ave. in Bancroft ON that made fabulous Chelsea buns that were often sold out within hours of the store opening. With that bakery long gone I have always wanted to make a Chelsea bun myself. Finding your recipe was just the incentive I needed.
We are not great fans of Maraschino cherries so I omitted them and rather than pecan halves I used pecan pieces and conservatively spread them over the brown sugar/cinnamon sauce in the bottom of the 9″x5″ pan. I used Sultana raisins but next time I’ll try the Thompson variety. The buns turned out great and were a big hit around here. Thanks.
Paul
January 1, 2019
So glad you rediscovered them, Paul. They are still on regular offer in bakeries here in Muskoka :) Your version sounds lovely. Thanks!
Hi Paul, You are not alone. Long ago we had a cottage on Baptiste Lake and would make regular runs to Bancroft just for Chelsea Buns. We had to buy a few since we’d usually eat one on the way home. Nothing has come close and I’ve tried every bun out there. I can’t wait to try this recipe. Finding this recipe and your comment made my day.
Hello!
I, for the life of me, cannot find whole milk anywhere in my general area. Is there a suggested substitution for it?
Thank you,
Miranda
Hi Miranda, I have a feeling you may be looking for the wrong thing. Whole milk is simply 3% (or sometimes 3.5%) milk, which you should be able to find in just about any grocery store. In the unlikely event that you can’t, you could substitute 2% milk. Hope that helps!
Dear Jennifer,
Thank you so much.
I must bake this Chelsea bread for this Christmas.
My father always had this on hand Christmas morning – and we’d apply a good bit of butter to it as well (can you imagine?).
With a nice cup of tea.
I can imagine, Laura :) Sounds perfect. Do enjoy!
Jennifer,
I have been trying perfect the Bobcaygeon chelsey buns. I used your recipe with nuts, cherries and raisins left out!… apparently it’s a hit with our family. The woke too the aroma of cinnamon in the oven and fresh coffee….. I will be using this recipe all the time. Thank you for posting this!….?
So glad you enjoyed these, Ian :) Thanks!
Excellent results using Costco RedStar active dry yeast and the method as described …I did let the kneaded dough rise / rest longer than the 10 minutes ….perhaps 15 minutes total…while I was mixing up the brown sugar mixture and buttering the loaf pan …rest of recipe was followed exactly…covered buns waited 40 minutes in loaf pan before baking…Hubby thinks I could open a bakery with these…Thank you for this OUTSTANDING recipe !
So glad you enjoyed these Sylvia :) Thanks so much!
Thank you so much! You’ve brought back some wonderful memories of picking up a few loaves of these from the Lakefield bakery in the Kawarthas. I’ve been searching for a long time for this recipe!
Thanks Marian. Enjoy! :)
I came across your lovely recipe today and I am just getting ready to start making it. I am in Newfoundland- so almost your neighbour! Hope you are enjoying some nice winter weather now and making some awesome buns and goodies now like I am!
Hi Carol! We have had an unseasonably warm winter so far in Central Ontario. Very little snow even yet. Not that I mind :) I visited Newfoundland a few years ago and loved every minute of it. Hoping to get back some day. Enjoy the buns :)
Hi Jennifer! I am SO glad that you posted this recipe and that I finally found it.
When I was a kid (a REALLY long time ago; ) my mom was in the Bethesda-Reach Women’s Institute – between Uxbridge & Port Perry – and, somewhere around Centennial year, they did a unit on yeast bread…
Needless to say, her course book (printed by the Ontario Ministry of Agriculture/Home Economist) is long gone and I’ve been searching for years for the recipe for these kind of Chelsea Buns!
One thing though, I’m pretty sure that her recipe used 8″ square cake pans (once I get the dough together I’ll know better) but I’ll be sure to let you know how they turned out; )
Thanks again! Deb
Hi Deb and glad you found it! They are delicious :) I’m sure some people baked these in an 8-inch square pan. I tend to like them squashed together and tall in a loaf pan. Just personal preference. They are good baked in any pan. Enjoy!
Jennifer, have you ever made these over 2 days (e.g. refrigerating the dough after step 3? and then cooking them the next day?) If so, did they work out okay? Thank you!
Hi Kira, I haven’t. It should work in theory, but I’d probably use traditional (active dry) or instant yeast (not rapid rise) if you want to try it.
Jennifer, seems like I am not the only one who has fond family memories (stopping in Bobcaygeon on the way to Green’s Lake, & Grandma & Grandpa’s cottage) of this style of bun. I have literally been searching the net for years for “this” recipe; today when I searched “chelsea bun” yours was the first and I knew by the description this was “the” recipe. I bookmarked it even before making them!! On my second one, and no, I couldn’t wait :p! Thanks.
So glad you found it, Sabrina and glad you enjoyed them. I have many memories growing up eating these buns :)
Jennifer, these were absolutely delicious. They taste even better than they look. I haven’t lived in Ontario for 17 years now, but these “took me home”.
So glad you enjoyed them Tamara and so happy to bring you a taste of home :)
These are AMAZING! they taste just like my Grandma used to make. We are from Etwell – in Muskoka :)
Hello from Muskoka (where there is still 2 feet of snow on the ground!). So glad you enjoyed them. I don’t think I’ve known anyone from Etwell ;)