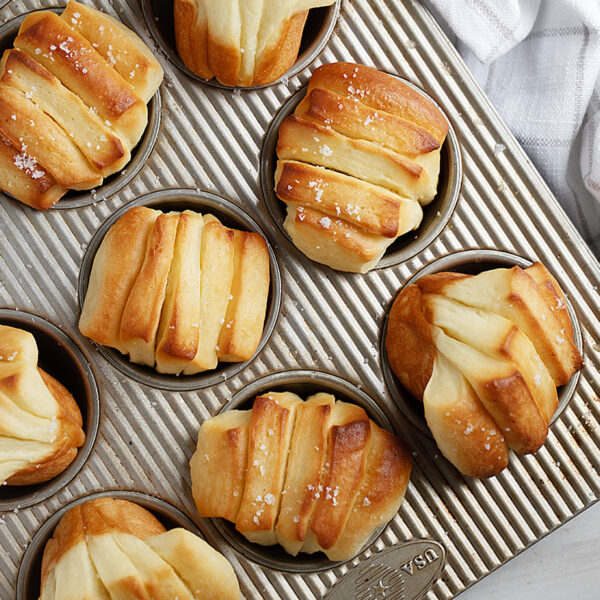
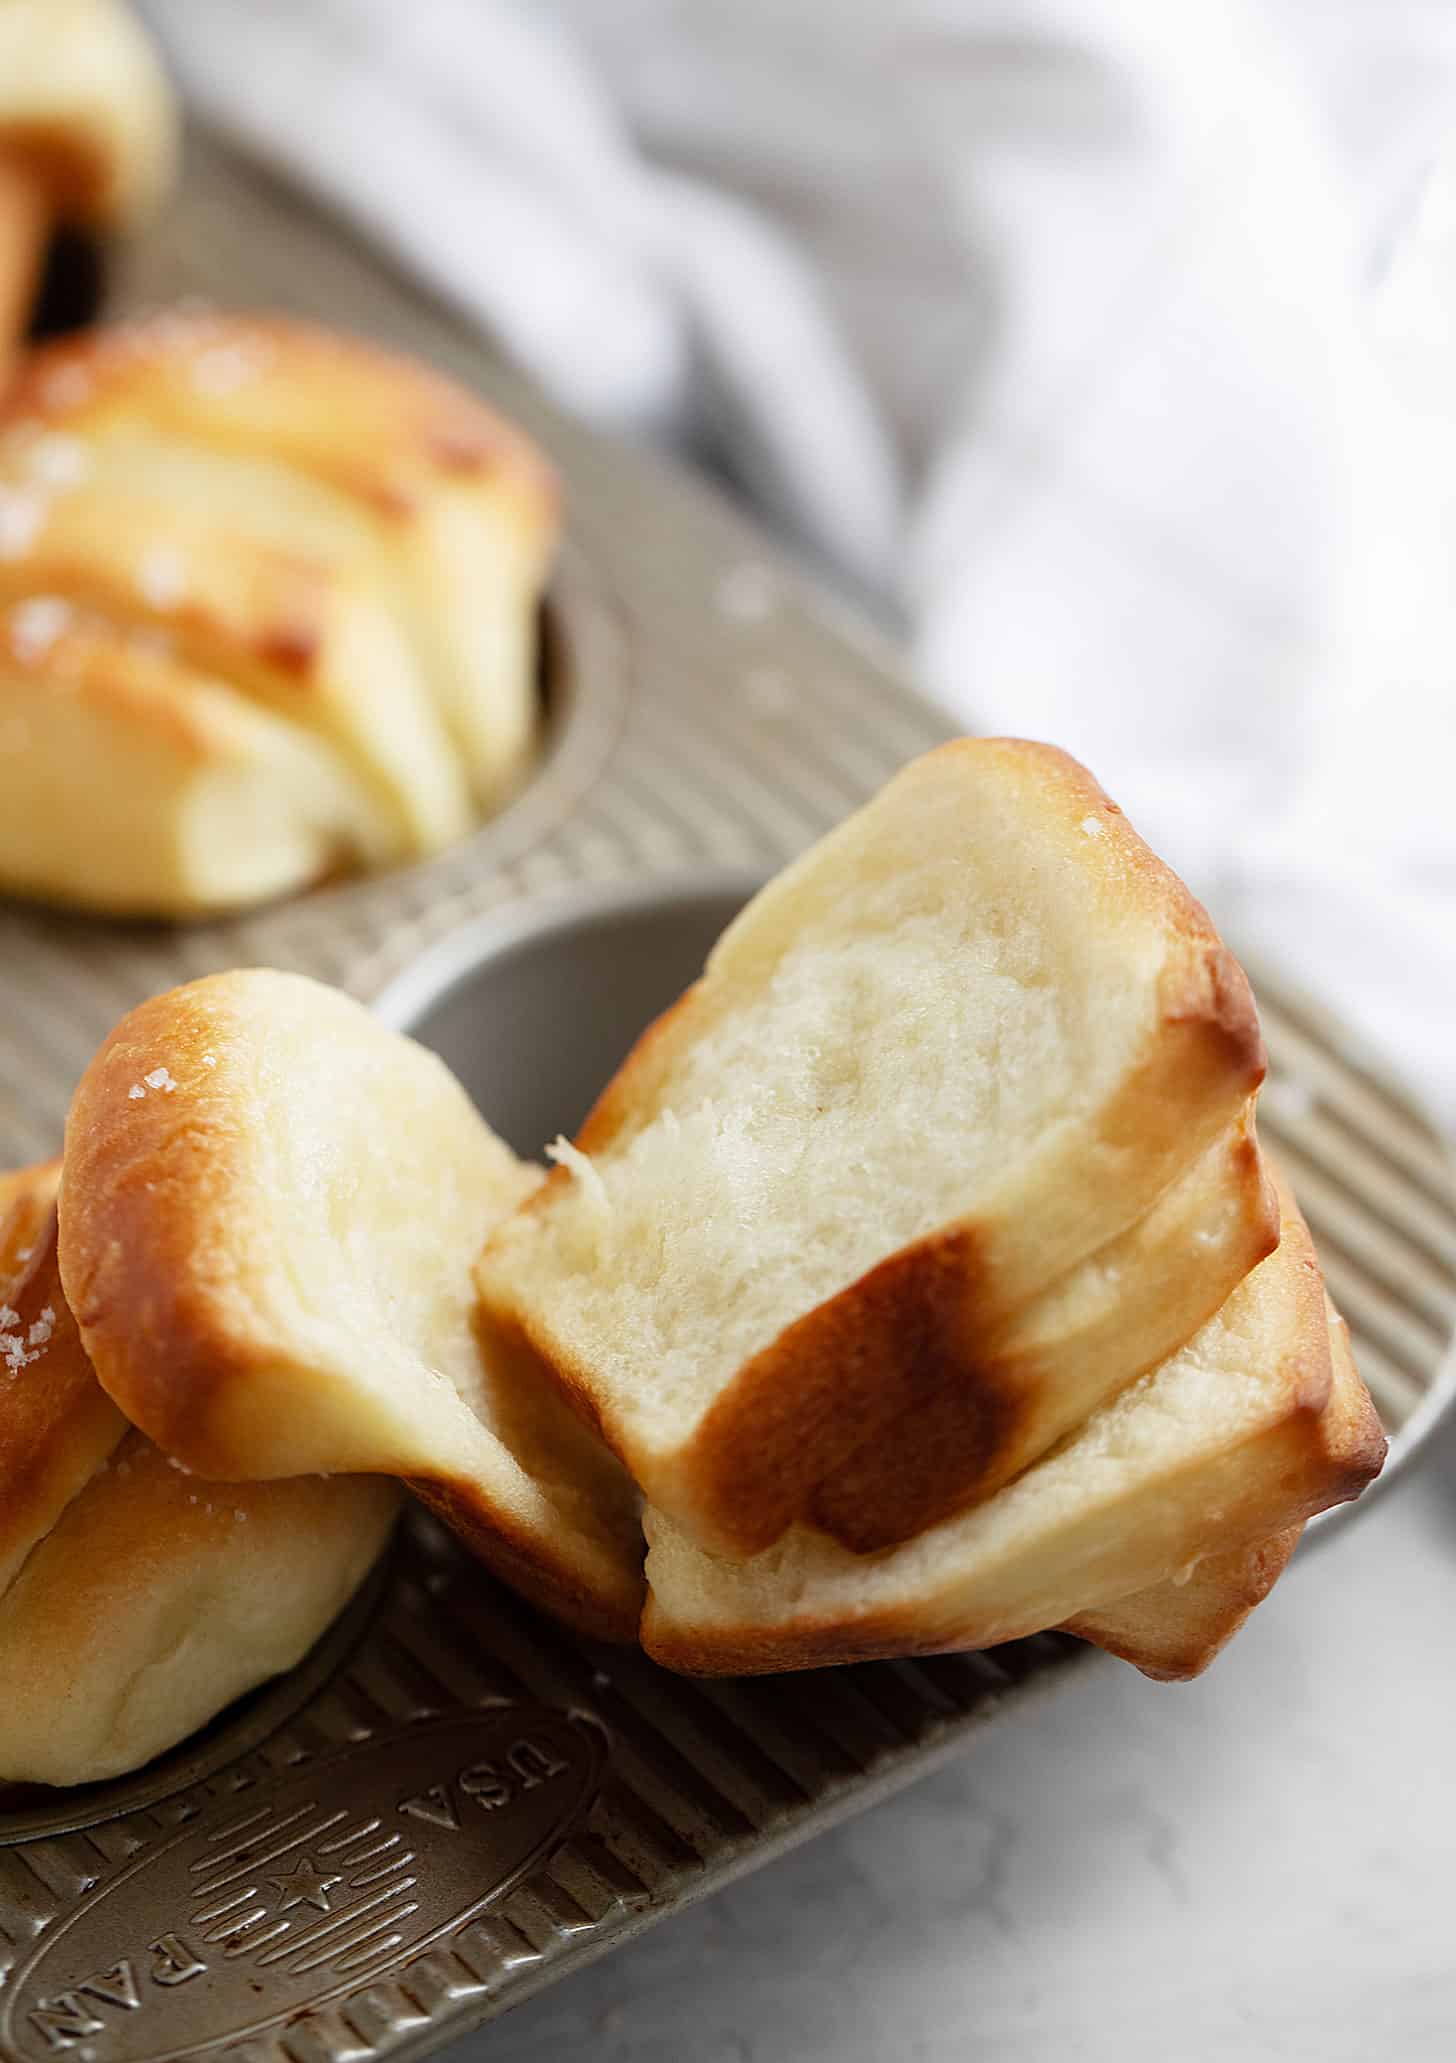
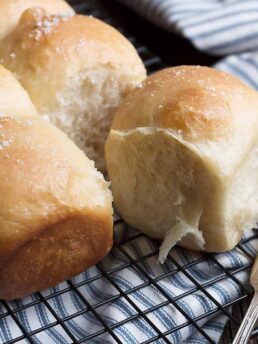
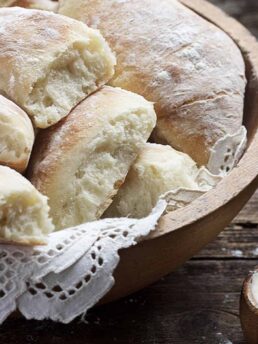
Butterflake Rolls ( also known as Fantail Rolls or Fan Tans) are beautiful buttery dinner rolls, perfect for Thanksgiving, special meals or just everyday enjoyment. They freeze beautifully, too!
While I’m calling them Butterflake Rolls, these rolls are also known as Fantail Rolls or Fan Tans. They are fabulously soft and tender, buttery and perfect for peeling apart. These delicious dinner rolls are perfect for holiday meals or to tuck away in the freezer to enjoy with the cooler weather’s soups and stews.
What you’ll need
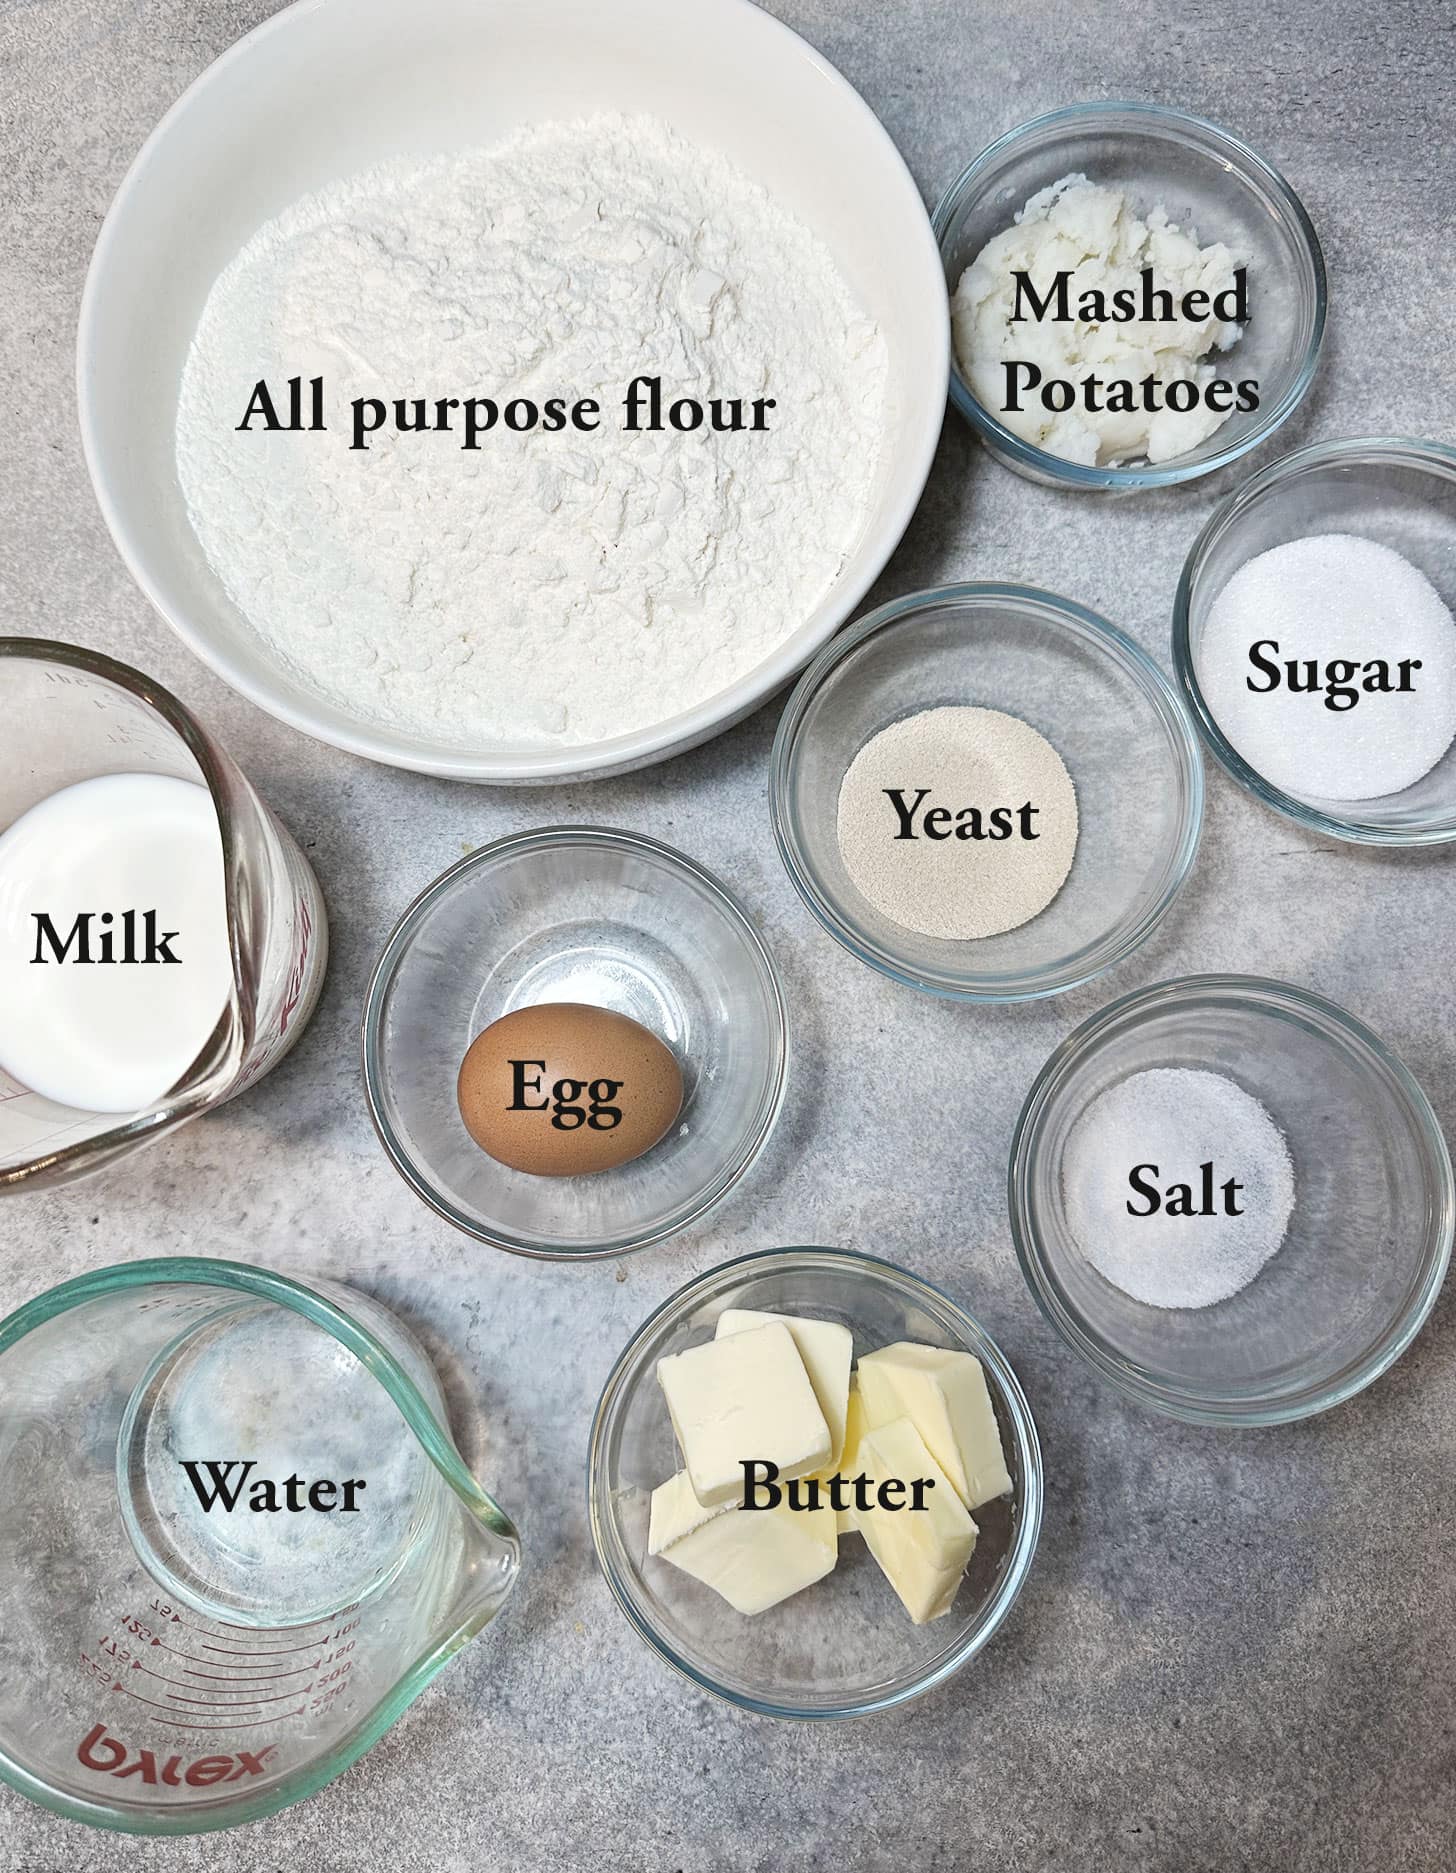
Some notes about the key ingredients …
Yeast – you can use Active Dry yeast or Instant yeast to make these rolls.
Mashed Potatoes – you can use homemade mashed potatoes, left-over mashed potatoes or prepared Instant mashed potatoes.
For the homemade mashed potatoes, I simply boil a potato and mash (without any additions), then measure it out.
For Instant mashed potatoes, prepare as directed with the water/milk, but skip the butter and salt.
If using leftover mashed potatoes, it’s fine if they have been seasoned with salt and butte. Just keep in mind the bit of extra butter and salt that has been introduced to the dough and maybe reduce the added salt slightly.
Butter and Salt – I generally make these rolls with unsalted butter, as I like to salt the tops. If you only have salted butter, that’s fine, simply reduce the added salt in the dough as noted in the Recipe Card. You may find salting the tops unnecessary with the salted butter.
Step-by-step photos
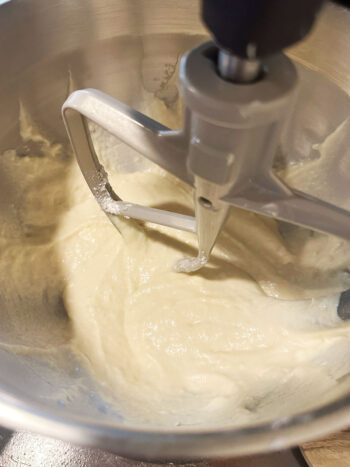
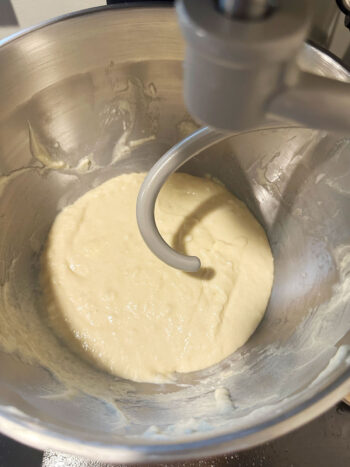
Start by mixing the dough: Note that the dough starts with the paddle attachment, and then switches to the kneading hook. (You can also make these rolls by hand with a bowl and spoon, then switch to kneading on the counter to work in the remaining flour when the spoon becomes ineffective.)
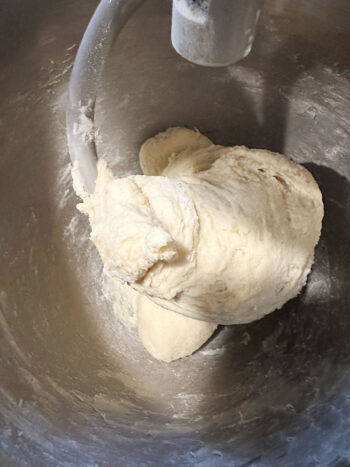
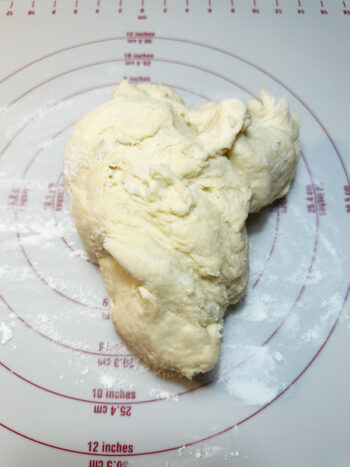
Note the finished dough (Step 8 photo). It should wrap the dough hook and clean the bowl, but it might look a bit moist and a touch sticky still at that point. Remove to a floured work surface and knead, only adding additional flour if the dough is sticking to your hands or the work surface. The dough will look a little lumpy due to the mashed potatoes.
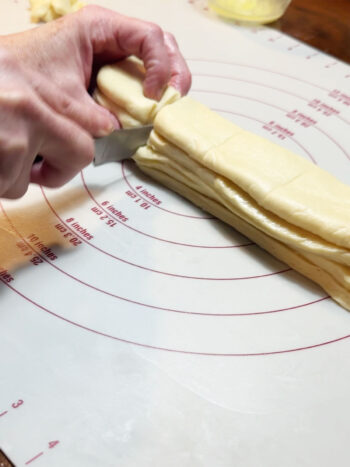
How to shape the Butterflake Rolls: Once the dough has risen, I like to weigh the total dough, then divide by two and weigh out two even pieces of dough. The photos below show the process of rolling and cutting one of the two dough pieces. Each dough piece will make 6 rolls, for 12 rolls total from the two pieces.

Top Tip!
Once you cut the strips, it is important that you don’t grab the strips by the ends to stack them, or you will quickly have a strip that has stretched to be considerably longer than the strip you are stacking it onto. Instead, shimmy the strips next to the main stack of strips, then lift one end up and on top, then continue down the length of the strip, lifting it onto the stack. I’ve shown this in the Recipe Video if the method isn’t clear.
Recipe video
More Recipe Tips
- When rolling out the dough rectangle, I roll it out a little wider than necessary. For the 2″ rolls, the rectangle is rolled to 14″ wide (instead of the expected 12″ for six 2″ rolls). I do this so that I can trim off and discard the thin and irregular ends. So when measuring out for the cuts, trim off 1″ on each end to leave a 12″ wide stack, then cut every 2″.
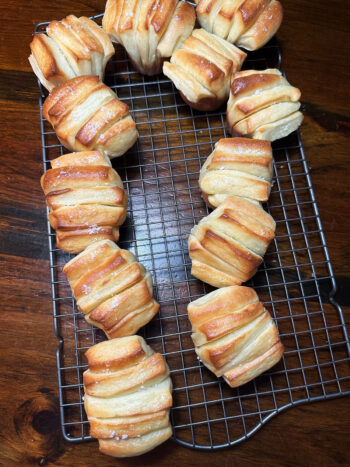
I love a larger roll, so I roll and cut the dough into a 2×2″ square. The minor downside of the larger rolls is that they can be a little top-heavy and more prone to spreading apart when they are hot from the oven and placed on the cooling rack.
I counter this by setting them to cool with the ends touching each other, which works well to prevent that. Once cooled they stay together very well.
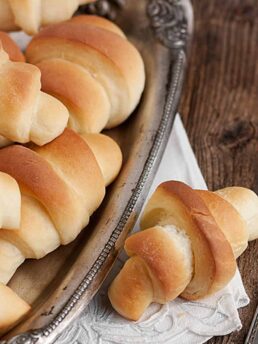
Variation (for 18 smaller rolls)
This recipe as written makes 12 large rolls. You can use the same dough to make 18 smaller rolls if you prefer. Simply roll each of the two pieces in the same manner as outlined in the Recipe Card. Instead of cutting off 1″ at each end, cut a slight 1/4″ at each end, leaving a 13 1/2 inch long stack. Cut the stack into nine 1 1/2″ strips, for 9 rolls from each of the two pieces of dough. Place into the muffin tin with a cut side down. The smaller rolls may need a minute or two less in the oven.
Making ahead, storing and freezing
Yeast rolls are perfect for making ahead, as they freeze beautifully! Simply allow to cool completely, place into an airtight container or freezer bag and freeze for up to 3 months.
To store baked rolls, allow them to cool, then transfer them to an airtight container. Store at room temperature for up to 2 days.
To re-heat rolls, thaw them in the container or bag, then wrap them in foil and place them into a 350F oven until warmed about 5-8 minutes.
Want to save this recipe?
Enter your email and I’ll send it to your inbox. Plus, you’ll get great new recipes from me every week!
By submitting this form, you consent to receive emails from Seasons and Suppers.
You can unsubscribe at any time.
Get the Recipe: Butterflake Rolls
Ingredients
- 1/2 cup (120 ml) mashed potatoes, or prepared instant potatoes, at room temperature *see Note 1 below
- 2 1/4 teaspoons Active Dry or Instant Yeast
- 1/4 cup (60 ml) lukewarm water, about 105-110F
- 1 large egg, at room temperature
- 1/4 cup (50 g) white granulated sugar
- 1/2 cup (120 ml) milk, at room temperature
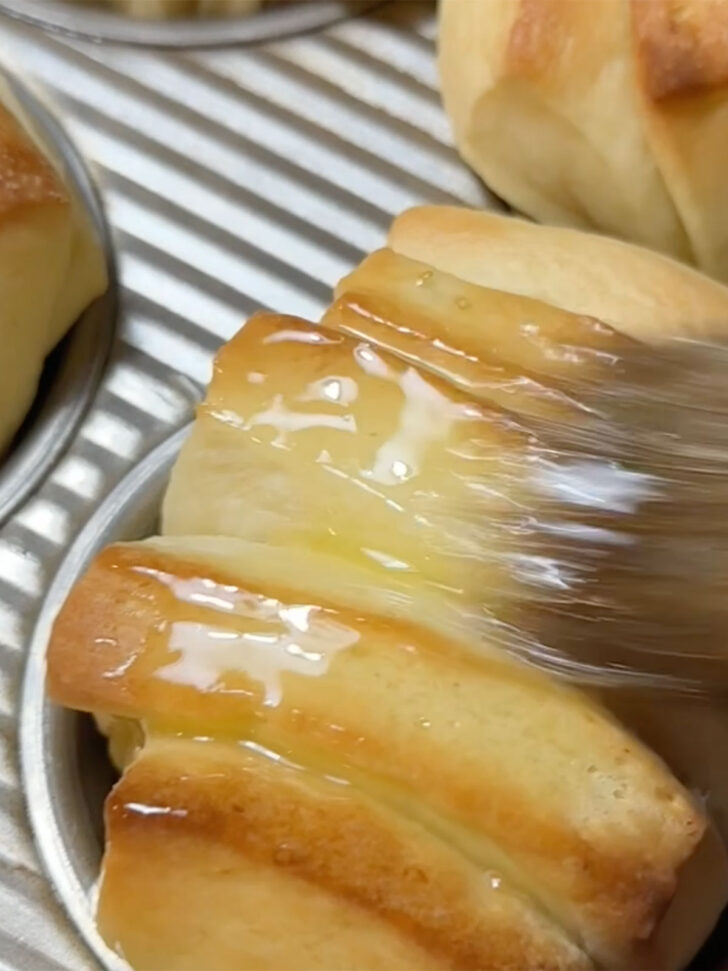
- 1/3 cup (76 g) unsalted or salted butter, plus 2-3 Tablespoons more for brushing
- 3/4 teaspoon fine salt, reduce to 1/2 teaspoon if using salted butter
- 3 – 3 1/2 cups (375-450 g) all purpose flour, spooned and levelled, DIVIDED, plus a bit more as needed
Instructions
- Be sure to take the egg, butter and milk out of the refrigerator to come to room temperature before starting the rolls. Make sure the mashed potatoes are also at room temperature as well (so allow to cool if freshly mashed or instant. Remove from the refrigerator if made ahead)
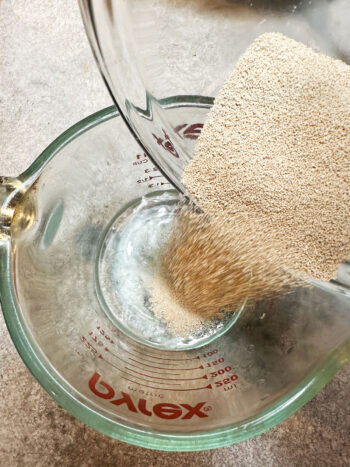
- Warm the water to lukewarm. Add the yeast to the lukewarm water, stir and set aside. Tip! Ensure that the lukewarm water is not too hot, or it can kill the yeast before you even get started. Test with an instant read thermometer, if possible.
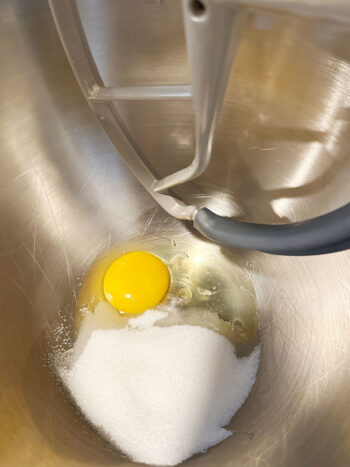
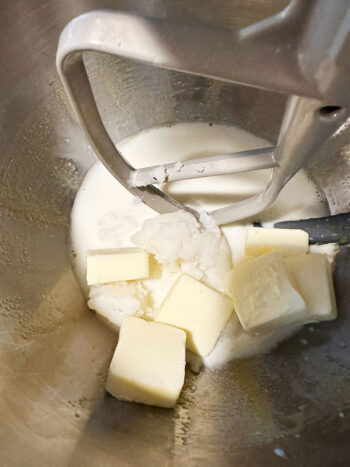
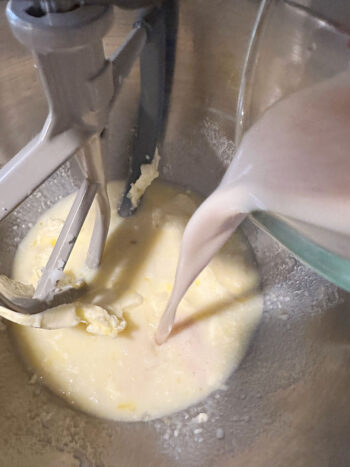
- Add the egg and white sugar to the bowl of a stand mixer fitted with the paddle attachment (or to a large bowl if making by hand). Blend together briefly. Add the mashed potatoes, milk, butter and salt and mix together. Add the yeast mixture and 2 cups (250g) of the all purpose flour. Beat 1 minute with the paddle attachment (at Speed 5 on a Kitchenaid mixer) or 100 strokes if mixing by hand.
- Switch the mixer from the paddle attachment to the kneading hook.
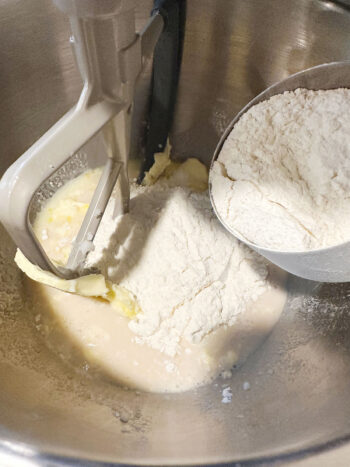
- Begin adding more flour in 1/2 cup (60g) increments. If mixing by hand, start mixing with a wooden spoon, then removing from the bowl and kneading additional flour in by hand, when the spoon becomes ineffective.
- Add flour, as needed, until the dough is moist, wraps the kneading hook and cleans the bowl. If mixing by hand, add flour just until the dough no longer sticks to hand or the work surface. Tip! The exact amount of flour needed will vary a bit from kitchen to kitchen. Use as much flour as needed for the dough to reach the described consistency. I find I generally use around 3 1/2 cups (450g) to get to that point, but it's fine if you need a bit less or a bit more.
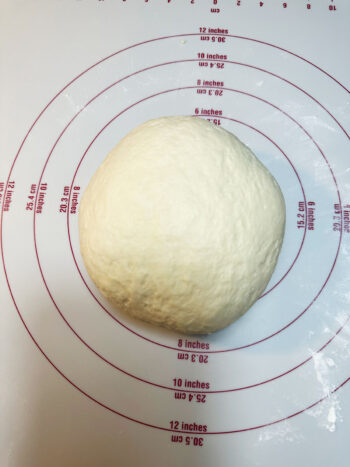
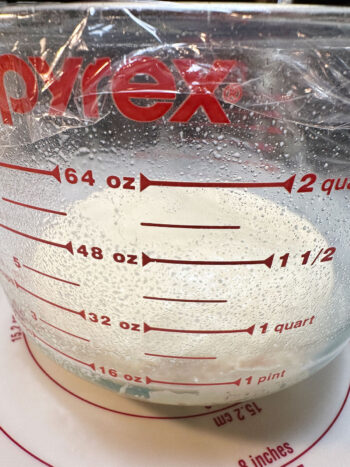
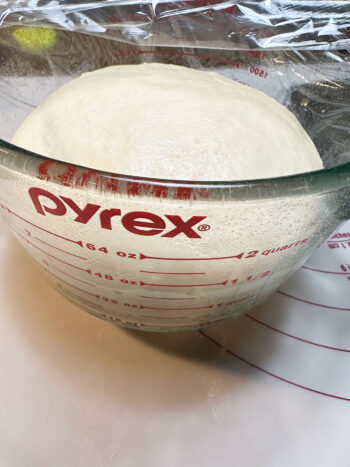
- Remove the dough from the mixer to a floured work surface. Knead briefly, then form into a ball. Grease a large bowl or 8-cup measuring cup. Add the dough to the greased bowl. Cover the bowl with plastic wrap and allow to stand until doubled in size, about 1 hour and 30 minutes. Tip! Rising time will vary based on the temperature of your kitchen. It may be quicker or longer in your kitchen. Check rising progress regularly and trust what you see in the bowl, rather than relying on a specific time. Allow to rise only until it's doubled and no longer.
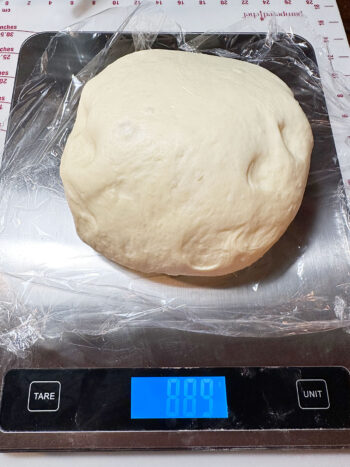
- When dough has doubled in size, remove to a lightly floured work surface. Gently deflate the dough. Divide the dough into 2 equal pieces. (I like to weigh the entire dough mass, then divide by two and weigh out two equal pieces). Set one dough piece aside and cover loosely with plastic wrap.
- Melt 2-3 Tablespoons of butter and have ready with a pastry brush. Use a bit of the melted butter to brush 12 muffin cups. Set aside the muffin tin and melted butter.
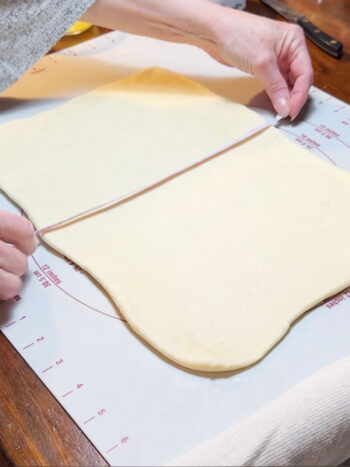
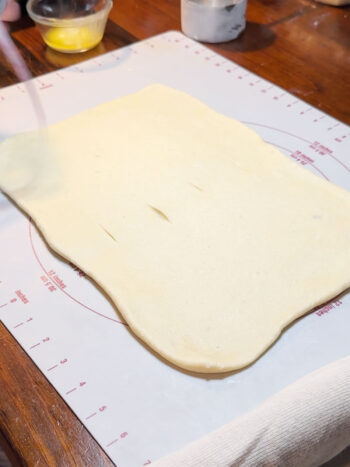
- Starting with one piece of dough, use a rolling pin to roll the dough into a 14" wide by 10" deep rectangle, with the long side closest to you. Try to make the rectangle an even thickness, with defined corners.
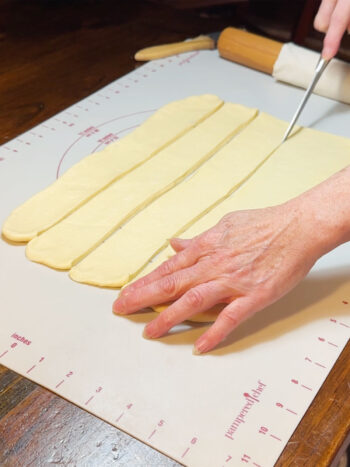
- Use a ruler or measuring tape to measure and using a pizza cutter or a sharp knife, cut five 2" strips crosswise (so the strips would be 2" wide x 14" long). *If this is unclear, refer to the step-by-step photos above this Recipe Card, where it is illustrated.
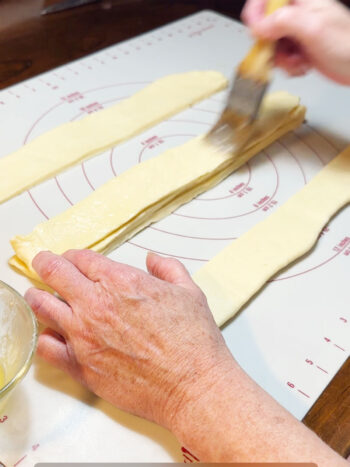
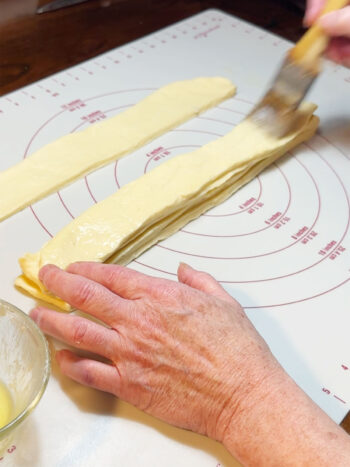
- Tip! When lifting the strips of dough to stack them, do not grab the strips by the ends, or they will stretch and quickly become considerably longer than the strip you are placing it on top of. Instead, gently lift one end up onto the other strip, then move down the strip, lifting it onto the bottom strip in increments. For the strips that are furthest away from the centre strip, gently shimmy the strip closer to the centre strip in the same manner, before gently lifting it on top. *If this is unclear, refer to the Recipe Video above this Recipe Card, where this is illustrated.
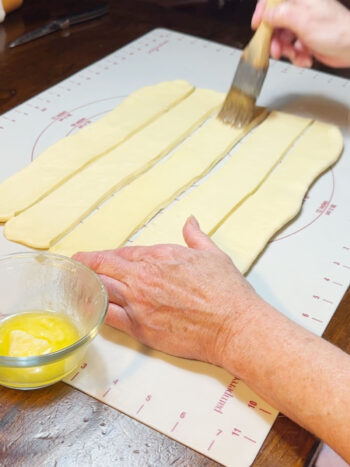
- Starting with the centre strip, brush the top of the strip lightly and evenly with butter. Gently lift the strip next to the centre strip onto the centre strip, then brush the top of that strip with butter. Repeat until all the strips are stacked. Don't brush the top of the stack.
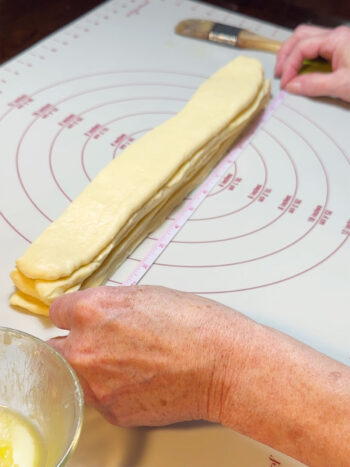
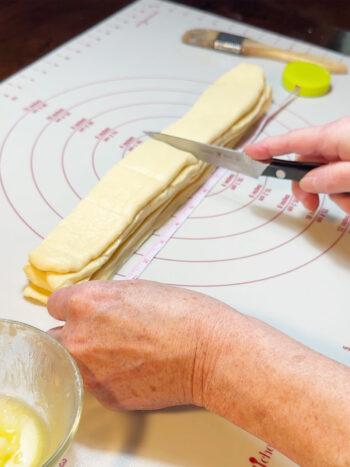
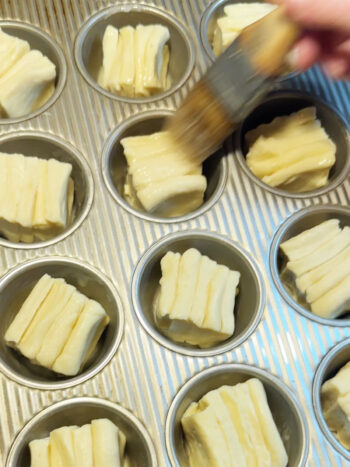
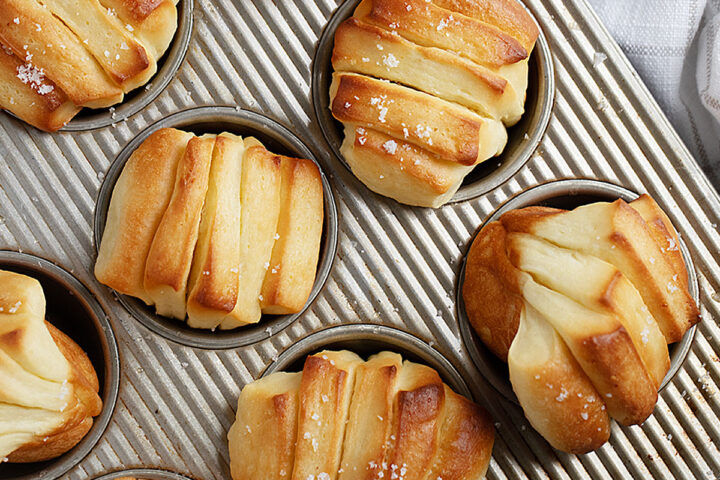
- Using a ruler or measuring tape, remove 1" at each end of the stack of strips, leaving a 12" wide stack. Use the measuring tape to cut the stack into 2" wide pieces. You will have six 2" pieces. Place pieces into the buttered muffin tin, with a cut side down.
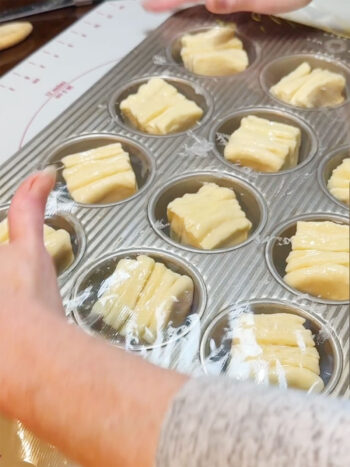
- Repeat this process with the other piece of dough. You will have 12 rolls in the muffin cups. Lightly brush the tops of the rolls with some melted butter, then cover the pan with plastic wrap. Set aside to rise until doubled in size, about 45 minutes.
- Preheat oven to 400F (not fan assisted).
- When rolls have rise, place into preheated oven and bake until golden brown, 12-16 minutes, rotating the pan front to back half way through baking. Tip! *Watch during the last few minutes of baking and loosely lay a sheet of foil over-top if the rolls seem at risk of over-browning. Bake until the rolls sound hollow when tapped or to 205F internal temperature when tested with an instant read thermometer.
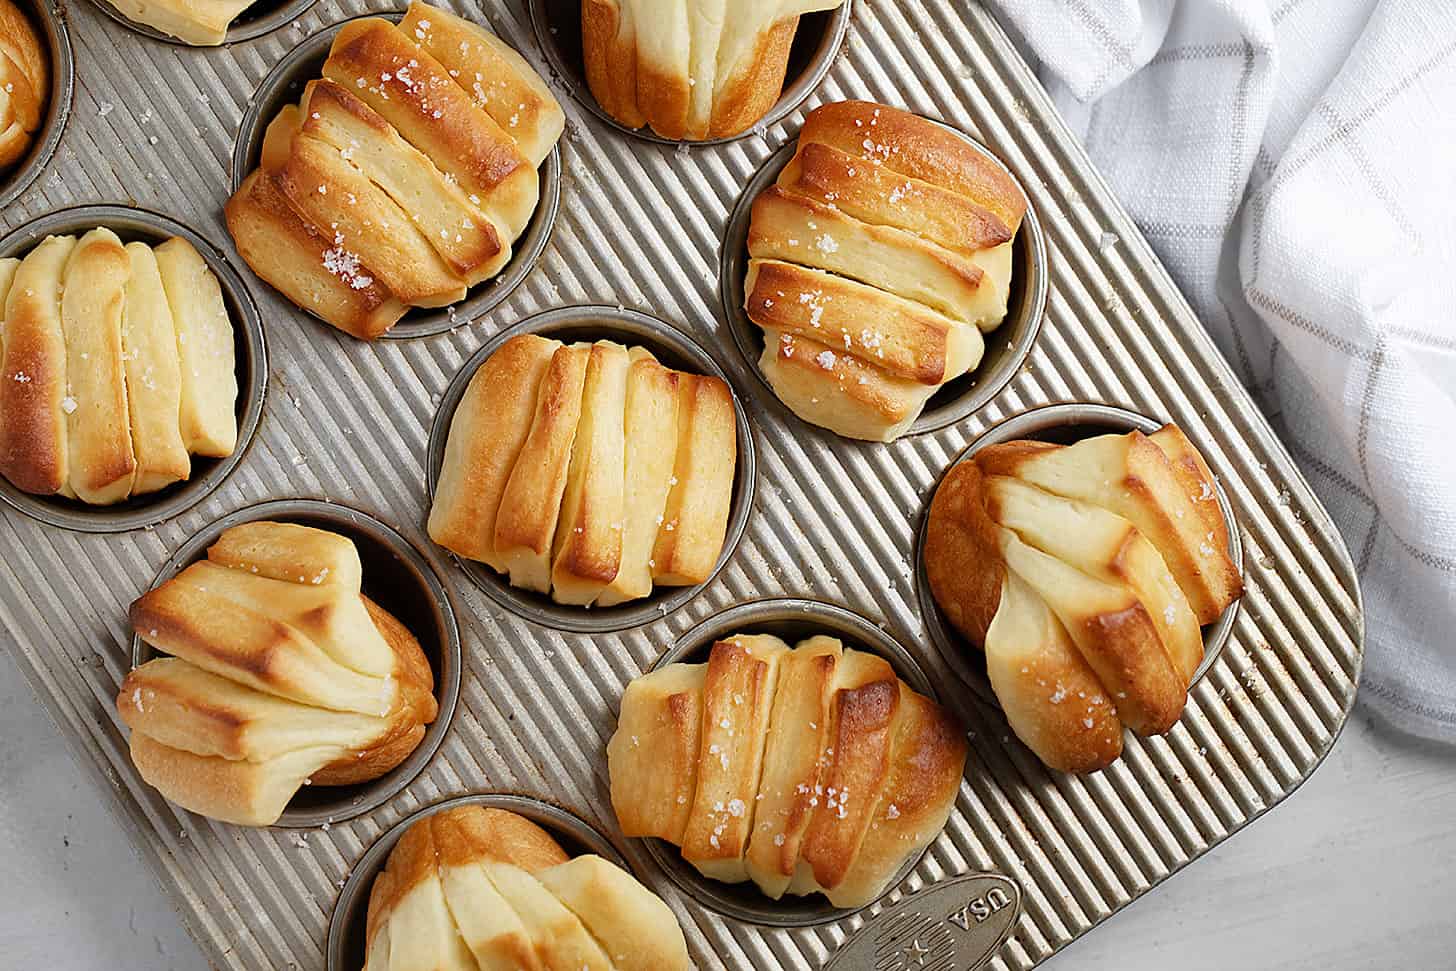
- Remove from oven. Immediately brush the tops of the rolls with melted butter. Sprinkle with coarse salt, if using, then transfer the rolls to a cooling rack to cool completely. Tip! As the rolls can be quite top heavy and tender when hot, I like to set them to cool with the rolls touching each other, which helps prevent them from splitting apart when they are warm. Once cooled, they hold together very well. There is a photo of this cooling placement above this Recipe Card.
- Allow rolls to cool completely, then transfer to an airtight container. Store at room temperature for up to 2 days, or freeze up to 3 months.
Notes
Variation (for 18 smaller rolls)
This recipe as written makes 12 large rolls. You can use the same dough to make 18 smaller rolls, if you prefer. Simply roll each of the two pieces in the same manner as outlined in the Recipe Card. Instead of cutting off 1″ at each end, cut a slight 1/4″ at each end, leaving a 13 1/2 inch long stack. Cut the stack into nine 1 1/2″ strips, for 9 rolls from each of the two pieces of dough. Place into the muffin tin with a cut side down. The smaller rolls may need a minute or two less in the oven.Watch how to make it
Web Story for Butterflake Rolls
More Roll Recipes to Love!
Hi! I’m Jennifer, a home cook schooled by trial and error and almost 40 years of getting dinner on the table! I love to share my favourite recipes, both old and new, together with lots of tips and tricks to hopefully help make your home cooking enjoyable, stress-free, rewarding and of course, delicious!