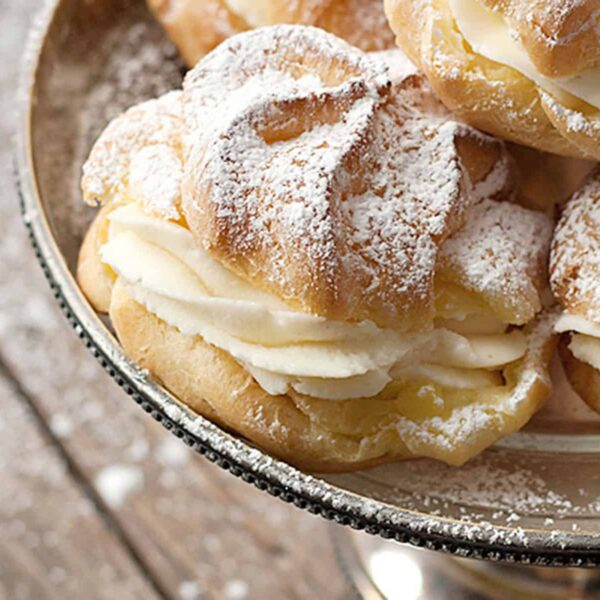
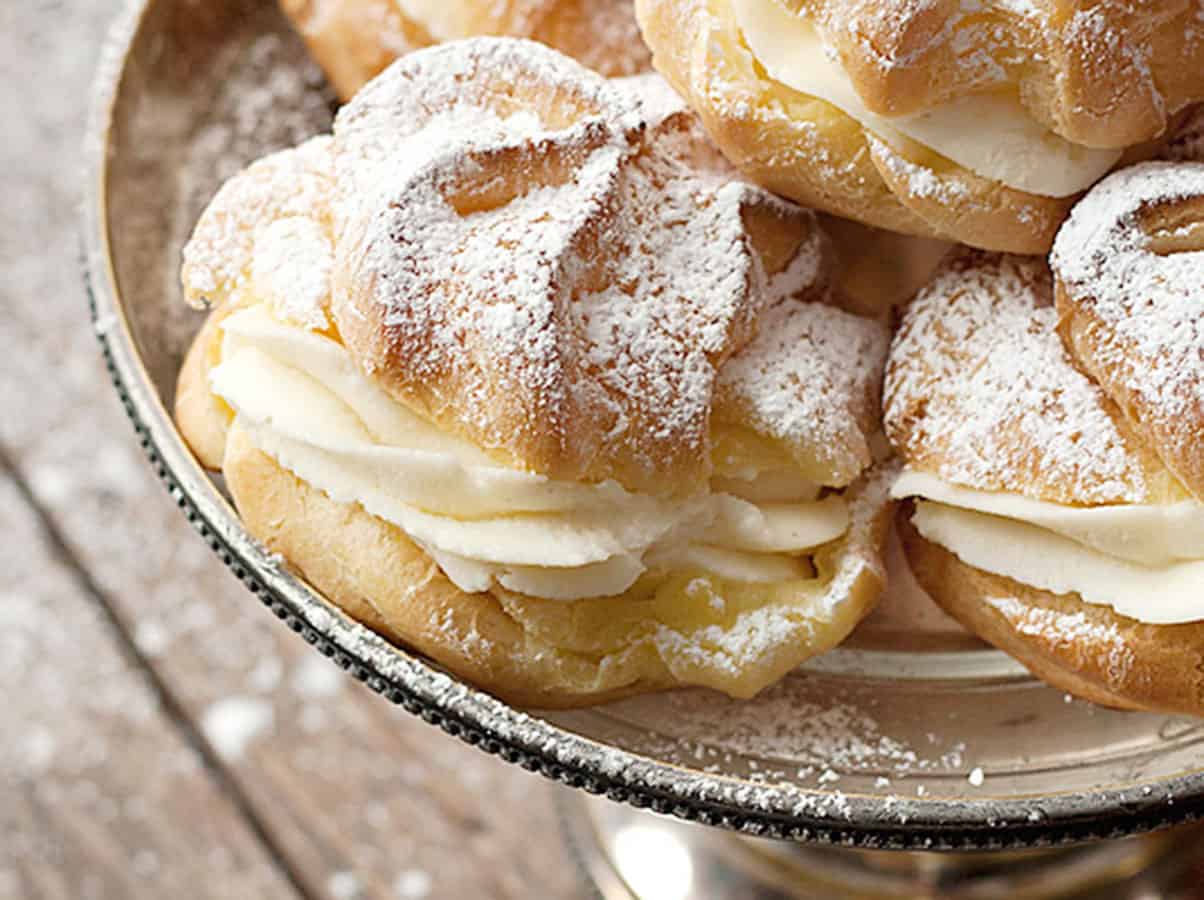
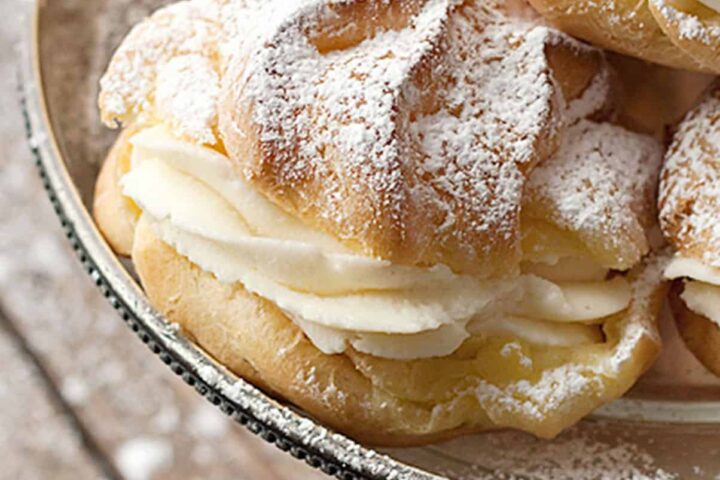
These delicious cannoli cream puffs start with homemade cream puffs, but the traditional filling is replaced with cannoli cream!
I love a good cannoli. Sadly, there’s not a decent cannoli to be found anywhere around these parts. I bought some cannoli forms a while back, so I could make my own. That’s an idea that is still stuck on my “to do” list though (there’s just something about those metal forms and hot oil that freaks me out a bit).
But let me tell you … these Cannoli Cream Puffs make for a perfect alternative. The filling is true cannoli, so let’s just say, if you don’t like cannoli, you might just want to skip this one. For the cannoli lovers out there though, this is a quick and easy treat.
Ingredients and Substitutions
A few notes about the key ingredients …
Mascarpone – mascarpone is very easy to find these days. If you can’t find it, there are “recipes” for make your own mascarpone online as an option.
Ricotta – go for the whole-milk ricotta for the best flavour and texture.
Recipe tips!
- I’m partial to a plain cannoli. My husband thinks just about anything can be made better with a bit of chocolate, so he thought a drizzle of chocolate on top would be nice. The nice thing with these treats is that you can make a variety, to please everyone.
- In true cannoli style, I think adding some chopped bittersweet chocolate or mini chocolate chips to the filling would be nice, too. A bit of lemon or orange zest would be perfect (and maybe a wee bit on top, too). Scrape in a some vanilla bean seeds or throw in some chopped pistachio. Add a dab of lemon curd or pastry cream in the centre, or flavour the ricotta with cocoa or for a chocolate version. The possibilities are endless.
- I cut these in half and piped in the filling, but you could also pipe the filling in through a hole in the side, so the filling is all nice and neat inside. And of course, if piping isn’t your thing, a spoon works just fine for both the shells and adding the filling.
- These are so pretty, they would be perfect for a special occasion, I think (like Easter maybe) or follow my lead and make them to celebrate … Tuesday :)

Making ahead, storing and freezing
These Cannoli Cream Puffs are best eaten shortly after being filled, but will keep, uncovered, in the fridge for the most of the day, if you want to make ahead. They actually stay reasonably fresh into the next day, but they may start to pick up fridge flavours if left too long.
Want to save this recipe?
Enter your email and I’ll send it to your inbox. Plus, you’ll get great new recipes from me every week!
By submitting this form, you consent to receive emails from Seasons and Suppers.
You can unsubscribe at any time.
Get the Recipe: Cannoli Cream Puffs
Ingredients
Pastry Puffs:
- 1 cup hot water
- 1/2 cup unsalted butter
- 1 Tablespoon white granulated sugar
- 1/2 teaspoon salt, (reduce to 1/4 tsp.if using salted butter)
- 1 cup all-purpose flour
- 4 large eggs
Cannoli Filling:
- 1 1/4 cup whole milk ricotta, (I wouldn’t try the low-fat here)
- 1 1/4 cup mascarpone cheese
- 1/2 cup icing (confectioners) sugar, (or a bit more or less, depending on how sweet you like it)
- 1/4 teaspoons cinnamon
- 1/2 teaspoon vanilla extract
Garnish:
- Icing/Confectioners' sugar
Equipment
- Piping Bag and Star Tip optional, but recommended
Instructions
- Drain Ricotta: Place ricotta in a fine mesh strainer set over a bowl. Press down lightly with the back of a spoon and allow to drain for about an hour before making filling.
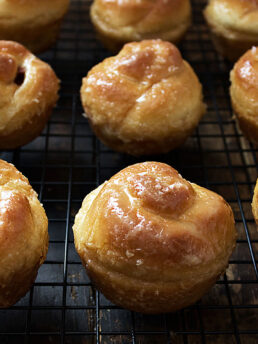
- Make the Puffs: Preheat oven to 425°F (regular bake setting/not fan assisted) with rack in centre of oven, and prepare a sheet pan with parchment paper or a silicone mat
- In a medium saucepan over medium heat, combine hot water, butter, sugar and salt. Bring to a boil, stirring occasionally with a wooden spoon. Add flour all at once and stirring vigourously and constantly (really get in there and stir, stir, stir), cook until mixture clears the sides of the pan and forms a ball around your spoon in the middle, as you stir (2-3 minutes). Remove from heat. Add eggs, one at a time. After each egg addition, stir quickly and vigourously, until the egg is combined (it will start out as a slimy mess, but just keep stirring and it will come together). Repeat with each egg. Once all eggs are added, stir a bit more until smooth and shiny.
- Add batter to piping bag fitted with a large star tip (alternately, drop balls of batter onto prepared pans and roughly shape with the back of a spoon). Pipe batter onto prepared pan, leaving about 2 inches between each one.
- Bake for 15 minutes at 425°F, then reduce heat to 350°F and cook for about another 10 minutes, or until golden and hollow-sounding when tapped. (*Do not open oven while they're cooking.). Mine were about the size of my palm. If yours are bigger or smaller, allow a bit more or less cooking time. Remove to a cooling rack to cool completely.
- For the filling: In a large bowl or the bowl of a stand mixer, combine filling ingredients (except chocolate chips, if using) and beat well until light and fluffy. Add filling to piping bag fitted with a large star tip. Cut pastries in half (or use a sharp knife to cut a small hole in the side) and pipe either a ring of filling around the outside of the bottom half or fill the cavity with filling. (Alternately, simply spoon the filling into the puffs). If using chocolate chips, you'll need to go the cut in half route, as the chips will clog the piping bag. Simply sprinkle chips on top of filling before putting the top on.
- Sprinkle generously with icing sugar. Serve immediately or refrigerate uncovered for up to 6 hours.
Notes
- In true cannoli style, I think adding some chopped bittersweet chocolate or mini chocolate chips to the filling would be nice, too. A bit of lemon or orange zest would be perfect (and maybe a wee bit on top, too). Scrape in some vanilla bean seeds or throw in some chopped pistachio. Add a dab of lemon curd or pastry cream in the centre, or flavour the ricotta with cocoa or for a chocolate version. The possibilities are endless.
- I cut these in half and piped in the filling, but you could also pipe the filling in through a hole in the side, so the filling is all nice and neat inside. And of course, if piping isn’t your thing, a spoon works just fine for both the shells and for adding the filling.
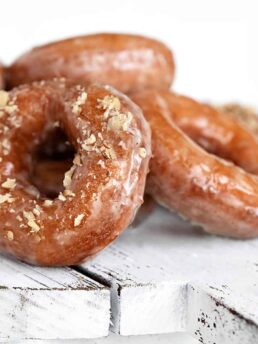
More sweet treat recipes to love!
Hi! I’m Jennifer, a home cook schooled by trial and error and almost 40 years of getting dinner on the table! I love to share my favourite recipes, both old and new, together with lots of tips and tricks to hopefully help make your home cooking enjoyable, stress free, rewarding and of course, delicious!
Looks really good I love it thanks for sharing this recipe ❤️🥰👍
Made the recipe for New year’s dinner.. I hadn’t made them for at least 40 years, what a success they were so good. I filled them with whipping cream and served with warm chocolate sauce.
French profiteroles.
Thank you for the easy recipe.
Cheers Madlen
So glad to hear, Madlen. Sounds lovely! Thanks so much :)
The recipe was so simple. But I don’t know what I did wrong, mine fell when I took them out of the oven. What did I do wrong? Thanks in advance.
Hi Denise, Choux pastry seems so simple, but it can go wrong, as you discovered. When they collapse like that, it is because there is too much moisture in the dough. So either you needed to cook it longer on the stove-top, to dry it out more or you needed to bake them longer. Generally it’s the stove-top part that trips people up. If you try them again, simply move the dough around in the pot longer, to dry it out more and see how that works.
These turned out great and they tasted even better. I added some chocolate curls on top of the filling just for a little added decoration.
So glad to hear, Lisa :) Thanks so much!
I’ve made this recipe several times and it always comes out fantastic. Once for my daughters engagement party then again, by request, for her bridal shower and several times for Easter family get togethers. I get rave reviews from everyone and lots of requests for the recipe. I use the recipe she has to make my own mascarpone cheese and twice now using a recipe for ricotta cheese that needs only regular milk, salt and lemon juice. It’s never let me down.
I add mini semi-sweet chocolate chips to the cheese and then drizzle melted semi-sweet chocolate chips on the top, finishing with a dusting of powdered sugar. Absolutely Yummy!!
So glad you are enjoying it, Kimberly and good for you for making the mascarpone and ricotta!! Thanks so much :)
Jennifer, Would you think this filling would be too heavy for one of those old-fashioned “Cream Puff Cakes”?
Hi Stephanie, I think it’s definitely heavier than the filling that would be used in a Cream Puff Cake. You could lighten it up a bit by folding in some whipped cream and I think it would still be quite tasty in a cake.
super excited – Can you please explain how to properly pipe them to get that perfect shape? I have the star tip already, do you do it in a circular motion and is it double layer! Mine never come out as pretty as these!
As long as it’s a large star tip (like a Wilton 1M), just a single layer is fine. I work from the outside in, piping the outside shape first, then into the middle, just like frosting a cupcake.