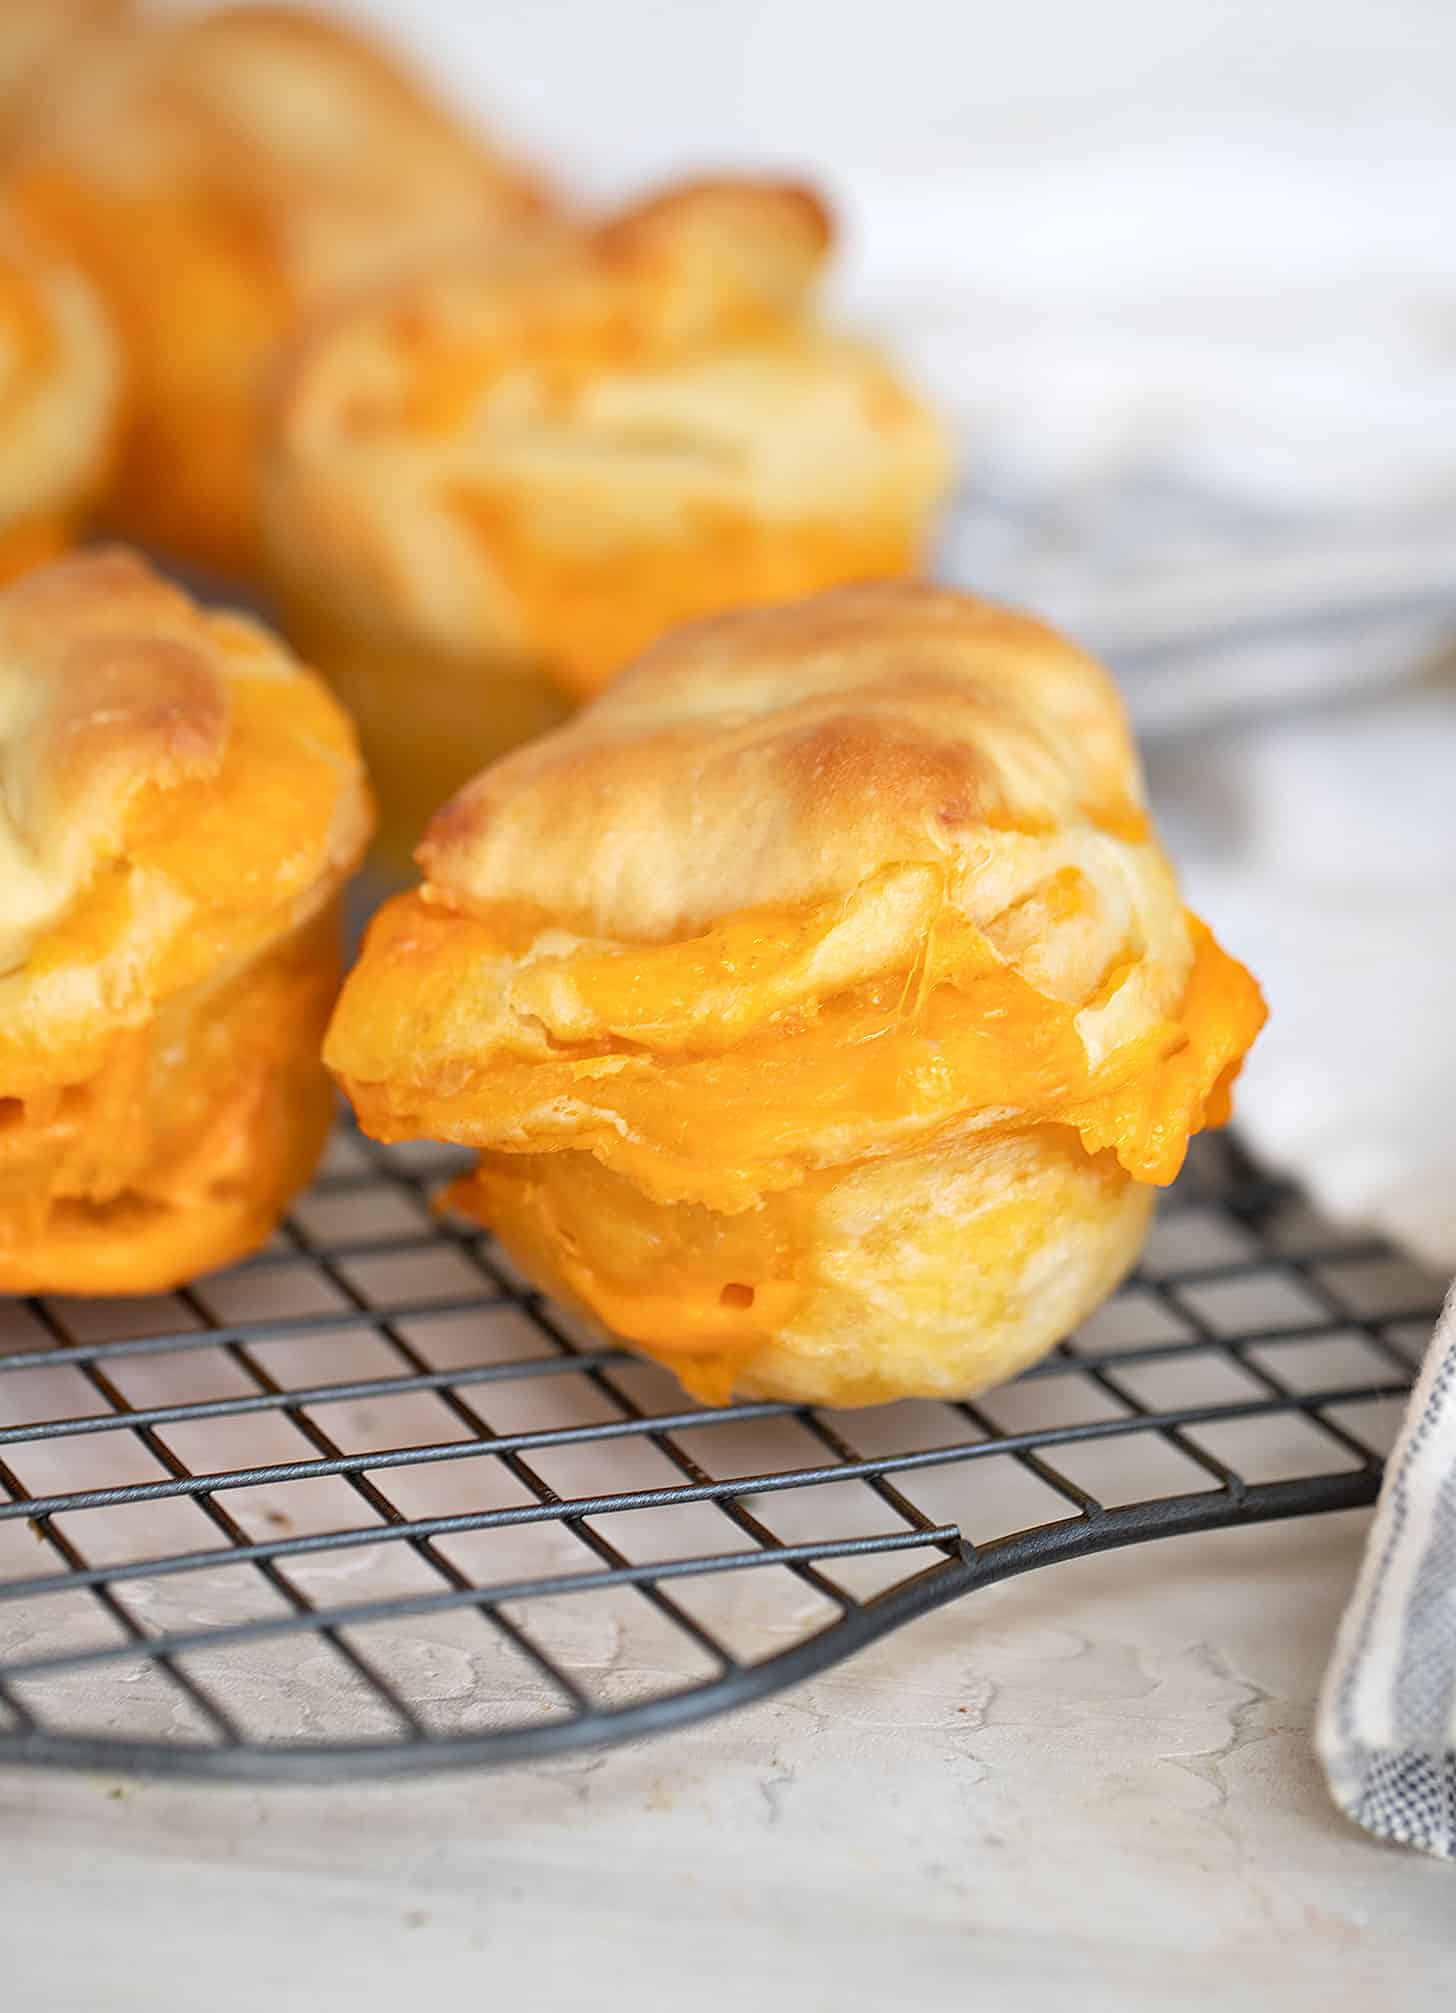
When it comes to making the best cheese buns, I’m definitely in the go-big-or-go-home camp. If cheese isn’t the star, is it really a cheese bun?
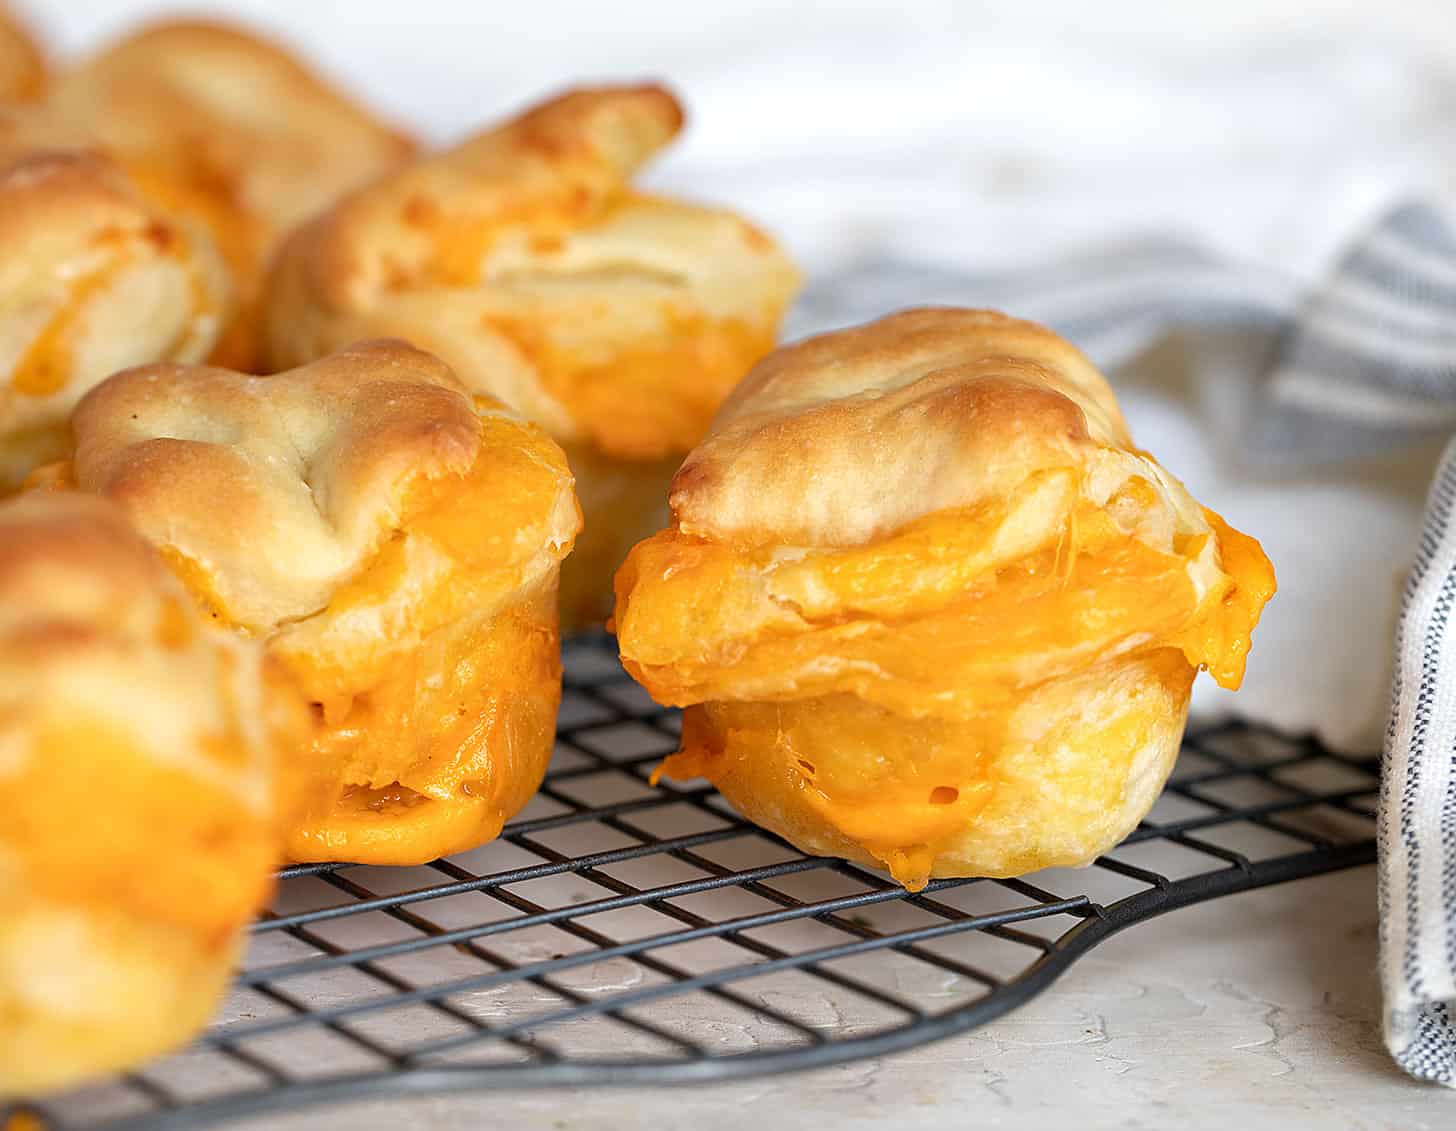
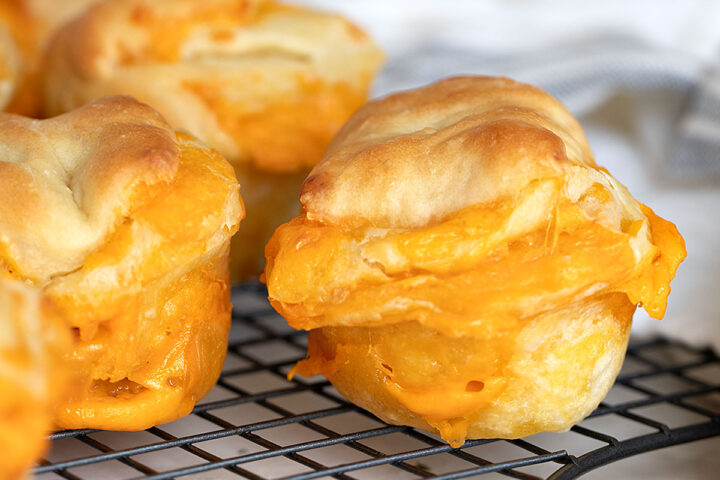
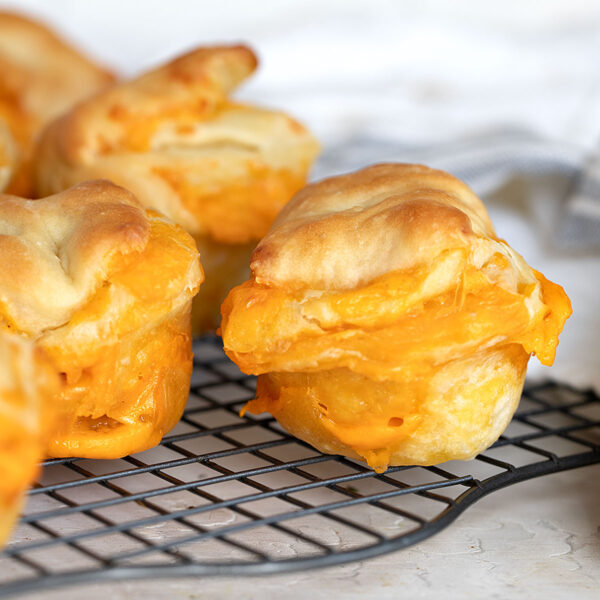
These cheese buns are super cheesy, perfectly buttery and fabulously delicious!
- Folding the cheese-layered dough creates great fluffy layers that are perfect for pulling apart.
- These cheese buns have the perfect amount of cheese and butter, which makes for great flavour, without being too greasy.
- The added cheese powder adds extra cheese flavour without the need to add more cheese, which can make for oily buns.
Ingredients and substitutions
Yeast – you can use either Active Dry Yeast or regular Instant Yeast for these buns.
Cheese – it’s hard to beat cheddar cheese in cheese buns, but if you have other thoughts, any cheese is fine. An “Old” yellow cheddar will give the best cheese flavour. No need for expensive cheese here. A block of supermarket cheddar is just fine. Avoid pre-grated cheese if possible and grate it yourself.
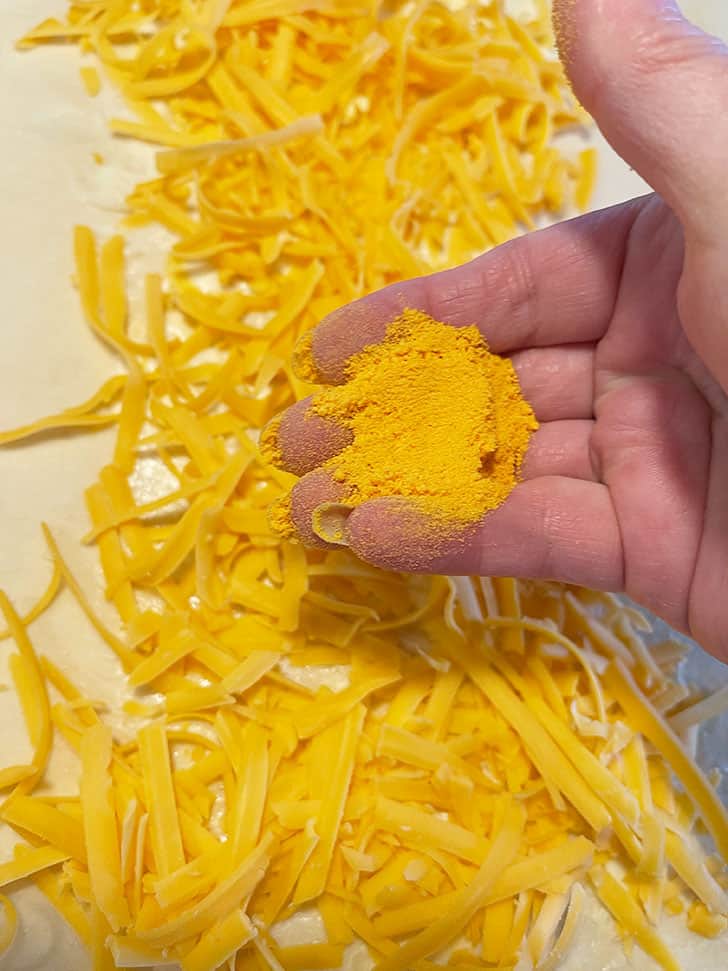
Extra Cheese Flavour – since there is really no such thing as too much cheese flavour, these cheese buns go a step further and add a bit of powdered cheese. Cheddar cheese powder is available quite easily. Bulk Barn in Canada has some available. There is also the “KD Shaker” cheese powder.
If you don’t have any or prefer an alternative, use a bit of nutritional yeast (a classic vegetarian option for adding cheesy flavour) or opt for simple grated Parmesan cheese.
Butter – unsalted butter is recommended, to avoid the buns becoming overly salty. If you only have salted butter on hand, reduce the amount of salt in the dough as noted in the Recipe Card below.
Top tip!
I highly recommend using the provided weight measures for both the dough and the cheese and butter. In fact, I’ve used the weight of ingredients as the main measure for this recipe, because weighing ingredients takes out all the guesswork and those pesky inconsistent cup measurements. Don’t worry though, I have included all the equivalent measures in cups and spoons, as well, for the scale-less.
(If you don’t have a kitchen scale, what are you waiting for??!! :)
How to shape these cheese buns
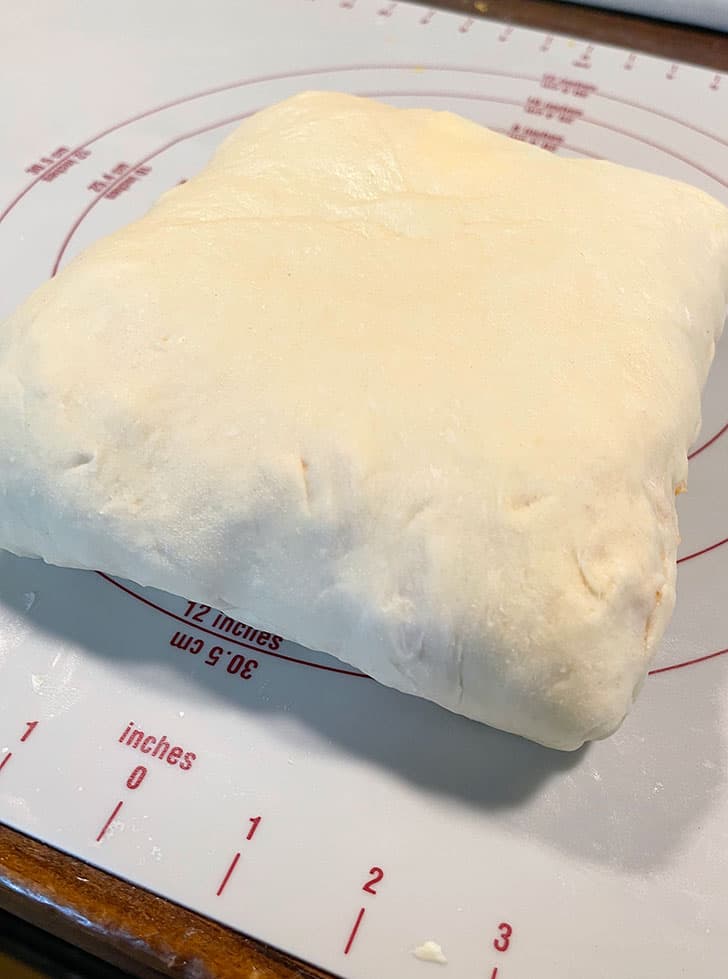
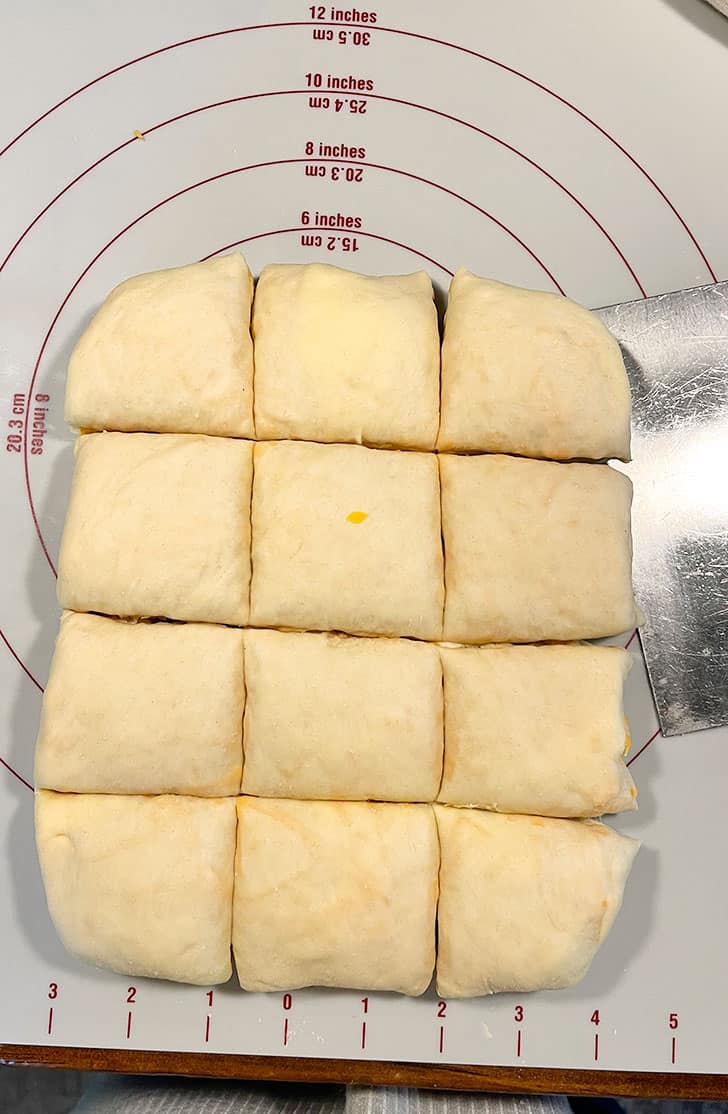
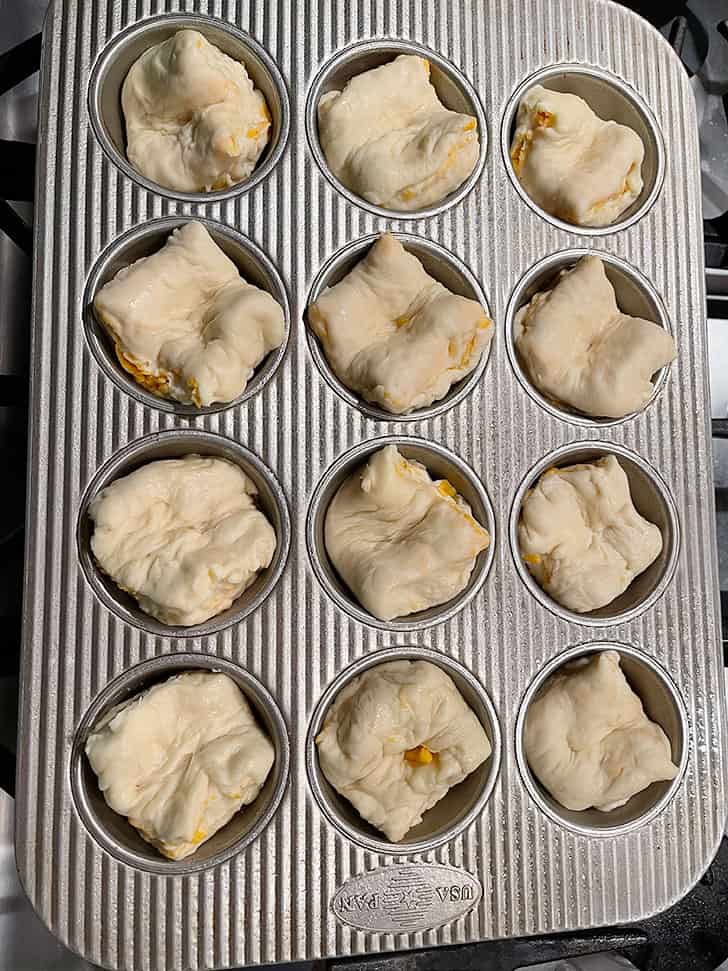
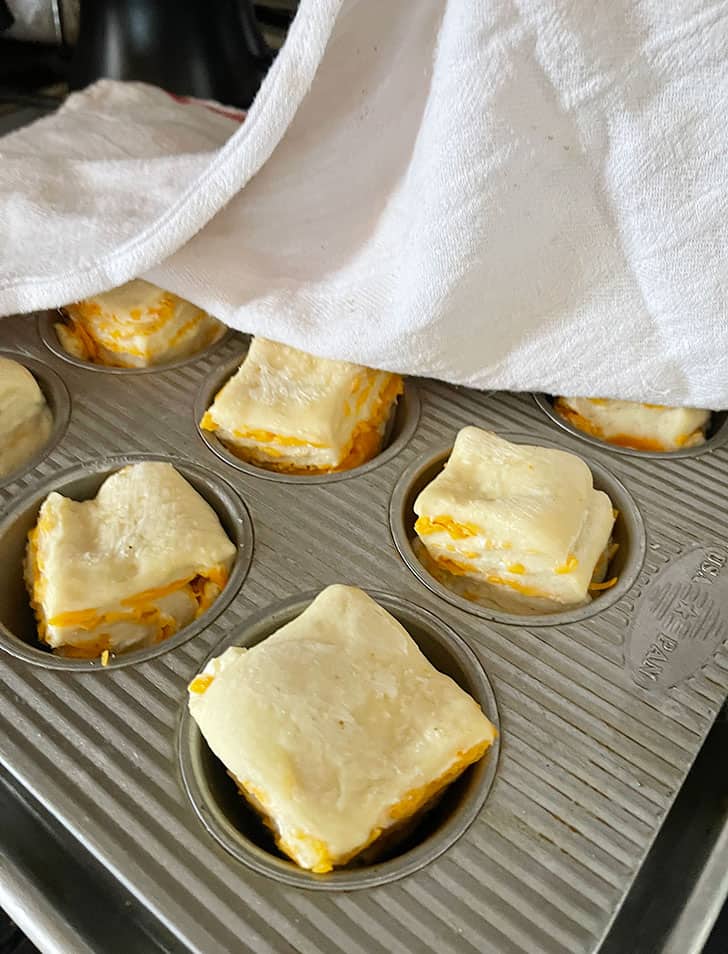
Storing, reheating and freezing
Store buns in an airtight container or bag at room temperature for a couple of days or freeze for up to 2 months for longer storage.
To reheat, loosely cover buns in aluminum foil on a baking sheet and pop them into a 350F oven until warmed.
Want to save this recipe?
Enter your email and I’ll send it to your inbox. Plus, you’ll get great new recipes from me every week!
By submitting this form, you consent to receive emails from Seasons and Suppers.
You can unsubscribe at any time.
Get the Recipe: Cheese Buns
Ingredients
For the dough:
- 3/4 cup + 2 Tablespoons (200 g) lukewarm water (105F)
- 1 Tablespoons (10 g) white granulated sugar
- 2 1/4 teaspoons (7 g) Dry Active or Instant yeast
- 1 large egg
- 1 1/2 Tablespoons (20 g) canola or vegetable oil
- 1 teaspoon (8 g) salt, *reduce to 1/2 teaspoon f if using salted butter
- 3 1/3 cups (400 g) all-purpose flour, spooned and levelled
Filling Ingredients:
- 2 cup (150-180 g) old yellow cheddar cheese, shredded
- 2 Tablespoons (10 g) cheddar cheese powder *see Note 1 below, or 1/4 cup grated Parmesan
- 1/3 cup (75 g) unsalted butter, softened, but not melted
Instructions
- If you have a kitchen scale, I highly recommend using the weight measurements provided, for best accuracy.
- In a large bowl or the bowl of a stand mixer fitter with the kneading hook, mix together the lukewarm water, sugar and yeast. Allow to proof for 5-10 minutes.
- Once the yeast mixture is foamy, add the egg, oil and salt. Add the flour (*if measuring in cups, add just 3 cups of the flour to start, then add more as/if needed). Knead the dough for about 5 minutes, until it is smooth, quite moist, but not sticky. It should wrap the kneading hook and clean the bowl, but there might be a bit of moist dough at the bottom under the kneading hook. Avoid adding too much flour in the bowl. You can add a bit more on the counter if dough is too sticky to knead.
- Remove the dough to a floured work surface and knead briefly, adding a bit more flour if the dough is sticking to your hands or the work surface. Form dough into a ball, then place into a greased bowl. Cover with plastic wrap and allow to rise until doubled, about 1 hour.
- While dough is almost done rising, shred the cheddar cheese and have ready. For easiest spreading, microwave the butter very briefly (in 5 second increments) until very soft, but not melted. Set aside.
- Grease a 12-cup muffin tin with cooking spray (or brush with cooking oil). Place the muffin tin on top of a large baking sheet (to catch any butter that may bubble over). Set aside.
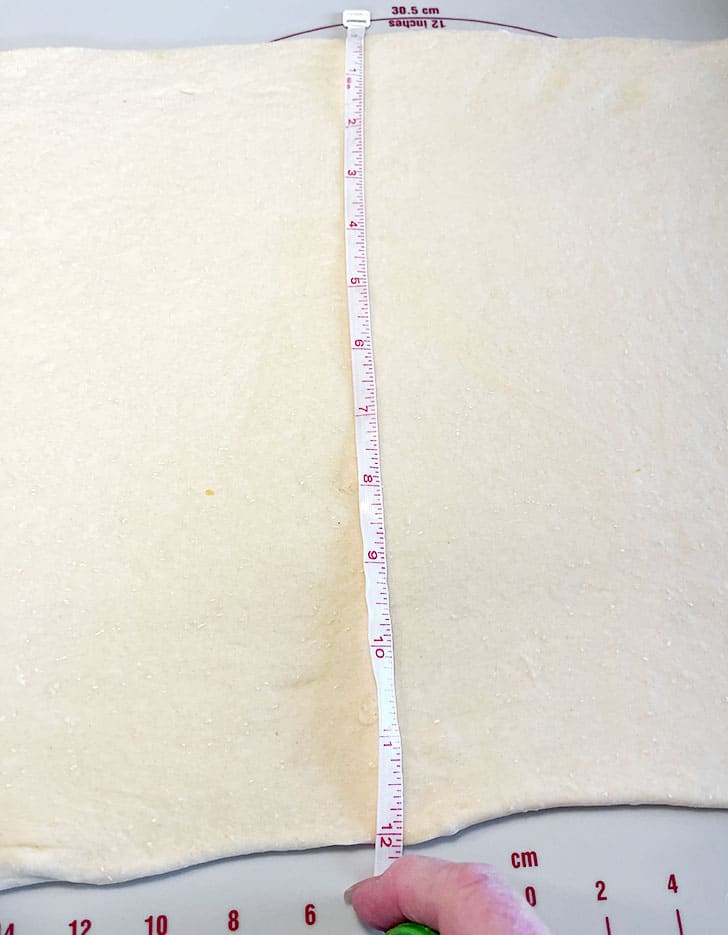
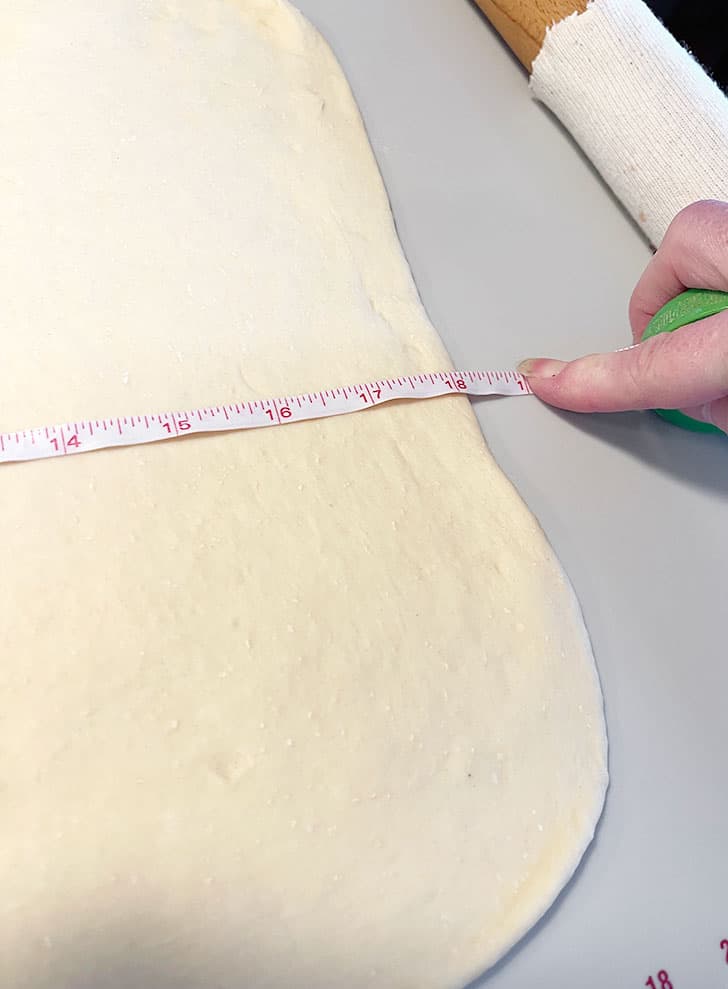
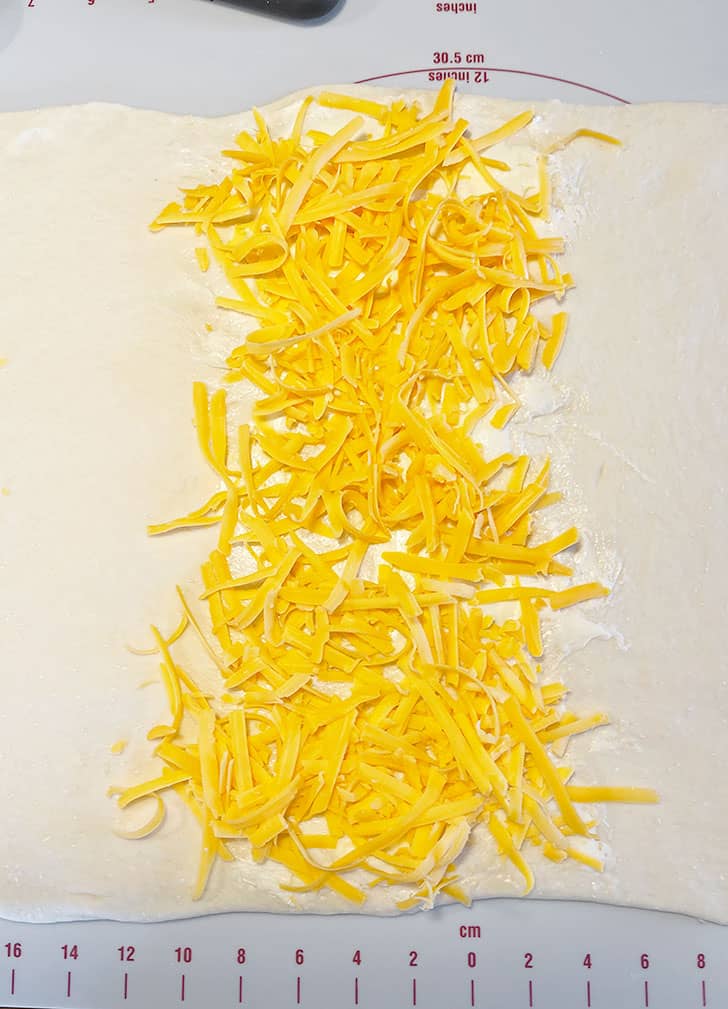
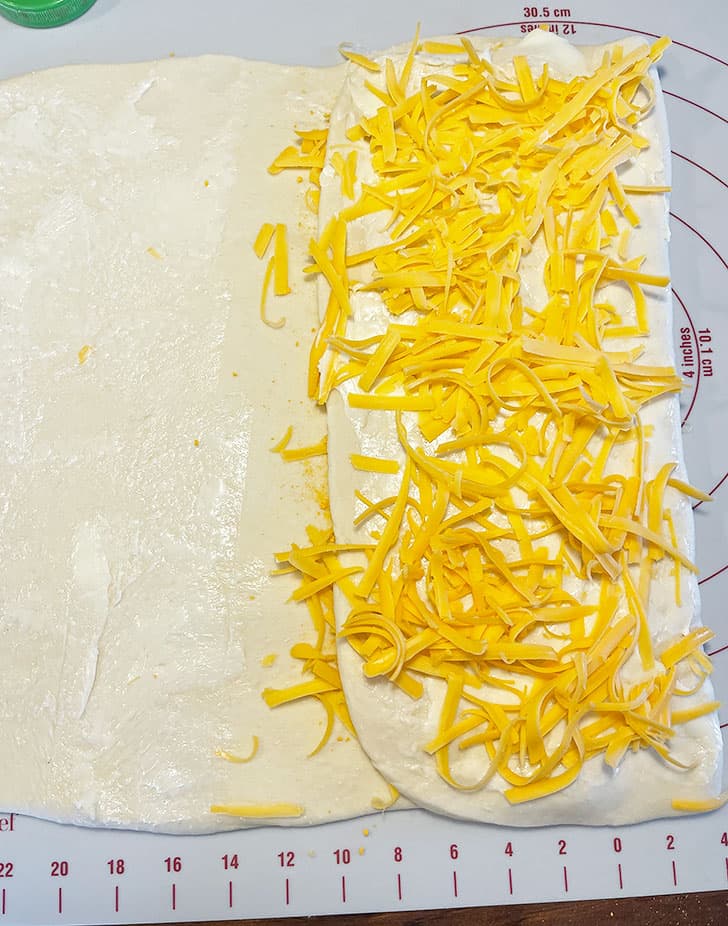
- When dough has doubled, remove the dough to a lightly floured work surface. Roll the dough into a roughly 12" x 18" rectangle, with the long side closest to you. *If you are unsure of the shaping procedures, refer to the step-by-step photos above this Recipe Card.
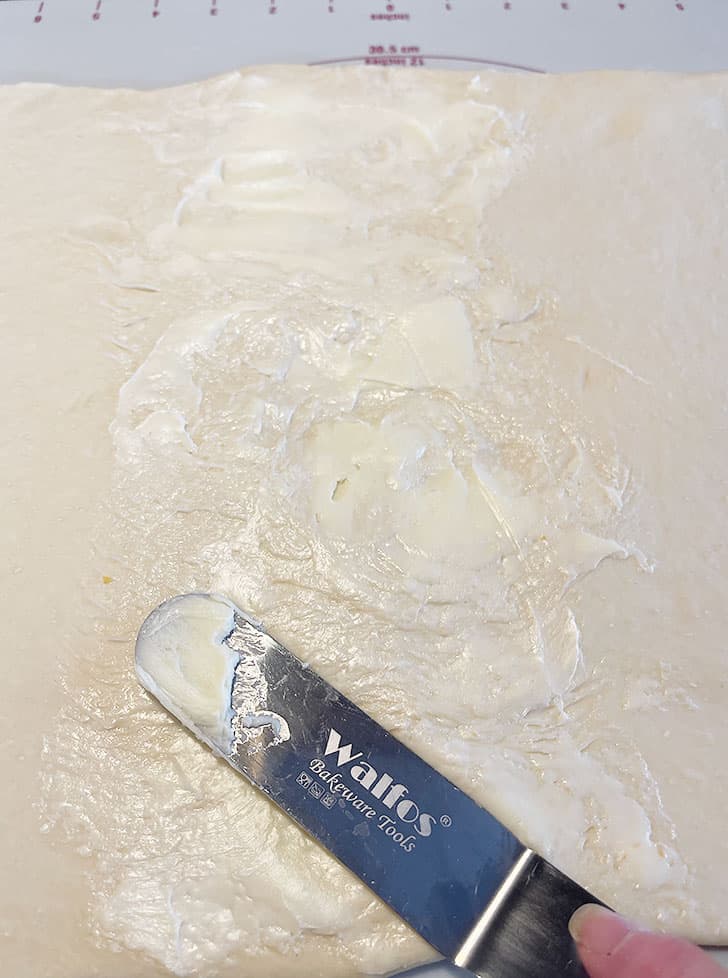
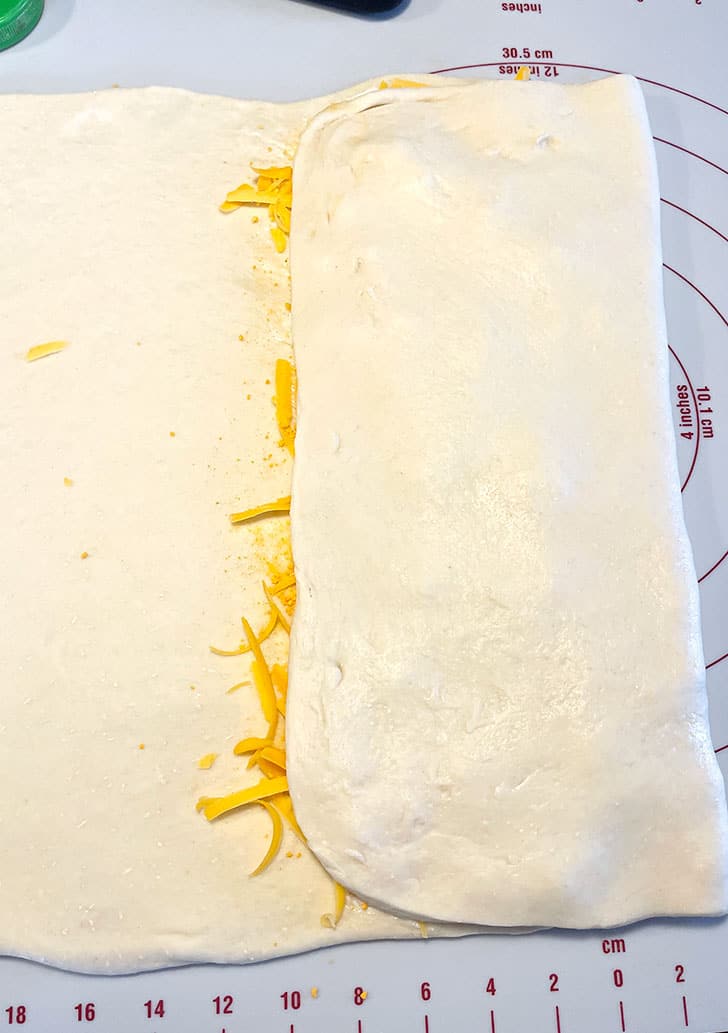
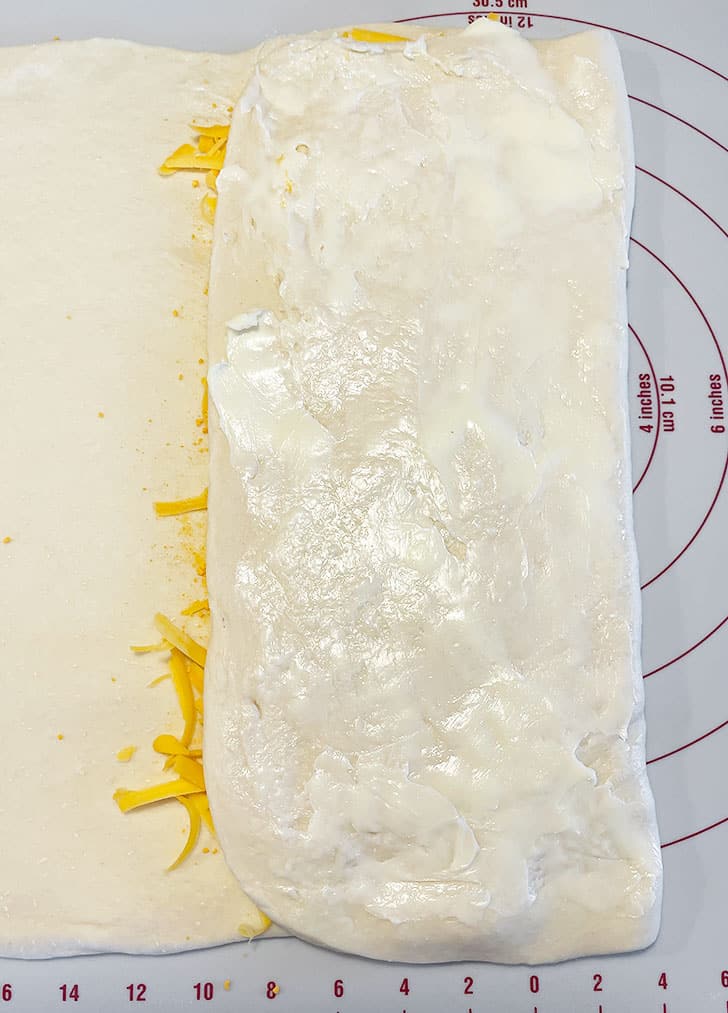
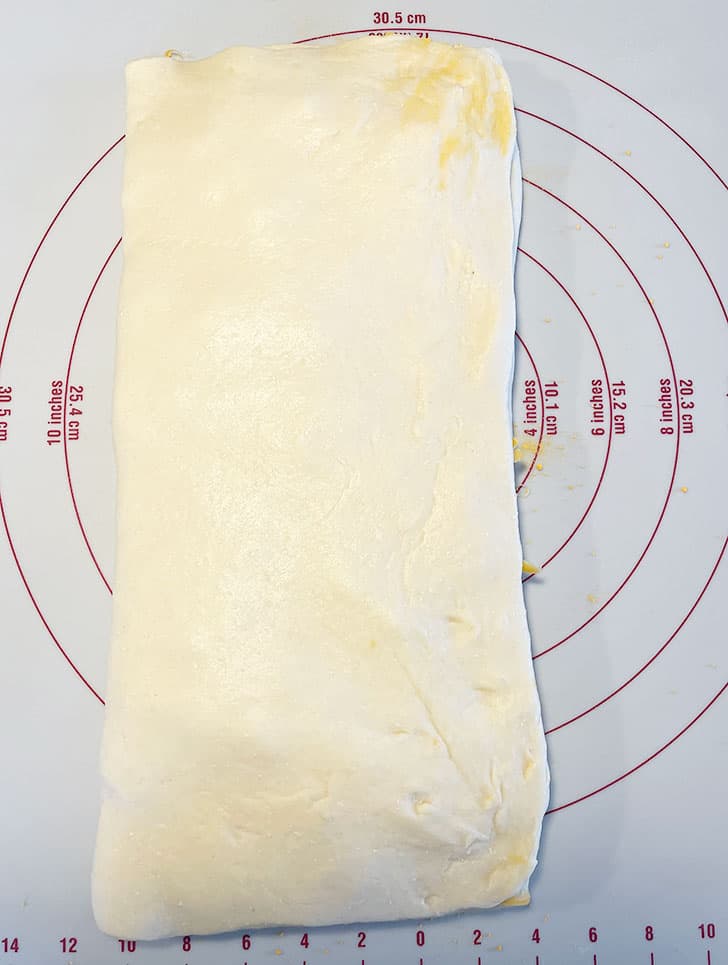
- *It doesn't really matter how much you put on each layer as you shape, but do make sure you use all the cheese and all the butter up in the process. Spread a layer of butter in the middle third of the rectangle from top to bottom. Sprinkle with a generous layer of shredded cheese (about half of it) and sprinkle with some of the cheese powder (or Parmesan), reserving some for the next step. Pick up the empty right side of the rectangle and fold over the cheese layer. Spread the top of the dough with more butter and sprinkle with cheese and cheese powder.
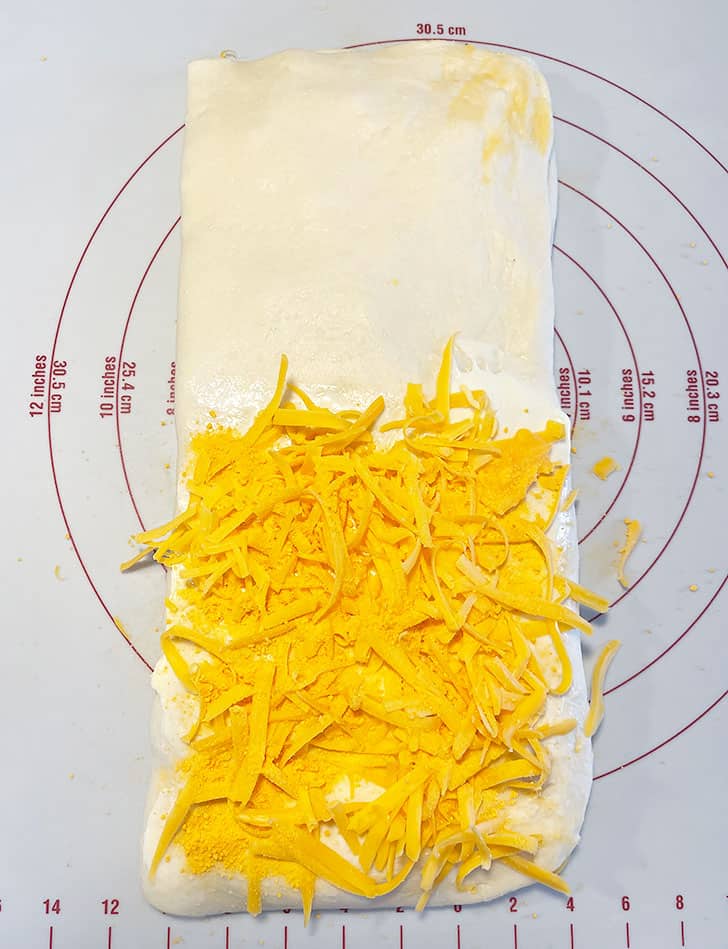
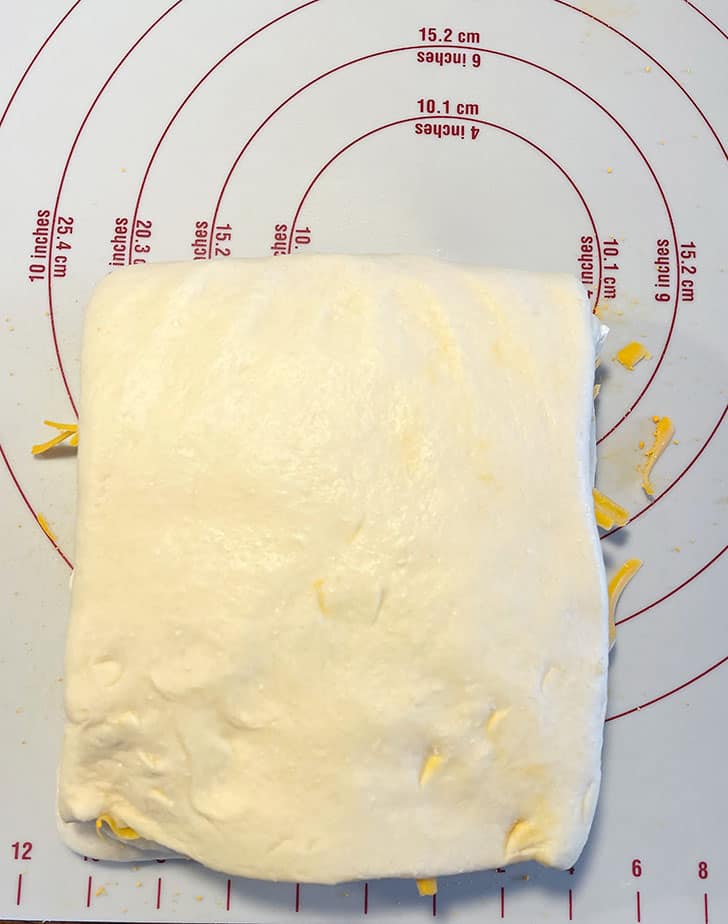
- Spread some butter on the empty left side of the dough rectangle and fold over the cheese layer. Spread the remaining butter and cheese on the bottom half of the top surface, sprinkle on the remaining cheese and cheese powder, then fold the empty top half down over the cheese, creating a total of six layers. Cover dough and allow to rest for 5 minutes.
- Tuck the outer edge closest to you under the bottom of the dough. Press or roll the dough log into a rectangle down into a thick rectangle about 8-inches long and 6-inches wide.
- Cut the dough into 12 pieces, about 2-inches square (*see step-by-step photos on how to make the cuts if unsure) and place the cut pieces loosely in a greased muffin tin, with the flat, top side up. Brush tops with any bit of butter you may have left. Cover with a clean tea towel and set to rise until risen and puffy, about 45-60 minute.
- When buns are almost ready, preheat oven to 350F (regular bake/not fan-assisted). When buns are ready to bake, place into oven with the muffin tin on top of the baking sheet, and bake until lightly browned, about 25 minutes.
- Remove from oven and let sit in the muffin cups for about 5 minutes, then remove to a cooling rack to cool.
- Store in an airtight container at room temperature for a couple of days or freeze for up to 2 months, for longer storage. To re-heat, loosely cover buns in aluminum foil on a baking sheet and pop into a 350F oven until warmed.
Notes
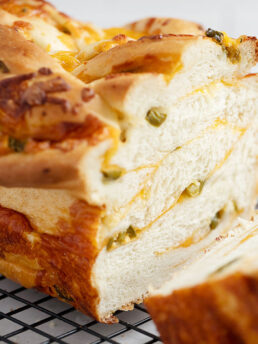
More cheese bread recipes to love!
Hi! I’m Jennifer, a home cook schooled by trial and error and almost 40 years of getting dinner on the table! I love to share my favourite recipes, both old and new, together with lots of tips and tricks to hopefully help make your home cooking enjoyable, stress free, rewarding and of course, delicious!



I am just baking them now. Easy recipe, and I have added some cooked ground beef crumbles into the folding process for a quick grab and go lunch for my son. They look fantastic so far so I’m sure they will be tasty as well!
Sounds great! I’ve done these with a little pizza sauce and chopped pepperoni that were fund, too.
Perfect dough to work with. The family loved these cheesy buns and am making them today to go with our split pea soup at dinner. Thank you.
So glad you are enjoying them, Cindy :) Thanks so much!
Easy dough to work by hand, omitted oil in dough & butter spread as wasn’t sure their contribution would be worth the calories. Shredded old Cheddar in 72, 72 & 36g heaps. Final fold was 2 sides to middle, allowing fill to edges. Also slit folded edges for greater uniformity. Well buttered easy release muffin pan, perfectly done @ 25min. Too fragile to release cleanly after 5 min, welded in place at 10 min, scrumptious but several in tatters after carve-out. Upside, Shelties thrilled, still cleaning the pan as I write. Will make again, different pan? Muffin papers? Cut squares 11*7 pan? Don’t like using spray on muffin pans as the overspray accumulates even after prompt dishwash.
Great recipe, the best that I’ve found. Wonderful dough to work with.
So glad to hear, Cate. Thanks so much!
hello, these look amazing. Can you form these as spiral buns instead? Thanks
Hi Michelle, I feel like you could form these any number of ways, including spiral buns.