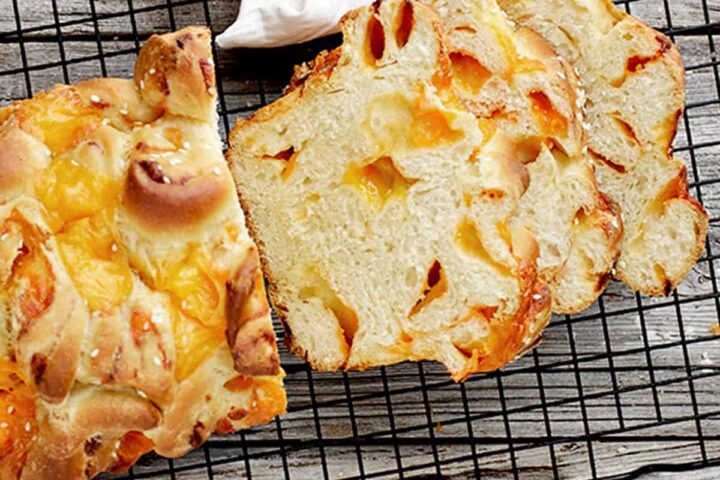
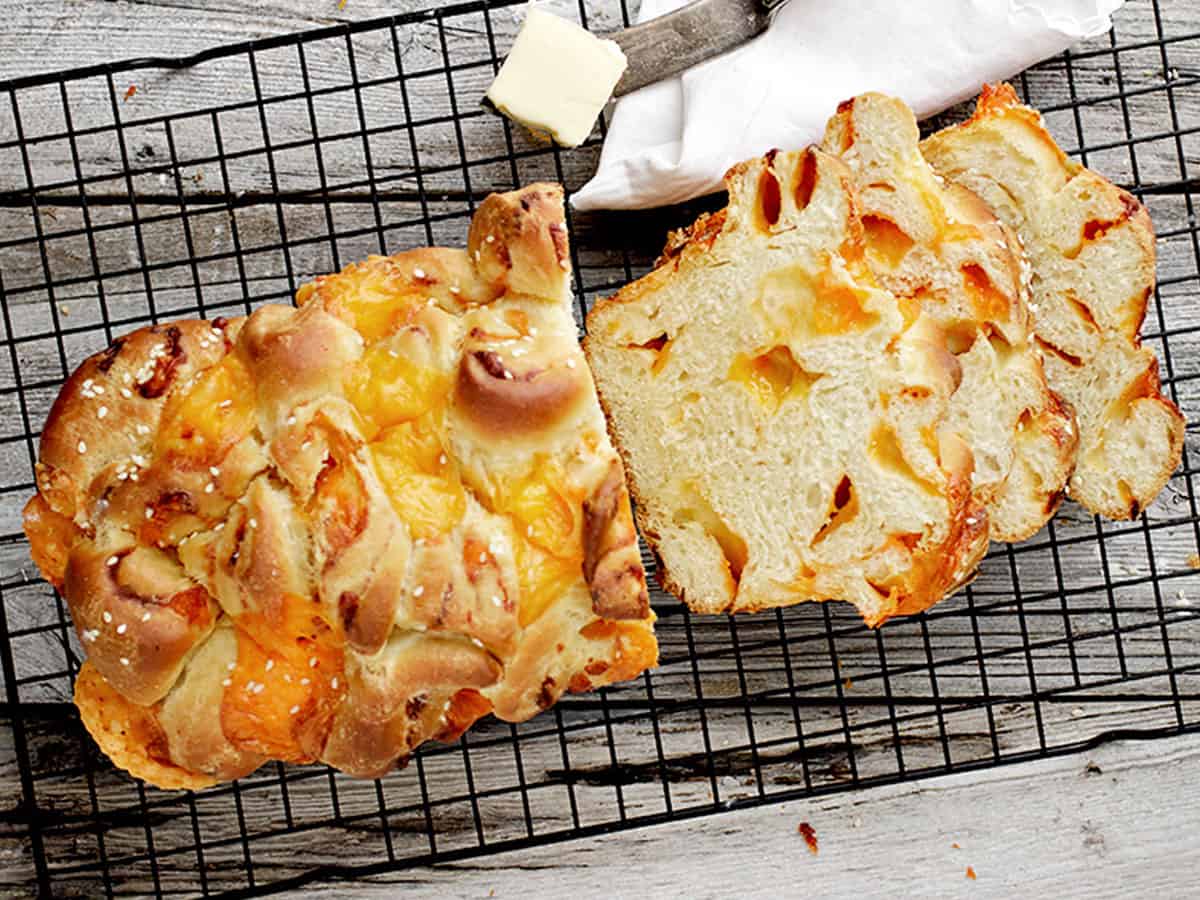
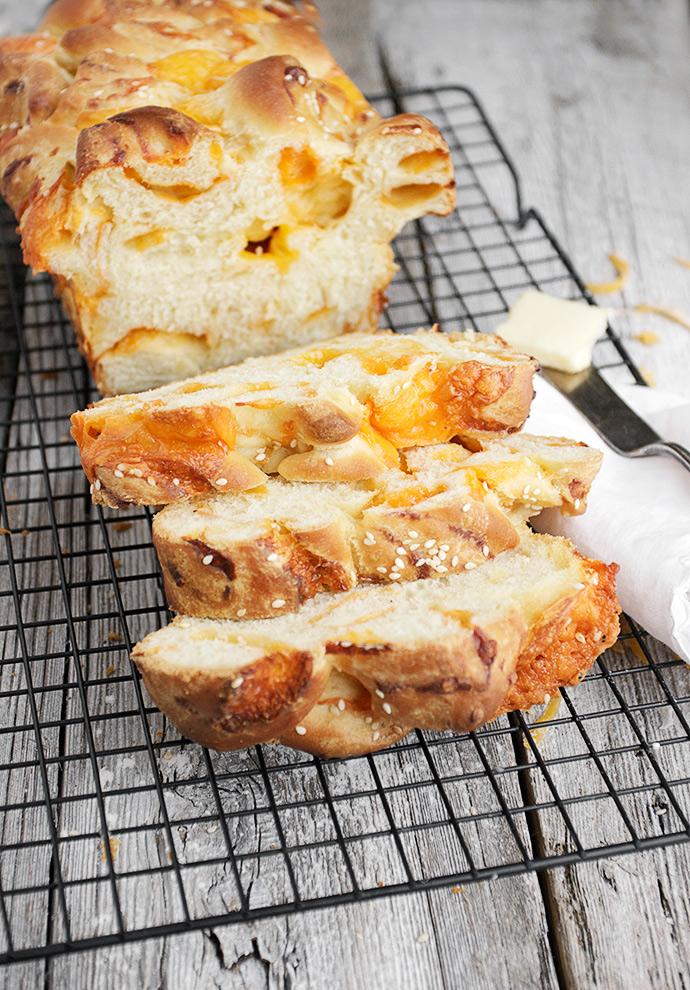
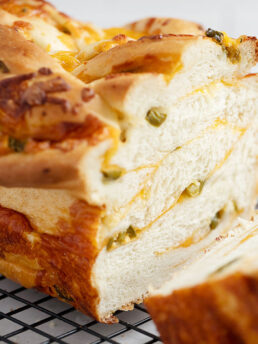
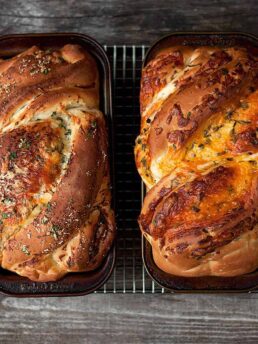
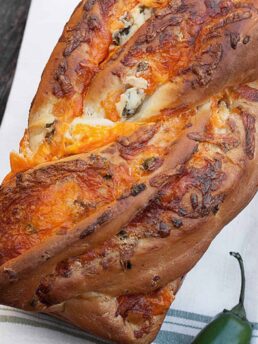
This Chunky Cheddar Cheese Bread is soft and loaded with chunks of cheddar cheese, together with shredded cheese. Lightly flavoured with a bit of mustard and garlic and topped with sesame seeds.
There’s cheese bread and then there’s cheeeeeese bread. This is definitely the latter. This is the bread you should make when you really want the full-on cheese bread experience. It’s excellent eaten out of hand, with butter. It’s great toasted or as a sandwich bread and of course, it makes a pretty much perfect grilled cheese.
This bread uses an interesting technique. First the dough is rolled out, then scattered with shredded cheese, then rolled up jelly-roll style. Then it’s cut in half lengthwise and then cut into little pieces. Those pieces are scattered haphazardly into the loaf pans, mixed with a generous amount of cheese chunks. It’s all topped off with a bit of melted butter, a pinch of garlic salt and a sprinkling with sesame seeds. It bakes up into a solid loaf, that’s very sliceable, with no gaps that you often get with just jelly-rolled cheese bread.
Ingredients and Substitutions
Cheddar Cheese – while you can use any cheddar cheese here, I think an “Old” cheddar, either white or yellow, will give the best cheddar flavour.
Yeast – you can use Active Dry Yeast or Instant Yeast for this bread.
Recipe Tips
- If you’ve ever gazed longingly at those super cheesy breads at the grocery store, then been stopped short by the price tag, you’ll be laughing all the way to the bank with this homemade version. You’ll use less than 1/2 of standard large block of cheese for these two loaves, so maybe $2.50 – $3 for cheese, tops – for two large loaves. With minimal other ingredients, it makes a lot of sense to bake your own, not to mention that you know exactly what’s in it!
- When it comes to cutting the dough into small pieces, don’t be too precise with it. Go all ninja on it and just cut haphazardly. It’s good to have a variety of sizes and shapes, to fill in the pan spaces best.
- Don’t be in too much of a rush to remove the bread from the oven. It will look fairly browned at the 30 minute mark, but it needs to cook a little longer (35-40 minutes). Cover loosely with a piece of foil to stop the browning, if needed.
- Don’t skimp on the greasing of the loaf pans. It will make your life easier when removing the cooked bread later. I just use a generous spray of baking spray.
Love cheese bread? You might also like my Soft Cheese Bread recipe.
Want to save this recipe?
Enter your email and I'll send it to your inbox. Plus, you'll get great new recipes from me every week!
By submitting this form, you consent to receive emails from Seasons and Suppers.
You can unsubscribe at any time.
Get the Recipe: Chunky Cheddar Cheese Bread
Ingredients
Bread:
- 1 1/2 cups warm water, about 105° F.
- 2 Tablespoons instant or active dry yeast
- 1/4 cup sugar
- 2 1/2 teaspoons salt
- 1 1/2 teaspoons dry mustard powder
- 2 large eggs
- 1/4 cup vegetable oil
- 2 Tablespoons unsalted butter, softened
- 5-6 cups all-purpose flour
Filling:
- 2 cups cheddar cheese , shredded and somewhat packed
- 2 cups cubed cheddar cheese , cubed into 1/2 inch chunks
Topping:
- 2 Tablespoons extra virgin olive oil, or melted butter
- Pinch of garlic salt and/or sprinkling of dried herb or spice mix
- Sesame seeds
Instructions
- Generously grease two 8x4-inch or 9x5-inch loaf pans and set aside.
- In a large bowl or the bowl of a stand mixer fitted with a kneading hook, combine warm water and yeast. Stir and let stand 2-3 minutes, until foamy. Add the sugar, salt, mustard, eggs, oil, butter and 3 cups of the flour. Mix together until combined. Begin adding more of the flour, in small increments (1/2 cup at first, then 1/4 cup, then tablespoons), until you have a moist, smooth and elastic dough. Remove dough to a greased bowl and cover with plastic wrap. Allow to rise until doubled, about 30-60 minutes.
- Remove risen dough to a floured surface. Divide into two equal pieces. Roll one piece of the dough into a rectangle about 10x16-inches. Scatter one half of the shredded cheese evenly over top of the dough. Starting with the long side, roll the dough up jelly-roll style. Using a sharp knife, cut down the middle of each roll lengthwise. Then, using the knife, cut the two long pieces into smaller irregular pieces, about 1-inch-ish. Scatter about half the dough pieces onto the bottom of one of the prepared loaf pans. Scatter with 1/4 of the cheese cubes. Top with the rest of the dough pieces and then another 1/4 of the cheese cubes. Set aside and repeat this process with the same process with second dough piece, filling up the second loaf pan. Don't worry if it looks sparse. It will rise and all cook together wonderfully.
- When both loaf pans are filled, drizzle with melted butter, dividing it between the two loaves. Sprinkle with a pinch of garlic salt (or dried herb blenand some sesame seeds. Cover with greased plastic wrap and set to rise 30-45 minutes, or until puffy.
- Preheat oven to 350°F (regular bake setting/not fan assisted) Place loaf pan on a baking sheet (to catch any bubble-overand bake until well browned, 35-40 minutes. Check at 30 minutes. If top is brown enough, cover loosely with aluminum foil to stop additional browning and continue baking.
- Allow to cool in pans for about 20 minutes, then run a knife around the outside and remove to a cooling rack to cool completely. These freeze well!
Notes
More Cheese Bread Recipes to Love!
Hi! I’m Jennifer, a home cook schooled by trial and error and almost 40 years of getting dinner on the table! I love to share my favourite recipes, both old and new, together with lots of tips and tricks to hopefully help make your home cooking enjoyable, stress free, rewarding and of course, delicious!



Best cheese bread I have made in all ways and I used the breadmaker on the “dough” listing for the first part. Definitely use the tray underneath as advised
So glad you enjoyed it, Lori :) Thanks so much!
Hello, can I just leave the dough in a large ball shape and bake in my Dutch oven for an artisan style loaf?
Hi Sheila and yes, absolutely should work fine!
Excited to try this recipe!
Could you make the dough in a bread maker?!
Hi Steph and yes, it should work in the bread maker on the regular dough setting.
Did you try it in the bread maker. Does it make 1 loaf or 2?
Hi Lisa and no, I haven’t tested this recipe in a bread maker (I don’t have one). This makes 2 loaves.
My sister baked this bread for our family tonight and it was delicious. My parents used to rave about bread from “Grandma Lee’s” a restaurant in Buffalo, NY and they said this was very similar. Thank you for a great recipe!
So glad to hear, Alex :) Thanks so much!
I have made this recipe twice in the past couple of years and this bread is now legend among my friends. It’s that good.
Jennifer, I’m going to make this again soon and have traditional yeast in the house—have you made this bread with traditional and not instant/rapid-rise yeast before?
Thank you in advance!
Hi Kimi and so glad you are enjoying this bread :) As for traditional yeast, I haven’t tried it (I only use regular Instant Yeast), but it should work exactly the same way as the Instant did for you, as the recipe starts with proofing in water. Traditional yeast likes a little cooler water, so aim for about 105F.
Thank you!!
What did I do wrong? I made this delicious bread the other day (while homeschooling two kids and tending to my toddler—which is probably why I messed up). My bread came out like pull apart bread, still delicious my family and I ended up snacking on it all night dipping it in pizza sauce we didn’t ever eat dinner all 5 of us completely stuffed off this cheesy pull apart bread!
Hi Allie, it sounds like maybe it was under-proofed, meaning it needed to rise longer, probably on the second rise. The chunks of dough should meld together, to make a sliceable loaf at the end. Is it possible it didn’t rise long enough before going into the oven?
I waited about 2 hours on the last proof, it was on my kitchen table in a sunny spot. But I’m also in Canada and we aren’t very warm right now by most peoples standards lol. I’ll be trying it again. The bread was delicious and pulled apart well. Will try again soon and let you know!!!
I think you may have actually over-proofed it. Surprisingly, over-proofing and under-proofing produce similar results. In both cases, there is too little gas in the bread when it bakes. When under-proofed, it never develops. In the case of over-proofing, it was there, and then it collapsed. The last rise should only be 30 minutes or so, even in a cooler Canadian kitchen (I have one of those, too and I still get quite a quick last rise). Try reducing that last rise to the 30-45 minute range and see how it goes.
This recipe was great! The mustard powder added a really nice flavour to the bread. I also sprinkled some garlic powder on top before baking which was tasty. There is A LOT of cheese though, so one of my loaves ended up a little underdone in the middle even after I checked it with a thermometer, so I’d suggest leaving it in for a few extra minutes (which I’ll do next time). The way of cutting the dough is a bit unusual but it ended up working out! Next time I make this (will definitely make it again), I’ll cut back a little on the cubed cheese and bake it a little longer.
So glad you enjoyed it, Allie and yes, you won’t hurt it baking a little longer. With lots of cheese, it’s hard to tell if you’re hitting cheese or dough with the thermometer. Thanks!
Raring to try this, looks absolutely delightful. Can I substitute the dry mustard with mustard sauce?
Yes, you can substitute regular mustard, though you should use more – about 1 Tbsp, should work. Enjoy!
I tried this recipe with one modification last night, and the bread that resulted was AMAZING! A couple of decades ago, I came across a pepperoni cheddar bread in my local Publix bakery, bought and enjoyed it, and have never seen it again. It’s stuck in my head for 20 years such that, when I found this recipe, I knew I was going to try it with the addition of pepperoni cubes. Other than the added pepperoni cubes, I followed the recipe exactly as it appears, and, to my delight, the resulting bread was as good or better than I remember the Publix bread to be. My family and I (including my usually-picky 17-year-old) devoured the first loaf in a matter of minutes! This recipe will be a long-term keeper (with the addition of pepperoni cubes, of course)!
So glad to hear and loving the sound of the pepperoni cubes :) Thanks!
Looks delish! Question about the directions. Recipe makes two loaves correct? Step 3 says to take half the dough pieces and place them in the pan and after placing the cheese bits in the pan to then put in the remaining half of the dough. The math doesn’t compute since that would use up all the dough pieces for one pan/loaf. Did you mean use 1/4 of the dough pieces instead? The math works for the cheese bits but confuses me about the dough pieces. Hope you’re understanding my question!
Hi Jen, It is a little convoluted, but the reference to “half” is after the dough has been divided in half already. It will undoubtedly make more sense as you are actually making it :)
Although this bread looks difficult it really wasn’t!
I did replace the vegetable oil with olive oil did not in any way alter the outcome.
I would share a picture but there isn’t the option. It’s too bad as it really turned out beautifully!
So glad to hear, Danielle! Thanks so much :) And sorry I can’t do photo uploads. I’m sure you can appreciate that I might not always get bread pictures if I allowed that ;) Thanks so much!
Well, that makes complete sense to me now…thank you for clarifying!! Planning to make it this week…can’t wait!
Glad to hear. Enjoy, Jen :)
Tasted fantastic. But it rose much higher than expected during baking and dropped over the pan edges. Still amazing though.
So glad to hear (except for the escapees :). Thanks!
We are from New Hampshire but have been blessed to spend the last 29 summers in Nova Scotia where we discovered Cheesy Bread. Always brought home several loaves! This year we were not able to cross the border (rightfully so), so I made this bread in hopes of remembering happy times. Let me tell you this bread is WONDERFUL! My family loves it. I too was skeptical about the process, but it truly works! THANK-YOU for this recipe and for bringing us a small bit of delight.
Please stay safe and well!
So glad to hear, Barbara! Hoping you will be back to Nova Scotia next Summer :) Thanks so much.
I’ve made this fantastic recipe several times, and every time is delicious!
I add my own twist of adding chopped jalapeños( 1/3 cup) and it’s even more delicious (if I even thought that was possible!)
Thank you so much for posting this recipe!
So glad you are enjoying it, Lisa :) Thanks so much!
OMG..this recipe is absolutely fantastic. I’ve made it several times now and I have shared it with friends and family. They all agree that its so delicious. Didn’t change a thing other than baking it 5 minutes longer. Thank you for such a great recipe.
Glad you are enjoying it! Thanks so much :)
What a wonderful dough to work with and GREAT tasting bread. Thanks for the recipe. Interesting technique:) !
So glad you enjoyed it, Lyn :) Thanks so much!
Amazing and delicious!
So glad you enjoyed it, Sandra :) Thanks!