

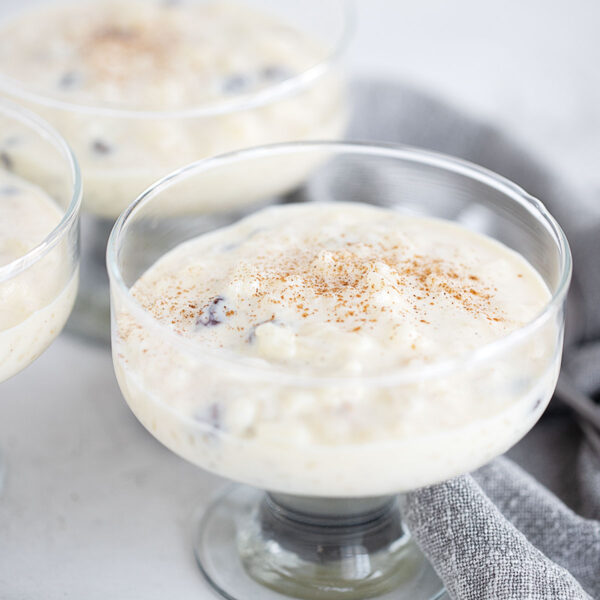
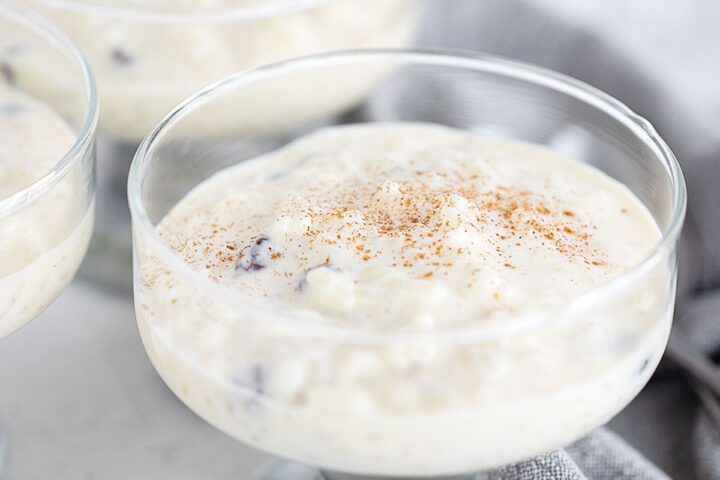
This old-fashioned, custard-style stovetop rice pudding recipe starts with uncooked rice that cooks in milk, then adds tempered eggs and heavy cream for a custard base and an extra‑creamy rice pudding.
It’s not the quickest recipe out there, but if you’re after “best ever” rather than “five‑minute,” the little bit of extra time is absolutely worth it! This is a rice pudding lover’s rice pudding recipe!
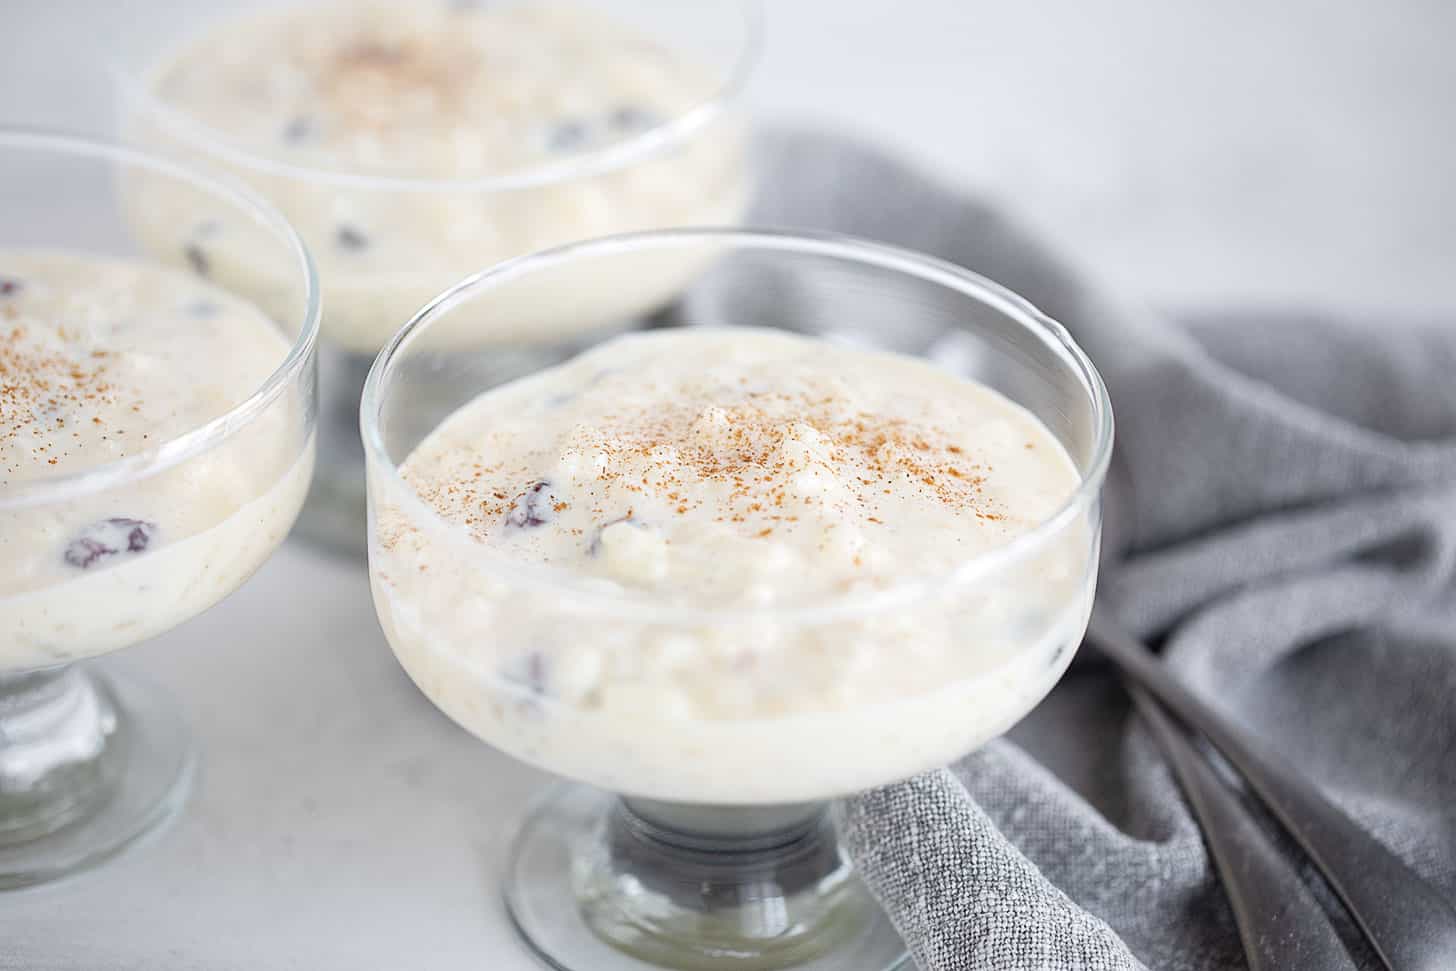
Before you start: Be sure to read the tips and troubleshooting below to avoid common rice pudding mistakes.
Creamy, old-fashioned stovetop rice pudding: at a glance
Looking for the best old-fashioned rice pudding recipe? This tried-and true, extra‑creamy, custard‑style stovetop rice pudding is the one I’ve been making for decades.
Think of this as old‑fashioned rice pudding with a modern, extra‑creamy twist – plump, tender rice suspended in a rich custard, sweet but not overly sweet, with lots of built‑in tips and troubleshooting so it turns out perfectly every time.
What readers say …
“This is, without a doubt, the BEST stovetop rice pudding recipe I have ever tried. I’ve tried several and was always disappointed with the results. Yours is the creamiest and best! Just the right amount of sugar – sweet, but not too sweet. Easy to make as well. Thanks for sharing this recipe, which will be one of my favourites from now on.”- Rick
“Made this rice pudding recipe for a dear friend who always orders rice pudding if it’s on the menu. She said it is the best rice pudding she has ever tasted. Thanks so much!” – Glenda
“This is the most perfect rice pudding! This is a taste of my childhood and everyone who I make it for loves it! I always add a sprinkle of cinnamon when serving. Just perfection creamy goodness! Thank you!” – Jessica
- Creamy, old-fashioned stovetop rice pudding: at a glance
- What readers say …
- Ingredients and substitutions
- How to make a creamy old-fashioned rice pudding: step-by-step
- How to make creamy old-fashioned stovetop rice pudding: video
- Common mistakes (and how to avoid them)
- Rice pudding FAQ (stovetop, custard‑style)
- Troubleshooting the finished pudding
- Storing and freezing rice pudding
- Get the Recipe: Creamy Old-fashioned Stovetop Rice Pudding
- More pudding recipes to love!
Ingredients and substitutions
A few notes about the key ingredients …
Rice – Use long-grain rice or Arborio rice, uncooked, for this recipe. Classic, old-fashioned rice pudding is typically made with converted long-grain rice, such as Uncle Ben’s™, and if you are looking for an old-fashioned rice pudding recipe, this is that style (just with a creamier, modern twist). That said, I am a big fan of Arborio rice for rice pudding. I love the plump grains of rice, and it cooks up wonderfully in the milk.
Basmati and Jasmine are also long-grain rice, and either would be an option here. I don’t recommend short-grain or quick-cooking rice for rice pudding, as it can often result in a mushy rice pudding.
Milk – Whole, full-fat 3.5% b.f. milk is best for rice pudding. You can use 2%, if that’s all you have, though the resulting pudding won’t be quite as creamy. I wouldn’t use milk less than 2%, for best results.
Heavy cream – The addition of heavy whipping cream (35% b.f.) contributes to both the creamy flavour and texture of the pudding, but also contributes to the thickening of the pudding. I do recommend using the heavy cream. You may be able to use a lighter cream in a pinch, such as Half & Half 10% cream, but I haven’t tested it myself. I suspect it may result in a looser pudding to some extent.
Eggs – The eggs in this recipe play a critical part in thickening the custard, so should not be omitted.
White granulated sugar – Sugar is added to the rice pudding simply for sweetness, so you can adjust the amount to your personal taste. I always suggest making the recipe as written first, then tweaking it after that to your taste for sweetness. I always eat rice pudding cold, but if you enjoy a warm rice pudding, you’ll probably prefer a little less sugar, as the pudding will taste sweeter when warmed.
While I haven’t tested it myself, I believe artificial sweeteners would work just fine here, but I do suggest sticking with granulated sweeteners if possible (vs liquid), to avoid thinning the pudding.
Raisins – Adding raisins is totally optional! Add them if you love them, or skip them if you don’t.
How to make a creamy old-fashioned rice pudding: step-by-step
This is a visual summary of the steps to make this rice pudding. Always refer to the Recipe Card below for complete instructions when making this recipe.
Here we’ll simmer uncooked rice and milk and simmer until tender. Temper the eggs and cream with hot rice mixture some of the hot milk/rice mixture, then add the egg and cream mixture to the pot and cook gently until thickened. Chill at least 3 hours to set the custard.
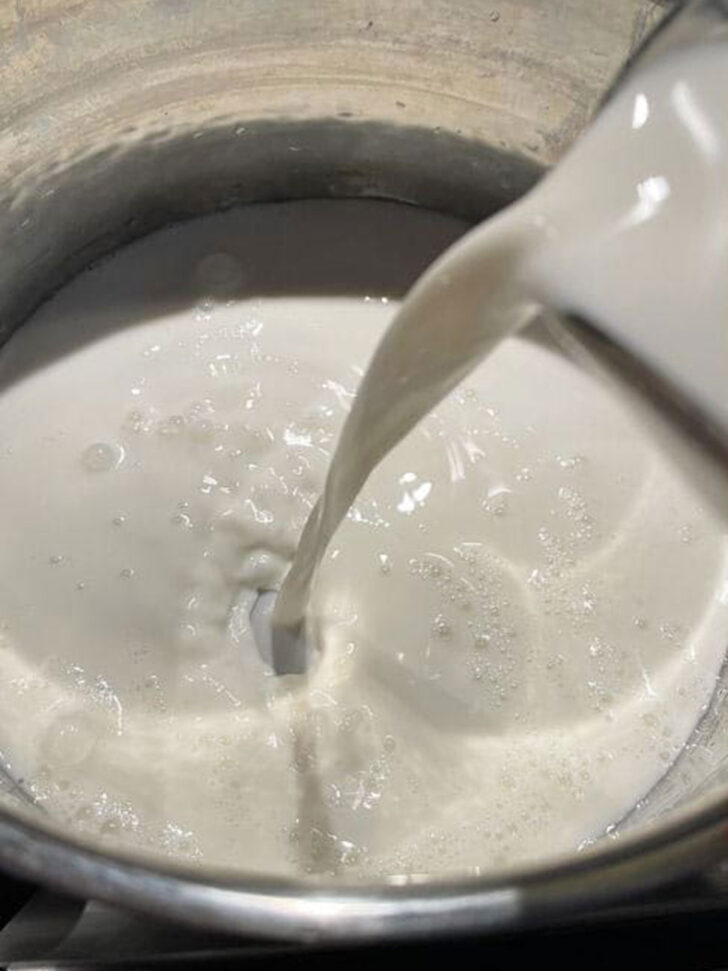
- To start the rice pudding, add the milk to a large pot and bring to a boil over medium heat. Watch it closely! When milk hits the boil it can boil up and over the edge of the pot, which is never a good thing.
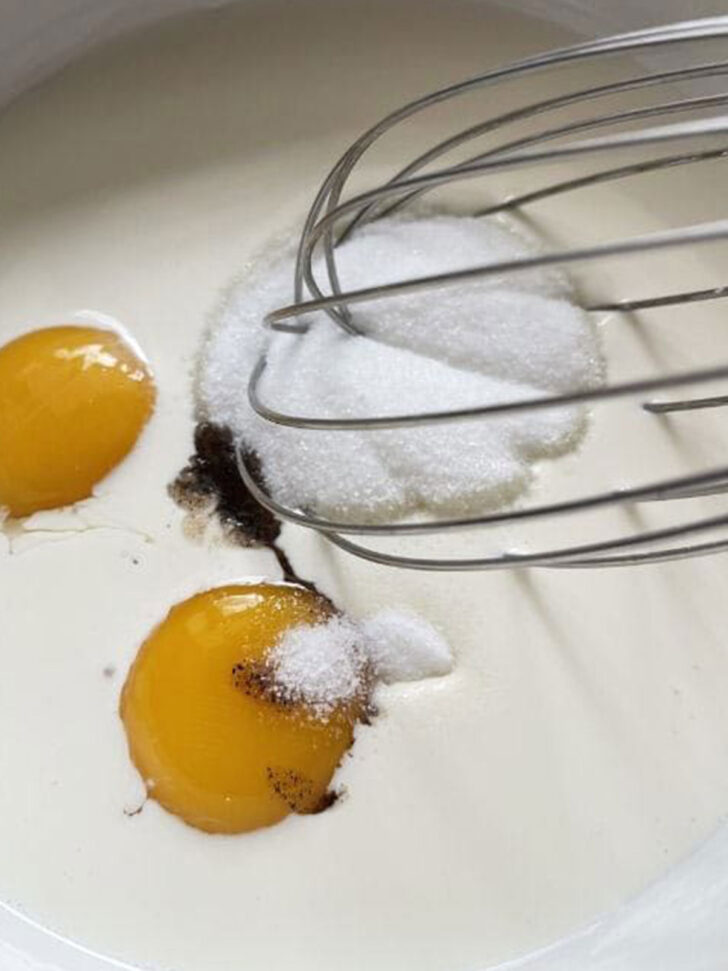
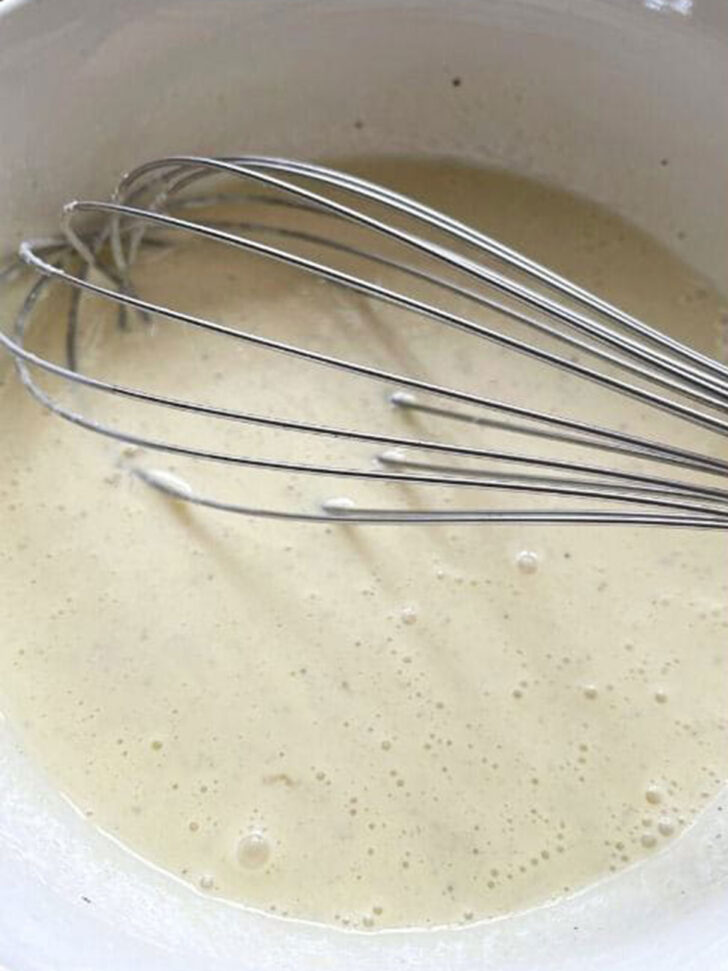
- While the milk is heating, whisk together the eggs, heavy cream, vanilla and sugar in a small bowl. This will give it a chance to come to room temperature while the rice cooks.
- Whisk the egg mixture until it’s smooth. Set aside for now.


- When the milk comes to a boil, stir in the rice, then reduce the temperature under the pot to about medium-low, or whatever setting on your stovetop will maintain a gentle simmer.
- Allow the rice and milk to simmer, stirring down the pudding every 10 minutes for the first 20 minutes of cooking.
- The milk will form a skin on top as it simmers. Just stir it back into the pudding.
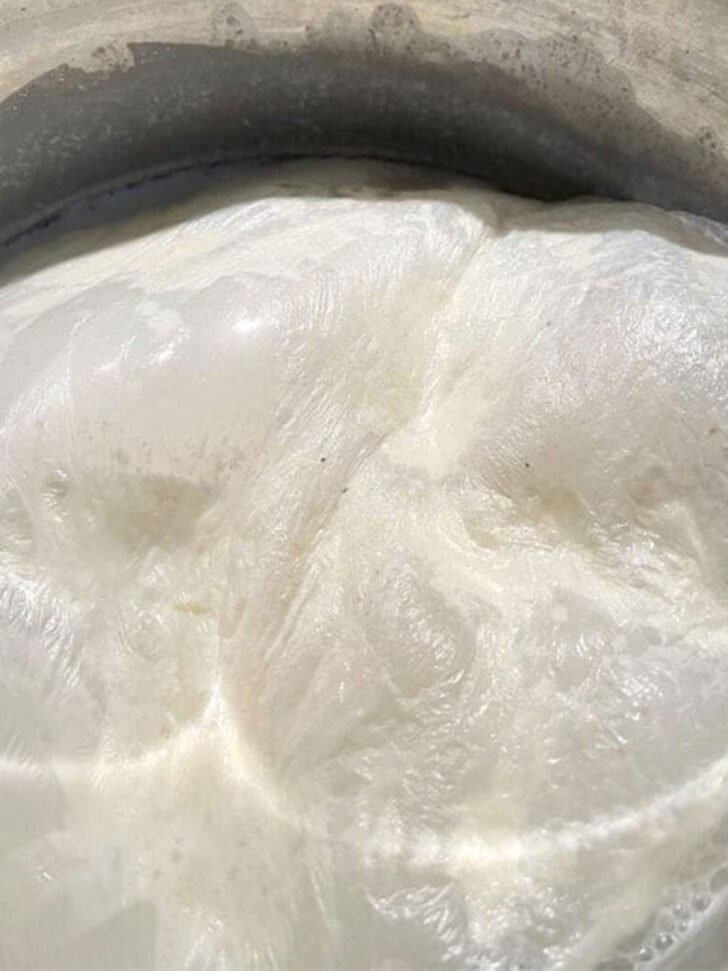

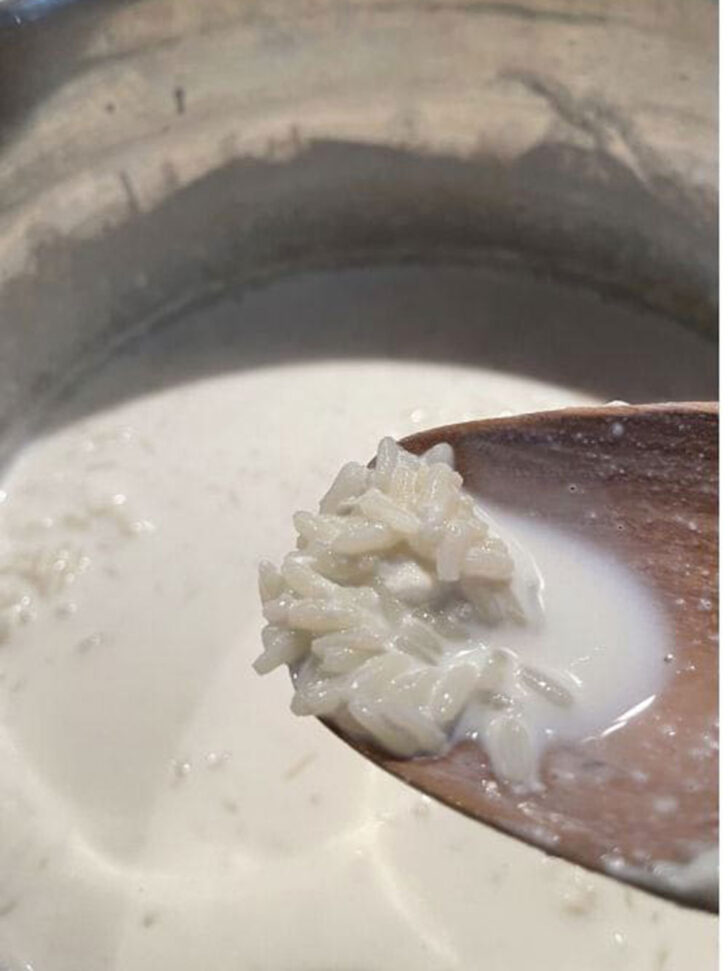
- After 20 minutes of cooking, you’ll need to check and stir the pudding regularly to monitor the liquid level and test the tenderness of the rice.
- Stir down the pudding and continue cooking until the rice is tender.
- Taste test the rice to see if it is tender. You don’t want any hard bite to it at all, so continue simmering until it is tender. If the liquid is greatly reduced and the rice isn’t yet tender, add a bit more milk to the pot, as needed, to avoid scorching the rice.


- Once the rice is tender, slide the pot off the heat (to avoid scorching the rice) and slowly add a ladleful of the hot rice/milk mixture to the egg mixture. You need to do this very slowly, a drop at a time, so you slowly bring the egg mixture up to the temperature of the rice mixture. If you add too much hot liquid at once, the eggs will cook and become scrambled eggs, which is definitely not what we want. Once you’ve added a ladle of hot rice mixture to the egg mixture, add the egg mixture to the pot with the rice.
- Return the pudding to the heat over medium heat. Cook, stirring constantly, until the mixture just breaks a single bubble on the surface. Cook, stirring, another 30-34 seconds, then immediately remove the pudding to a bowl. Cover and refrigerate the rice pudding for at least 3 hours. The pudding will thicken further as it refrigerates.
How to make creamy old-fashioned stovetop rice pudding: video
Common mistakes (and how to avoid them)
If your rice pudding has ever turned out soupy, scorched, or scrambled‑eggy, these tips will fix that!
There are a few places where cooking rice pudding can go a bit off-track, so I thought I’d point them out, since I’ve done all of them at one point or another :)
- Boiling milk happens quickly! Be sure to watch the pot as your milk comes to a boil at the start of cooking, so it doesn’t quickly boil over and all over your stove. Use a large pot and watch very closely as it nears the boil (starts steaming) to avoid that mess.
- Simmer gently, stir regularly and watch closely! Simmer the milk/rice mixture gently (not too vigorously) over medium-low heat and be sure to stir down regularly, as indicated in the recipe details. This will prevent the rice from scorching on the bottom of the pot or the mixture from drying out before the rice has a chance to cook. I like to set the timer on my stove in 10-minute increments to remind me, so I can’t forget about it cooking on the stove.
- Temper the eggs slowly! Tempering the egg/cream mixture with the hot pudding needs to be done slowly and patiently to avoid cooking the eggs. You need to bring the temperature of the egg mixture up very slowly (called “tempering”), so that the eggs don’t cook or curdle. Add a drop at a time (really!) at first and whisk continuously while adding. You can increase to a slow stream as you go along, but keep whisking and don’t rush it.
- Add more milk, if needed! Towards the end of boiling the rice in the milk, closely monitor the liquid in the pot. As different types of rice absorb liquid differently, you may find that the milk mostly disappears before your rice is cooked. If the mixture gets too dry, it may also scorch on the bottom of the pan. Don’t hesitate to add a splash more milk or water to the pot towards the end of cooking, to make sure the liquid level is sufficient to suspend the rice off the bottom of the pot. For best results, add more milk or water as needed (preferably hot, to prevent cooling down the mixture too much).
- Cook the custard until thickened! After adding the egg/cream mixture to the pudding, you will need to cook it together long enough to create the desired custard texture. It can be hard to tell when your custard has cooked long enough, but don’t worry, I’ve included tips and visual clues in the Recipe Card instructions so you’ll know exactly what you’re looking for!
Rice pudding FAQ (stovetop, custard‑style)
No, this recipe is designed to start with uncooked rice, slowly simmered in milk for the classic texture. Starting with cooked rice will change both the timing and texture, so use a cooked‑rice recipe instead if that’s your preference.
No, as this is a custard-style rice pudding, eggs are an integral part of the finished custardy texture of the rice pudding. For an egg‑free rice pudding, look for a non‑custard recipe that uses cornstarch or just milk and cream for thickening.
Absolutely! Add them to the bowl if you like or omit them if you don’t.
Yes! I always suggest making it as written first, then adjusting the amount to your taste for sweetness. If you enjoy eating rice pudding warm, you may find adding just 1/4 cup of sugar a better starting point, as warm pudding naturally tastes sweeter.
You can! I suggest using a 1-for-1 granulated sweetener as a direct substitute for the white granulated sugar. I would avoid liquid artificial sweeteners that may over-thin the pudding.
No, this recipe is written for the stovetop only and uses a gentle simmer and tempering for the custard. Baked rice pudding needs a different approach, so use a recipe developed for the oven.
While I agree with the sentiment, you would need quite a large pot to handle 8 cups of simmering milk! While it might work, I haven’t tested it myself.
Yes! This rice pudding has making-ahead built in, as it needs to chill for at least 3 hours and ideally 4-6 hours after making. Make it up to a day ahead, then stir in a splash of cream before serving if it has thickened too much.
Troubleshooting the finished pudding
If your pudding doesn’t thicken properly after chilling for at least 4-6 hours, it wasn’t cooked quite long enough after adding the egg mixture. You can rescue it by pouring it back into a saucepan, heating it back up, then stirring in a bit of cornstarch mixed with cold water, a bit at a time, until the pudding thickens as needed. Refrigerate.
If the custard looks curdled or slightly scrambled‑eggy, it usually means the mixture boiled too vigorously after adding the eggs. You can improve the texture by gently warming and whisking, then pressing through a fine‑mesh sieve, but for the best silky custard, follow the tempering and gentle‑simmer directions closely next time.
If the pudding is too thick after refrigerating, loosen it by stirring in a splash of milk or cream.
Storing and freezing rice pudding
Rice pudding will keep nicely in the fridge for 3-4 days. If it becomes too thick as it sits in the fridge, simply stir in a tablespoon or two of heavy cream to loosen.
Yes, you can freeze rice pudding! Rice pudding will keep well frozen for up to 3 months. Thaw in the refrigerator.
Want to save this recipe?
Enter your email and I’ll send it to your inbox. Plus, you’ll get great new recipes from me every week!
By submitting this form, you consent to receive emails from Seasons and Suppers.
You can unsubscribe at any time.
Get the Recipe: Creamy Old-fashioned Stovetop Rice Pudding
Ingredients
- 4 cups (960 ml) whole milk, (3.5% b.f.), plus up to 1 cup more, as needed *See Note 1 below
- 1/2 cup (120 ml) uncooked and unrinsed long-grain white rice or Arborio rice, *See Note 2 below for other rice options
- 2/3 cup (160 ml) heavy whipping cream, 35% b.f.
- 1/3 cup (65 g) white granulated sugar, *See Note 3 below
- 2 large egg yolks
- 1 1/2 teaspoons pure vanilla extract or vanilla bean paste
- 1/8 teaspoon salt
- 1/3-1/2 cup (120 ml) raisins, optional
Instructions
- Rinse a large pot with cold water. Don't dry it. Set the pot onto the stovetop over medium heat. Add the 4 cups whole milk ((3.5% b.f.), plus up to 1 cup more, as needed *See Note 1 below). Heat the milk to a boil over medium heat, stirring regularly. WATCH CLOSELY as it nears the boil! When the milk hits the boil, it will boil up considerably and possibly overflow the pot. That's obviously not a good thing.
- While the milk is heating, use a medium-sized bowl to whisk together the 2/3 cup heavy whipping cream (35% b.f.) 1/3 cup white granulated sugar (*See Note 3 below), 2 large egg yolks, 1 1/2 teaspoons pure vanilla extract or vanilla bean paste and 1/8 teaspoon salt. Set aside on the counter, leaving the fork in the bowl. I like to do this early so that the egg mixture comes to room temperature. Set out a ladle to use later, as well.
- Once the milk boils, stir in the 1/2 cup uncooked and unrinsed long-grain white rice or Arborio rice (*See Note 2 below for other rice options) and keep stirring until the mixture returns to the boil. Reduce the heat under the pot to about medium- low, or to whatever level on your stove allows the mixture to gently simmer (bubbles breaking the surface but not too vigorously). Simmer for 20 minutes, stirring down the mixture after 10 minutes of simmering. (It's important that you stir it down regularly and ensure that there is no rice sticking to the bottom of the pan. You will notice that the mixture has probably formed a skin on top. Don't remove it. Just stir it back in.)
- Have a serving bowl at the ready. If you are adding raisins, scatter the 1/3-1/2 cup raisins (optional) onto the bottom of the bowl. Set aside.
- After about 20 minutes of simmering, continue cooking, but watch it more closely and stir regularly, until the rice is tender. Test the rice by tasting a grain. You want the rice to be just tender, so no hard center. As the pudding nears the end of cooking, the liquid level will reduce in the pot. There is an increased risk of the milk or the rice scorching if the liquid level gets too low before the rice is cooked. Stir regularly to keep the rice moving, and don't hesitate to add a splash of additional milk (or water) if the liquid level reduces too much. The rice needs enough liquid in the pan to keep it suspended in liquid and keep it off the bottom of the pan.
- Continue cooking, stirring down and adding additional milk, as needed, until the rice is tender. Arborio rice is often cooked for about 30 minutes, while long-grain converted rice often takes a little longer. Most rice is generally done at about 40-45 minutes of total simmering time. A lot will depend on how vigorously your mixture is boiling, so there is no hard and fast rule. Taste testing is always the best indicator!
- Once the rice is cooked, slide the pot off the heat to avoid scorching the rice. Re-whisk your egg mixture with a fork. Using the ladle, spoon out a ladleful of the hot rice/milk mixture, taking as much liquid as possible, but don't worry if you bring some of the rice with it. With the ladle in your left hand (assuming you're right-handed; if not, reverse) and using your right hand to start whisking the egg mixture with the fork, start adding the hot mixture to the eggs A DROP AT A TIME, at first, while continuously whisking with the fork. Increase to a slow stream of hot milk/rice, while whisking continuously, until the entire ladleful has been added. Get another ladleful of hot liquid and slowly add it to the egg mixture as well, whisking continuously. Once you have two ladles of hot milk/rice, pour the warmed egg mixture into your cooking pot.
- Return the pot to the heat, over medium-low heat. Cook, stirring continuously, just until a dime-sized bubble breaks the surface of the pudding. I like to stop stirring briefly as it cooks to see if a bubble will break the surface, then resume cooking/stirring until it does. Once a bubble breaks the surface, cook, stirring for about 30-45 seconds more, then immediately remove from the heat to the serving bowl. The finished consistency of the pudding should be noticeably thickened, but still looser/saucier than a finished rice pudding. The pudding will set more in the fridge as it cools. If the liquid seems almost like milk consistency rather than heavy cream consistency, it's too thin and probably needs a bit more cooking (but again, don't let it fully boil).
- Allow the pudding to stand on the counter for about 5 minutes to allow the steam to reduce, then cover the bowl with plastic wrap and place it in the refrigerator. Allow the pudding to cool and set in the refrigerator for at least 3 hours, but ideally 4-6 hours before serving. The pudding will set as it cools and will thicken more the longer it chills.
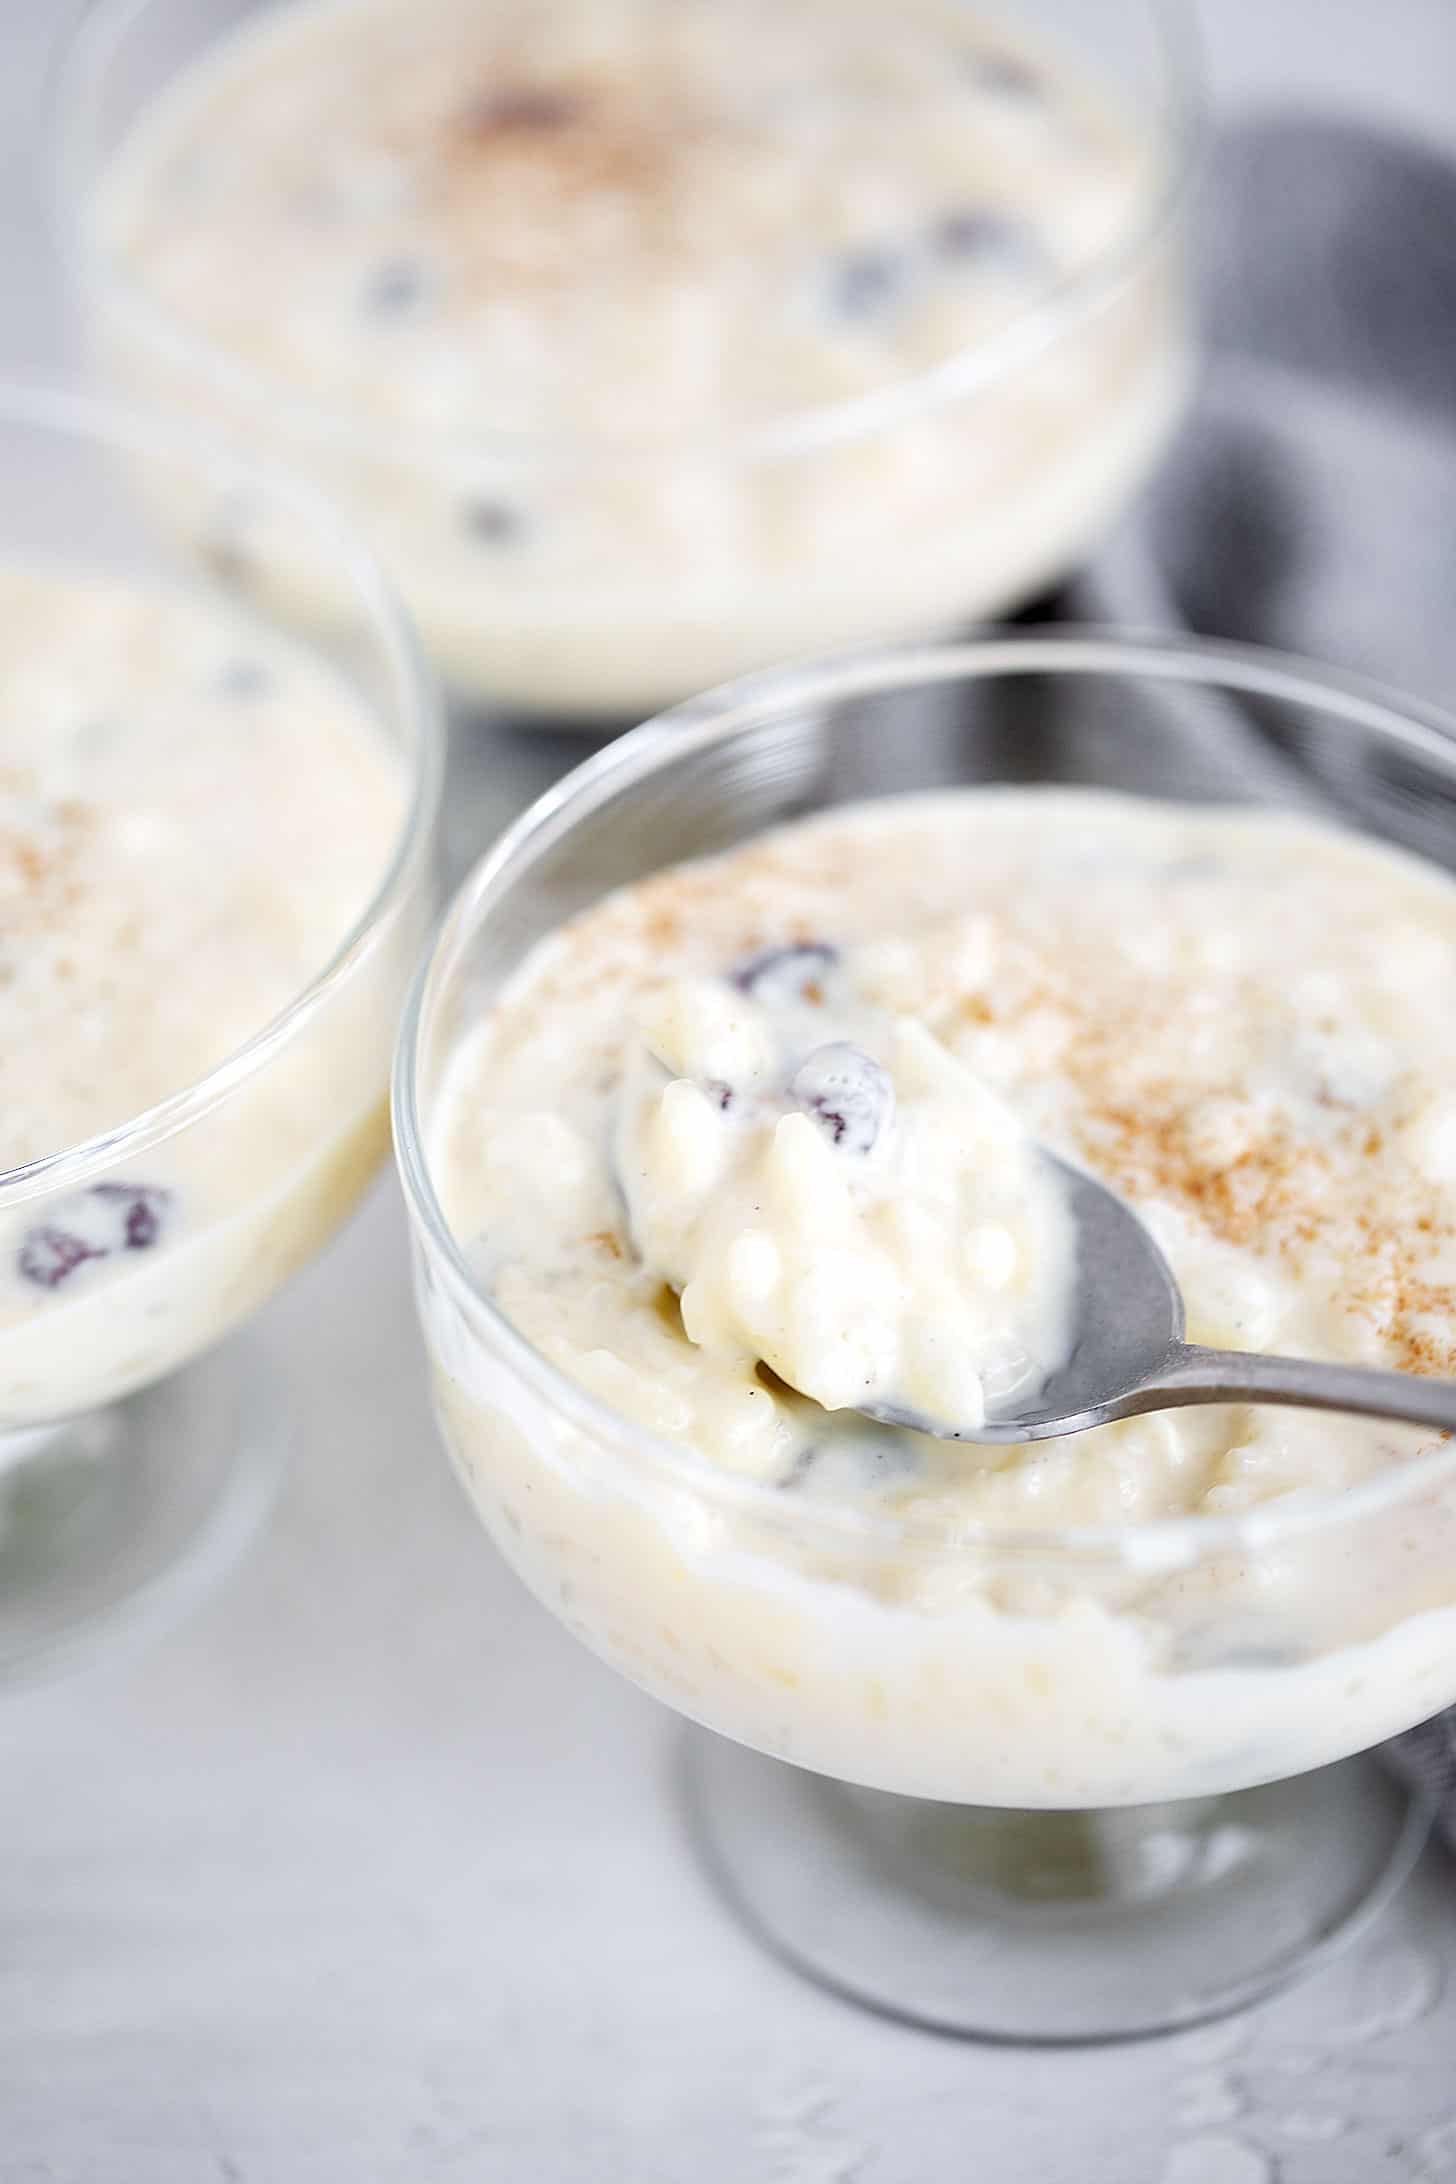
- Serve cold from the fridge with a sprinkling of cinnamon, or rewarmed gently in the microwave or a saucepan, if desired. If the pudding is or becomes too thick, simply add a tablespoon or so of heavy cream to the pudding and stir it in.
- Store rice pudding in the refrigerator for up to 3 days. You can also freeze rice pudding for up to 3 months.
Notes
Watch how to make it
More pudding recipes to love!

Hi! I’m Jennifer, a home cook schooled by trial and error and almost 40 years of getting dinner on the table! I love to share my favourite recipes, both old and new, together with lots of tips and tricks to hopefully help make your home cooking enjoyable, stress-free, rewarding and of course, delicious!


Absolutely the bomb! This is the only recipe I use for rice pudding now and it gets requested frequently. Once you’ve made it a few times it’s pretty straightforward. I double the recipe and it works perfectly-it does seem fairly soupy when it first cooks but thickens nicely once cool. Apparently better than Wicked Sister according to my kids and that’s high praise indeed. I double reduce the sugar a little but that’s just personal preference.
So glad you are enjoying it, Terri! Thanks so much :)
I have made rice pudding all my life. But this is so wonderful.
Eating this was like feeding a baby their favorite food. The spoon doesn’t make it to the mouth fast enough. I wanted to dive into the bowl and drink it. It is better than delicious. It’s fantabulous.
So pleased to hear, Terry :) Thanks so much!
This is the only recipe i use for rice pudding!! Comes out PERFECT every time
I’m so glad you’re enjoying it, Kristina :) Thanks so much!
This is sooo good! I used arborio rice, 2% milk, and half-and-half, because that’s what I had. My rice took 60 minutes, but I live at elevation. I chose to stir the entire time (like risotto). Dare I say this is better than Kozy Shack???
So glad you enjoyed it, Kay! Thanks so much :)
This is the most perfect rice pudding! This is a taste of my childhood and everyone who I make it for loves it! I always add a sprinkle of cinnamon when serving. Just perfection creamy goodness! Thank you!
I’m so glad you’re enjoying it, Jessica! Thanks so much :)
I made this for Easter, and it is simply delicious…
So glad you enjoyed it, Kimberly! Thanks so much :)
This was by far the best rice pudding I’ve ever had. I added some cinnamon at the end. It was creamy and so delicious. Making a large batch for my neices birthday, with some leftovers for myself.
I’m so glad you enjoyed it :) Thanks so much!
J7st made for first time..I was attracted to this recipe as it sounded close to what my Swedish grandmother made at Xmas… delicious..and very cl9se.. Grandma would add one almond…whomever got it won a pretty impressive prize!!
I’m so pleased to hear, Laraine. And I love the added almond :) Thanks!
The rice pudding was fantastic, probably the best I’ve ever had! The one thing I did different was at the end, I used half and half instead of milk because that’s what I had. It took quite a bit more than the recipe called for. I would plan on having 2qts additional. I had one quart and the rice could have been softer. The taste and creaminess was off the charts !
So glad you enjoyed it, Joe :) Thanks so much!
This is certainly fussier than the thousands of other recipes out there, so I keep trying those that advertise as easy. Keep coming back to this however, as it’s unbeatable.
I throw in a cinnamon stick.
So glad to hear, Nora and yes, sometimes the extra effort is totally worth it :)
Why do you preboil the milk?
Hi Sara, you preboil the milk for a couple of reasons. First, rice cooks best when added to hot liquid. Secondly, if you put the rice in cold milk, it will just sit on the bottom of the pan while the milk heats. Unless you stir it constantly to keep it moving, it may scorch on the bottom of the pan.
Awesomely good with fresh strawberries!
Sounds lovely. So glad you enjoyed it, Cynthia :) Thanks so much!
Best rice pudding recipe, that I’ve come across. It’s the only one I use now.
So glad to hear, Kristi :) Thanks so much!
I have made a lot of rice puddings. It seems we are very fussy about the consistency and texture, lol. This recipe requires slight more effort but worth every minute. I’ve made it a couple times now. I find it a bit too sweet, so I reduced the ‘sugar’ and substituted 1/4 cup real maple syrup. I also added cinnamon and ground cardamon to the yolk mixture! So yummy! Thank you!:D
Sounds lovely! So glad you are enjoying it. Thanks so much :)