You’ll be surprised at how easy it is to make homemade pumpkin puree from pie pumpkins. The resulting pumpkin puree is perfect to use for pumpkin bakes or savoury pumpkin dishes.

If you’ve spied those little pie pumpkins at the market and you’ve been tempted to pick some up, you’ll be delighted by how easy it is to turn them into homemade pumpkin puree!
Ingredients and substitutions
Pie Pumpkins – Pie pumpkins (also known as Sugar Pumpkins) will make the best pumpkin puree. While you can make pumpkin puree from larger pumpkins (or any pumpkin), you’ll find the colour and the flavour lighter and the finished texture less smooth.
Cheesecloth – Cheesecloth is the best for draining the pumpkin puree. If you don’t have cheesecloth, large coffee filters may work or try an old, clean pillowcase. A very fine sieve may also work.
How to make homemade pumpkin puree from pie pumpkins


- Start by cutting the pie pumpkin in half across the equator. Scoop out the flesh and seeds and discard or save the seeds to roast later. Place the pumpkin cut-side down onto a foil-lined baking sheet (for easy cleanup). Be sure the baking sheet is large enough for the pumpkins to sit flat on the baking sheet. There is no need to remove the stems!
- Roast the pumpkins in the oven until soft and browned, about 1 hour.
- Test the flesh of the pumpkin with a fork just to be sure it is completely soft, then flip them over and allow to cool for 5 minutes or so.


- Use a spoon to scoop out the pumpkin, leaving the skin behind.
- Place the pumpkin into a food processor or blender. (If using a blender, allow to cool further before processing, to avoid a build up of pressure in the blender.)
- Process the pumpkin until smooth.


- Spoon the processed pumpkin into tripled-up cheesecloth.
- Gather up the cheesecloth and tie a knot in the top.
- Hang the cheesecloth onto a cupboard knob with a bowl underneath and allow to drain for 3-4 hours, squeezing the bag every so often to keep the moisture moving. Allow to drain until no or little moisture comes out when squeezed. Remove the pumpkin to storage containers and refrigerate or freeze.
Recipe tips!
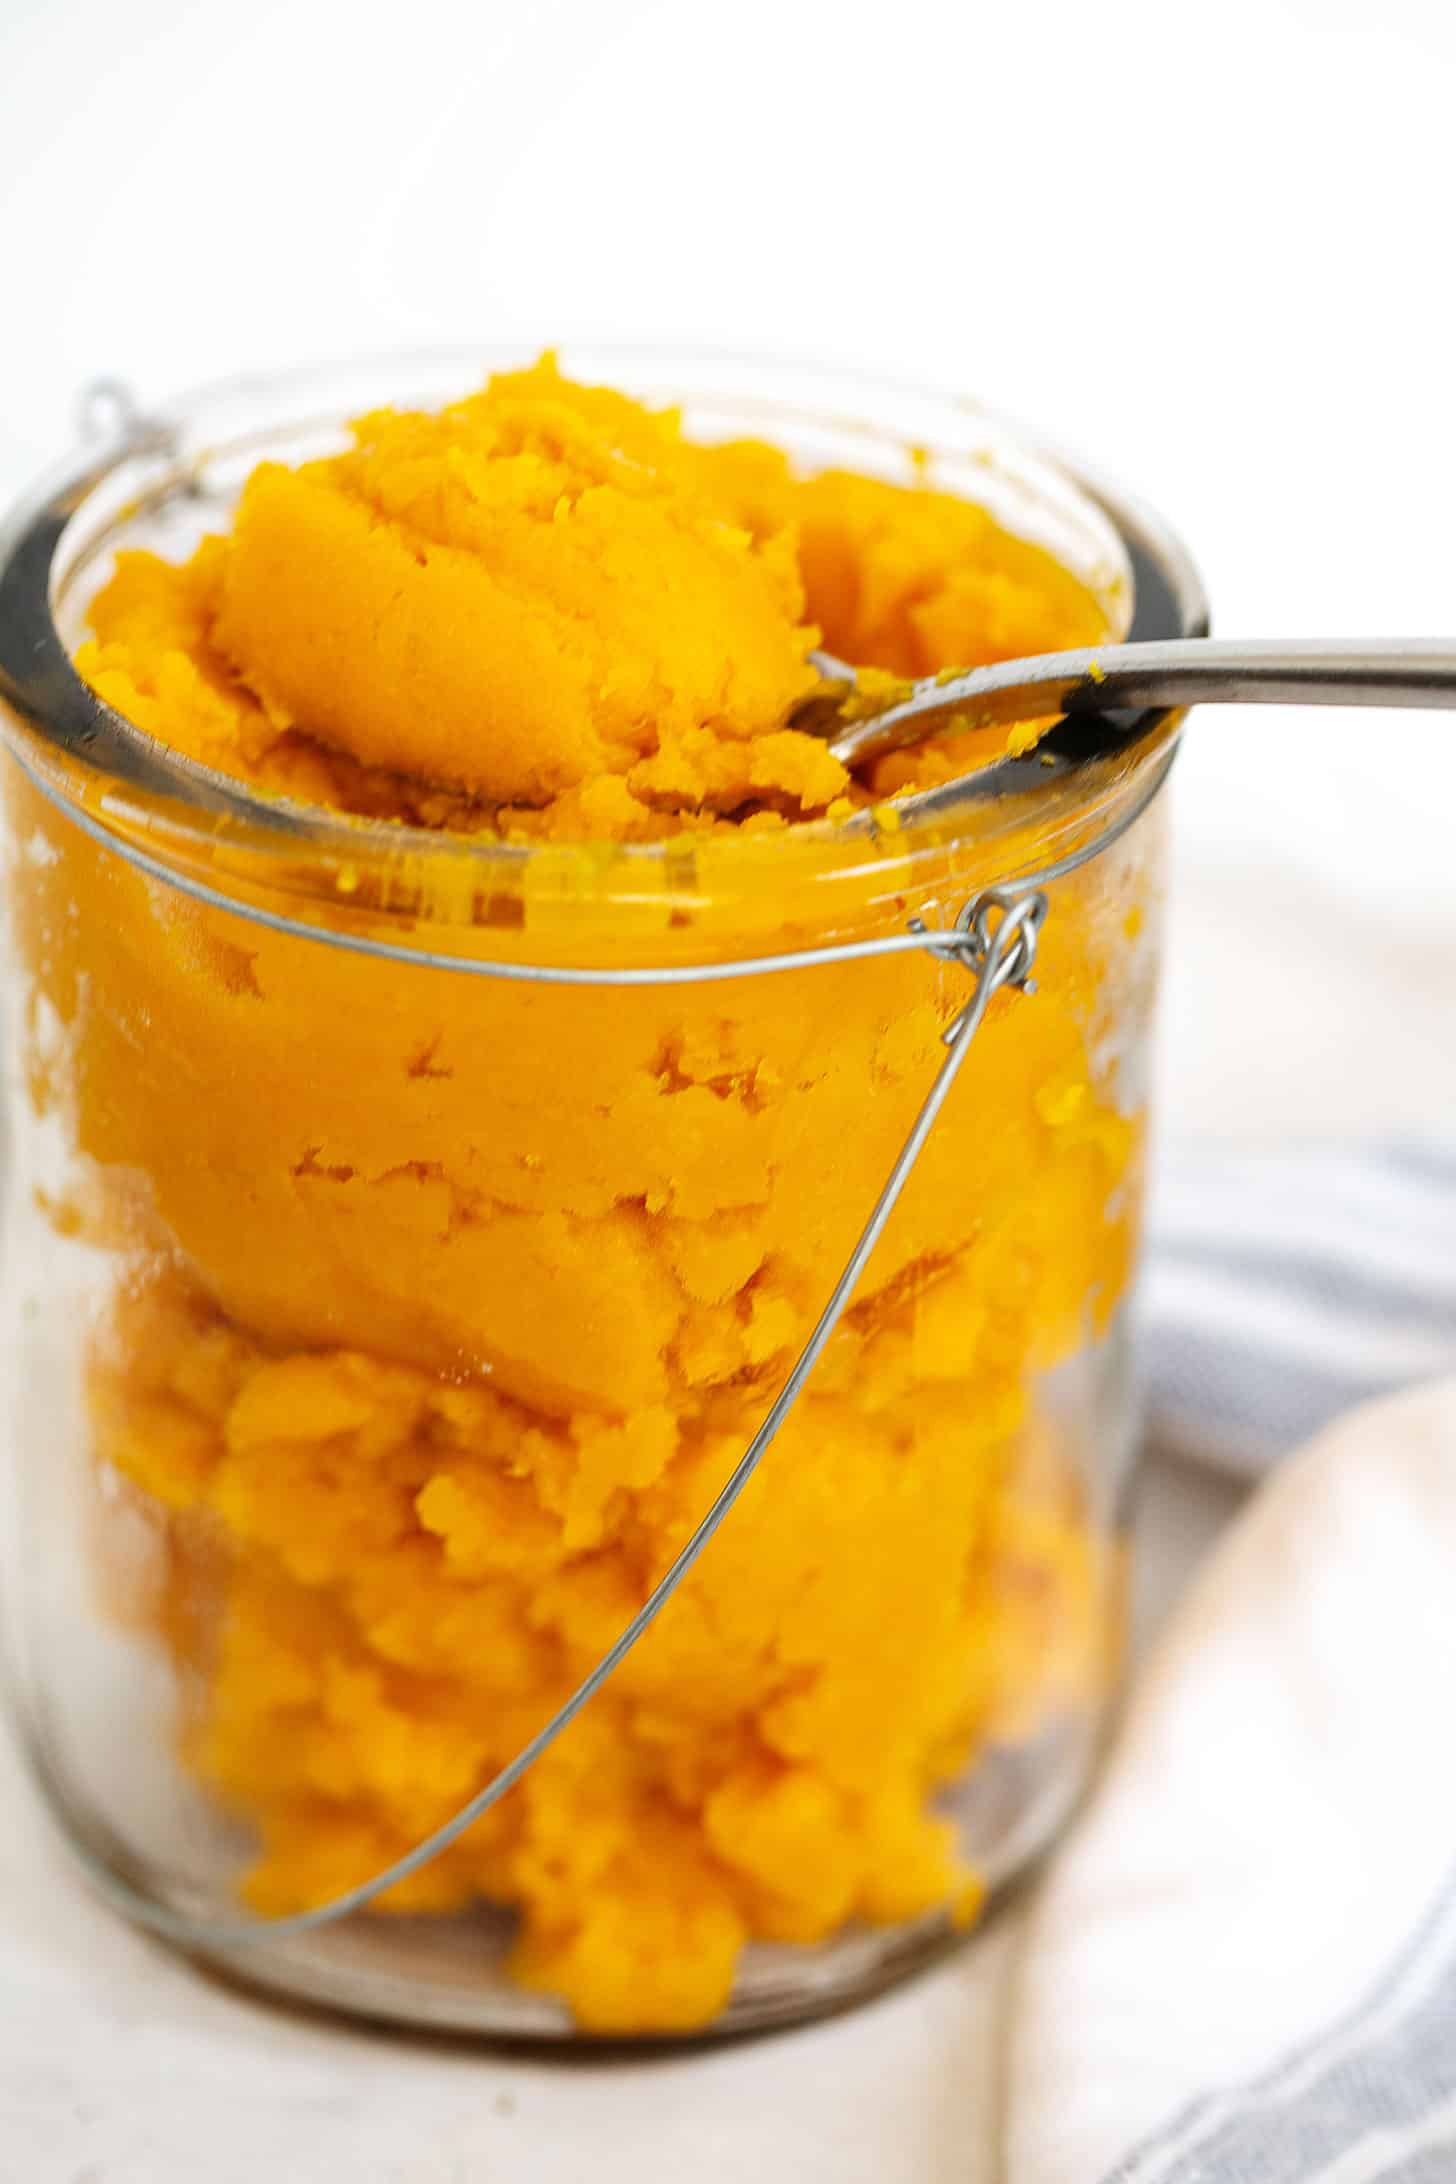
- You’ll notice that homemade pumpkin puree from pie pumpkins is lighter in colour than canned pumpkin puree. The lighter colour will result in lighter-coloured bakes. That said, you’ll find the flavour more fully pumpkin than canned pumpkin.
- Draining the pumpkin puree is necessary in order to replicate the consistency of canned pumpkin puree and to ensure it performs similarly in cooking and baking recipes.
How to use the pumpkin puree
Homemade pumpkin puree performs flawlessly in savoury recipes, such as my Pumpkin Risotto or my Pumpkin Chicken Chowder.
For pumpkin baking recipes, homemade pumpkin puree makes for slightly lighter-coloured bakes, due to the lighter colour of the puree. Also, I’ve found that bakes such as muffins or loaves take a bit longer to bake due to the slightly higher moisture content.
How many pie pumpkins you’ll need
Pie pumpkins are typically small and quite uniform in size. You can expect to get about 1 – 1 1/4 cups of pumpkin puree from each average-sized pie pumpkin.

How to store homemade pumpkin puree
Homemade pumpkin puree can be refrigerated for up to 4 days.
For longer storage, pumpkin puree can be frozen for 3-4 months. It’s useful to measure out 1-cup amounts and freeze them separately, so it is easy to grab just what you need for baking without having to thaw more than you need.
Want to save this recipe?
Enter your email and I’ll send it to your inbox. Plus, you’ll get great new recipes from me every week!
By submitting this form, you consent to receive emails from Seasons and Suppers.
You can unsubscribe at any time.

Get the Recipe: Homemade Pumpkin Puree (from Pie Pumpkins)
Ingredients
- 2 pie pumpkins
Equipment
- Cheesecloth for draining
Instructions
- Preheat oven to 400F (non-convection setting). Line a large baking sheet with aluminum foil and set aside.
- Cut the pie pumpkins in half across the equator. Scoop out the pulp and seed. Discard or save the seeds for roasting later. Place the pumpkin onto the prepared baking sheet cut side down. No need to remove any stems from the pumpkins.
- Roast the pumpkins in the preheated oven for about 1 hour, or until the pumpkin flesh is very soft and the outside of the pumpkins are browned.
- Remove from the oven and flip the pumpkin pieces over to cool for about 5 minutes. Use a spoon to scoop the roasted pumpkin flesh from the pumpkin, leaving the skin behind.
- Place the pumpkin puree into a food processor or blender. *If using a blender, allow the pumpkin to cool further, to prevent steam build-up in the blender when processing. Process the pumpkin until smooth.
- Remove the pumpkin to a tripled-up cheesecloth lined bowl or colander. Grab the edges of the cheesecloth and bring them up together at the top. Tie a knot in the cheesecloth.
- Use the knot to hang the pumpkin in the cheesecloth from an upper-cupboard knob or handle. Place a large bowl on the counter underneath. Allow to hand and drain for about 3 hours, squeezing the bag every once in a while to keep the liquid moving. Allow to drain until little or no moisture streams out when the bag is squeezed.
- Remove the pumpkin to a storage container(s) and refrigerate for up to 4 days or freeze for up to 4 months. It is handy to measure out the pumpkin puree into 1-cup portions before freezing to avoid having to thaw it all just to get a bit.
Notes
Some recipes that use pumpkin puree!
Hi! I’m Jennifer, a home cook schooled by trial and error and almost 40 years of getting dinner on the table! I love to share my favourite recipes, both old and new, together with lots of tips and tricks to hopefully help make your home cooking enjoyable, stress free, rewarding and of course, delicious!


