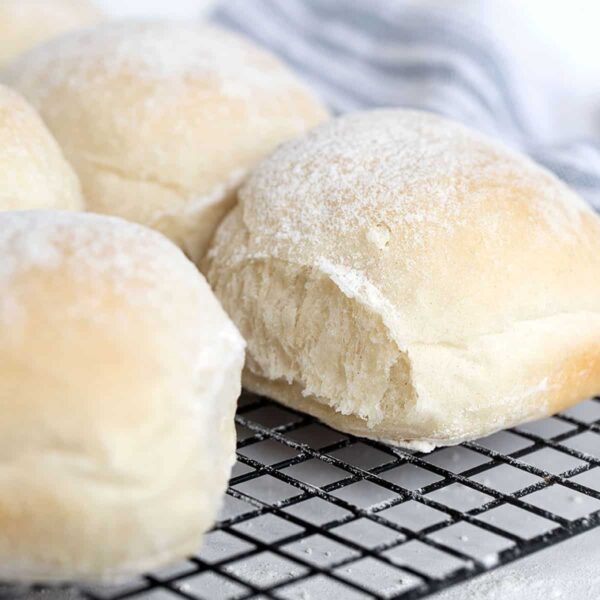
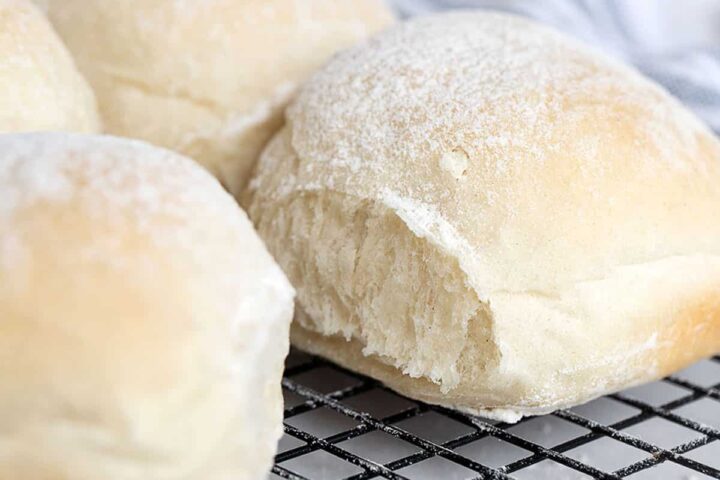
Traditional Irish soft buns, made famous as Waterford Blaa. Light in texture, but sturdy enough for any use, they are sure to become a favourite. These buns are also Vegan.
Yes, it’s an interesting name, but it’s a truly fabulous bun! And while I’m sharing this today in recognition of St. Patrick’s Day, this is a bun that is worthy of being enjoyed year-round.
The Irish Blaa is typically a soft, tender and floury white bun, most well known as Waterford Blaa. (Apparently, you can only call them that if they are actually made in Waterford, Ireland though, so I’ll just call them Irish :)
By any name though, these delicious buns are both light in texture and sturdy, making them a perfectly versatile bun.
Ingredients and substitutions
A few notes about the key ingredients …
Flour – You can use either bread flour or all purpose flour, with bread flour being the preferred option. You may need to use a bit more flour to bring the dough together, if using all purpose flour.
Yeast – You can use either Active Dry or regular Instant Yeast (such as SAF Brand Instant Yeast) for these buns. Quick or rapid-rising yeast is not recommended.
Shortening – This would be the solid, vegetable shortening, such as Crisco™ I know there is still a lot of hesitancy about shortening, but there really shouldn’t be and in this case, it contributes to the lovely light texture of these buns. I recommend shortening if possible. If you don’t have or want to use shortening, you can replace with the same amount of softened butter, though it will have some effect on the texture of the finished buns.
You will also need – water, salt and just 1 tsp of sugar.
How to make traditional Irish Blaa
This is a visual summary of the steps to make this recipe. Always refer to the complete ingredient list and instructions in the Recipe Card below when making the recipe.


- Irish Blaa start with a quite moist dough, so resist the urge to add too much flour in the mixing bowl, to keep the wonderful light texture. That said, it should be kneadable, so add a little flour on the bench if dough is too sticky to knead.
- Form into a ball and place into a greased bowl or large measuring cup to rise until doubled.
- Turn the dough out onto a well-floured work surface and gently deflate.


- Portion out into pieces. I went with 6 here, to make a bit larger buns, that work nicely for sandwiches or burgers, too. Go for 8 if you’d smaller buns.
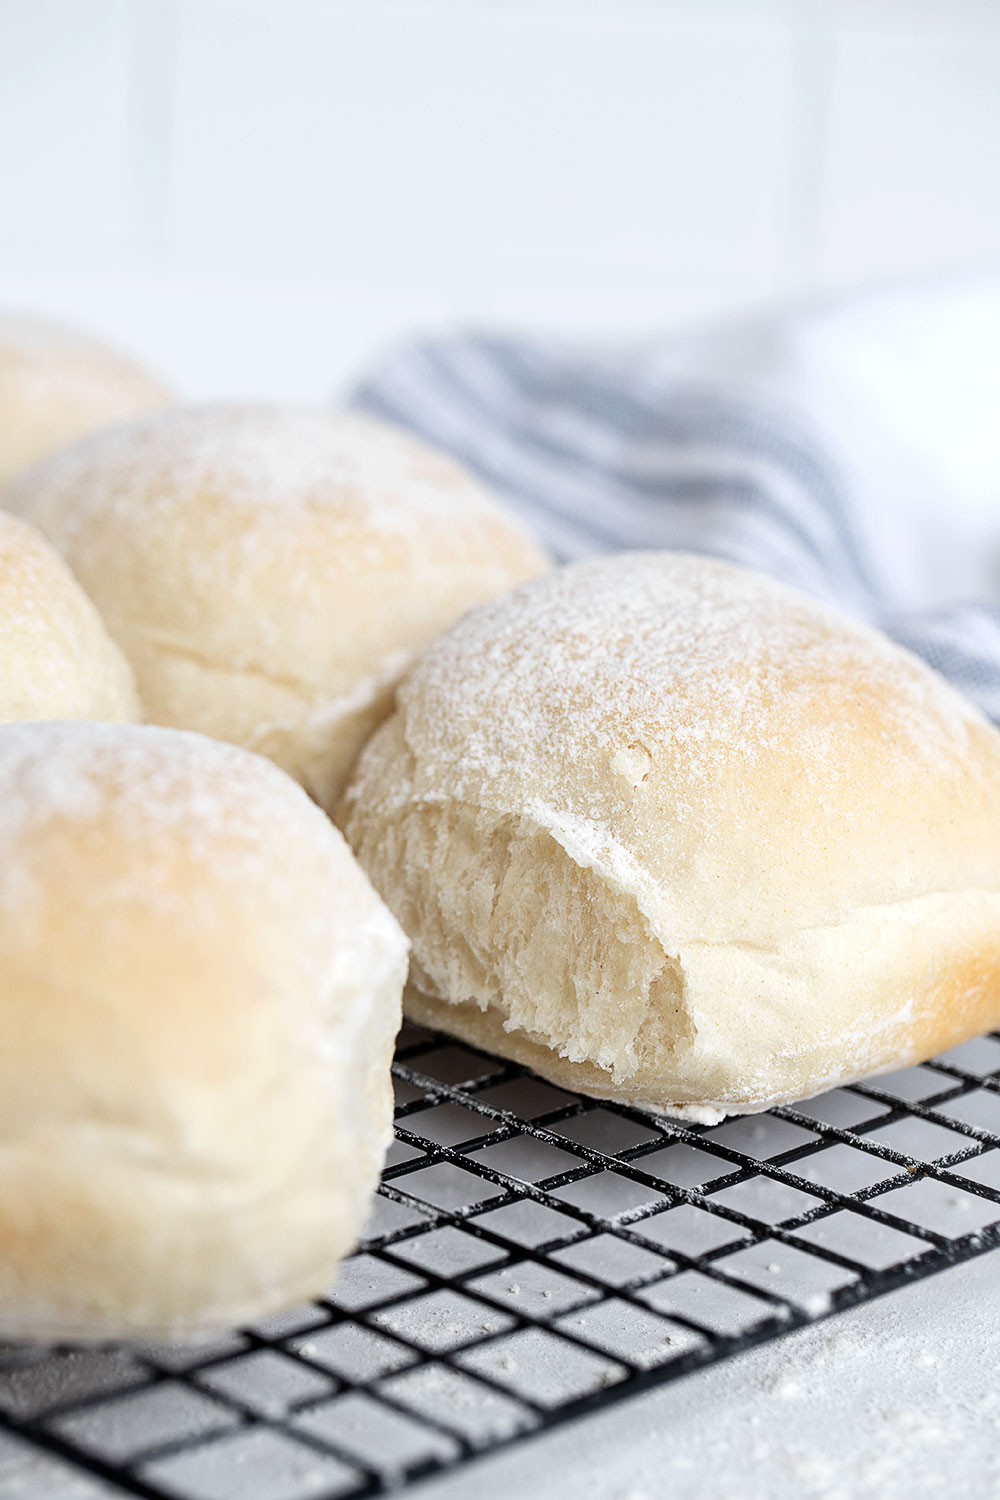
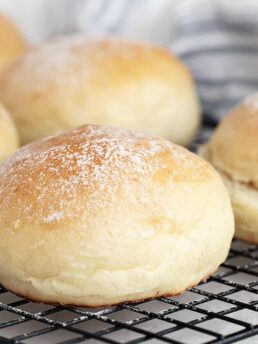
- Form each piece of dough into a smooth ball. One of the things that characterizes Blaa is a square-ish shape, so once you have formed the dough into balls, flatten and press into a bit more square-ish shape. I didn’t square mine up too much here, but if you want yours really square, you can stretch a bit more into a square by tugging on opposite corners a bit, if you like.
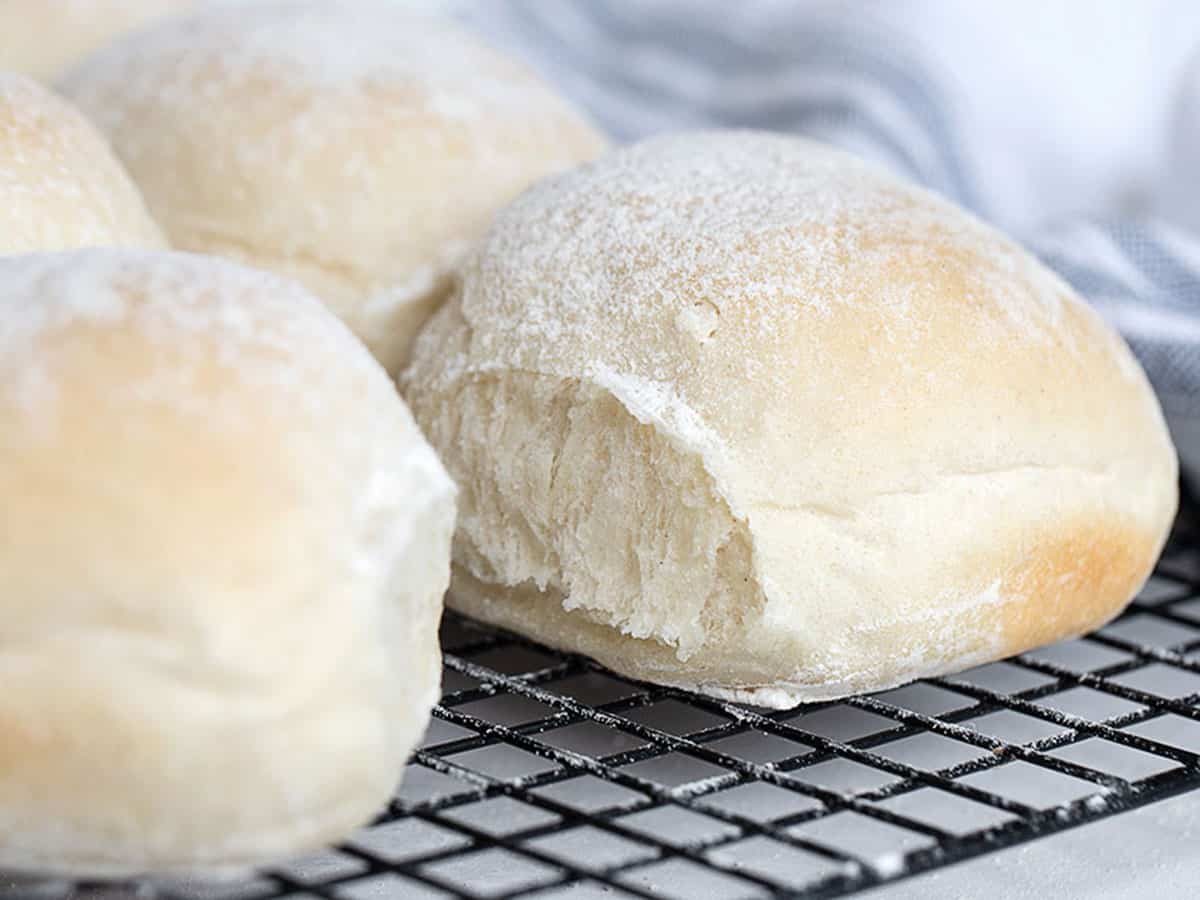
- The other thing that characterizes Blaa is dusting with flour, so be generous with the flour here.


- Add a generous sprinkling of flour in the baking pan as well.
- Place the formed rolls into a pan that will just hold them, with only a bit of space between each one, so that they will rise into each other first, and then rise up. If the pan is too large, they will continue to spread out and not up.
- Once risen in the pan, bake until just lightly coloured. Blaa are generally quite light in colour and not golden.
How to enjoy Irish Blaa
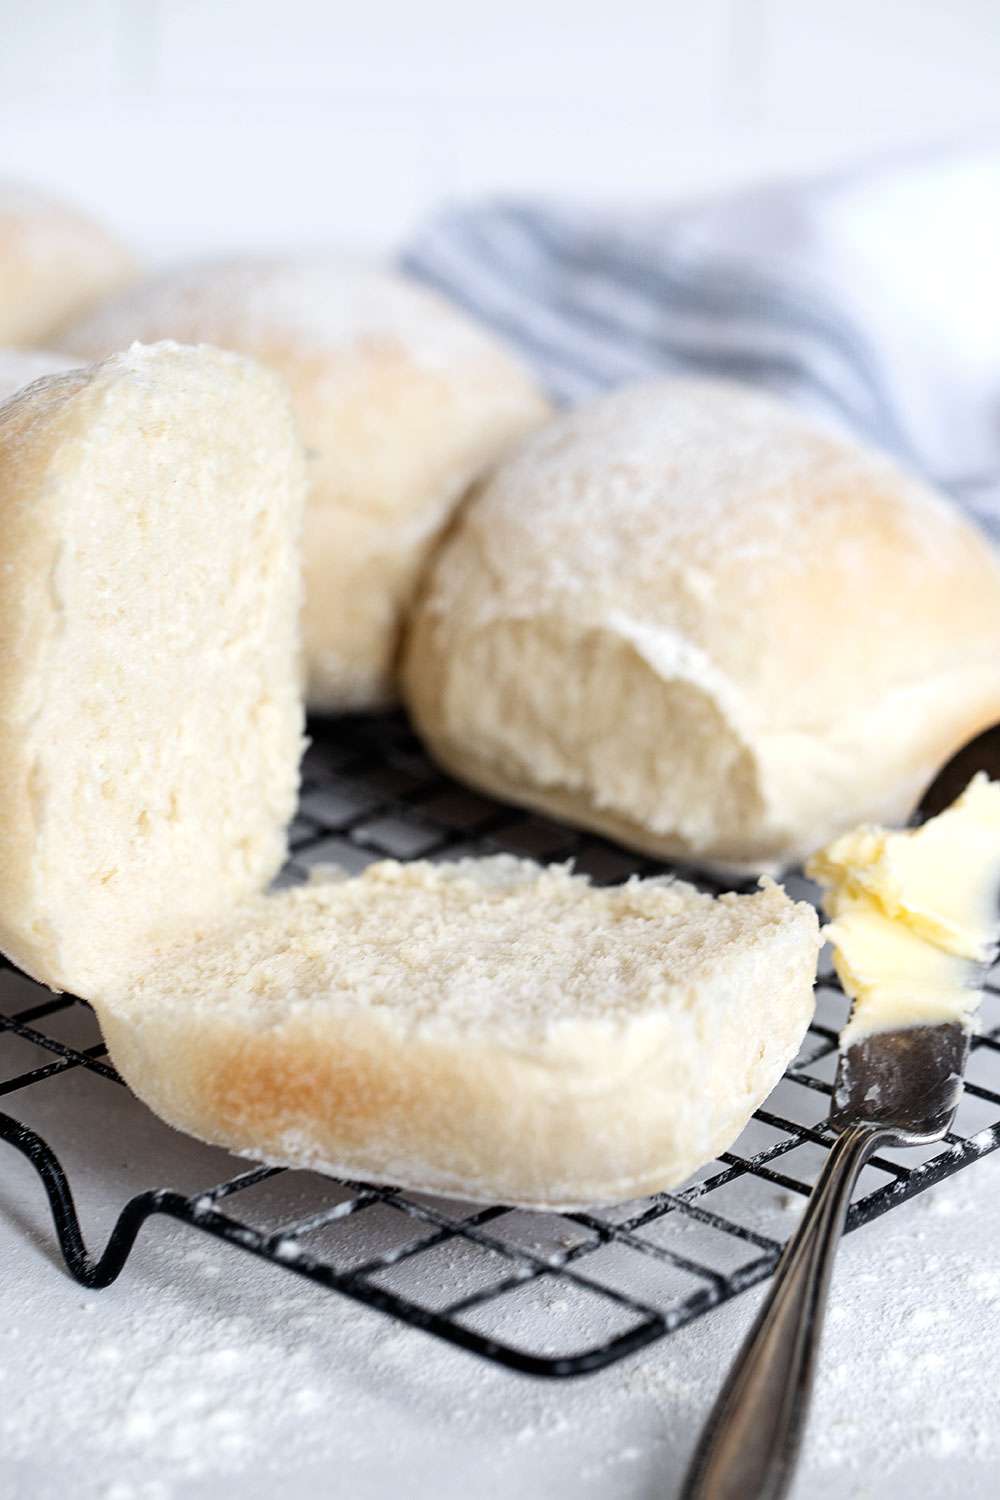
- As a burger bun! Yes, these soft, squishy buns make great burger buns.
- Toasted with butter and jam.
- As a great sandwich bun. (These buns are so light enough in texture that they won’t feel heavy eating them, but they are also sturdy enough to hold all your favourite sandwich fillings.)
Making ahead, storing and freezing
Blaa are best within 24 hours of baking, though they will keep at room temperature for a couple of days. They do freeze beautifully, so you may want to freeze what you can’t eat them up right away and enjoy from the freezer as needed.
Want to save this recipe?
Enter your email and I’ll send it to your inbox. Plus, you’ll get great new recipes from me every week!
By submitting this form, you consent to receive emails from Seasons and Suppers.
You can unsubscribe at any time.
Get the Recipe: Irish Blaa
Ingredients
- 1 cup (235 g) lukewarm water, about 105F.
- 1 teaspoon Active Dry or Instant Yeast
- 1 teaspoon white granulated sugar
- 1/2 teaspoon fine salt
- 1 1/2 Tablespoon shortening, recommended for best results, but you can substitute an equal amount of softened butter
- 2 1/2 cups (350 g) bread or all purpose flour, approximately
Instructions
- In a large bowl or the bowl of a stand mixer fitted with a kneading hook, add the lukewarm water. Sprinkle in the yeast and the white sugar. Stir and let stand 5 minutes. Add the salt and shortening, along with 1 1/2 cups of the flour. Mix to combine well, scraping down the bowl to incorporate the flour, if necessary. Begin adding the last 1 cup of flour in small increments, mixing well between each addition, until the dough wraps the kneading hook and cleans the bowl. The dough may be a bit sticky still at the bottom of the bowl, but resist the urge to add too much flour in the bowl. You can always add a bit more on the counter.
- Remove the dough to a floured work surface and knead the dough briefly, adding more flour only if the dough is sticking to the surface or your hands. Form into a ball and place into a greased bowl. Cover the bowl with plastic wrap and let rise until doubled, about 60-90 minutes.
- Meanwhile, generously flour a 7×11-inch baking pan and set aside. *Alternately, try an 8 or 9-inch round baking pan, placing 5 buns around the outside and one in the centre or any size pan that holds all the buns with just a small bit of space around each one.
- Remove dough to a well floured work surface and gently deflate. Divide the dough into 6 equal pieces. (*I like to weigh the whole dough ball and then calculate the weight for each of 6 buns. Mine here were 98g each). Take one piece of dough and Form into a ball, then roll it around in the flour on the work surface a bit. Flatten the ball slightly and if desired, coax into more of a square shape. Place into floured baking pan. Repeat with the remaining dough pieces, placing them into the baking pan in 3 rows of 2 across, leaving a small 1/4-inch-ish space between the buns and the sides of the pan.
- Cover the pan with a clean towel and let rise until doubled, about 30-45 minutes.
- Preheat the oven to 360F (regular bake/not fan-assisted).
- When buns are doubled, remove the towel and dust a bit more flour on top of the buns using a fine sieve.
- Bake in the preheated over for about 23-25 minutes, or until the sound hollow when tapped and are just very lightly golden. You want them to be quite light in colour. *See notes for baking time and temperature tweaks for these buns.
- Remove from the oven and immediately remove buns from the baking pan in one large piece. Allow to cool completely.
Notes
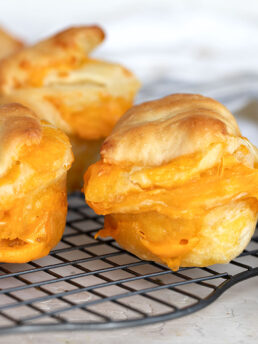
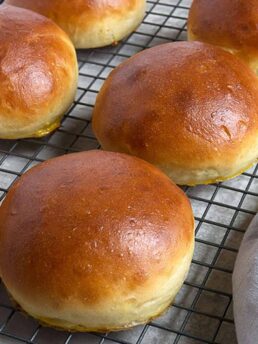
More bun recipes to love!
Hi! I’m Jennifer, a home cook schooled by trial and error and almost 40 years of getting dinner on the table! I love to share my favourite recipes, both old and new, together with lots of tips and tricks to hopefully help make your home cooking enjoyable, stress-free, rewarding and of course, delicious!
Delicious and super easy to make.
So glad to hear Tamara. Thanks!
These make EXCELLENT hamburger buns!! I tried them last night and found them nice & simple to make. Used regular A/P flour for the first 1.5 cups and then added about .5 cup of whole wheat flour. I printed out the recipe rather than looking at all the long form instructions with photos. I had never heard of just ‘flouring’ a pan and wondered how that would work so .. I first greased the pan with shortening and then floured. Not exactly what I now see in the photos but it worked just fine. The best hamburger buns I’ve ever had – this recipe is definitely going on my ‘keeper’ list!!!
Thanks for sharing!
So glad to hear, Dale :) And no, I don’t grease the pan, as there is a lot of flour going on here, I’ve never found it necessary. Thanks!
They look so light and fluffy Jennifer. Funny name, I agree!
Thanks Mary Ann and they are!
This was a delicious recipe. We had them on St Patrick’s Day and again today as burger buns. Such a simple recipe.
So glad to hear, Kathy-Anne :) Thanks so much!
Ohhhh these rolls look fabulous!! As someone who is part Irish, I’m ashamed to say I’ve never had Irish Blaa before… and, I’m totally wondering where these have been my whole life! I obviously need to rectify this situation and I can’t wait to try these!
Thanks Cheyanne and yes, these are really nice buns. My husband loves them for sandwiches and I love them for burgers (always loved a squishy burger bun :)