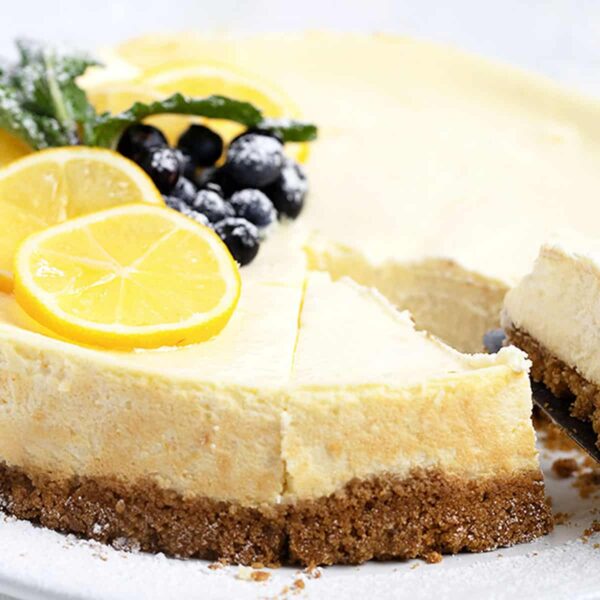
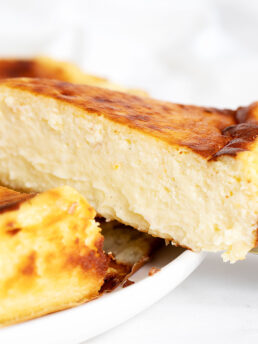
Easy, perfectly creamy and smooth lemon cheesecake, lighter in texture than some, but full of cream cheese flavour and a touch of lemon. Made with a graham cracker crust.
This lemon cheesecake is simply perfect, in my opinion. The smooth and creamy texture is everything I want from a cheesecake. While it’s lighter in texture than some other cheesecake’s I have made, there is plenty of that lovely cream cheese flavour I want, with just the right amount of lemon flavour.
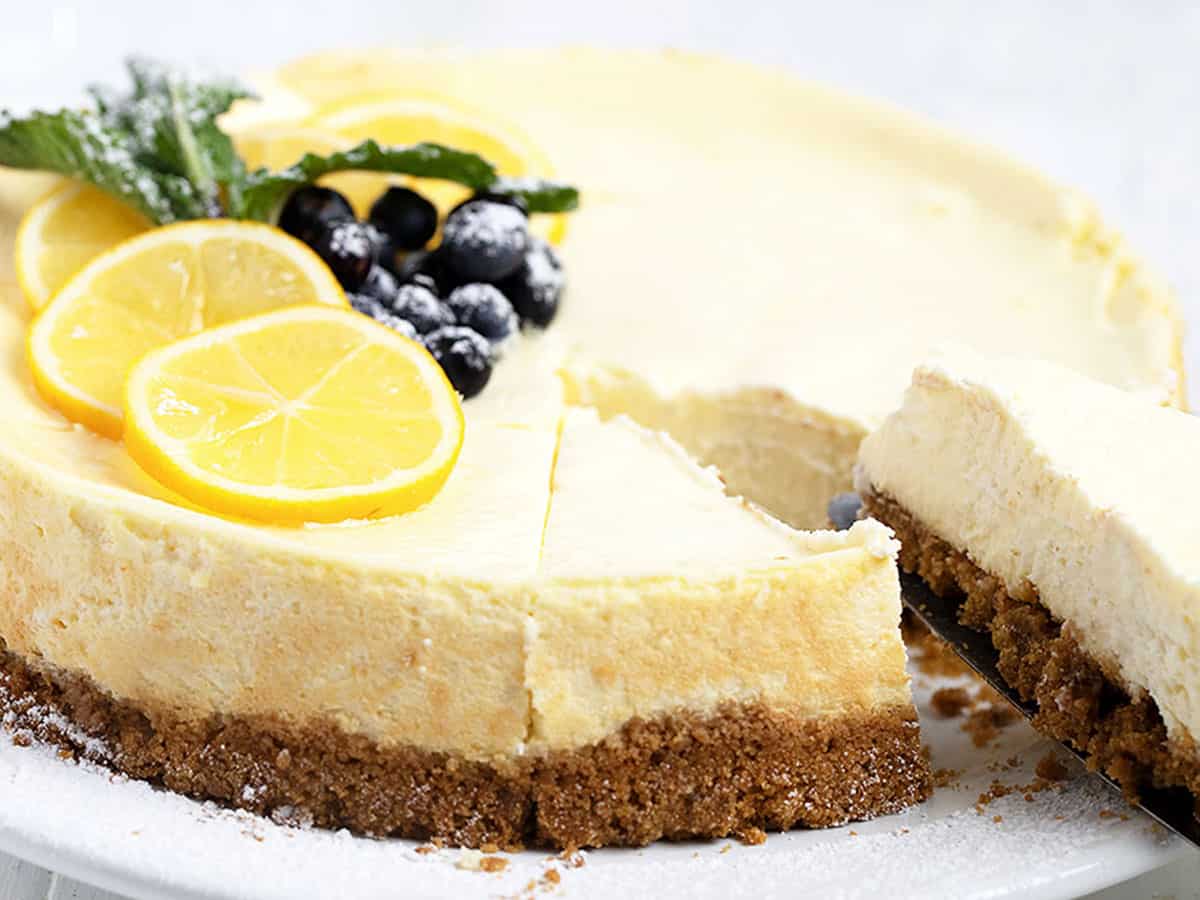
You’ll love how easy this lemon cheesecake is. Simply mix and bake. No lemon curd to make or whipped cream to whip. Garnish simply and enjoy.
And what’s more, this cheesecake is wonderfully easy and endlessly adaptable to any variety of citrus flavours.
Ingredients and substitutions
A few notes about the key ingredients …
✓ Cream Cheese: You will 2 standard, 8 oz block of cream cheese (not the Whipped kind). Use full-fat cream cheese as the additives and extra moisture of the reduced fat cream cheese can negatively affect both the taste and texture of your finished cheesecake.
✓ Sour Cream: Again, use a full-fat sour cream here for best results. For a reduced fat option, go with full-fat Greek yogurt instead of a reduced fat sour cream.
✓ Lemons: I love Meyer Lemons when they are in season. If Meyer lemons aren’t available regular lemons are just fine. You will need 1 medium-sized regular lemon or 2 of the smaller Meyer lemons. Other citrus such as orange or grapefruit could also be used here.
✓ Graham Cracker Crumbs: I love the convenience of Graham Cracker Crumbs, though you can start with whole graham crackers and process them down to crumbs yourself, then measure out. Alternately, you could use vanilla wafer cookies that you process down to crumbs in the same amount.
✓ Additional ingredients you will need: Light brown sugar, butter, eggs and salt.
Recipe tips!
- Starting with your cream cheese at room temperature will make your life so much easier when it comes to making cheesecakes! The batter will blend more completely and evenly and that will help to prevent cracks in your finished cake. Allow a couple of hours on the counter for cream cheese blocks to loose their chill.
- Be sure to really get into your food processor and hunt out chunks of cream cheese as your process it. I found some stuck underneath the large blades in mine, so be sure to use a tool that will allow you to get under there, as you usually can’t remove the blade mid-processing.
- If you don’t have a food processor, you could use a blender (with a very light touch, as you don’t want it to get frothy and incorporate too much air) or alternately, try a stand-mixer with the paddle attachment.
- You can use either an 8 or 9-inch springform pan. I have used an 8-inch here, as I like the extra height in my cheesecakes. If using an 8-inch, you won’t need quite all of the crust crumb. Remove 1/2 cup and set aside. If you like, you can save it and sprinkle a bit around the outside edge of the finished cheesecake. For the 9-inch pan, use all the crumbs in the base.
- If you are like me, you might be skeptical of the short baking time. Trust it! Your cheesecake is done when there is still some jiggle in the very centre of the cake (the centre 3 or 4 inches), or so, but the outside looks set and puffy. Give the pan a gently tug to test for jiggle.
Top tip
If your springform pan happens to be black, your cheesecake will cook more quickly as the dark colour will attract and retain heat. To compensate, either reduce the oven temperature by 25 degrees F. or test your cheesecake up to 10 minutes earlier than the stated baking time.
Serving, storing and freezing cheesecake
Room temperature: A cheesecake can be kept at room temperature up to 6 hours, either for the cooling down period or after refrigerating and serving (on a party table, for example).
Refrigerating: Cheesecake will keep in the fridge up to 5 days, though it’s quality decreases slightly after about 3 days (crust gets soggier and the cheesecake can pick up fridge odours).
Freezing: Any cheesecake made with full-fat cream cheese/sour cream will freeze well. Tightly wrapped, cheesecake can be frozen up to 2 months. Thaw in the fridge, on the counter or microwave lightly.
Want to save this recipe?
Enter your email and I’ll send it to your inbox. Plus, you’ll get great new recipes from me every week!
By submitting this form, you consent to receive emails from Seasons and Suppers.
You can unsubscribe at any time.
Get the Recipe: Simply Perfect Lemon Cheesecake
Ingredients
For the crust:
- 2 cups graham cracker crumbs
- 3 Tablespoons light brown sugar
- 6 Tablespoons butter, melted, salted or unsalted
- Pinch salt, if using unsalted butter or omit for salted butter
For the filling:
- 16 oz full-fat cream cheese, at room temperature, 2 standard sized blocks (not Whipped
- 1 cup full-fat sour cream, or full-fat Greek yogurt
- 1/2 cup granulated white sugar
- 2 large eggs
- 1 – 1 1/2 Tablespoons lemon zest
- 2 – 3 Tablespoons lemon juice, see Note 2
- Pinch salt
For garnish:
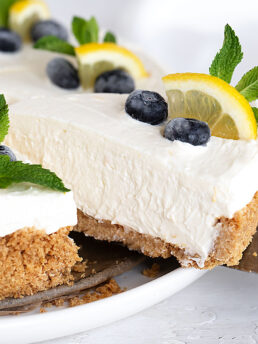
- Sliced citrus, fresh blueberries, mint leaves, icing sugar, Optional, for serving
Equipment
- Equipment:
- 8 or 9-inch Springform pan, or see Note 1
- Food processor (or blender/stand mixer)
Instructions
- Preheat the oven to 325F (not fan-assisted/not convection)
- Make the Crust: Add graham cracker crumbs to a medium bowl and stir in the brown sugar. Pour the melted butter overtop, then stir until all the crumbs are moistened and have a wet sand texture. Add a pinch of salt if you used unsalted butter.
- *If using an 8-inch springform pan, remove 1/2 cup of the crumb mixture, as you won’t need it all for the base. You can reserve to sprinkle on top of the finished cake, if you like (sprinkle around the outside edge in a ring).
- Press the moist crumb mixture into the bottom of your springform pan. Use the bottom of a dry measuring cup to make sure the crust is really pressed down, to make it easiest to cut later on.
- Bake the crust until it is lightly golden brown, about 10 minutes. Remove from oven and set aside to cool. Leave oven on and set at 325F.
- Make the Filling: Combine the room temperature cream cheese, sour cream and granulated sugar in the bowl of a food processor. Process until the mixture is extremely smooth and well blended, a minute or two. Remove the lid of the food processor and scrape down the sides and bottom of the food processor and try to reach under the blades if you can, to fine and incorporate any stubborn chunks of cream cheese. Process again briefly after scraping. (Getting a perfectly smooth batter at this point is important to prevent cracks in your finished cake, so take the time here to make sure it's well blended and smooth).
- Add the eggs, lemon juice and zest and a pinch of salt and keep processing until it’s super smooth and creamy, another 30 seconds or so.
- Pour the filling into the baked crust *You may have some leftover filling if you are using a regular cake pan.
- Bake in preheated 325F oven until mostly set, with a little jiggle in the centre 3-4 inches, with the outsides looking set and puffy, about 20 to 30 minutes. The filling should not brown at all. Don’t over-cook, as this can cause your cheesecake to crack.
- Turn the oven off and open the door a crack (inserting a wooden spoon in the crack will help it say open). Let the cheesecake sit in the oven for about 10 minutes before transferring it to a wire rack on the counter to cool completely.
- Once cooled completely, over the top of the springform pan with plastic wrap, then a layer of aluminum foil. Place the cheesecake in the refrigerator to chill for at least 1 hour or up to 24 hours.
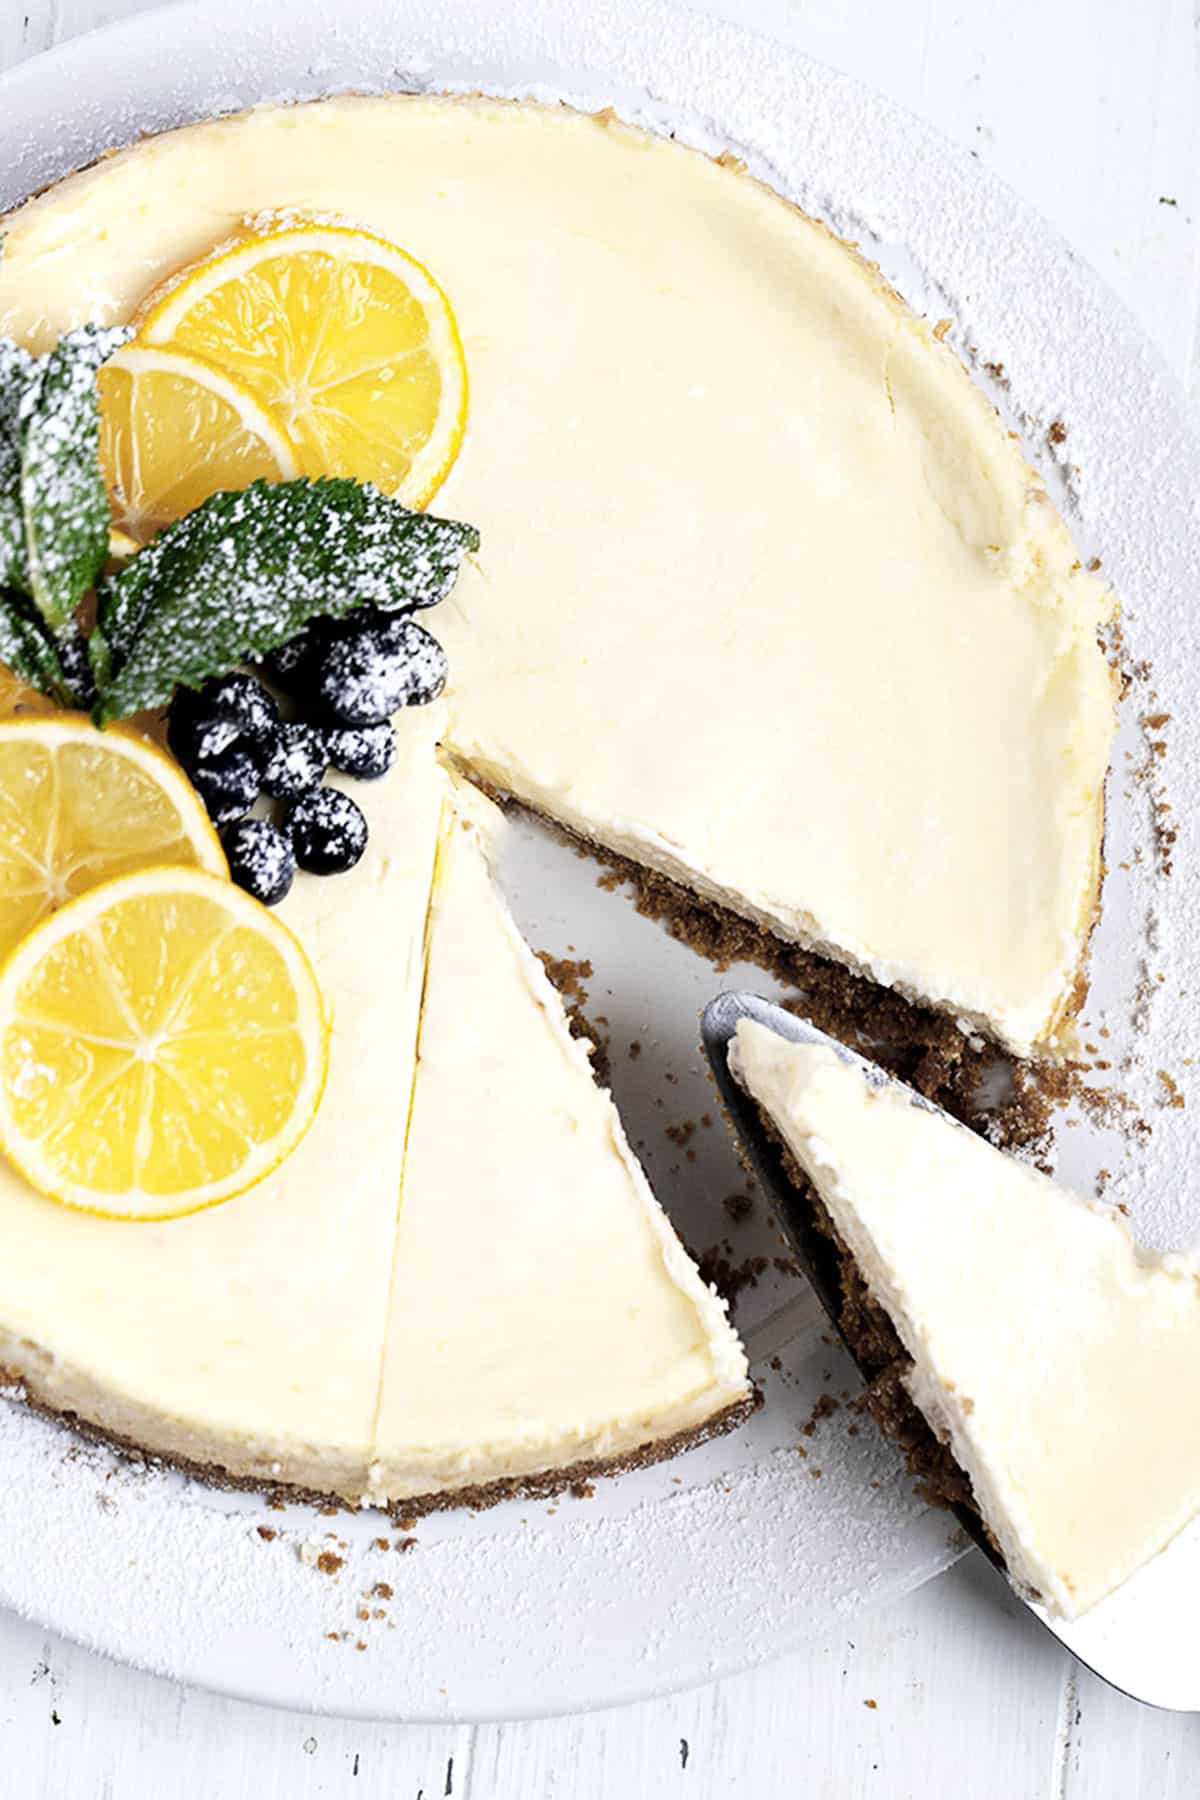
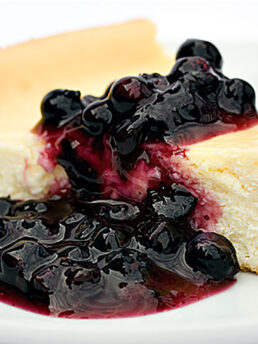
- To serve, remove from springform pan. Topping option: citrus slices, a scattering of blueberries or blackberries, a mint leaf and a dusting of icing sugar, if you like.
Notes
More cheesecake recipes to love!
Hi! I’m Jennifer, a home cook schooled by trial and error and almost 40 years of getting dinner on the table! I love to share my favourite recipes, both old and new, together with lots of tips and tricks to hopefully help make your home cooking enjoyable, stress-free, rewarding and of course, delicious!
Could I make this at 1 1/2 times recipe ingredients and using a larger springform pan ? I have made this in the 8” pan and it really was the best lemon cheesecake ever…..I would like some leftovers after a dinner party….thanks for sharing this….PS how much longer to bake If trying 11/2 times recipe ?
Hi Kathy, you can certainly do 1 1/2 times and a larger springform. I don’t know how much longer it would bake, as I’ve never done it myself. I’d just check on it regularly and bake as long as it takes.
Recipe was delicious, but the cooking time was WAY off in my opinion. I baked it for 40 minutes and then left it in the oven with the door open for at least 30. The consistency was still a little soft for my taste, but the flavor was wonderful. Will make again with these adjustments ♥️
Is the bake time on this 20-30 mins total + the time spent in the oven after turning off? I’m used to baking cheesecake for longer so I’m just double checking that I read the recipe correctly.
Hi Kim and yes, the bake time is 20-30 for the filling, then 10 additional minutes with the oven off/door ajar.
Could you make this with lemon Greek yogurt instead of the sour cream?
I haven’t test Greek yogurt in this recipe. If you were going to try it, be sure to use a full-fat Greek yogurt. Lower-fat yogurts have a lot of water content and other additives that may affect the texture of the cheesecake.
I made this according to the recipe (no substitutions – and with the full amount of lemon juice), and it turned out perfectly. My whole family thought it was the best cheesecake they ever had! It was very light. We used a chokecherry jelly that we made drizzled over the top, but I think any fruit would work. I did have to cook it about 5 minutes longer than the time suggested (and it wasn’t overdone).
I’m so glad you all enjoyed it, Sonja :) Thanks so much!
This was a big hit! I do crave a very tart lemon flavour, so I used the maximum amount of lemon zest & juice. I also made a topping with frozen cherries & strawberries and black currant jam, although the cheesecake is quite satisfying on its own!
So glad you enjoyed it, Jennie :) Thanks!
This lemon cheesecake recipe is Awesome! First time making a lemon cheesecake and it turned out PERFECT!!!! I will definitely make it again.
So glad to hear, Charlene! It’s one of my favourite desserts :) Thanks so much.
This was my first time making cheesecake and it worked great. Got the thumbs up from the family and have had to show some restraint from eating more cheesecake when I am beyond full.
Will definitely be making this again
So glad to hear, Bex :) Thanks so much!
This turned out amazing. I followed the recipe exactly and didn’t bother with a water bath. It still came out perfect! The lemon flavor was not overwhelming. This is one of the easiest recipes I’ve followed and I’m definitely saving it to make again in the future!
So glad to hear, Jenna! Thanks so much :)
Love this recipe! Turned out perfect and lemony. Added a sprinkle of cinnamon, dash of vanilla and almond extract to the crust
So glad you enjoyed it, Jennifer :) Thanks so much!