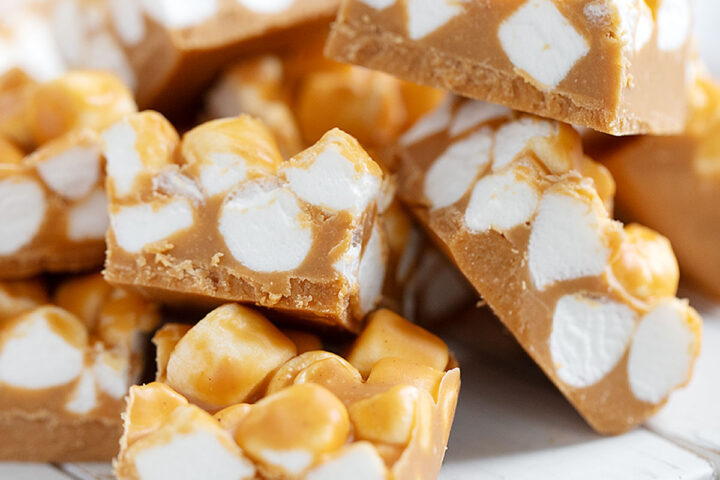
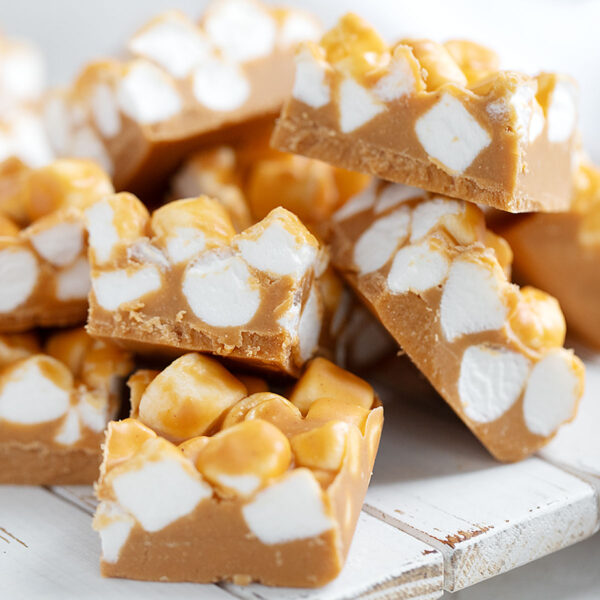
A holiday season classic, these retro no-bake peanut butter marshmallow squares are easy, delicious and they freeze beautifully, so they are perfect for making early and tucking away in the freezer.
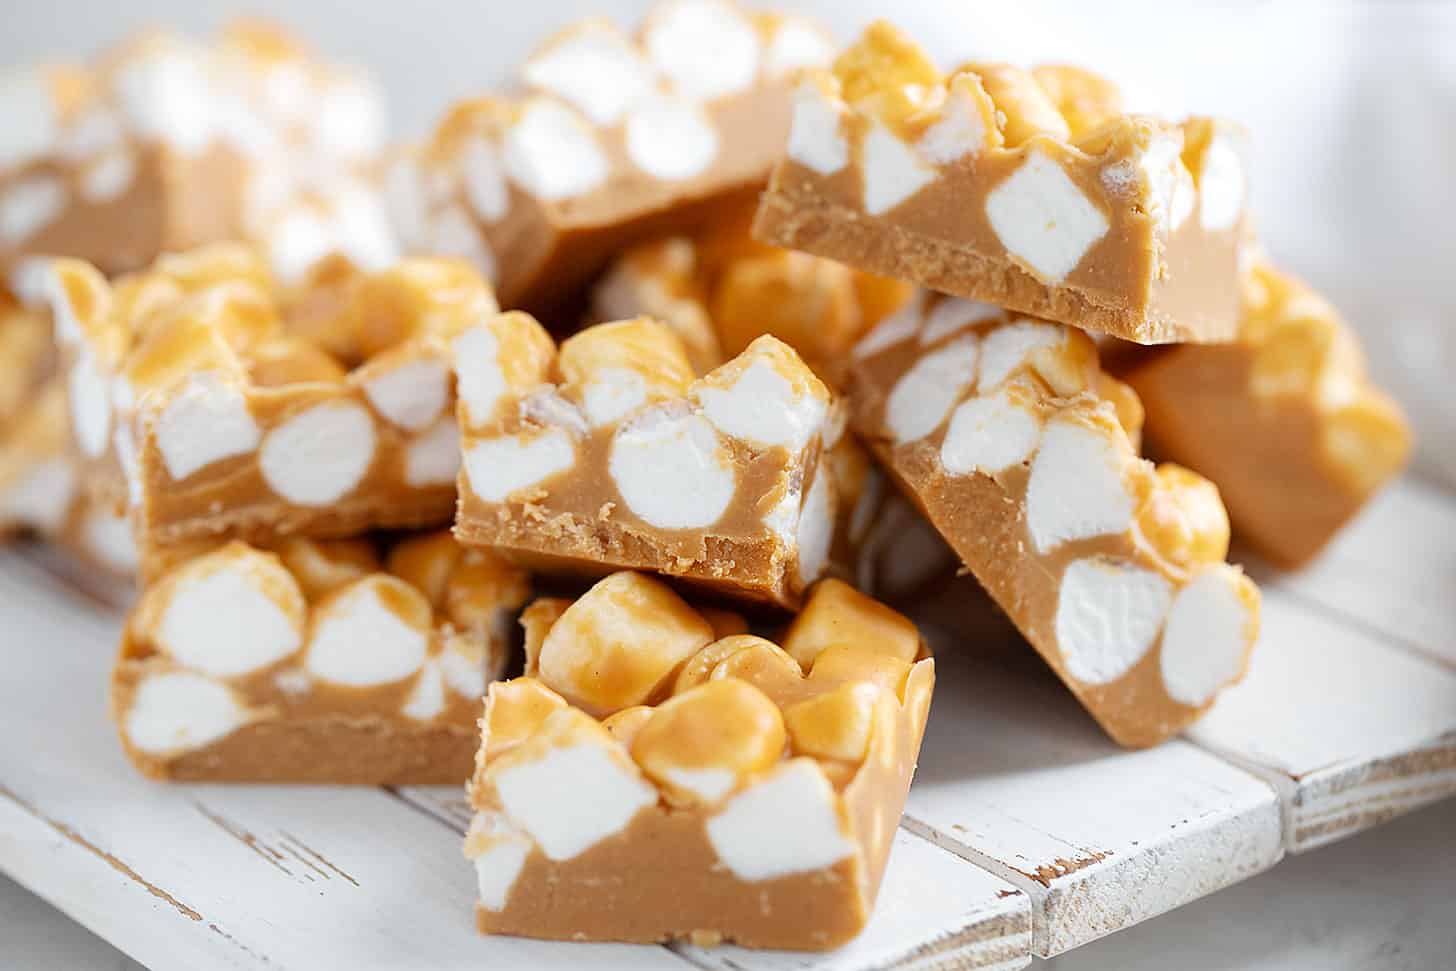
There are dozens of different recipes for peanut butter marshmallow bars (also known as butterscotch marshmallow squares), but this is my favourite. It is peanut-butter forward, so the result tastes like peanut butter fudge with marshmallows.
Why you’ll love these peanut butter marshmallow squares
- Easy! No baking is required. Simply heat the peanut butter, butterscotch chips and sugar until melted on the stove top and combine with the mini marshmallows.
- They Keep So Well! These marshmallow squares will keep well in the fridge for 2 weeks or more or in the freezer for 3 months.
- Delicious! A perfect peanut buttery, sweet and salty treat that everyone will love.
What you’ll need
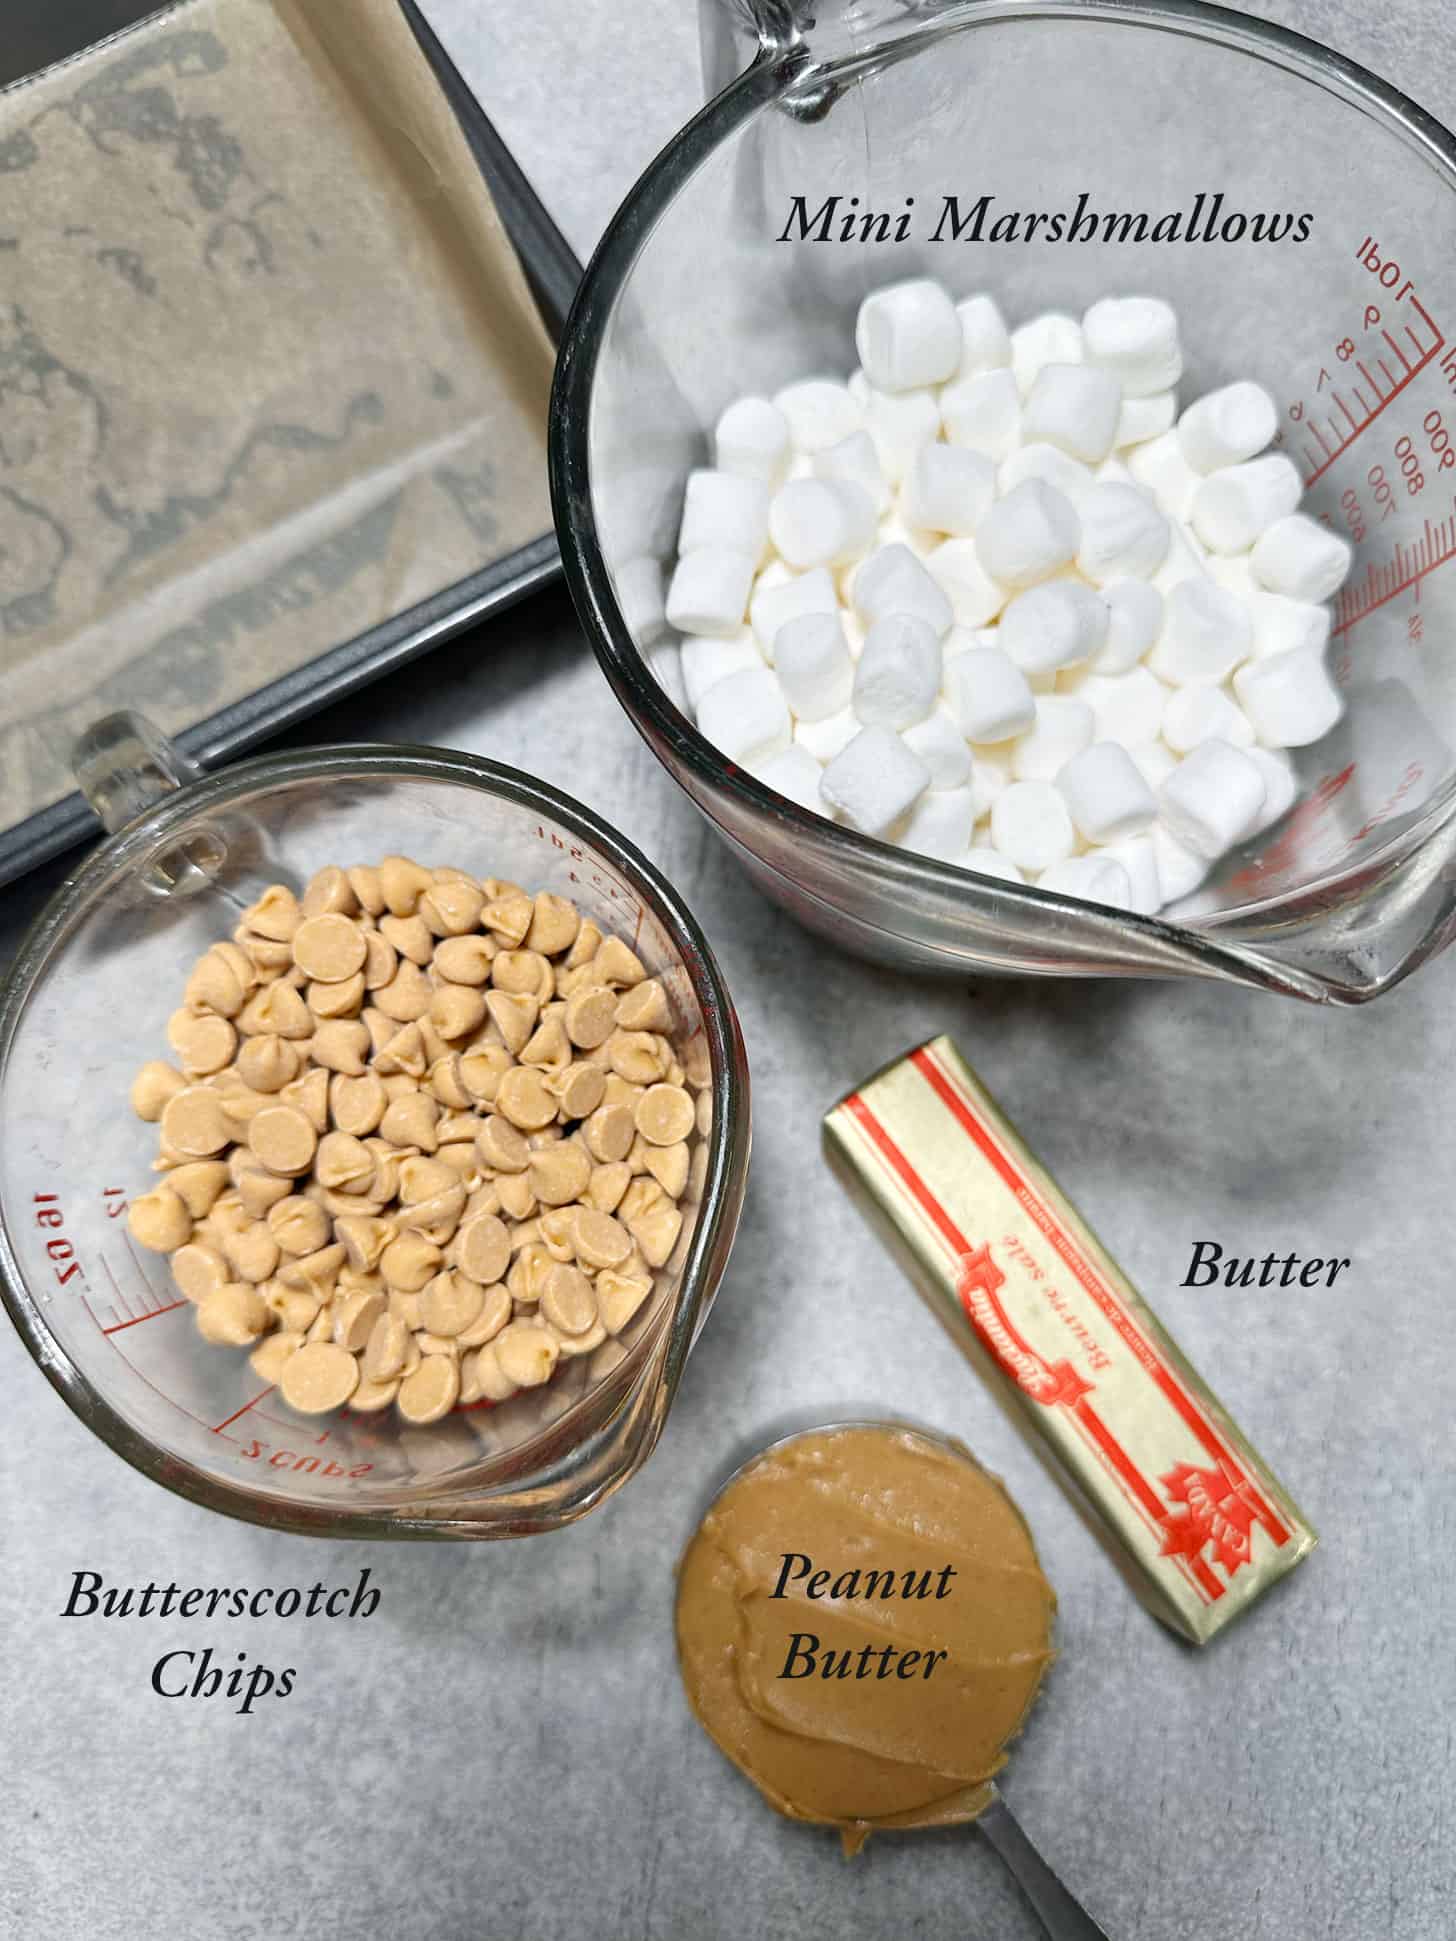
Marshmallows – use fresh, plain mini marshmallows here. I prefer plain marshmallows, but if you’re feeling it, using coloured marshmallows is also popular, turning them into peanut butter confetti squares.
Butterscotch Chips – this recipe requires 2 cups of butterscotch baking chips, which is 320g/11oz. Here in Canada, a bag of butterscotch chips is now only 270g (shrinkflation!). So you’ll need two bags of butterscotch chips if buying that size of bag to get the 2 cups. Bulk Barn also carries butterscotch chips, so you can buy the exact amount needed (though that route can end up being pricier, especially if baking chips are on sale around the holidays.
In a pinch, using a single 270g bag will probably work, but the balance of butterscotch flavour/peanut butter will be altered a bit.
Peanut Butter – I have only ever made these with regular smooth creamy peanut butter (I use Jif). Crunchy peanut butter should work fine here, as well, if you’d like a little crunch. I have not tested these with natural peanut butter.
Butter – when made with salted butter, these are a sweet/salty treat. For a sweeter treat, use unsalted butter.
Step-by-step photos
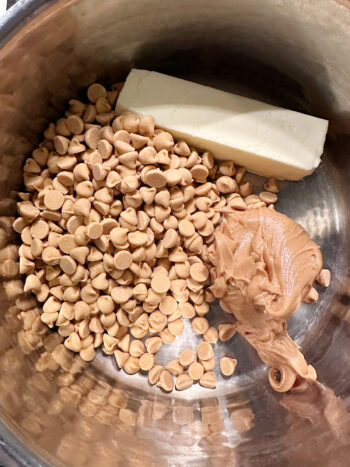
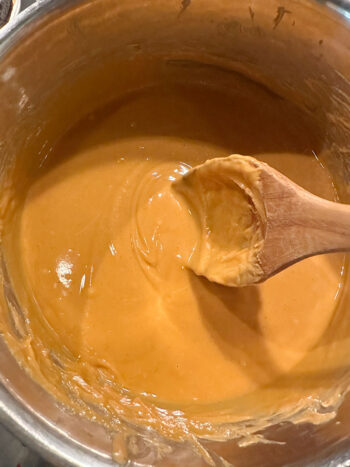
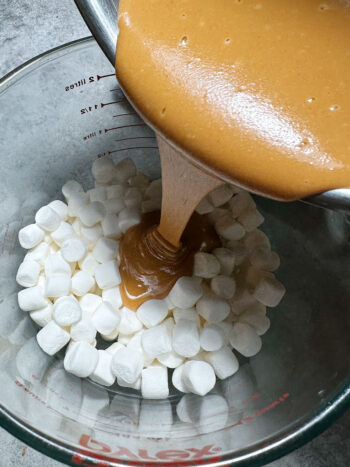

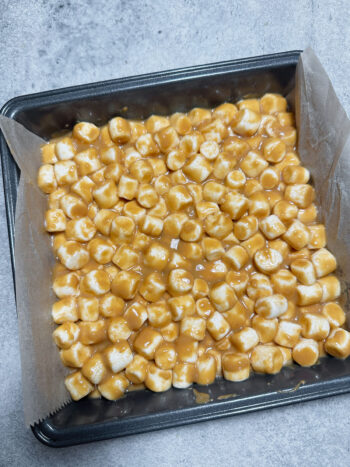
- Add the peanut butter, butterscotch chips and butter to a medium saucepan over medium heat.
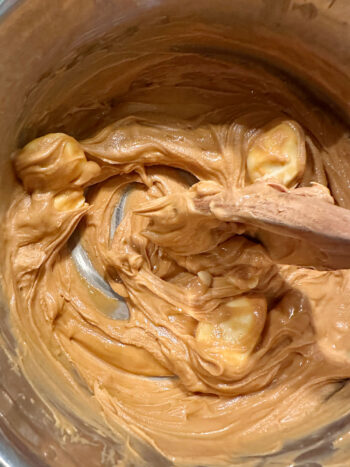
- Stir the mixture together as it melts.
- Heat until the mixture is smooth, then remove from heat to cool a bit (10-15 minutes).
- Pour the cooled peanut butter mixture over the mini marshmallows.
- Stir together gently until the marshmallows are evenly coated.
- Pour into prepared baking pan and smooth and level gently. Refrigerate at least 1 hour before slicing.
Recipe Tips
- The recipe specifies a 9-inch square pan and is recommended. A 7×11 brownie pan or an 8-inch square pan will work, but will make for thicker squares, but will work.
- Be sure to cool the peanut butter mixture until you can place your hand on the bottom of the pan, to avoid melting the marshmallows. Stir regularly while cooling.
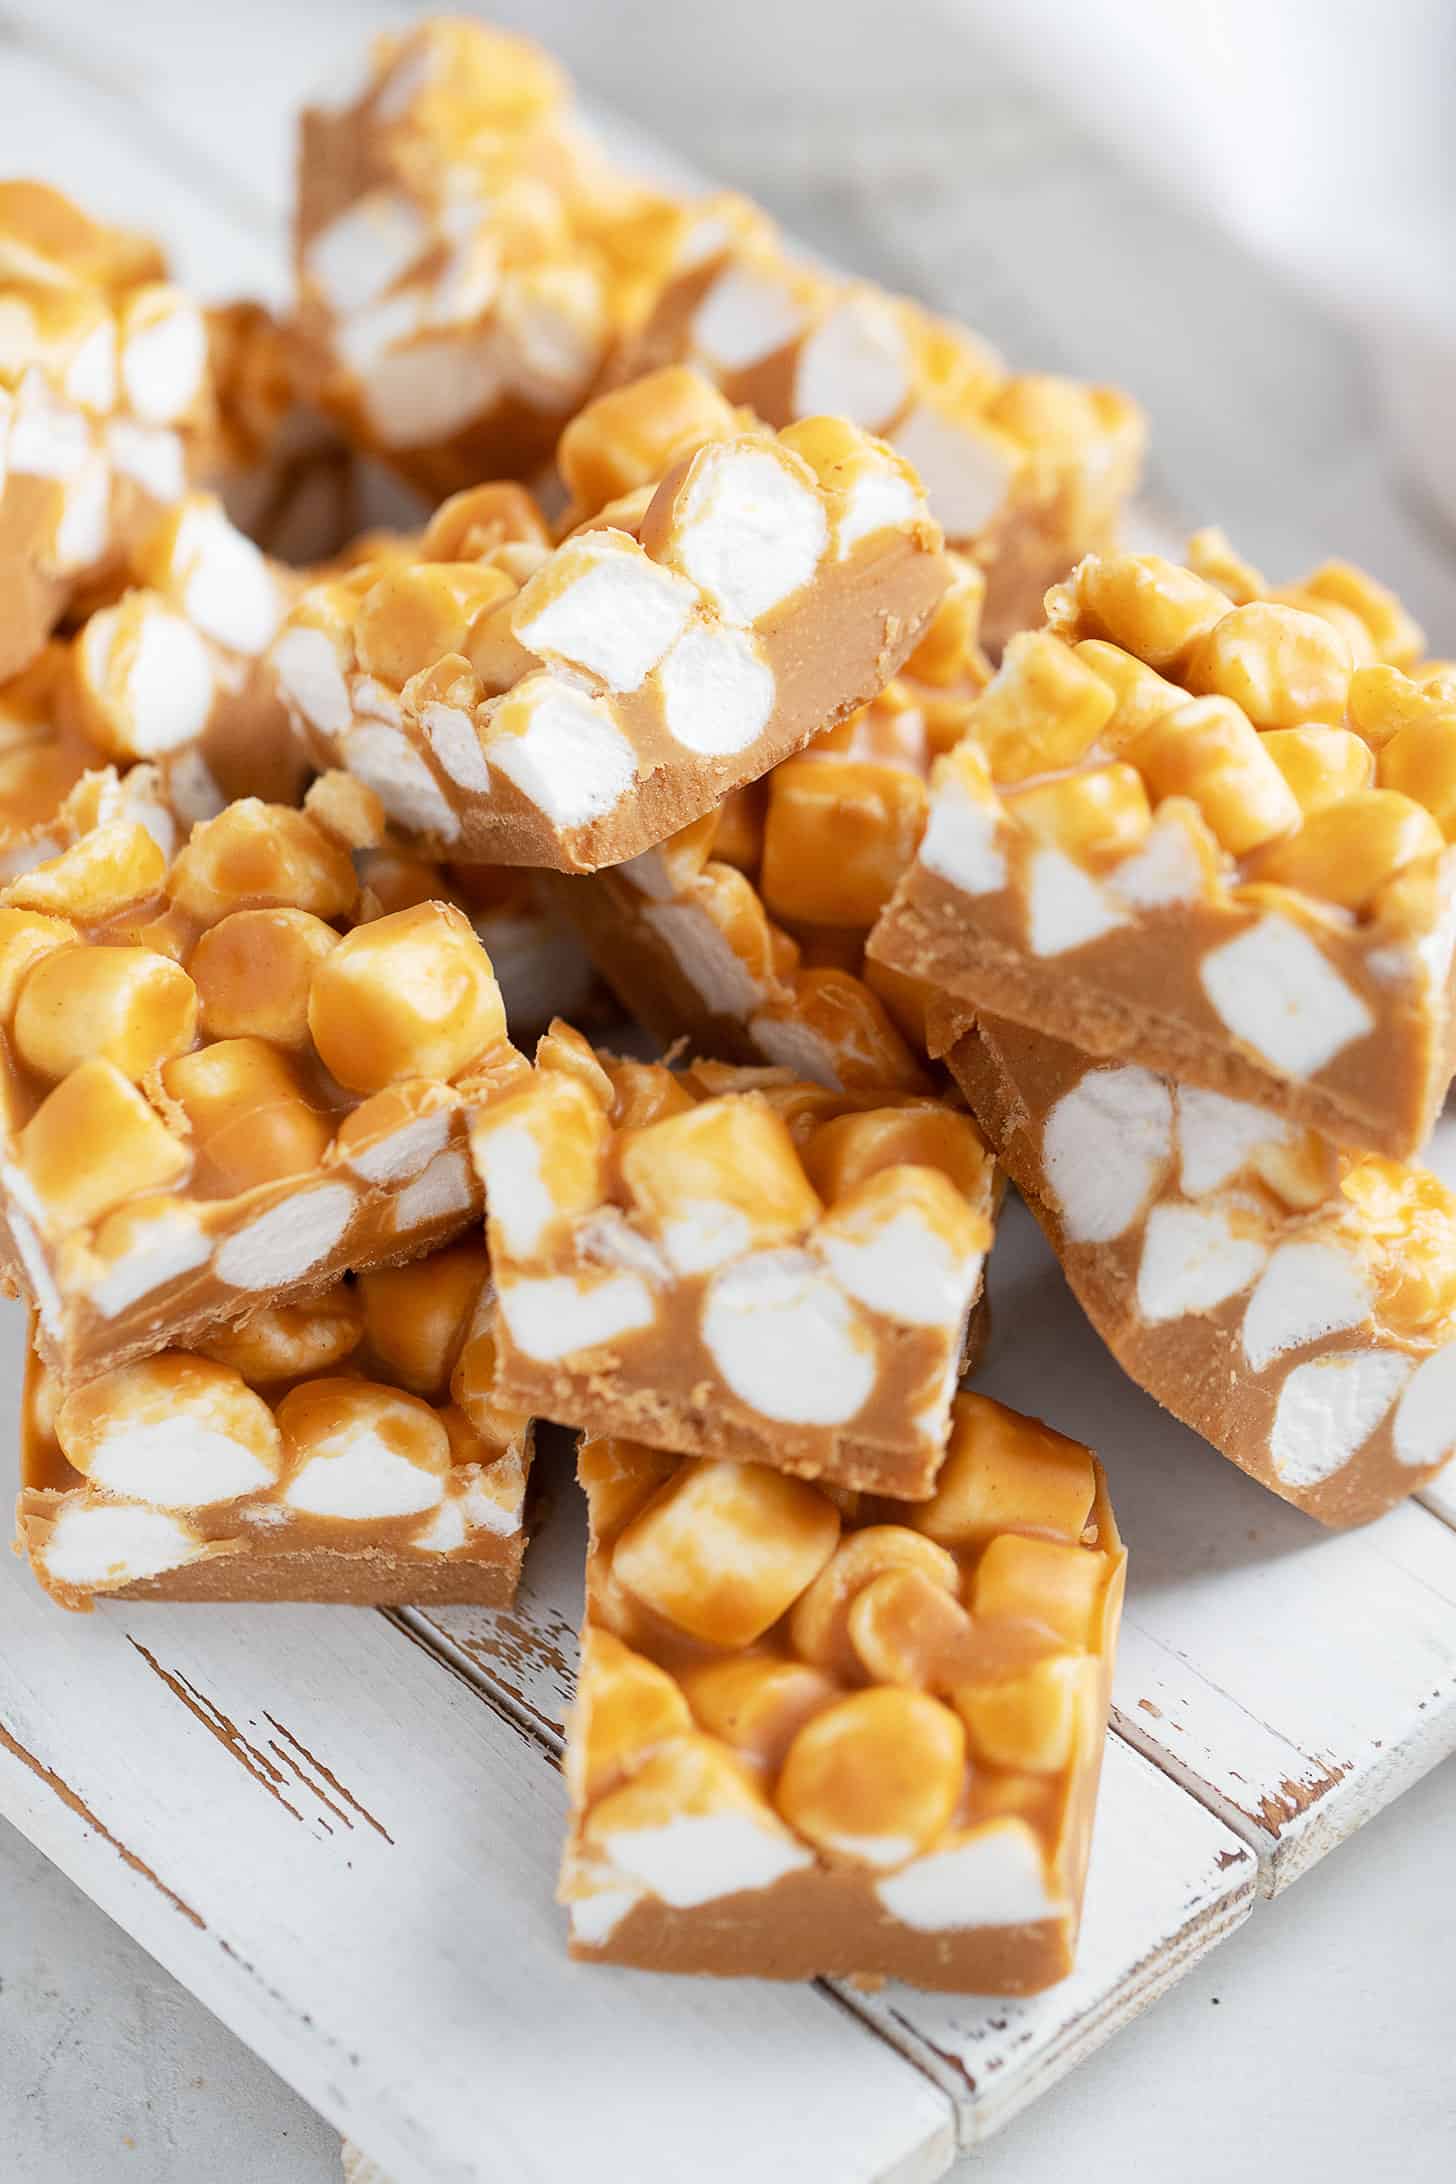
Making ahead, storing and freezing
These marshmallow squares are perfect for making ahead. They keep well in the fridge for 2 weeks or more or in the freezer for up to 3 months.
Store in an airtight container in the refrigerator.
To freeze, wrap well. The squares will thaw within 20-30 minutes on the counter when ready to serve or you can thaw in the refrigerator overnight.
Want to save this recipe?
Enter your email and I’ll send it to your inbox. Plus, you’ll get great new recipes from me every week!
By submitting this form, you consent to receive emails from Seasons and Suppers.
You can unsubscribe at any time.
Get the Recipe: Peanut Butter Marshmallow Squares
Ingredients
- 4 cups (240 g) mini marshmallows, plain or coloured
- 2 cups (320 g) butterscotch chips, 11 oz. *see Note 1 below
- 1 cup (250 g) peanut butter, *see Note 2 below
- ½ cup (113 g) butter, *see Note 3 below
Instructions
- Spray or lightly butter a 9×9-inch baking pan, then line with a sheet of parchment paper that covers the bottom and two sides, over-hanging the sides slightly to use as handles to remove later. Set aside.
- Place marshmallows in large bowl and set aside.
- In medium saucepan on the stove top over medium heat, melt the butterscotch chips, peanut butter and butter, stirring regularly until smooth. Remove from heat and allow to cool, stirring occasionally, until you can place your hand comfortably on the bottom of the pan (10-15 minutes)
- Pour the cooled peanut butter mixture over the marshmallows. Use a large spoon to gently fold marshmallows into peanut butter mixture, until fully coated.
- Spread marshmallows into prepared pan and give pan a jiggle to help settle the marshmallows in the pan. Refrigerate for at least 60 minutes, until mixture has fully set. (I place into the refrigerator uncovered, but will cover with foil once they have cooled for 15 minutes, especially if not cutting right away.)
- Run a knife along the 2 uncovered edges of pan, then carefully lift from pan by grabbing the parchment. Place onto a cutting board. Using a large knife, cut into 16 even squares. Make sure to use large knife that allows you to slice straight down, rather than slicing across the bars.
- These squares will keep in airtight container in refrigerator for at least 2 weeks, or in freezer for up to 3 months.
Notes
Adapted from a Rosie Daykin recipe
More Peanut Butter Recipes to Love!
Hi! I’m Jennifer, a home cook schooled by trial and error and almost 40 years of getting dinner on the table! I love to share my favourite recipes, both old and new, together with lots of tips and tricks to hopefully help make your home cooking enjoyable, stress free, rewarding and of course, delicious!



Delicious! Thank you for the helpful information on Canadian sizing.
Thanks Karen. So glad you enjoyed them!
Suggestions on how to freeze them please
Hi Edward, once cooled just cut into squares and transfer to a freezer bag or container. They will freeze well for up to 3 months.
These are rich but so good! They were a hit with my family and coworkers. For something a little different, do you think you could substitute some dry roasted, salted peanuts for half the marshmallows?
Hi Jennifer and so glad you enjoyed these! You could definitely add some chopped peanuts to the mix, though I don’t think you’d need to halve the marshmallows to do it, unless you planned to add a lot :) If you just wanted to add some, I would just reduce the marshmallows by a small bit.
Love these squares. They are easy to make and pack a lot of taste.
Thank you Jennifer for a fun recipe perfect for any time of the year.
I’m so glad you enjoyed them, Carole Ann! Thanks so much :)