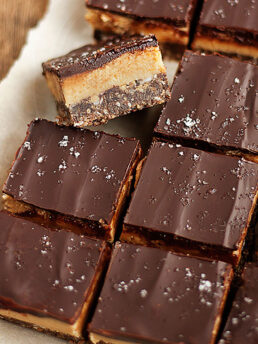
These easy, no-bake peanut butter squares are peanut butter cups in homemade, square form. Nothing extra in these ones. Just pure buttery and sweetened peanut butter and chocolate deliciousness.
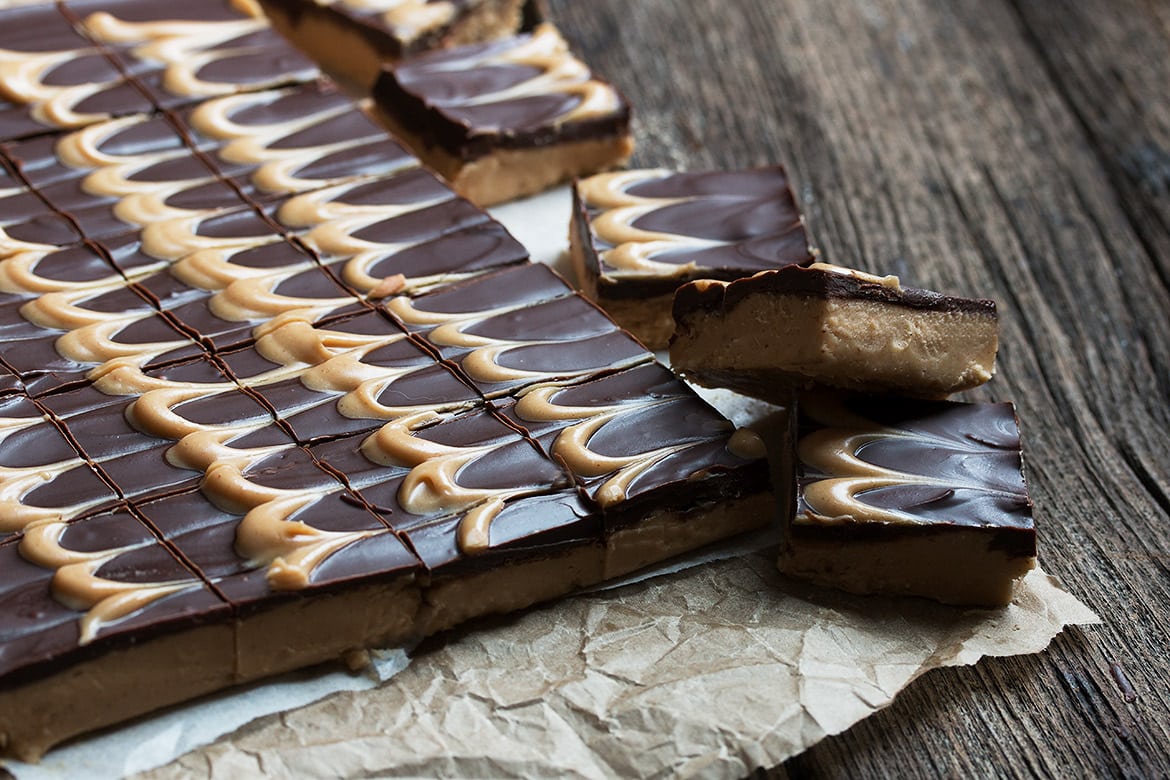
I have made a lot of peanut butter and chocolate squares over the years, but I always come back to this one. Why? Because it’s pure, unadulterated peanut butter cup goodness. No extra stuff in these ones. Just silky smooth, sweetened butter peanut butter with a chocolate topping. And in classic go-big-or-go-home fashion, these have an added swirl of more buttery peanut butter.
Ingredients and substitutions
A few notes about the key ingredients …
Butter – I like to use unsalted butter for these and then add salt to taste. If you are using salted butter, you probably won’t need to add additional salt to the peanut butter layer, but taste the filling and decide. As these are no-bake, the filling flavour isn’t going to change.
Peanut Butter – regular peanut butter is used here. Use your favourite brand. I haven’t tested this recipe with natural peanut butter.
Chocolate – semi sweet or bittersweet chocolate will provide the best results. I find milk chocolate just too sweet.
Recipe tips!
- I will often sprinkle the top of these with flaky salt (fleur de sel or Maldons) while the chocolate is still wet. If I know I will be doing that, I keep the salt in the peanut butter layer a little lower, to keep that perfect sweet/salty balance.
- I use one of those dollar store plastic squeeze bottles to do the swirl thing (to make the lines), then run a skewer through them. When running the skewer through, be sure your don’t go too deep (into the peanut butter layer), as it makes a weak spot that may cause your squares to split in the wrong places.
- You don’t have to get that fancy if you don’t want. Simply dropping a line of the peanut butter topping from a spoon works too, or just drizzle. You can do a marble effect to, by topping with drizzle, then swirling a skewer through it. And all that said, if you’re not feeling the extra step of the swirl, you can just skip it altogether.
Making ahead, storing and freezing
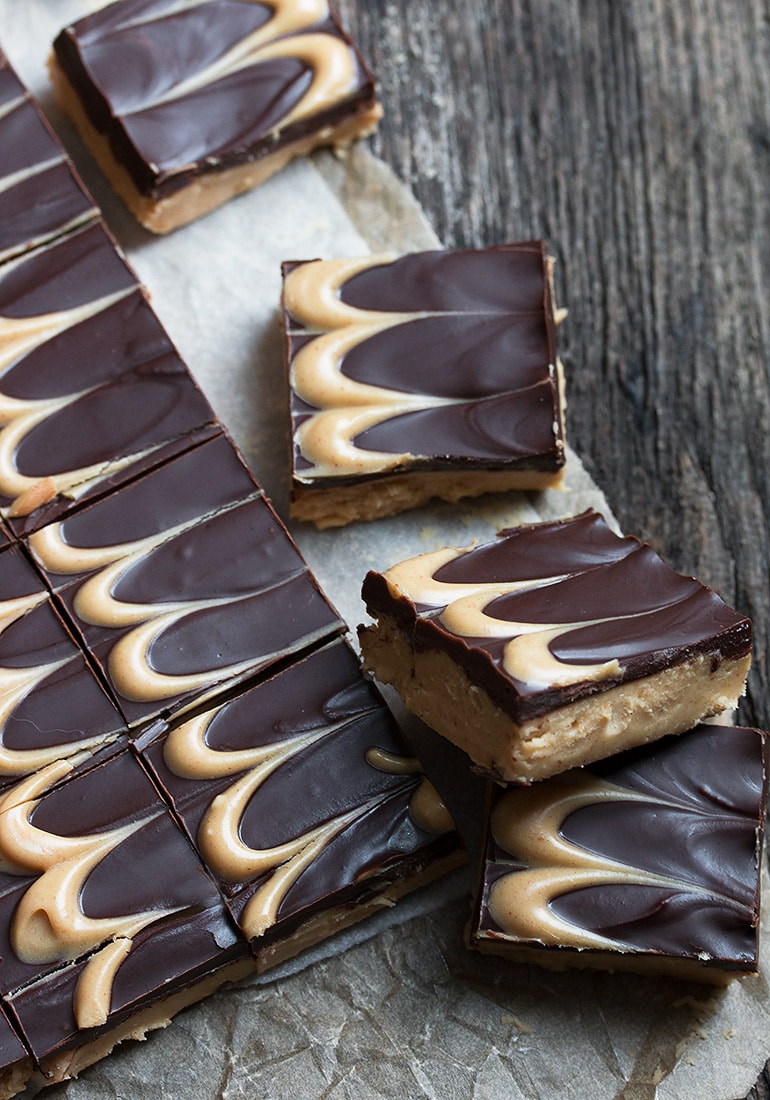
I like to store these in the fridge. Not only does it extend the shelf life, but I quite enjoy these cold. These will keep in the fridge at least a week, probably two (but they never last that long here!).
These squares should freeze well up to 2 months.
Want to save this recipe?
Enter your email and I’ll send it to your inbox. Plus, you’ll get great new recipes from me every week!
By submitting this form, you consent to receive emails from Seasons and Suppers.
You can unsubscribe at any time.
Get the Recipe: No-Bake Peanut Butter Squares
Ingredients
Peanut Butter Layer:
- 1 1/2 cups creamy peanut butter, not natural peanut butter
- 1/2 cup unsalted butter, melted
- 1 teaspoon vanilla
- 1 3/4 – 2 cups icing/confectioners’ sugar , *See Note 1 below
- 1 pinch Salt, or more, to taste or omit if using salted butter
Chocolate Layer:
- 6 oz semi or bittersweet chocolate, chopped, about 1 cup
- 4 Tablespoons butter
Peanut Butter Swirl:
- 1/4 cup creamy peanut butter, not natural peanut butter
- 2 Tablespoons butter, melted
Instructions
- Spray and 8-inch square baking pan with cooking spray, then line with a sheet of parchment paper that covers the bottom and two sides, extended a few inches over the edges. Set aside.
- In a large bowl, stir together the 1 1/2 cups peanut butter with the 1/2 cup melted butter. *Note, it doesn’t come together easily at first, so start stirring slowly to avoid splashing out. Add vanilla and stir to combine. Add icing sugar 1/2 cup at a time, stirring in until smooth each time. Transfer to prepared pan and spread to an even layer. Smooth top as well as you can.
- Place chocolate and butter in a microwave-safe bowl. Microwave for 30 seconds. Stir, then microwave for a further 20-30 seconds. Remove and stir until smooth and glossy. Pour chocolate over peanut butter layer, pouring into the centre and spreading out to the edges with the back of a spoon.
- In a small bowl, combine 2 Tbsp melted butter with the 1/4 cup peanut butter and stir until smooth. Let stand to cool and thicken slightly, 3-4 minutes. Using a spoon or a squeeze bottle, make 1/4-inch thick lines with the peanut butter mixture about 1 inch apart. Using a skewer, run lines in the opposite direction, about every 1/2-inch apart, making sure you only run through the chocolate layer and not down to the peanut butter layer. *If desired, you can sprinkle top of chocolate with finishing salt such as Fleur de Sel or Maldon’s.
- Place pan in refrigerator and chill at least 4 hours, preferably overnight before removing from pan and slicing. Cut into squares about 5 squares per side (25 squares total)
- Keep refrigerated and serve cold.
Notes
More square recipes to love!
Hi! I’m Jennifer, a home cook schooled by trial and error and almost 40 years of getting dinner on the table! I love to share my favourite recipes, both old and new, together with lots of tips and tricks to hopefully help make your home cooking enjoyable, stress free, rewarding and of course, delicious!



These look delicious!
How well do these freeze and thaw?
They should freeze and thaw just fine, Nicole.
Glad to hear! Thanks :)
My husband’s favorite combination of flavors and did not disappoint. He returned for seconds and all he could think was to have soft serve ice cream on the side and that would be the “bomb.” They taste better than a peanut butter cup and they are easy to assemble.
Agree with everyone here – I’m definitely making these in the future. I doubt these would last long in my house.
Thanks so much, Cindy :)
Jennifer, thank you for all of your amazing recipes. In the last 5 days I’ve made the breakfast rounds and these. All of your recipes work, which I really appreciate!
These are crazy delicious. I made 1/2 batch in a 8 1/2 x 4” loaf pan because I knew a full batch was a dangerous thing to have in the house.
Just wondering if you’ve considered putting weight measurements in your ingredient list? I find that such an easier and faster way to measure ingredients.
Hi Carolyn and thanks so much :) I too am a big fan of weighing ingredients, so I include the option to toggle between Imperial and Metric measurements with many of my recipes (you’ll find it below the list of ingredients – the red links).
Love these peanut butter bars- especially I adore peanut butter cups! I Pinning and Sharing!! ;)
Thanks so much, Anna :)
It’s been a long day and these squares are completely calling my name – love those dreamy swirls!! :)
Thanks so much, Laura!
Wow. That’s the only thing I can think of to say, you’re amazing, sharing!
Thanks Sue :)
Nothing better than the chocolate peanut butter combo Jennifer, so I’m totally in for this food holiday! These sound and look absolutely FABULOUS!
Thanks Mary Ann and yes, I thought I needed to celebrate the day with these. My favourite way to enjoy peanut butter :)
Oh. My. Gahhhh. I’m with Dawn – I definitely see these in my future! So beautiful, Jennifer!
Thanks Annie!
Be still my heart! I adore peanut butter and chocolate and your gorgeous design on top is fantastic! Love, love, love these no-bake bars. Sharing and pinning.
Thanks so much, Tricia :)
These squares are just gorgeous, Jennifer!!! And I can’t believe they are no bake too!! These are brilliant… and dangerous, because I could eat way too many of these! ;) Cheers!
Thanks Cheyanne and yes, a bit dangerous. I like to share the wealth :)
So I definitely see these in my future!! Like, this weekend! You can never go wrong with PB anything and the fact that these are no bake makes them even more tempting. Hubby would love these too :)
Thanks Dawn :)
These look gorgeous with the marble effect, Jennifer! You make them sounds really simple too:) On my list of to try sweets.
Thanks Milena! These are by guilty pleasure :)