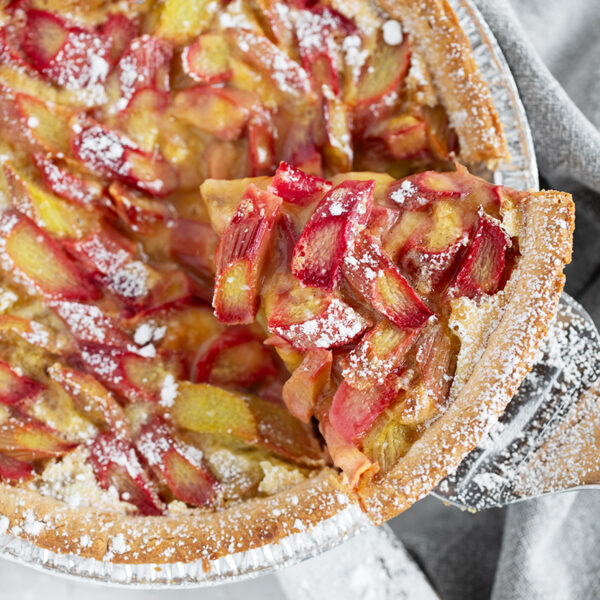
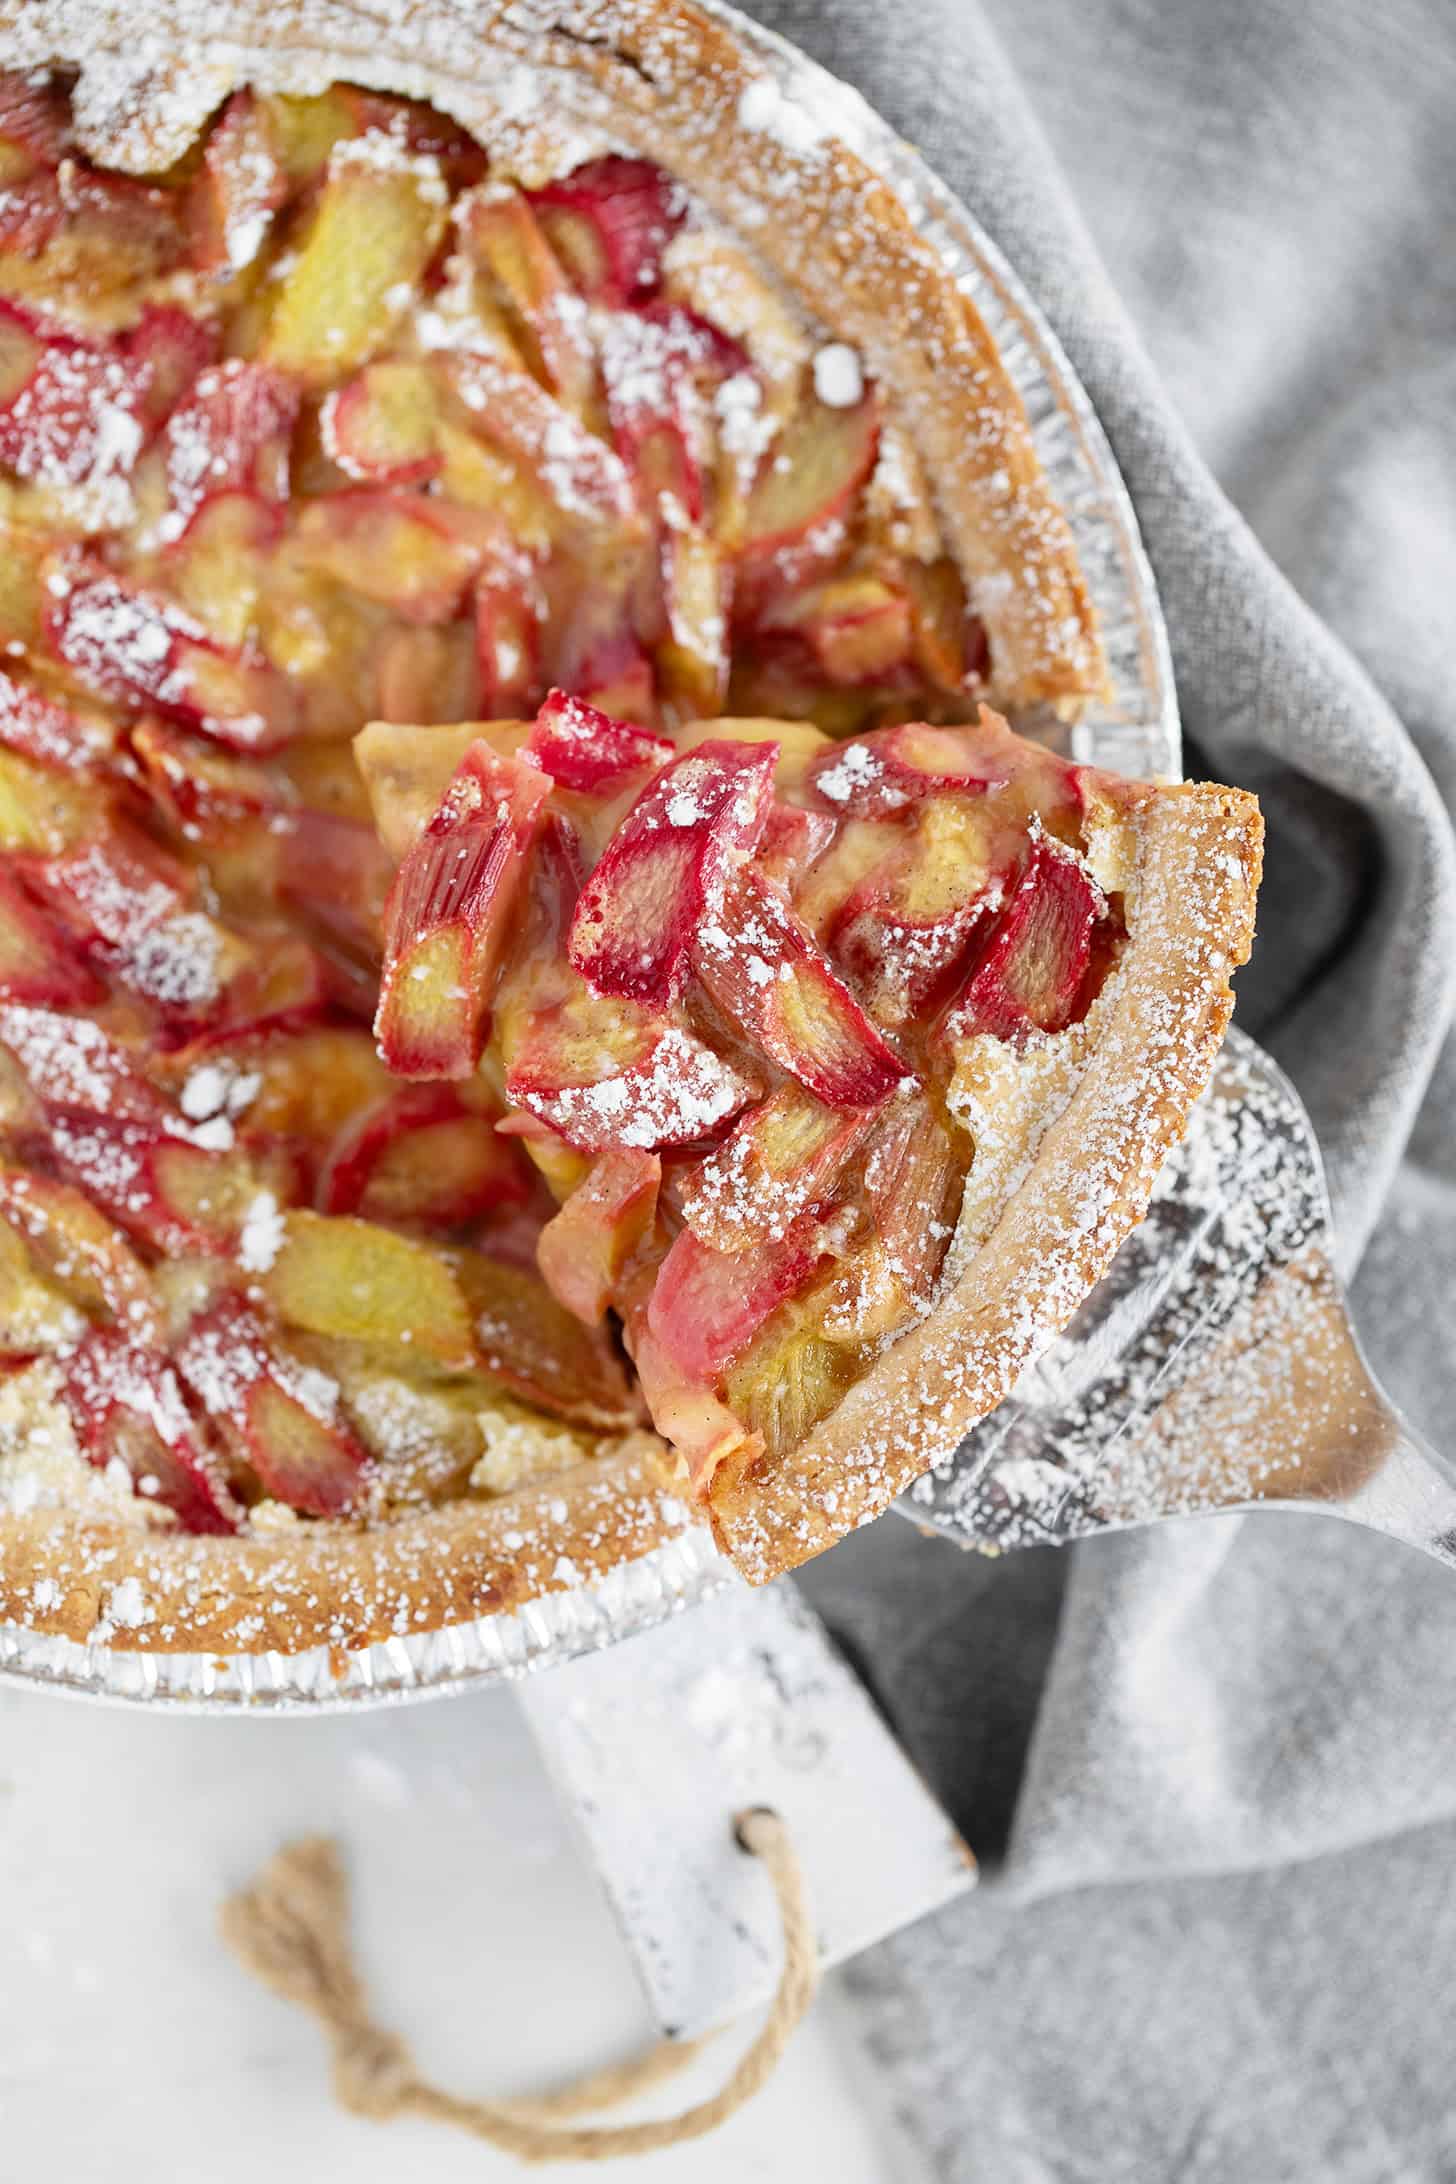
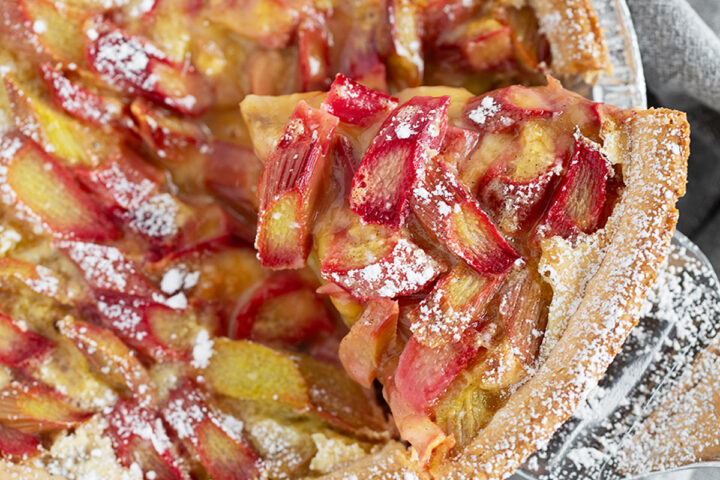
This vintage rhubarb custard pie recipe combines chopped rhubarb with an egg yolk custard for a classic rhubarb pie. You can make this pie with fresh or frozen rhubarb.
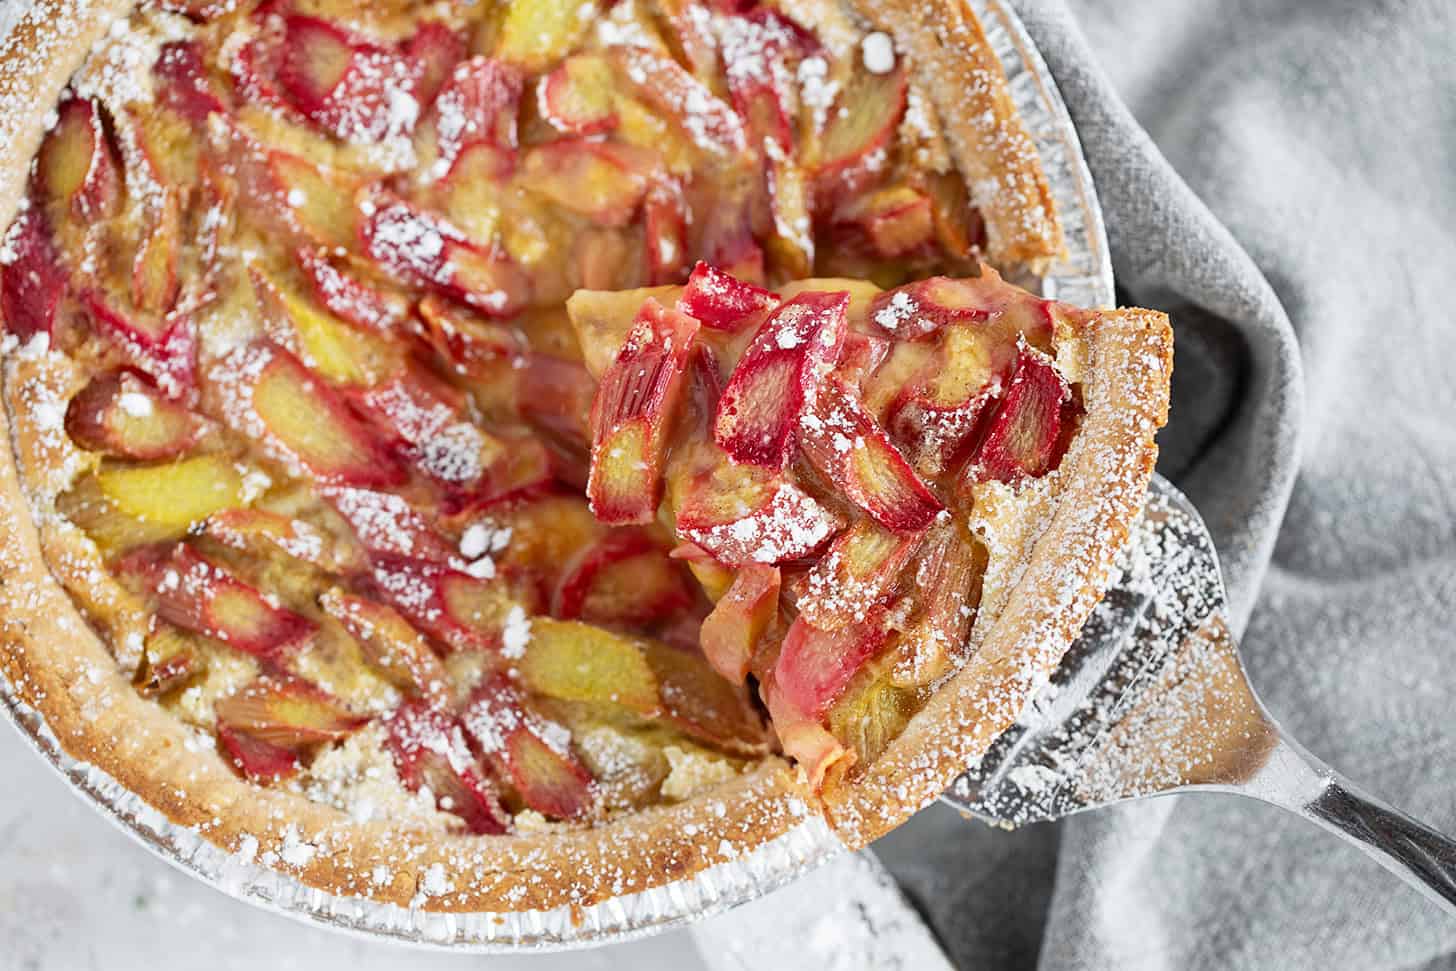
Many modern rhubarb custard pies lean heavily into cream for the custard filling. Of course, there’s nothing wrong with that :) I have to say, though, I love the simplicity of this old-fashioned rhubarb custard pie that relies solely on egg yolks and sugar, with just a Tablespoon of cream to loosen the mixture.
You’ll love the simplicity of the filling for this rhubarb custard pie. It’s delightfully different and truly lets the rhubarb shine, and with a perfect balance of sweet and tart.
Ingredients and substitutions
A few notes about the key ingredients …
Rhubarb – I recommend fresh rhubarb, if possible, for the nicest pie. Frozen rhubarb will work just fine, though it does tend to collapse somewhat when cooked, resulting in a thinner pie. If using frozen rhubarb, use it from frozen (do not thaw) and be sure to allow a few extra minutes of baking time for the excess moisture to cook off.
Egg yolks – You’ll only need the egg yolks for the custard filling. You can refrigerate the egg whites to use for another purpose, if you like, or use them to make a meringue topping for the pie (instructions in the Recipe Card).
Heavy whipping cream – The small amount of heavy whipping cream (35% b.f.) simply loosens the filling a bit. You can use sour cream if you don’t have cream on hand, or melted and cooled butter if you prefer.
Cornstarch – Also known as corn flour, the cornstarch is the thickener for the filling, so it should not be omitted. You could try another thickener, such as Arrowroot starch or tapioca starch in place of the cornstarch.
Pie crust – Start with a frozen pie shell or make your own pastry. This isn’t a thick pie, so a deep-dish pie shell isn’t needed, though it is fine if that’s what you have on hand.
How to make rhubarb custard pie: step-by-step
This is a visual summary of the steps to make this recipe. Scroll down to the Recipe Card below for the complete list of ingredients and instructions.
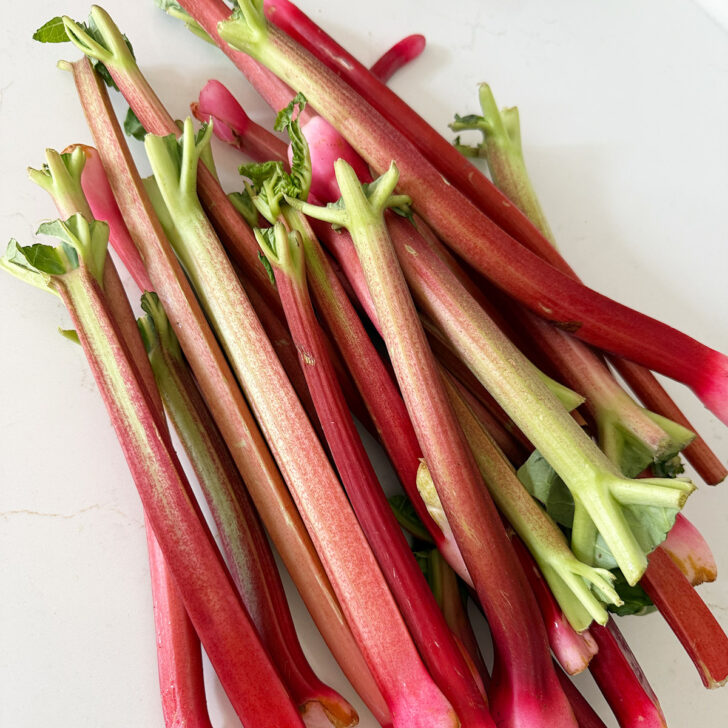
Step 1: Start with fresh rhubarb, if possible, and cut into slightly diagonal slices. You’ll need 3 cups of chopped rhubarb.
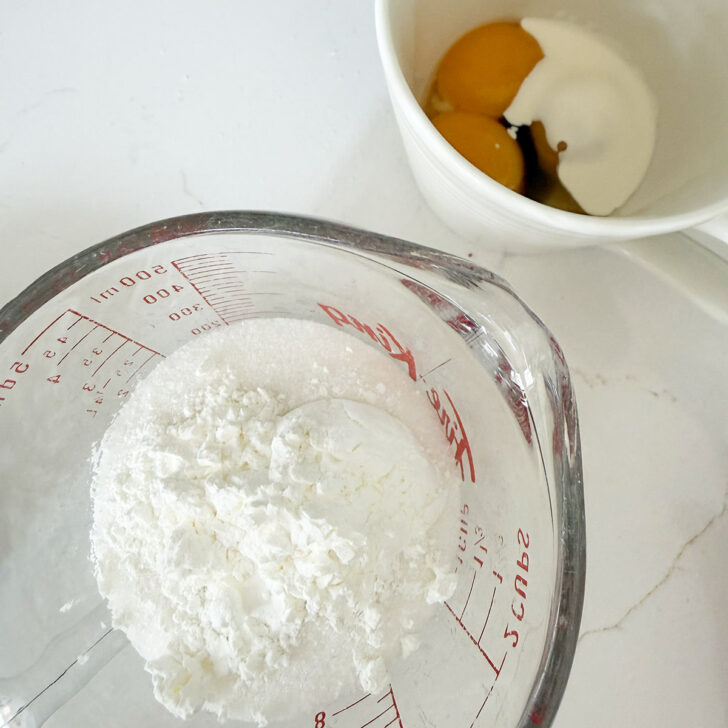
Step 2: Combine the sugar and cornstarch in one container and the egg yolks, vanilla and cream in another.
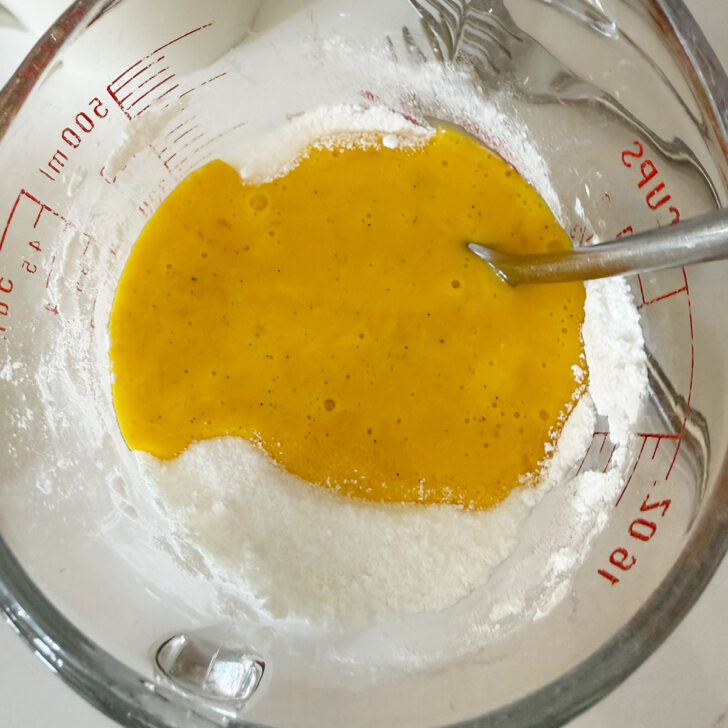
Step 3: Add the egg yolk mixture to the sugar mixture and stir together well.
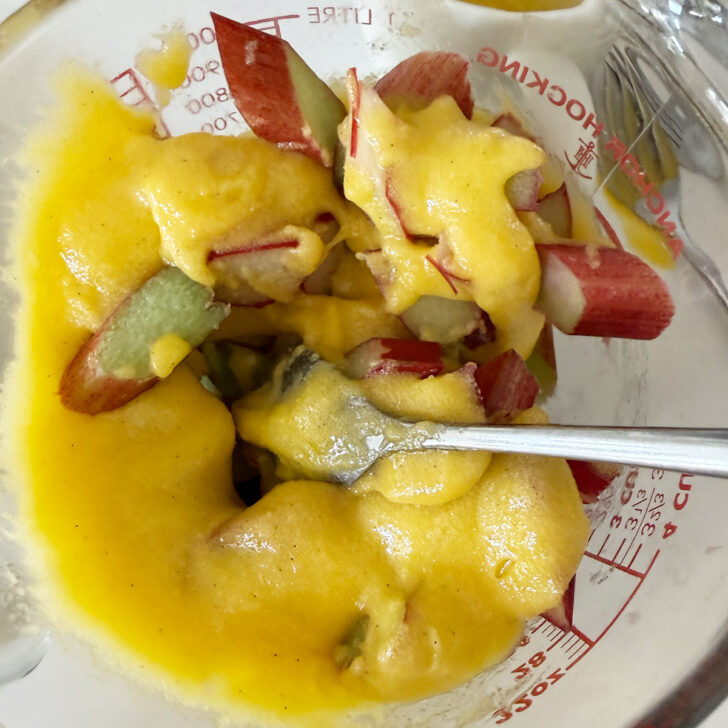
Step 4: Add the filling mixture to the chopped rhubarb and stir together well.
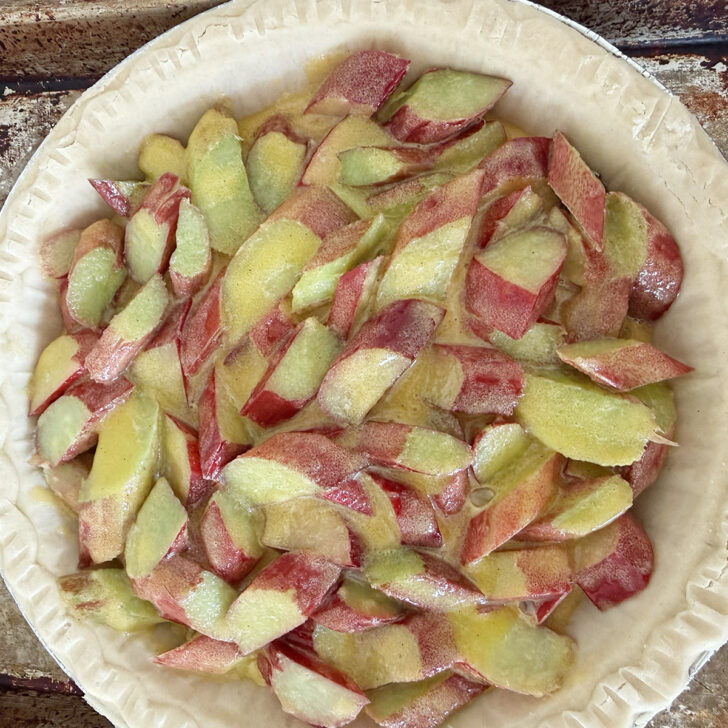
Step 5: Spoon the filling into an unbaked pie shell.
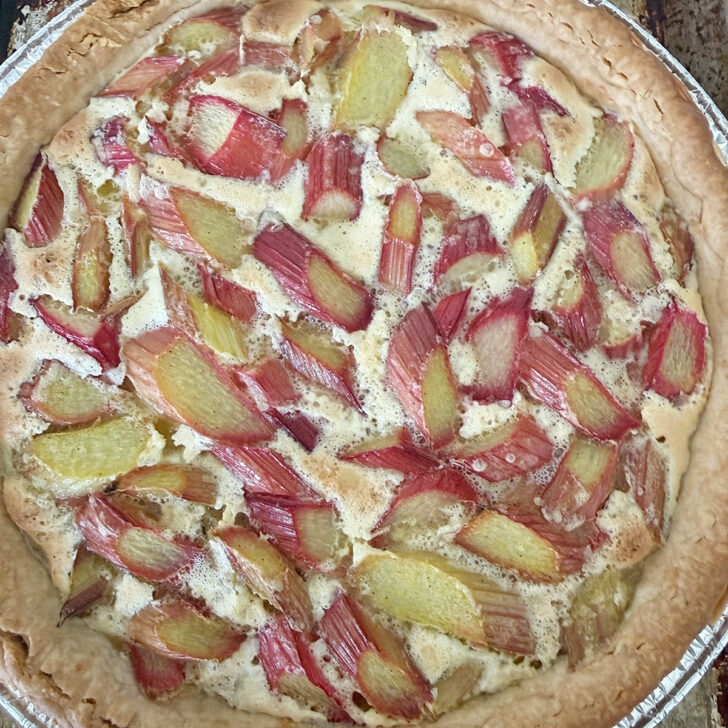
Step 6: Bake the pie as directed until set.
Recipe tips!
- I love this pie warm with a scoop of vanilla ice cream. That said, it is ready-made to use the leftover egg whites to make a meringue topping. I’ve included instructions for a meringue topping if you’d like to go that route.
- If your pie crust seems at risk of over-browning before the pie is set, loosely lay a sheet of aluminum foil over the top of the pie for the last part of baking.
- Test the pie for doneness by giving it a gentle shake. It shouldn’t be too jiggly in the middle. The pie won’t set into a stiff custard, but you want it set enough to slice.
- If you’re using frozen rhubarb, you may need to extend the baking time slightly to cook off the excess liquid.
- The baked pie can be spruced up a bit by dusting with icing/confectioners’ sugar before serving.
Making ahead and storing
This pie can be made ahead. Refrigerate to store, then remove from the refrigerator to serve at room temperature or loosely cover with foil and re-warm in a 350F oven for 8-10 minutes (or warm slices in the microwave.)
The pie will keep well in the fridge for 3-4 days.
Rhubarb custard pie can be frozen, though the texture of the filling may be changed slightly. Freezing unbaked is probably preferable. Wrap well and freeze for up to 3 months. If freezing unbaked, bake from frozen, allow additional baking time, as needed.
Want to save this recipe?
Enter your email and I’ll send it to your inbox. Plus, you’ll get great new recipes from me every week!
By submitting this form, you consent to receive emails from Seasons and Suppers.
You can unsubscribe at any time.
Get the Recipe: Rhubarb Custard Pie
Ingredients
- 3 cups rhubarb, fresh or frozen, cut slightly diagonally into 1/2-inch pieces
- 1 cup white granulated sugar
- 2 Tablespoons cornstarch
- 3 large egg yolks, *see Notes below for optional meringue topping to use up the egg whites
- 1 teaspoon vanilla extract, or vanilla bean paste
- 1 Tablespoon heavy whipping cream, or sour cream or 1 Tablespoon melted and cooled butter
- 1 9-inch unbaked pie shell, homemade or store-bought, thawed if frozen
Instructions
- Preheat the oven to 425F (non-convection/not fan-assisted).
- Remove and discard any rhubarb leaves (they are toxic, so don't ingest and dispose of carefully). Cut the rhubarb stalks slightly on the diagonal, into 1/2-inch pieces to measure 3 cups. Place the rhubarb into a large bowl and set aside.
- In a medium bowl, stir together the 1 cup white granulated sugar and 2 Tablespoons cornstarch. In a small bowl, whisk together the 3 large egg yolks (*see Notes below for optional meringue topping to use up the egg whites), 1 teaspoon vanilla extract (or vanilla bean paste) and 1 Tablespoon heavy whipping cream (or sour cream or 1 Tablespoon melted and cooled butter). Add the egg yolk mixture to the sugar mixture and stir together well. Add this mixture to the prepared rhubarb and stir together well.
- Spoon the rhubarb filling into an unbaked 9-inch pie shell. Place the pie on top of a baking sheet to catch any bubble-overs. Bake at 400F for 20 minutes, then reduce the oven temperature to 325F and bake for a further 20-25 minutes or until set and lightly golden in spots. (Test the pie for doneness by gently shaking. The centre of the pie shouldn't be jiggly.)
- Remove from the oven and allow to stand for 10-15 minutes before serving. Dust the pie with icing/confectioners' sugar if you like. Store leftover pie in the refrigerator and rewarm in the microwave to serve.
- This pie is lovely served warm with a scoop of vanilla ice cream or a drizzle of heavy cream.
Notes
More rhubarb pie recipes to love!

Hi! I’m Jennifer, a home cook schooled by trial and error and almost 40 years of getting dinner on the table! I love to share my favourite recipes, both old and new, together with lots of tips and tricks to hopefully help make your home cooking enjoyable, stress-free, rewarding and of course, delicious!