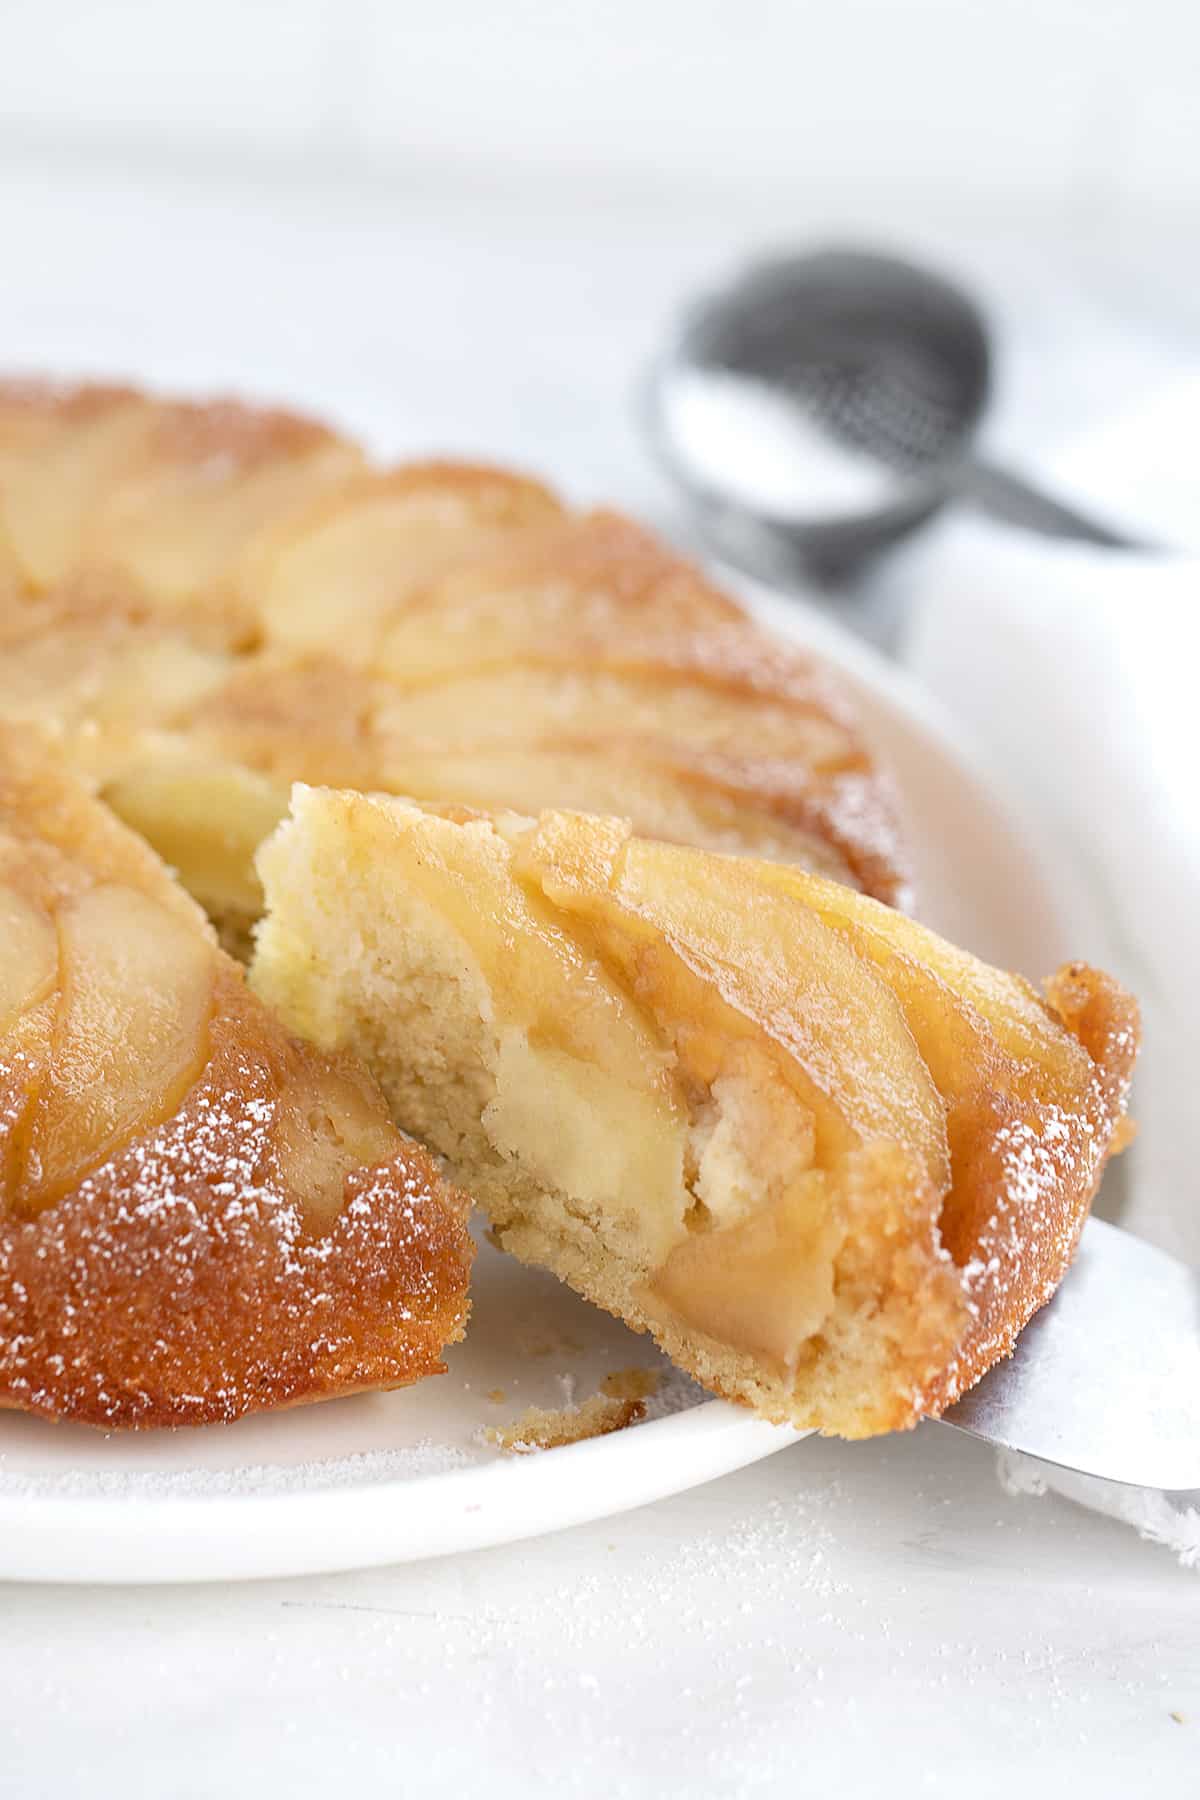
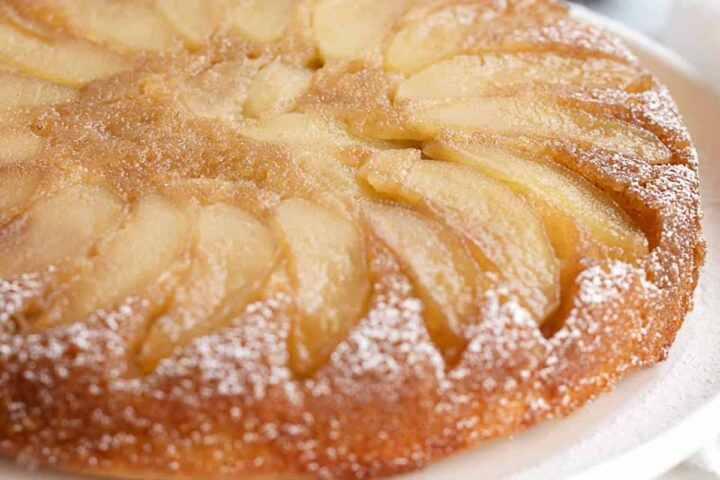
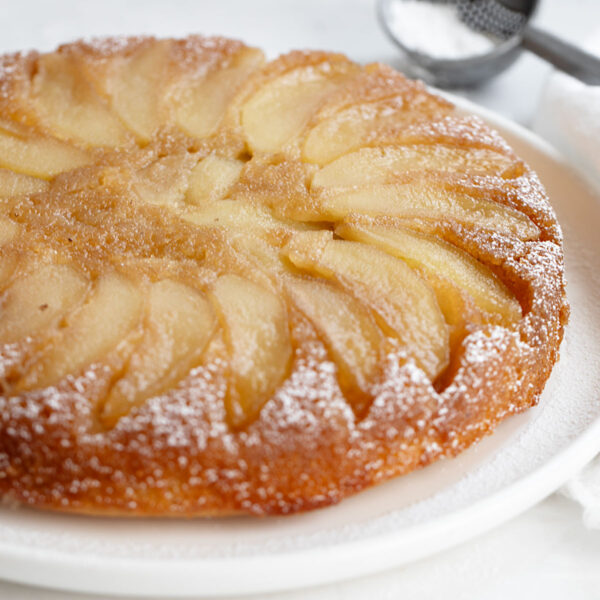
This delicious apple upside down cake, with maple syrup, that tastes just like a stack of warm pancakes!
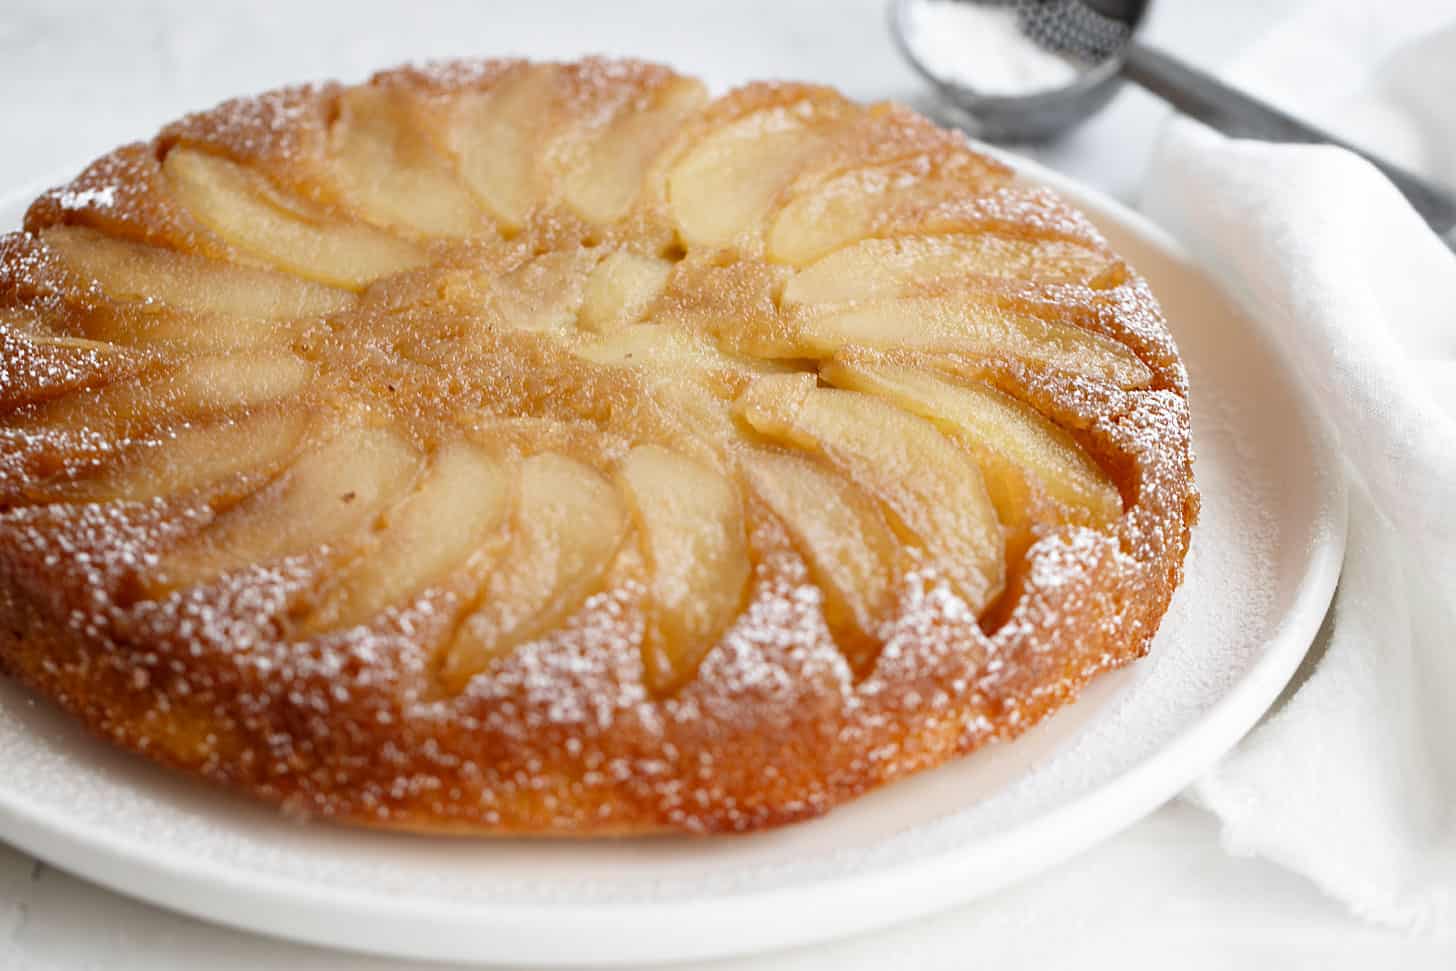
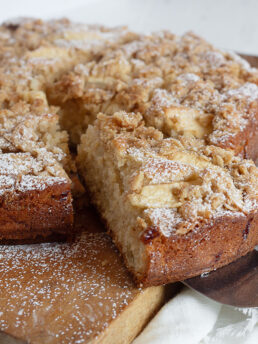
Imagine a big stack of warm pancakes with some cooked apples on top. Now imagine that they have been drizzled with maple syrup, that’s now a little warm and has soaked into the pancakes here and there. Great! Now you know exactly what this apple upside down cake tastes like.
Baking this cake will make your house smell wonderful for hours. It’s almost worth making just for the smell alone! Thank goodness it tastes as good as it smells.
Ingredients and Substitutions
Maple syrup – go for dark or Grade B maple syrup for best maple flavour, but any pure maple syrup will work fine here.
Apples – I made my cake with Granny Smith apples, even though it’s not usually my apple of choice for cooking. Granny Smith apples do hold their shape well though, which is nice for this cake. Their tart flavour makes a nice contrast with the sweet maple syrup. Braeburn, Jonathan or any other apple that holds it shape well when cooked would work here.
Step-by-Step Photos
This is a visual summary of the process of making this cake. Always refer to the complete instructions in the Recipe Card below when making the cake, as not all steps may be illustrated here.
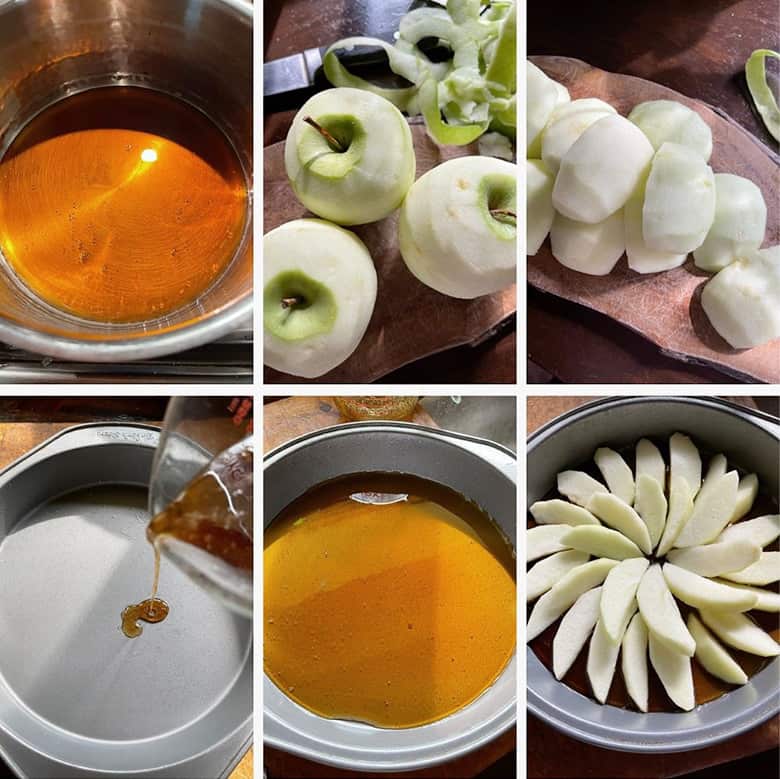
Start this cake by reducing some pure maple syrup, by simmering in a saucepan until reduced. While the syrup is simmering, peel, quarter and core the apples, then cut each quarter into 4 even slices. When syrup is reduced, pour into a lightly greased 9-inch round baking pan. Arrange the apple slices into two circles, slightly overlapping. Set aside while you make the cake batter.
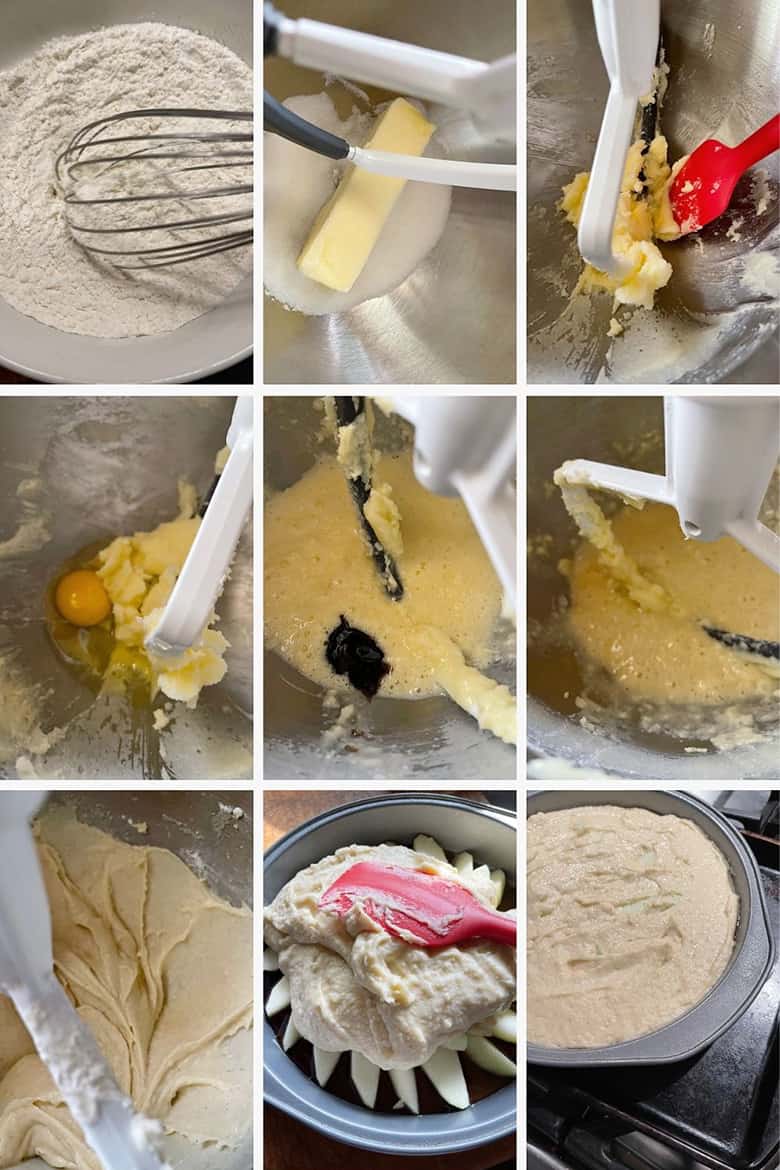
To start the cake batter, whisk together the flour, baking powder, baking soda and salt. Set aside. Cream together the butter and white sugar. Be sure to cream about 3 minutes, scraping down the bowl once or twice. Add the eggs and beat in well between additions. Add the vanilla and beat in. Finally, add the flour mixture, alternately with the milk (so add 1/3 of the flour, mix in, then 1/2 of the milk, 1/3 of the flour, the remaining milk, then the remaining flour). Mix until smooth. Spread batter evenly over the apple slices. Place the baking pan on top of a baking sheet and bake about 35 minutes. You’ll need to cool the cake in the pan for 45 minutes, before inverting onto a plate.
Recipe Tips
- This cake bakes up perfectly in a standard 9-inch round baking pan. If you don’t have a 9-inch round baking pan, you can use an 8-inch round baking pan, but the batter may not all fit in an 8-inch round cake pan. If that is your only option, you can use it, but hold back some of the batter to avoid over-filling the pan. Fill only to the level as shown in the Step-by-Step photos above.
- There is no need to put parchment on the bottom of the pan (which will be the top later :). This cake will come out of the pan easily, as long as you allow it to cool the required 45 minutes.
- The cake will bake for slightly different times based on your individual oven and the even the colour of your baking pan. Darker pans bake more quickly, while lighter pans more slowly. That’s why the recipe provides a 10 minute window of when the cake might be done. Start having a look at it at 30 minutes. Don’t open the door or test it until it LOOKS like it might be ready. If it’s pale and a bit sunken in the middle still, it needs to cook longer. When it is slightly puffed in the centre, pulling away from the sides of the pan and lightly golden, go ahead and test it with a skewer. The skewer should come out clean when it is ready.
Making Ahead, Storing and Freezing
This cake is best enjoyed on the day it is baked, though it can be baked a bit earlier in the day and enjoyed later in the day.
Store covered at room temperature for a couple of days, though the cake will become more moist from the fruit as it sits.
This is not the best cake for freezing, but if you have leftovers that you’d like to preserve to enjoy later, it’s worth it to freeze it. It may be quite moist after the freeze/thaw process.
Want to save this recipe?
Enter your email and I’ll send it to your inbox. Plus, you’ll get great new recipes from me every week!
By submitting this form, you consent to receive emails from Seasons and Suppers.
You can unsubscribe at any time.
Get the Recipe: Apple Upside Down Cake
Ingredients
- 2/3 cup pure maple syrup, Grade B recommended
- 2-3 large apples, peeled, cored and quartered, then cut each quarter into 4 equal slices *see Note 1 below
- 1 1/2 cups all purpose flour, spooned and levelled
- 3/4 teaspoon baking powder
- 1/4 teaspoon baking soda
- 1/2 teaspoon fine salt, reduce to 1/4 tsp if using salted butter
- 1/2 cup unsalted butter, at room temperature (can use salted butter, but reduce the added salt as noted above)
- 1/2 cup white granulated sugar
- 2 large eggs
- 1/2 cup milk, or buttermilk *see Note 2 below
- 2 teaspoon vanilla, or vanilla bean paste
For garnish:
- Icing/confectioners' sugar, for dusting
For serving:
- Vanilla Ice Cream and a bit more maple syrup, for serving
Instructions
- Preheat the oven to 350° F. (regular bake setting/not fan assisted). Lightly grease a 9-inch round cake pan and set on top of a baking sheet. Set aside. *See Note 2 below for other pan options.
- In a large saucepan, bring the maple syrup to a boil over high heat, then reduce heat to low and simmer until very thick and reduced to 1/2 cup, about 20 minutes. *Use a large pot and watch as it approaches boil, as it will bubble up considerably! While the syrup is simmering, you can peel and cut your apples. Pour the thickened syrup into the prepared pan. Arrange the apples in the pan in 2 concentric circles, overlapping them slightly. *See Step-by-Step photos above this recipe card for a visual of this.
- In a bowl, whisk together the flour, baking powder, baking soda and salt. Set aside.
- In the bowl of a stand mixer fitted with the paddle attachment, beat the butter and sugar at medium speed until fluffy, about 3 minutes. Beat in the eggs one at a time. Beat in the vanilla. Add the dry ingredients alternately with the milk until the batter is smooth. Scrape down the side of the bowl.
- Pour the batter over the apples and spread it into an even layer. Place cake pan on top of a baking sheet, to catch any bubble-overs.
- Bake the cake for about 30-40 minutes or until a tester inserted in the centre comes out clean. Let the cake cool in the pan, on a cooling rack for 45 minutes. *Baking time will vary by oven and colour of pan. Mine took about 34 minutes. Start checking it about 30 minutes and test when it looks set and golden in colour.
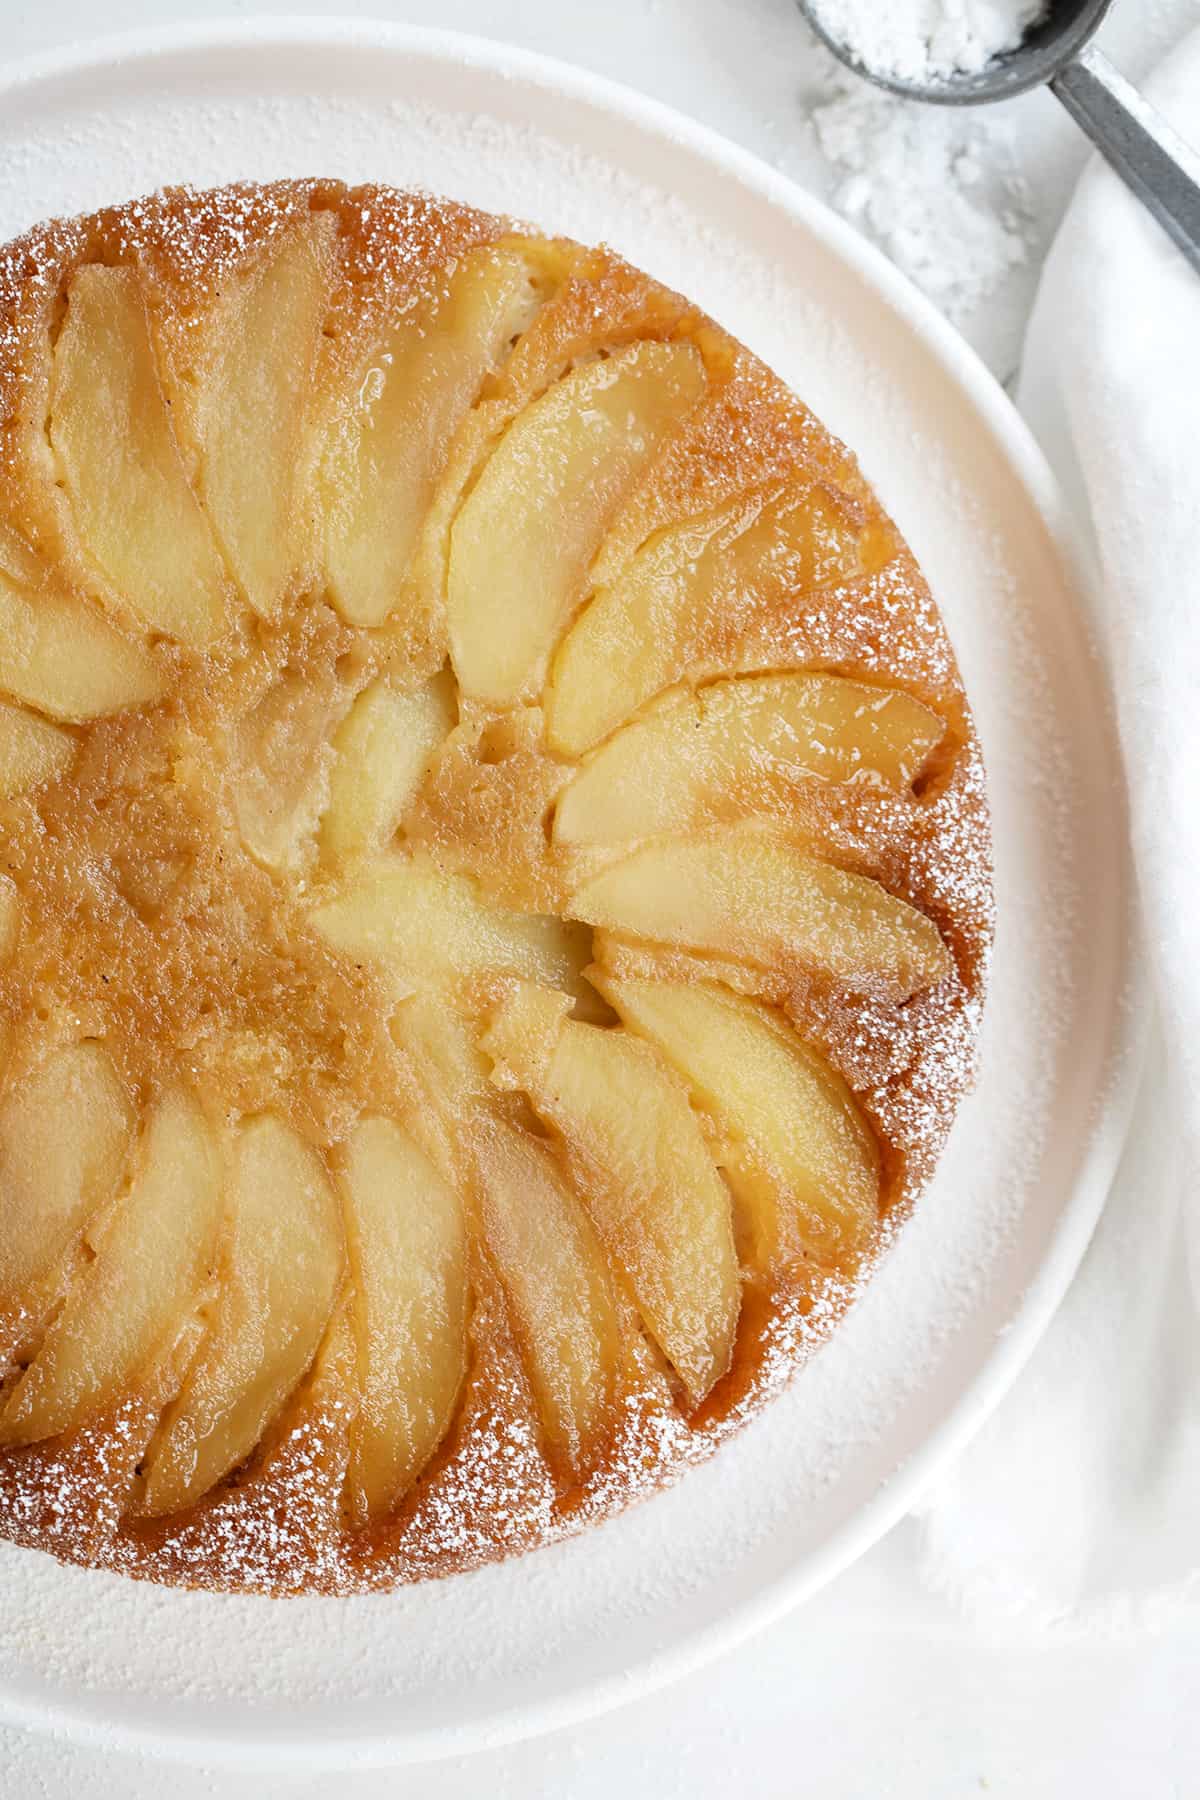
- Once cake has cooled in pan for 45 minutes, place a plate on top of the cake and invert the cake onto the plate. Tap lightly to release the cake, if necessary. Remove the pan. Let the cake cool slightly or completely before serving. Garnish with a dusting of icing/confectioners' sugar, if desired. Serve with vanilla ice cream and extra maple syrup, if you like.
Notes
More Apple Cake Recipes to Love!
Hi! I’m Jennifer, a home cook schooled by trial and error and almost 40 years of getting dinner on the table! I love to share my favourite recipes, both old and new, together with lots of tips and tricks to hopefully help make your home cooking enjoyable, stress free, rewarding and of course, delicious!




Absolutely delicious!! I made two at the same time. I only had 8” round cake pans so I baked them a bit longer. Turned out perfect, no overflow. They smelled and tasted fabulous! I’ll definitely be adding this to my regular bakes. Thank you.
So glad to hear, Hazel :) Thanks so much!
Can I make this cake the day before?
Hi Danielle, while I haven’t tried it, I don’t think it’s the best cake to make ahead, as it is extremely moist and will possibly get unpleasantly soggy if it sits that long. You could probably make it a few hours ahead and be ok though.
Thank you for getting back to me so quickly!
While I’ve made this cake before to rave reviews I have a party tomorrow and didn’t want to be cooking during the festivities. Perhaps I’ll make it first thing in the am and let it sit.
Holy smokes. What a great easy, quick cake that packs great flavor!! I made two. One to share and one for me!! This will become a regular rotation in my sweet treat giving!!
Keep washing your hands kids!
So glad you enjoyed it, Trey :) Thanks so much!
Hi. Your comments mention a 10 inch round pan but the recipe instructions state 9 inch. Which is correct?
Hi Cheryl, I have re-made/re-photographed this recipe and I believe that I originally made it in a 10-inch pan, but then used a 9-inch the second go round. I preferred the higher cake of the 9-inch pan, so I would go that route if you have one. If not, it will work in a 10-inch. The baking time will be less, of course.
This cake got rave reviews from family and friends…even had to share the recipe. Very moist and delicious!
Glad you enjoyed it Michelle. It’s great simple, warm, comfort food, which I think we can never go wrong with :)
I thought the same thing, Liz ;) Would be perfect for brunch, as well.
This sounds wonderful! Do you think I could pass it off for breakfast?! Hmm, I think so!
Oh my! Such a gorgeous cake looks so moist!
Thanks so much, Yelle and yes, it is a lovely moist cake.
This cake looks divine! I love maple, and I can just imagine how wonderful it is paired with those apples. I have a cast iron skillet calling out to this! :)
Thanks Betty. I’m going to try it in the frying pan next time, but if you try it first, let me know how it works out.