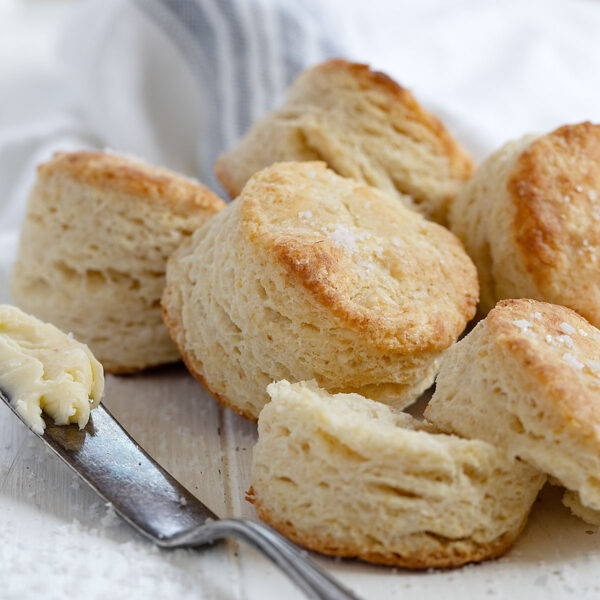
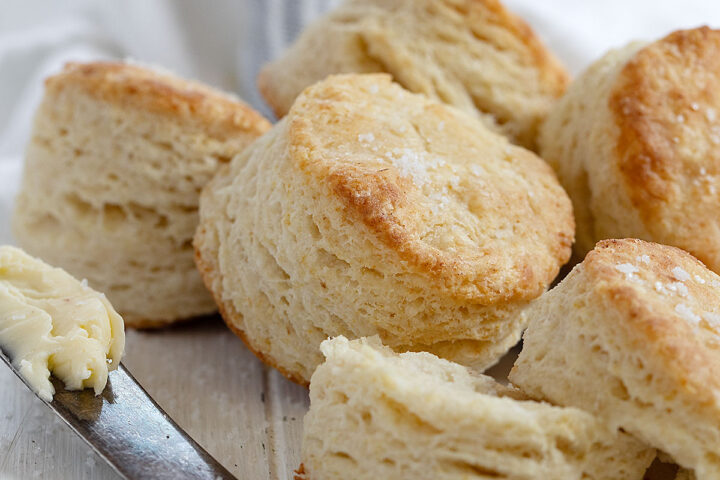
Learn how to make classic buttermilk biscuits, complete with all those fabulous, flaky layers! I share all my best biscuit tips, too!
Whether alongside my Winter soups or stews or in a basket for a Summer BBQ, buttermilk biscuits are are year-round bake for me. This is my favourite flaky buttermilk biscuit recipe, which delivers all those fabulous layers I love. No need for a knife to cut these ones. They will pull apart easily.
Ingredients and substitutions
A few notes on some of the key ingredients …
Butter – you can use salted or unsalted, but unsalted is best if you have it, as it is generally the freshest butter.
Buttermilk – real buttermilk is best, and even better if you can get higher fat buttermilk. If you don’t have buttermilk, you can make your own with 3/4 cup of milk (whole milk or 2% is best) mixed with 2 1/4 tsp of lemon juice or white vinegar. Let stand 10 minutes before using.
How to make classic buttermilk biscuits
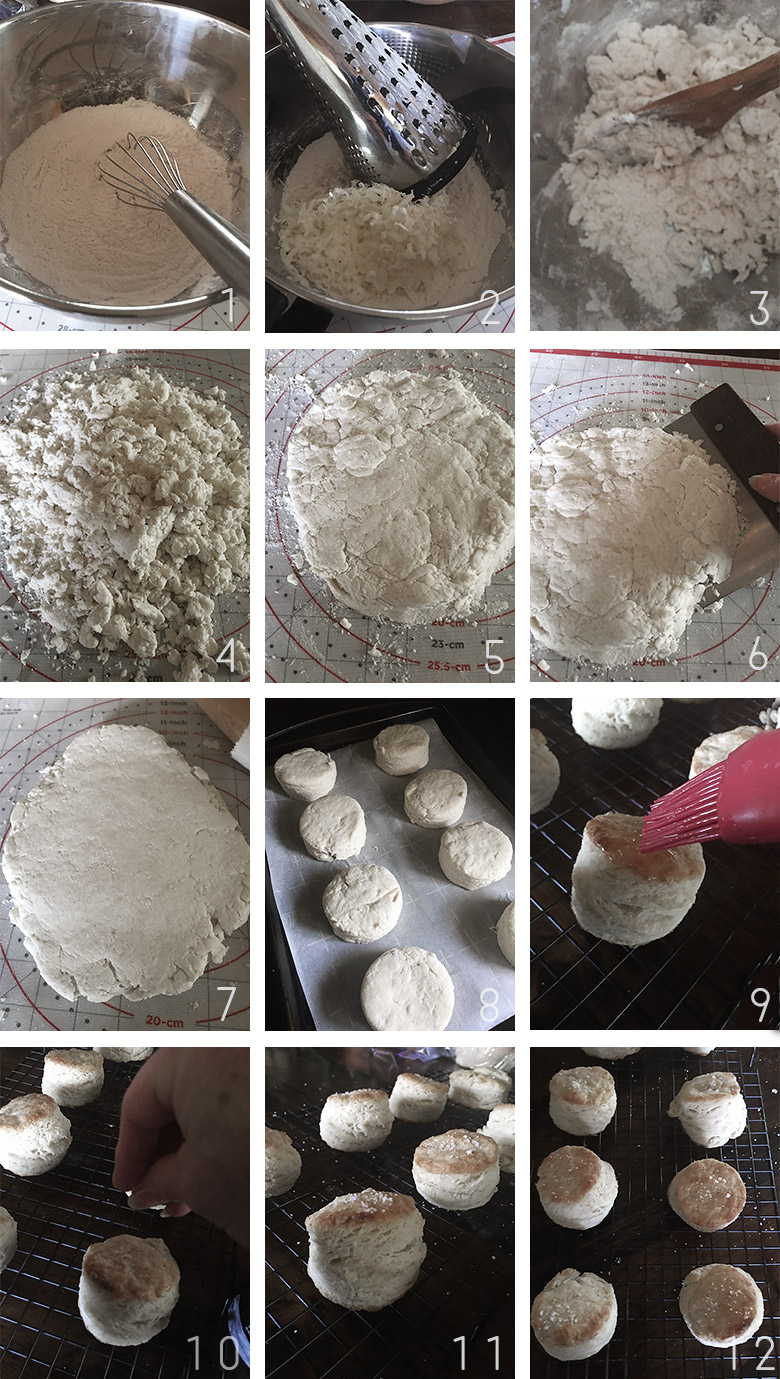
- Step 1: Whisk together the flour, baking powder, sugar and salt.
- Step 2: Grate the cold (or frozen) butter into the flour mixture and stir to combine.
- Step 3: Add the buttermilk and stir to moisten. If you see some dry flour at the bottom of the bowl (as I had here), add a splash more buttermilk to the bowl and stir in.
- Step 4: Pour the mixture onto a lightly floured work surface.
- Step 5: Gather the dough together and flatter into a flat round shap.
- Step 6: Using a bench scraper, fold half of the circle over the other half and flatten slightly. Rotate and repeat.
- Step 7: Roll gently with a rolling pin to smooth the top and make an even, 1-inch round.
- Step 8: Cut biscuits out of the round using a 2 1/2 or 3-inch biscuit cutter. Place onto a parchment-lined baking sheet, allowing a few inches between each biscuit. Bake the biscuits for 12-14 minutes.
- Step 9: Remove the biscuits from the oven and immediately remove to a cooking rack and brush the tops with melted butter.
- Step 10: Sprinkle the tops of the biscuits with some coarse salt.
- Step 11: Your biscuits may be a bit uneven, but it’s all part of the character of homemade biscuits.
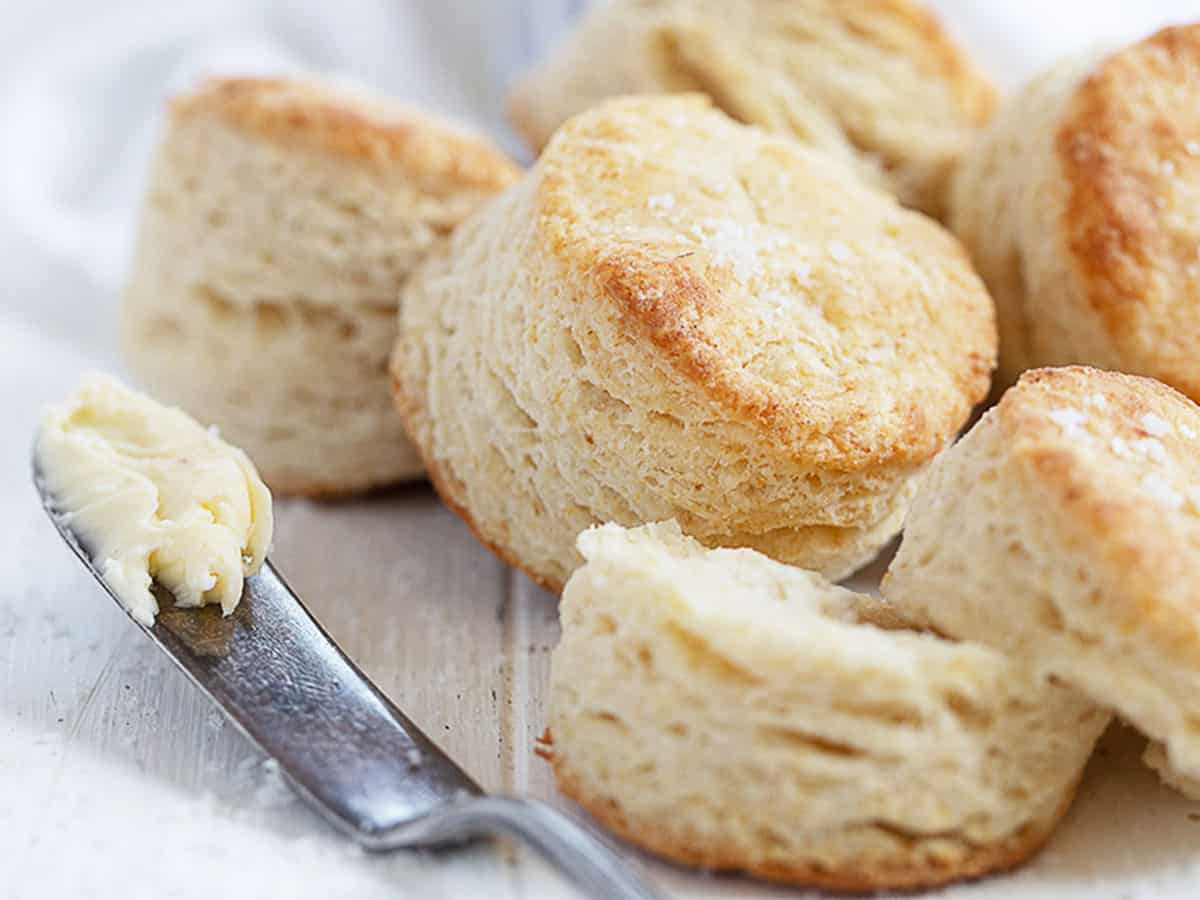
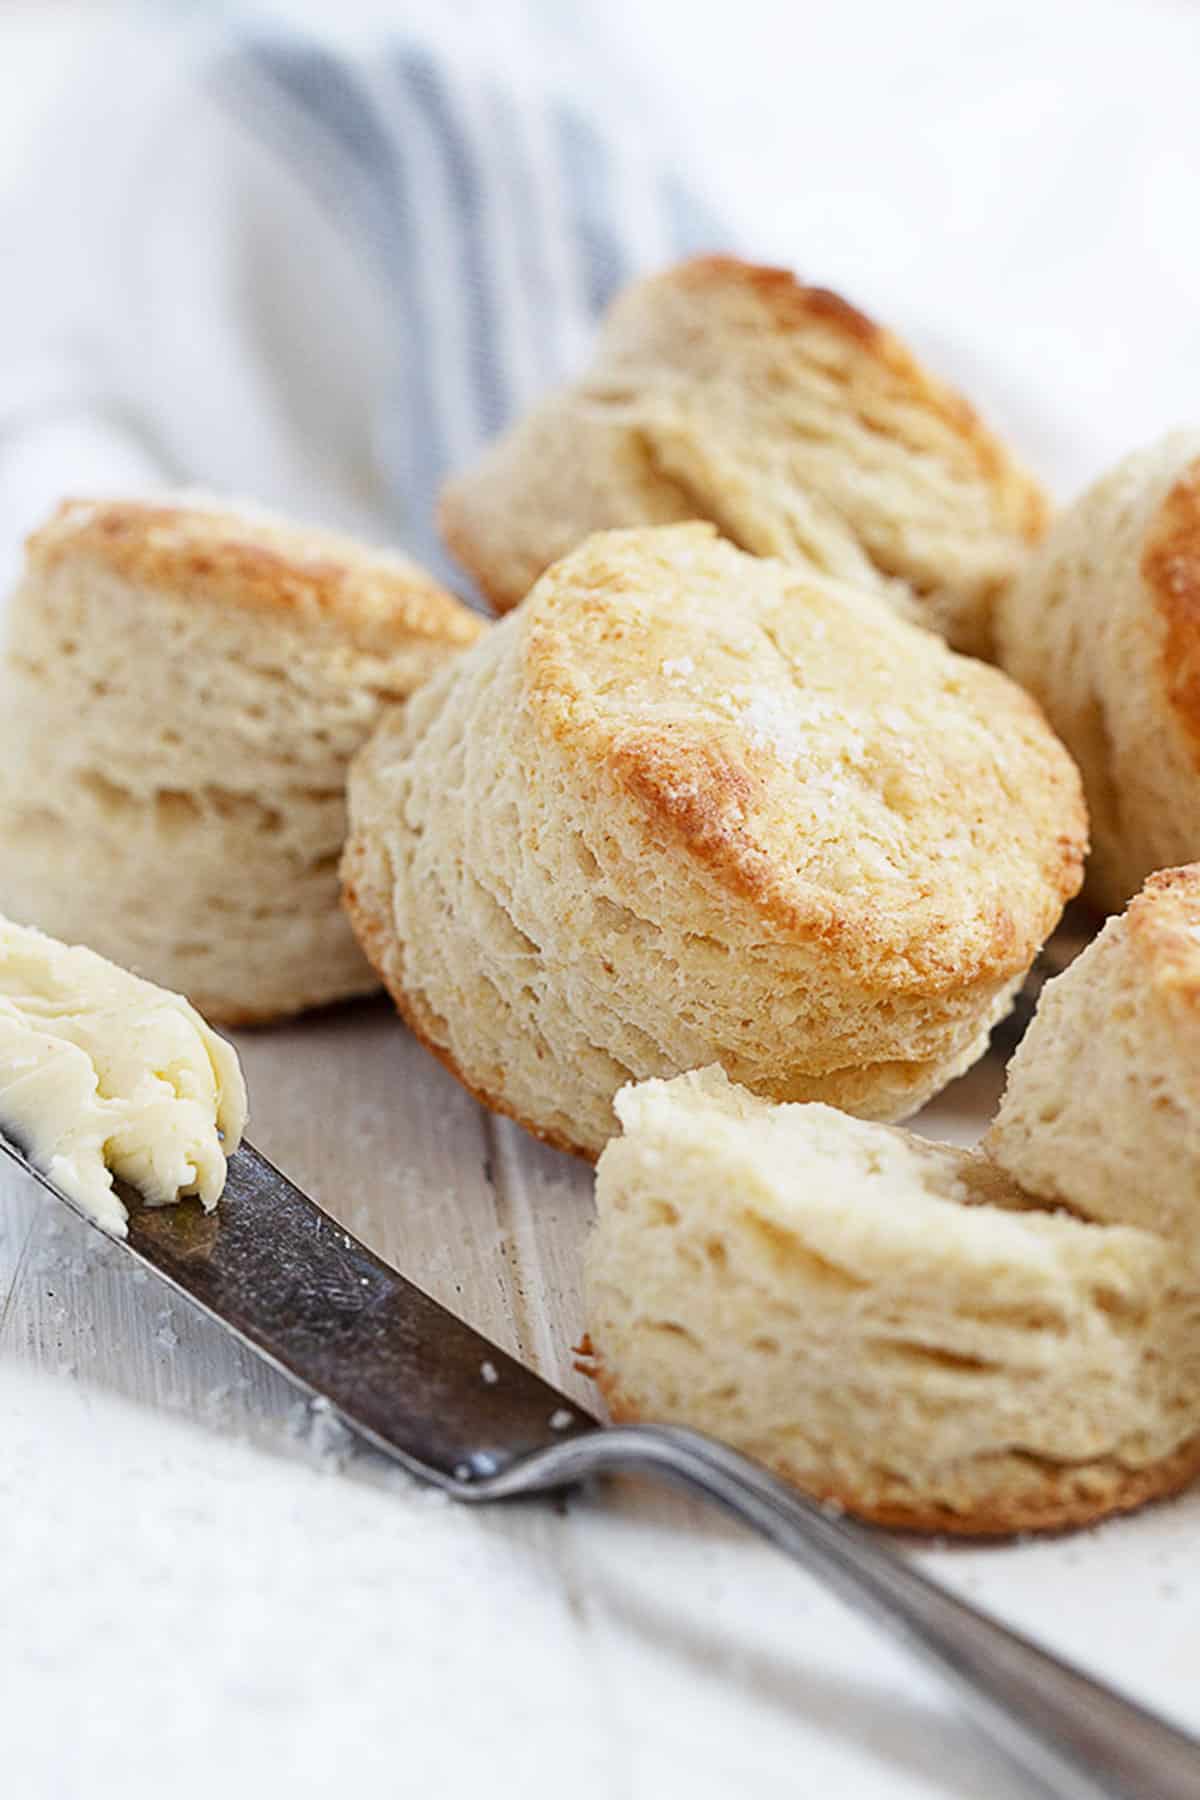
- Step 12: Enjoy your biscuits warm from the oven with butter. These flaky biscuits don’t need cutting. They will pull apart in the middle easily!
Biscuit making tips!
- Popping your butter into the freezer for 15 minutes before you start baking will give you the best results, as the butter won’t warm as quickly.
- Grating butter isn’t the easiest thing as it’s slippery (watch your knuckles!). That said, the quicker you can do it the better (to prevent the butter from warming too much), the better. If you feel like it took longer than you would have liked, just take the whole bowl with the flour and grated butter and pop it in the freezer for a few minutes before proceeding.
- Don’t be afraid to add a splash more buttermilk to the bowl if it seems dry. You want a crumbly, evenly moist mixture, but check the bottom of the bowl for loose flour mixture after you have stirred in the buttermilk. If you see some dry flour, add a bit more buttermilk. Your dough should not be sticky. Just evenly moist.
- Using a bench scraper to fold the dough prevents the warmth from your hands softening the butter in the dough. If you don’t have a bench scraper, just use a anything that you can slide under the dough to fold it (spatula, for example).
- I like a tall biscuit, so I cut from a thick round of dough. If you roll it a bit thinner, you can get a few more biscuits from it, if you prefer.
- Try to be as efficient (space wise) as possible when cutting your biscuits, leaving as little space in between cuts as possible and getting the most rounds out of your initial round of dough. You can gather up the scraps and re-roll to get a few more biscuits, but they are never quite as nice as the first cut ones.
- When brushing the tops of the biscuits, be sure to keep the liquid just on top of the biscuit and don’t brush on so much that it drips down the sides. The dripping liquid seals up the sides and inhibits the creation of the flaky layers as the biscuits bake.
- Your biscuits may come out of the oven a little uneven, especially if they are on the thicker side. Not to worry. It’s just because one side rose more than the other. Consider it biscuit character :)
- Remove biscuits to a cooling rack as soon as they are out of the oven, to avoid over-browning of the bottom of the biscuits as they site on the hot pan.
- A nice finishing salt like Morton’s or Fleur de Sel is perfect for salting the tops after baking.
Top tip!
When cutting your biscuits, be sure that you cut straight down with one firm, quick motion and be sure you don’t twist the cutter at all. Any twisting action seals up the outside of the biscuits and won’t allow the steam to escape as they bake to get those nice flaky layers.
Want to save this recipe?
Enter your email and I’ll send it to your inbox. Plus, you’ll get great new recipes from me every week!
By submitting this form, you consent to receive emails from Seasons and Suppers.
You can unsubscribe at any time.
Get the Recipe: Classic Buttermilk Biscuits
Ingredients
- 2 cups all-purpose flour, spooned and levelled
- 1 Tablespoon baking powder
- 1 Tablespoon white sugar
- 1 teaspoon salt, reduce to 3/4 tsp if using salted butter
- 1/2 cup butter, very cold or frozen for 15-20 minutes before using, salted or unsalted
- 3/4 cup buttermilk, plus more, as needed *See Note 1
- Melted butter, for brushing tops after baking
- Coarse salt, for topping after brushing with butter.
Equipment
- Parchment paper (recommended)
- Bench Scraper, recommended
Instructions
- *Pop the 1/2 cup of butter into the freezer for 15 minutes before your start your biscuits, for best results.
- Preheat oven to 425F. (non-convection)
- In a large bowl, whisk together the flour, baking powder, sugar and salt. Grate in the cold or frozen butter, then add the buttermilk. Mix with a spoon until the mixture comes together and is evenly moist. *You may need to add a splash more buttermilk if you still have some dry flour mixture at the bottom of the bowl. The mixture should be evenly moistened, but not sticky.
- Turn the mixture out onto a lightly floured work surface and flatter to a 1-inch thick round. Using a bench scraper, fold half of the circle over the other half. Flatten slightly with the bench scraper. Rotate the dough 1/4 turn, then fold in half again. Repeat this turning, flattening and folding 2 more times. Use a rolling pin to gently flatten and smooth the round into a 1-inch thick circle.
- Use a 2 1/2-3-inch biscuit cutter (or a glass of similar diameter). You can gather up and re-roll the scraps and cut a few more biscuits. Place the cut biscuits on a parchment lined baking sheet.
- Bake for 12-14 minutes. Remove from oven and immediately remove from the pan to a cooling rack. Brush the top of the biscuits with some melted butter, then sprinkle with some coarse salt.
Notes
- Make your own buttermilk by stirring together 3/4 cup milk (the higher fat, the better) with 2 1/4 tsp of lemon juice or white vinegar. Let stand 10 minutes before using.
- I have included all my best biscuit making tips in the “Tips” section above the recipe card, so be sure to have a read as well.
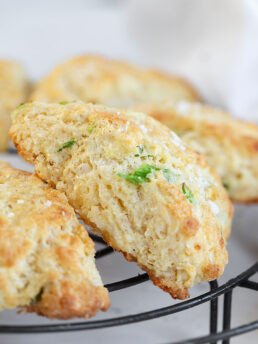
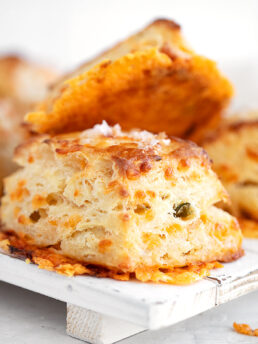
More biscuit recipes to love!
Hi! I’m Jennifer, a home cook schooled by trial and error and almost 40 years of getting dinner on the table! I love to share my favourite recipes, both old and new, together with lots of tips and tricks to hopefully help make your home cooking enjoyable, stress-free, rewarding and of course, delicious!
I just made a double batch of the biscuits and they worked out perfectly.
Great recipe and it is now my go to Buttermilk Bisquit recipe to make and share ❤️
So pleased you enjoyed them, Stephanie :) Thanks so much!
I doubled the recipe , and the biscuits turned out great. I grated frozen butter then refroze it, the day before, which saved some time when I made them. Hint I lost some butter while handling and grating so weighed it to ensure I had enough just before combining.
Glad to hear, Cheryl and great tip! Thanks :)
Perfect! Grating the butter, the biscuit cutting tip (not twisting) = FANTASTICALLY flaky tender biscuits.
So glad to hear, Cindy :) Thanks!
Thank you Jennifer. A nice change from my go recipe from my Nana’s recipe box that calls for a bit more sugar that I’ve been making for 60 plus years. Hint for anyone who might be interested that I learned in cooking school, if you don’t twist your cutter when cutting out your biscuits even if your dough is on the thick side, they will bake up more even all around.
Stay safe everyone
They look PERFECT! Those flakey, buttery layers! Yes please! I could eat about a dozen of these!
Thanks Dawn and yes, nothing like a flaky biscuit!
There is nothing quite like delicious buttermilk biscuits. I would happily devour the lot!
Thanks Matt (and me, too :)
These are the most perfect looking biscuits! The texture is just amazing!
Thanks Sammie :) I love the flaky layers. It’s everything I want from a biscuit!
They look perfect! Your baked goods always turn out incredibly well:)
Thanks Milena :)