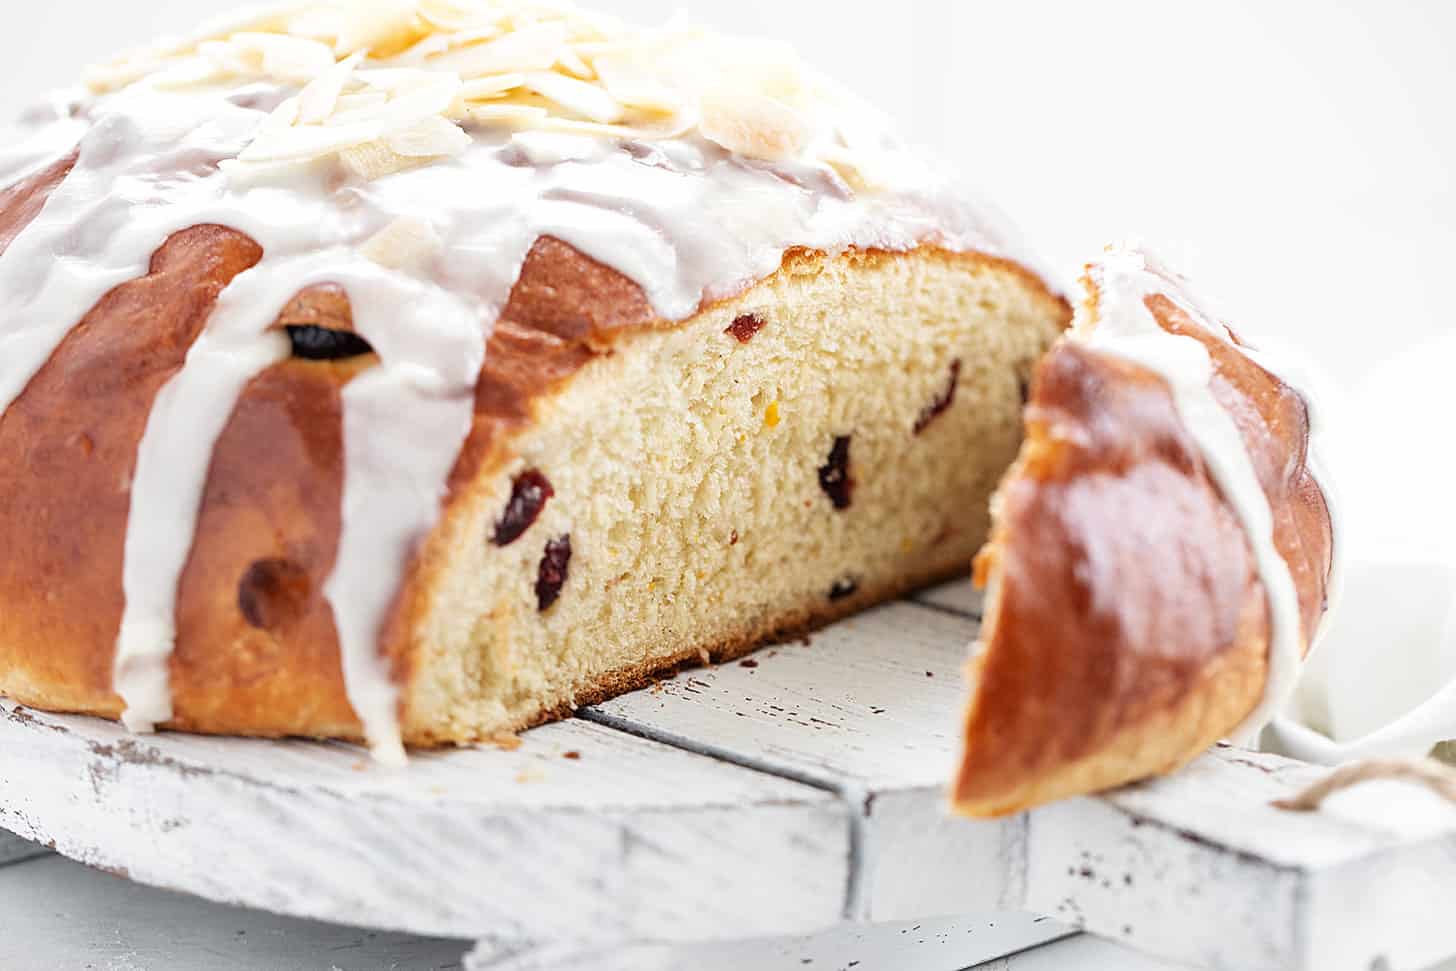
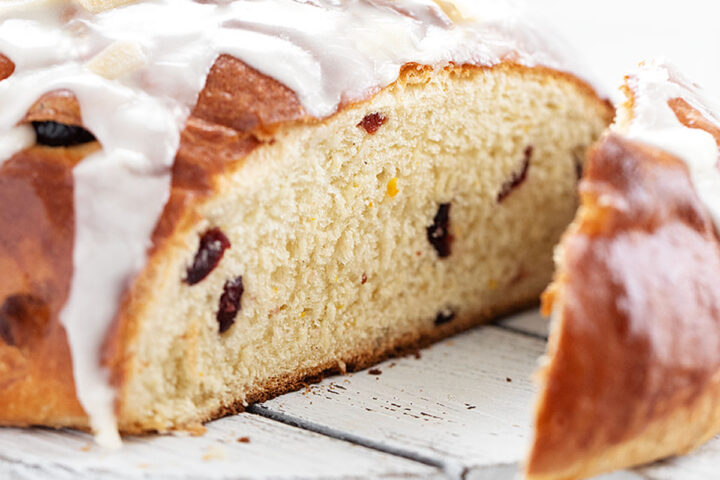
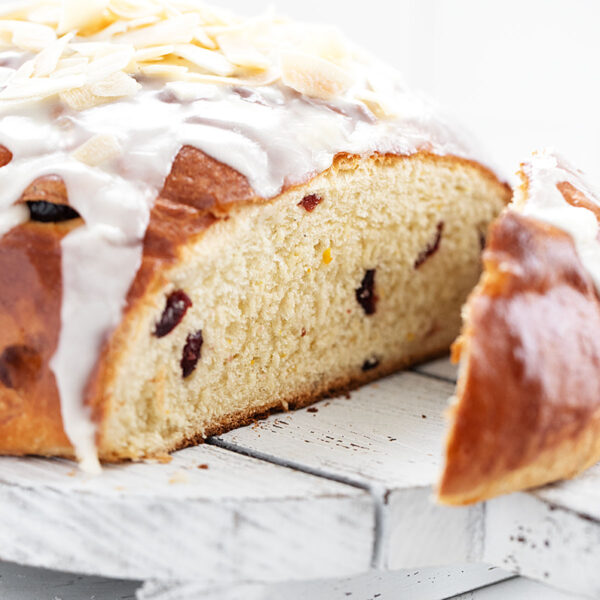
A beautiful cranberry orange yeast bread, baked into a round with an optional orange glaze and coconut chip topping.
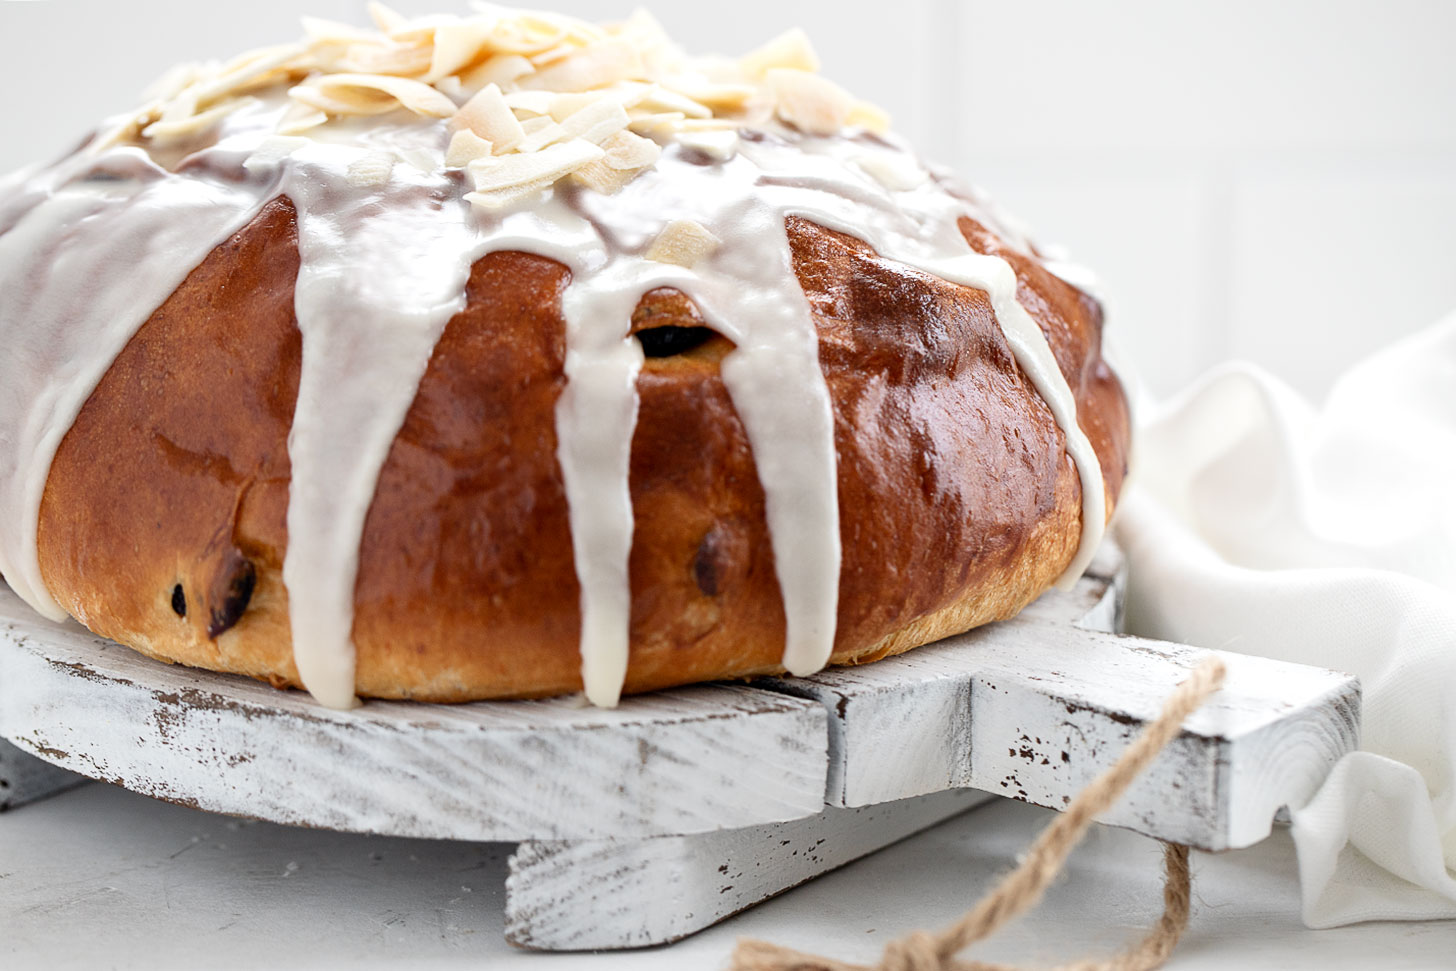
Why you’ll love this cranberry orange yeast bread
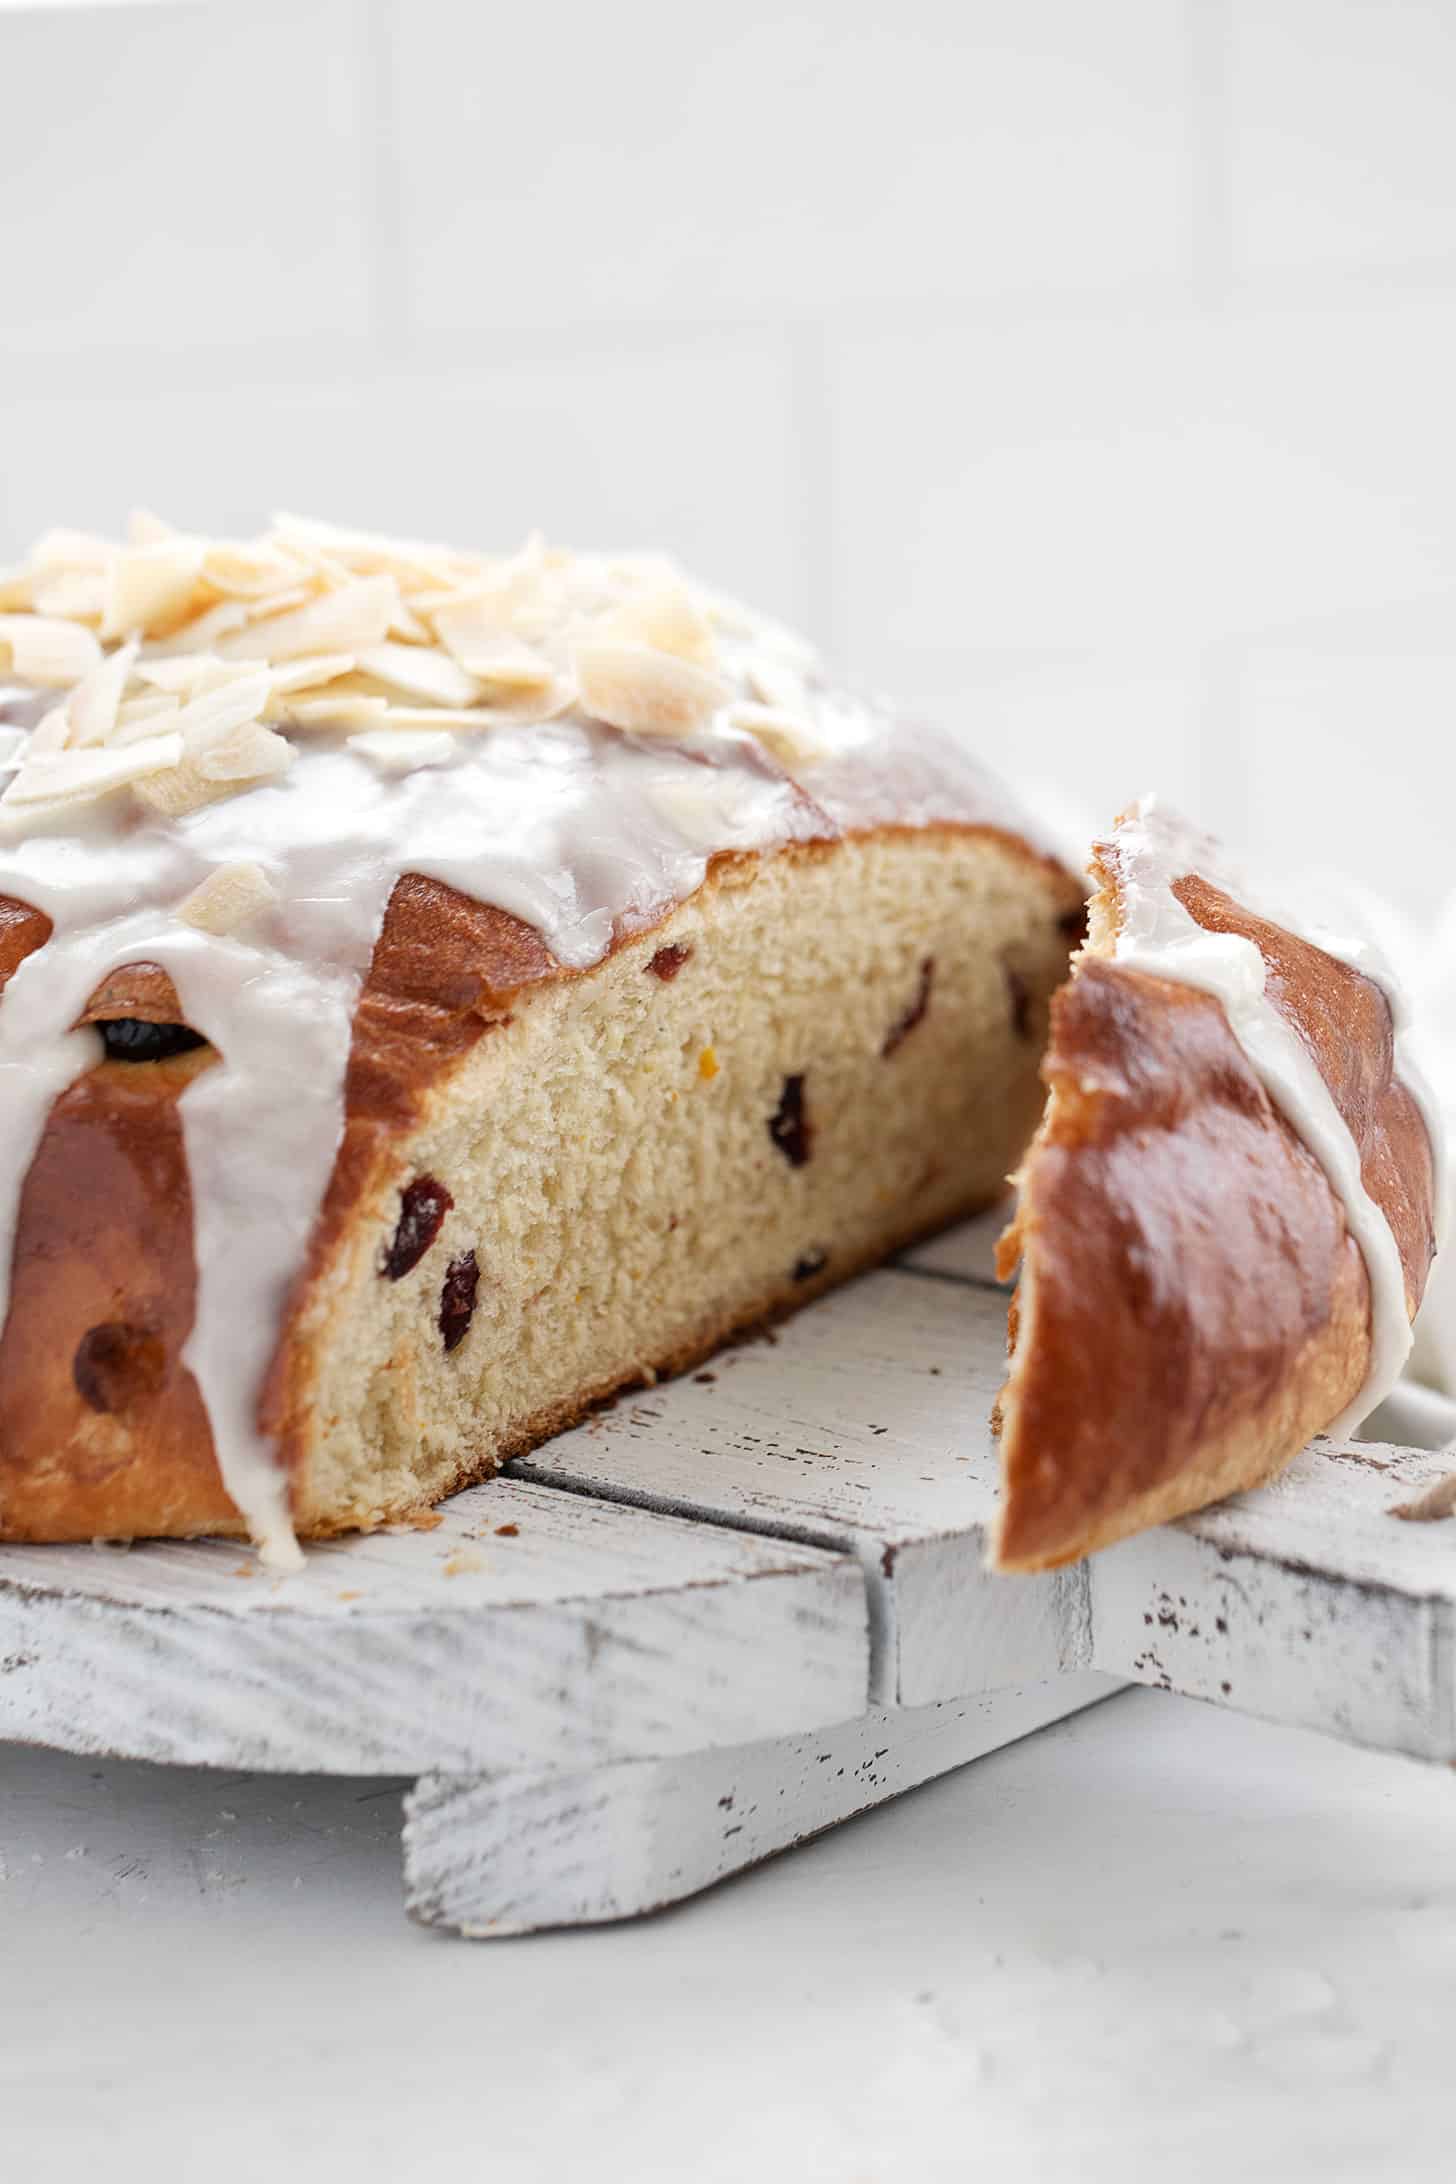
This bread has the most fabulous flavour and texture and it’s such a pretty bread, too. That makes it perfect Brunch bread in my books. Set it out as a centre-piece of the table for everyone to enjoy. It’s great with butter or kick up the butter a notch by stirring in a bit of orange zest.
Ingredients and Substitutions
Dried Cranberries – you can use sweetened or unsweetened dried cranberries. If you don’t have or want to use cranberries, substitute raisins.
Orange Juice and Zest – you’ll need to start with one large, fresh orange, as you will need both the zest and juice from the orange for this recipe.
Flour – you can use either bread flour or all-purpose flour. If you have bread flour, I recommend using it. If not, all-purpose is fine. You may find the amount of flour you’ll need varies slightly between the two.
Step-by-Step Photos
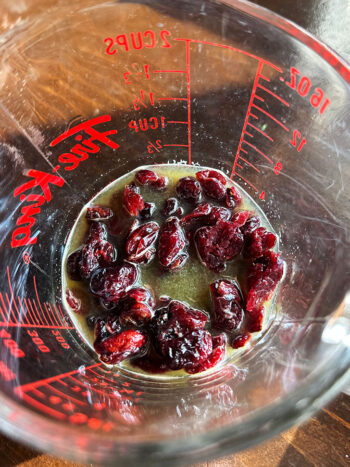
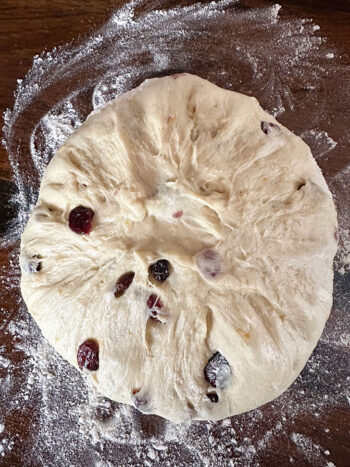
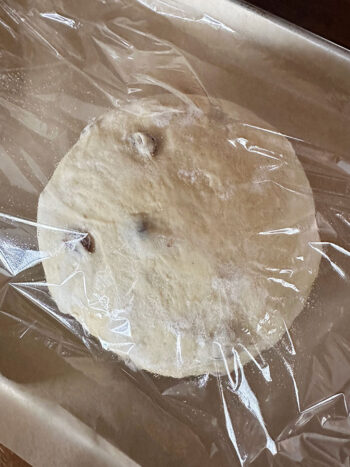
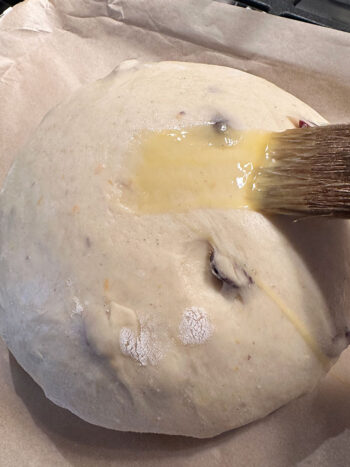
- Start by soaking the dried cranberries in orange juice.
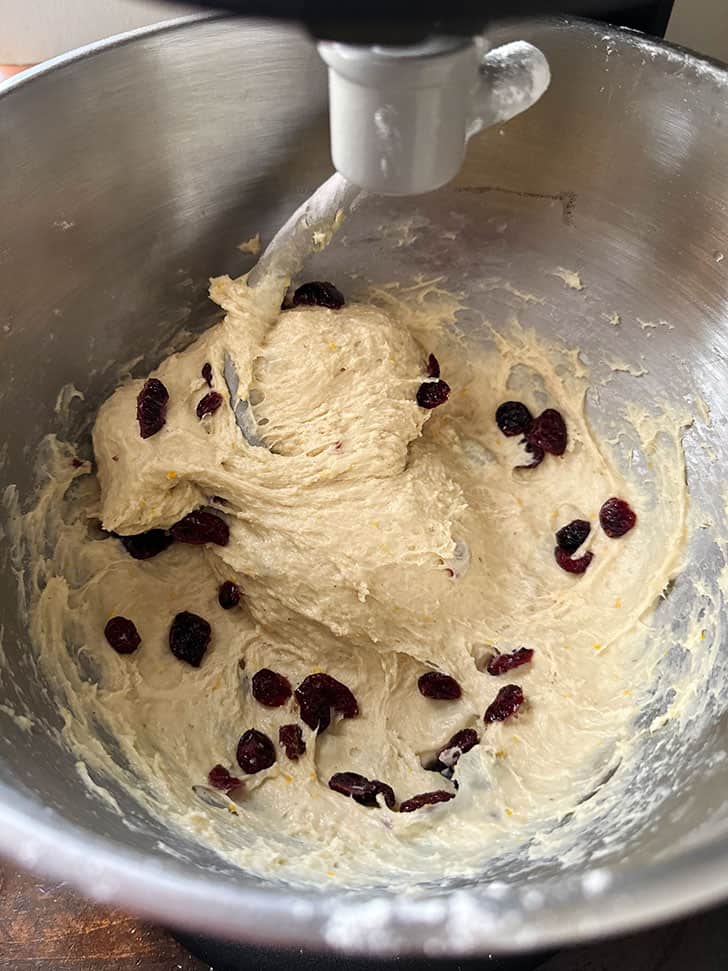
- Mix the dough. In the bowl, it will be quite wet. Remove to a floured work surface and knead in additional flour, as needed, until no longer sticky.
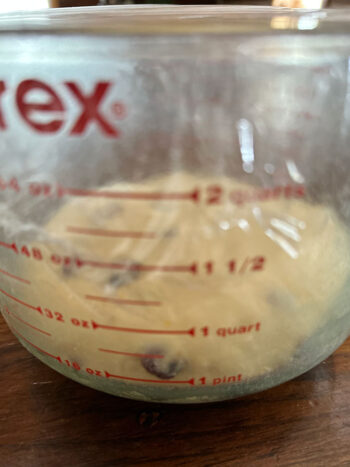
- Set dough to rise in a covered bowl or measuring cup until doubled (it’s a slow riser, so be patient. Count on about 2 hours).
- Remove the dough and form it into a ball.
- Set dough to rise a second time, about 1 hour.
- Brush thoroughly with egg wash before baking.
A Few Tips
The dough will be quite wet when mixed, so you will need to knead in a bit more on the counter. Just add only as much as is needed to prevent sticking, but no more.
This bread is a slow riser. Be patient. Count on at least 2 hours for the first rise and maybe more. Simply leave it rising until it has doubled, however long that takes.
Making Ahead, Storing and Freezing
Enriched breads like this cranberry orange loaf tend to stale more quickly, so are best eaten within 24 hours of baking. Freeze left-overs or if making ahead, up to 2 months.
Want to save this recipe?
Enter your email & I’ll send it to your inbox. Plus, get great new recipes from me every week!
By submitting this form, you consent to receive emails from Seasons and Suppers.
Get the Recipe: Cranberry Orange Bread
Ingredients
- 1/2 cup dried cranberries
- 1/4 cup orange juice, warmed to lukewarm
- 2/3 cup milk, warmed to lukewarm
- 1 teaspoon white granulated sugar
- 2 1/4 teaspoons Active Dry or Instant Yeast
- 1/3 cup white granulated sugar
- 1 1/2 Tablespoons orange zest
- 1 Tablespoon vanilla extract, or vanilla bean paste
- 1 large egg, lightly beaten
- 3 1/2 Tablespoons butter, melted and cooled slightlyA
- 1 teaspoon salt
- 3 cups bread or all purpose flour, approximately
For brushing before baking:
- 1 large egg, beaten
- 1 teaspoon water
Optional Orange Glaze:
- 1 1/4 cups icing/confectioners' Sugar
- 2 Tablespoons orange juice
Optional Topping:
- coconut chips
Instructions
- Remove the zest from the orange and set aside. Juice the orange. You'll need 1/4 cup of the juice for the bread and if you are making the optional orange glaze, you will need a further 2 Tablespoons, which you can measure out and set aside now, as well.
- Warm the 1/4 cup orange juice just to lukewarm in the microwave or a small saucepan. Add the dried cranberries to the orange juice and set aside.
- In a large bowl or the bowl of a stand mixer fitted with the kneading hook, add the lukewarm milk, 1 teaspoon of sugar and yeast. Stir and let stand 5 minutes.
- To the bowl, add the 1/3 cup white sugar, orange zest, vanilla, egg, melted butter and salt. Mix briefly to combine. Add the cranberry/orange juice mixture to the bowl. Add 2 cups of the flour and mix until incorporated. While kneading, gradually add the 3rd cup of flour and knead/mix in for 4-5 minutes. Dough will probably be quite wet at this point.
- Remove dough to a well-floured work surface. Knead, adding additional flour as necessary, until the dough no longer sticks to your hands or the work surface. Form dough into a ball and place in a greased bowl. Cover with plastic wrap and let rise until doubled, about 2 hours. (This dough is a slow riser. Be patient :)
- Remove dough to a lightly floured work surface and deflate gently. Form into a ball and place onto a parchment-lined baking sheet. Cover with greased or sprayed plastic wrap and allow to rise again, until about 8" inches in diameter, about 60-90 minutes.
- Preheat oven to 390F. (regular bake setting/not fan assisted).
- When bread is ready to bake, stir together the egg and water. Brush the top of the bread thoroughly.
- Bake bread in preheated oven for about 25-30 minutes, or until it reaches at least 190F. internal temperature. Check bread after about 15-20 minutes and cover loosely with aluminum foil if it is browned enough already.
- Remove from oven and immediately remove to a cooling rack to cool completely.
- If making the optional glaze, stir together the icing sugar and orange juice to make a thick glaze, adding a bit of additional water, if needed, to this. Spoon over the top of the loaf. If using the coconut chips, scatter them on while the glaze is still wet.
Notes
More Cranberry Orange Recipes to Love!
Hi! I’m Jennifer, a home cook schooled by trial and error and almost 40 years of getting dinner on the table! I love to share my favourite recipes, both old and new, together with lots of tips and tricks to hopefully help make your home cooking enjoyable, stress free, rewarding and of course, delicious!



Hi Jennifer-
I would just like to know if the rising is the same for both types of yeast. I have some instant, rapid rise yeast that In would like to use.
Hi Carol, it depends on the brand of yeast. Here in Canada, there is Fleischmann’s “Rapid Rise” instant yeast replaces the first rise with a 10 minute rest. There is another type of Instant yeast (such as SAF Instant yeast, which is the one I use) that requires two full rising periods. Read the back of the package of the yeast you have to be sure. If you see reference to 10 minute rest, that’s the timing you should follow. The downside of the short first rest period is that the finished bread tends to have less flavour, as the longer rises produce more flavour.