My Dad’s recipe for traditional Christmas shortbread cookies. Make them early to allow them to age!
Today I’m sharing my Dad’s Christmas Shortbread Cookies recipe, that he makes every year in early December, then tucks away for holiday treats throughout the season.
It wouldn’t be Christmas for me without some traditional Christmas shortbread cookies. Shortbread cookies have been a staple every holiday season, going back a long way. My Dad’s mother, my grandmother, made the best shortbread cookies, but as far as I know, she (sadly) never shared her special recipe.
For many years my now 80-year-old Dad has taken care of baking the Christmas shortbread. He bakes them up in early December and let’s them age for a few weeks until Christmas. This year, I asked if I could come by and document the annual shortbread cookie making and post about it here. He looked slightly terrified, so I promised to only photograph his hands :)
My Dad didn’t retire until he was 76, so he didn’t have a lot of time for cooking over the years. Since retiring though, he’s turned in to quite the baker. I clearly inherited both my sweet tooth and my baking ways from him.
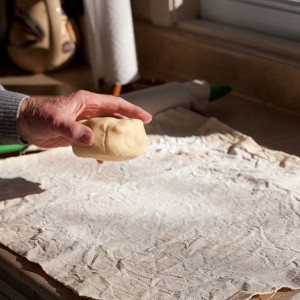
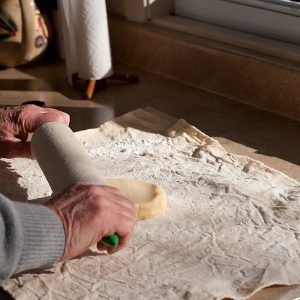

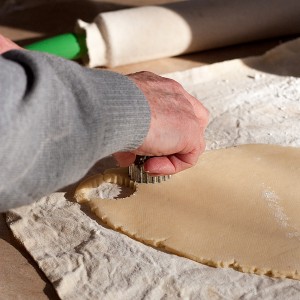
It was a beautiful sunny day in the kitchen for baking cookies and my Dad had the dough all ready and chilled. My Mom swears by this cloth covered rolling pin and cloth rolling sheet and meant that Dad was able to use only a little flour for rolling out his dough. The less flour for rolling the better for these cookies as you can re-roll your scraps and cut more without introducing more flour in to the dough.
I’m a fan of rolled and cut shortbread cookies. The dough is perfect for it, as the cookies hold their shape really well. My Dad gets the dough out of the cutter by hitting the side of his hand on the pan until the dough drops out of the cutter and on to the baking sheet. This ensures that the cut shape stays perfect.
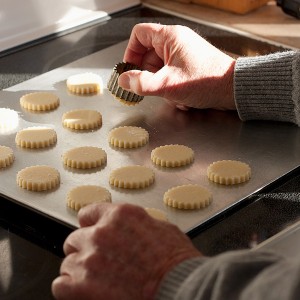
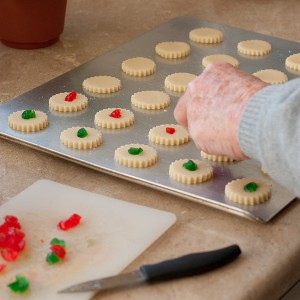
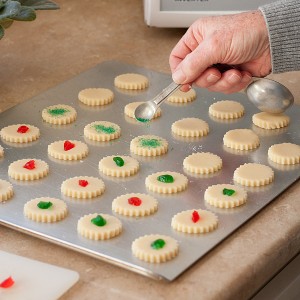

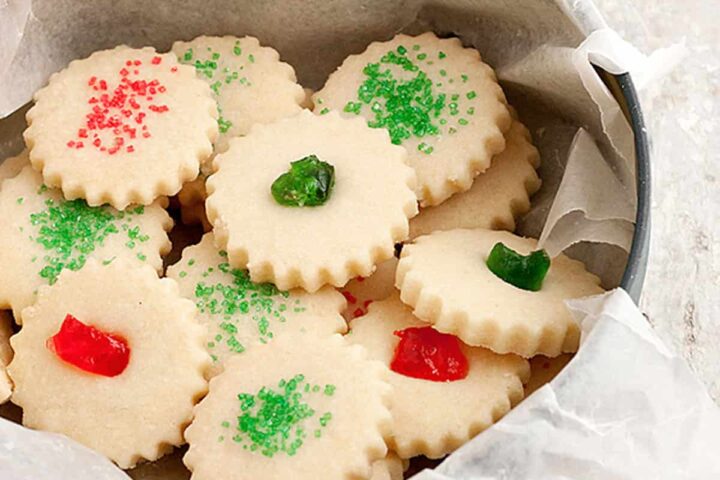
Traditional toppings for Christmas shortbread are glace cherries, in red and green (cut in quarters) or red or green sugar sprinkles. They make for a festive plate of cookies. You can also use a walnut piece or blanched slivered almond. Once the cookies are cut and topped with cherries or sprinkles, they are put in to the freezer on the cookie sheet for 10-15 minutes to chill again before baking. This helps them hold their shape well.
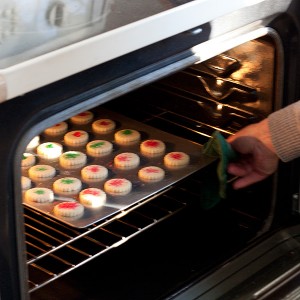
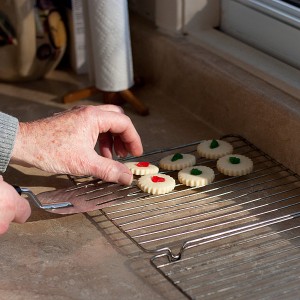
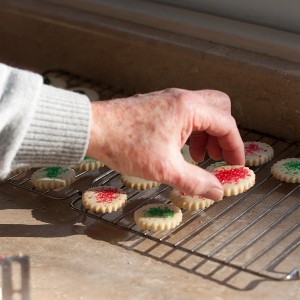

The cookies took about 30 minutes in the oven and were set onto cooling racks. As I noted above, shortbread cookies are ones that only get better with age, so bake them, cool and store in a cookie tin to age. You can also freeze both the cut dough shapes (to bake later) or the baked cookies.
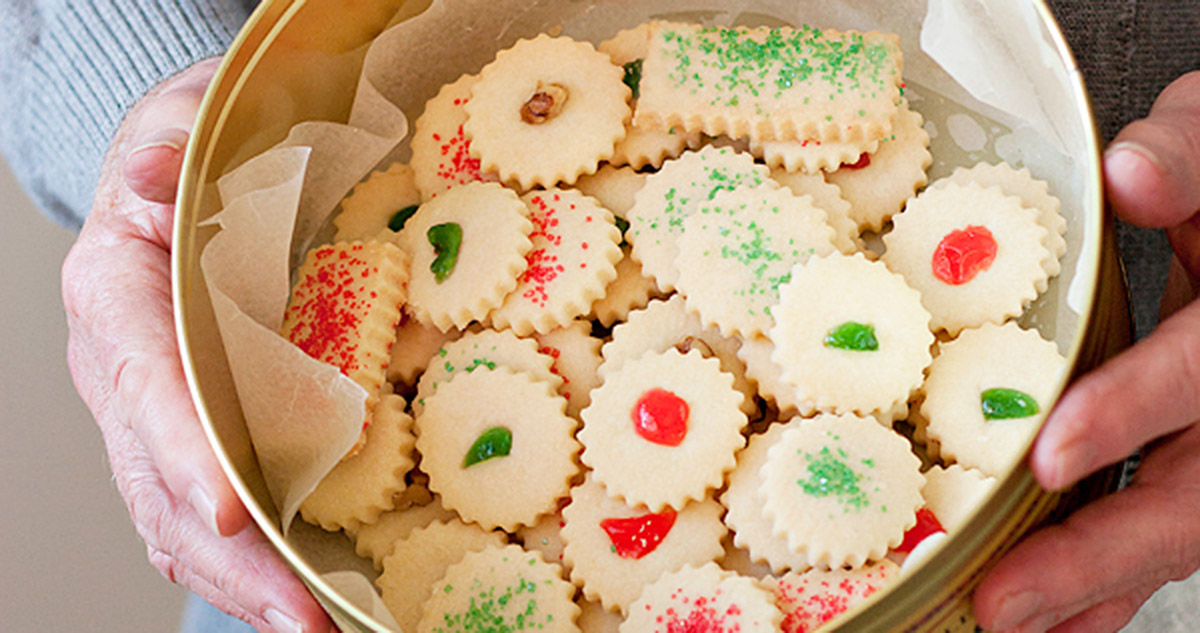
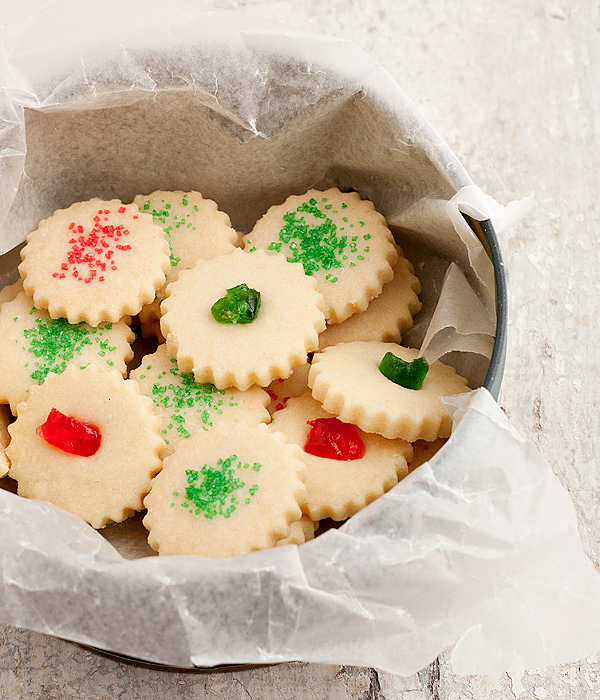
And here are his beautiful finished cookies. I can attest to the fact that they were delicious since generous sampling was undertaken ;) Thanks Dad for sharing your cookie recipe and your kitchen!
Cook’s Notes
Traditional shortbread cookies need to “age” to develop flavour. In fact, if you try one right after baking, you will discover they have very little flavour. The flavour develops as they age. Simply allow to cool completely and tuck in to a wax paper lined cookie tin. Allow to age a few days, at least and up to several weeks. They will only get better with time. The baked cookies can also be frozen, but best to let them age at room temperature for a few days before freezing.
Decorate your cookies for Christmas with quartered red or green glace cherries, red or green sprinkles or a walnut piece or blanched, slivered almond.
You can use salted or unsalted butter. If using unsalted butter, you can add about 1/8 tsp. of salt with the flour if you’d like.
Both the cut, but unbaked cookies and the baked cookies freeze well.
Remember that shortbread cookies get better with age, so make them ahead and if you can resist, fill up a cookie tin and let them sit for a week or more before Christmas eating.
Want to save this recipe?
Enter your email & I'll send it to your inbox. Plus, get great new recipes from me every week!
By submitting this form, you consent to receive emails from Seasons and Suppers.
Get the Recipe: Dad's Christmas Shortbread Cookies
Ingredients
- 1 cup (226 g) butter, at room temperature (you can use salted or unsalted butter. If using unsalted butter, you can add 1/8 tsp. fine salt with the flour if you like, but you don't need to)
- 3 Tablespoons cornstarch
- 1/4 cup white granulated sugar
- 1 3/4 cups (220 g) all-purpose flour, spooned and levelled!
Instructions
- In a large bowl or the bowl of a stand mixer, beat the butter until light. Stir in the cornstarch and sugar. Gradually add the flour mixing until a soft dough forms. (Dad mixes his by hand and shared that sometimes you have to ditch the spoon and just get your hands in there to form the dough). Form dough in to a ball and wrap tightly with plastic wrap. Refrigerate for about 30 minutes to chill.
- On a lightly floured surface, roll your dough 1/4-inch thick. Take care to ensure that your dough is rolled as evenly as possible, so that cookies cook evenly. Using a cookie cutter, cut shapes and place on to an un-greased baking sheet. You can re-roll your scraps and cut more, as well. Once your cookies are cut, top with quartered glace cherries, sprinkles or nuts. Place cookie sheet with cookies in to the freezer for 10-15 minutes. (You can also freeze the cut dough in freezer bags once solid on the cookie sheet for up to 2 weeks and bake later or as needed.)
- Preheat oven to 275°F with rack in centre of oven. Bake for about 30 minutes for cookies that have been lightly chilled. If cooking from frozen, they may take up to 45 minutes. Cookies should be firm but shouldn't brown at all, even around the edges. They really just dry as they cook.
- Cool on racks then transfer to cookie tin or freeze. These cookies keep well and get better with age.
Hi! I’m Jennifer, a home cook schooled by trial and error and almost 40 years of getting dinner on the table! I love to share my favourite recipes, both old and new, together with lots of tips and tricks to hopefully help make your home cooking enjoyable, stress free, rewarding and of course, delicious!



These are a tradition in my house. I make them every year! Thanks Dad for sharing your recipe.
So glad to hear, Suzanne :) Thanks so much!
Thank you Jennifer. Awesome cookies. I made the mistake of leaving the ball of dough in the fridge for 2 days instead of 30 minutes as you suggested. That made the dough very hard to work with; hard and crumbly. It took a lot of time and work to soften the dough until it was workable. I’ll follow the recipe to the T next time!
Thanks so much, Adelin :)
Looking forward to trying this recipe! So wonderful of your Dad to share it!
When he makes it, does he use salted or unsalted butter? Thanks!
Hi Diane, my Dad uses unsalted butter, as it is generally considered to be the better, freshest butter. I add a pinch of salt myself, but I don’t think he does.