This Summer Fruit Yeast Bread is a lovely way to enjoy abundant, fresh Summer fruit is bread form. It’s also perfect for using up odds and end or slightly past it’s peak Summer fruit.
While the warmer Summer months certainly slow down my baking activities, they never really stop completely. On the cooler days, the quieter days or the rainy days, I still heed the call to head to the kitchen for a little bread baking therapy. Only the type of bread changes :)
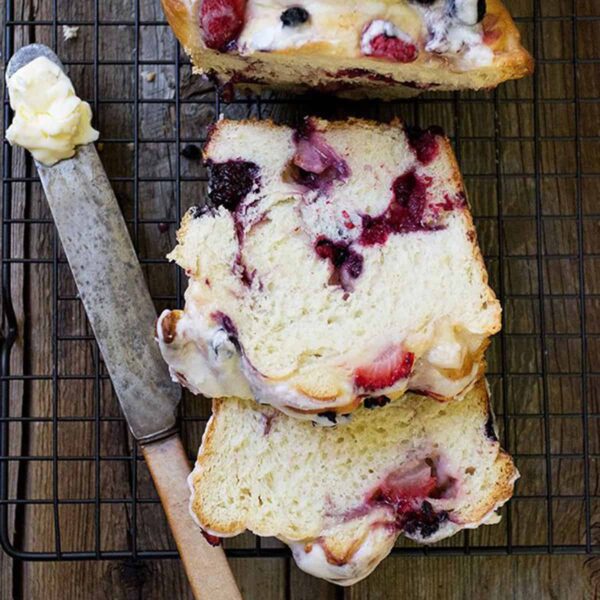
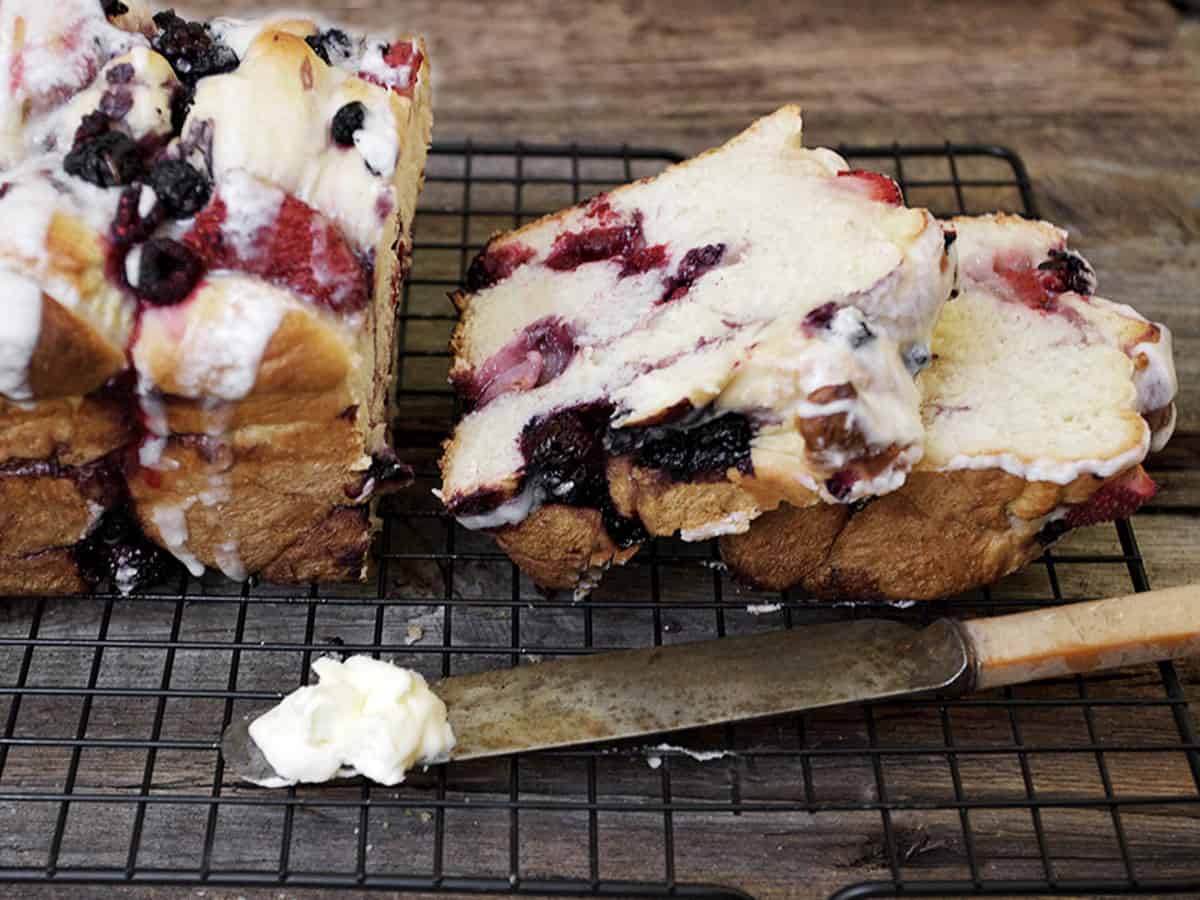
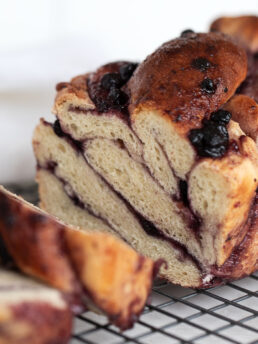
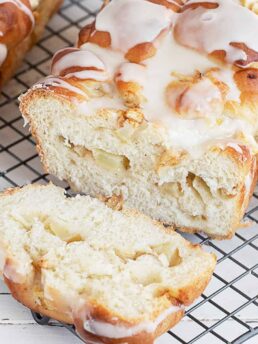
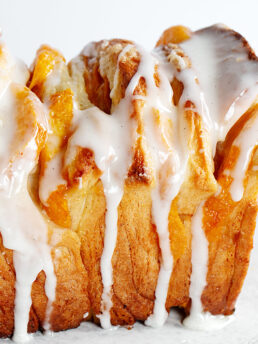
This Glazed Summer Fruit Yeast Bread is just such a bread. Full of fresh fruit and topped with a sweet glaze, this bread is great for breakfast, snacking or a special treat for Summer weekend guests.
And if you’re like me and you collect baskets of Summer fruit faster than you can possibly eat it, it’s worth noting that this is an excellent way to use some of that fruit that may have moved past it’s freshest best or for odds and ends of fruit. Anything goes with this bread, so change it up with what you have on hand.
Ingredients and substitutions
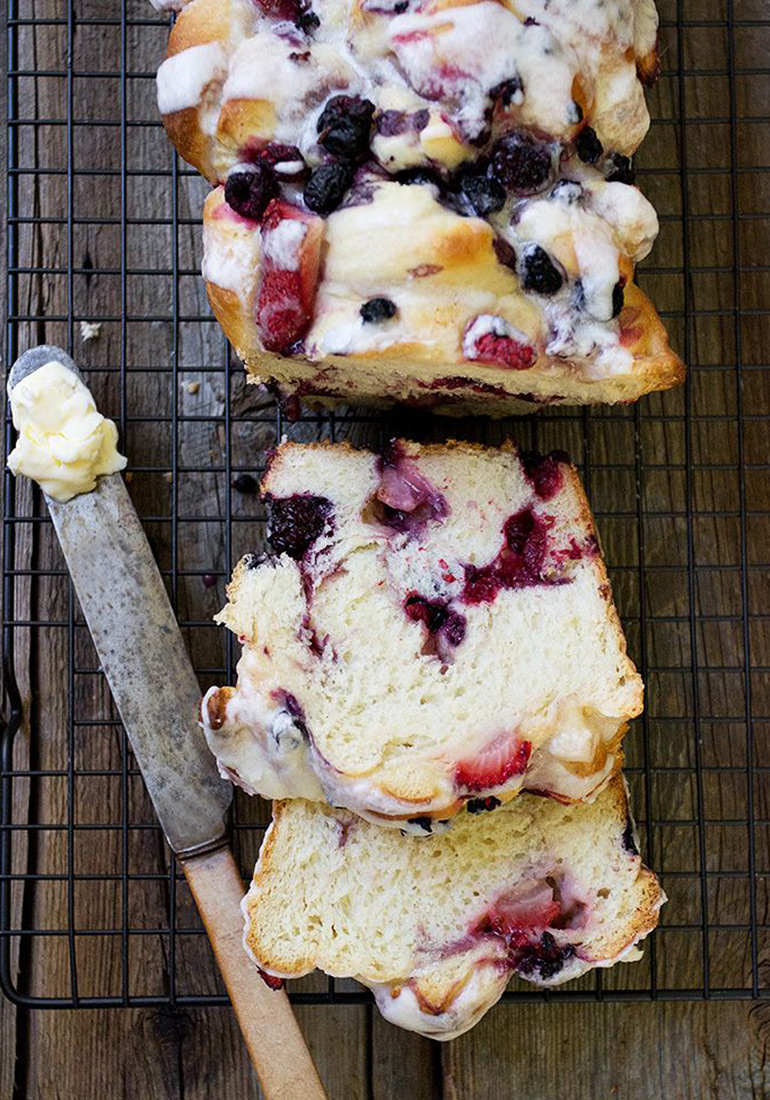
Fresh fruit – My bread here features fresh strawberries, blueberries, raspberries and blackberries, but you could certainly use any fruit you have around. Raspberries, apples, peaches, nectarines, plums etc.
Yeast – you can use Active Dry or Instant yeast for this bread.
Recipe tips!
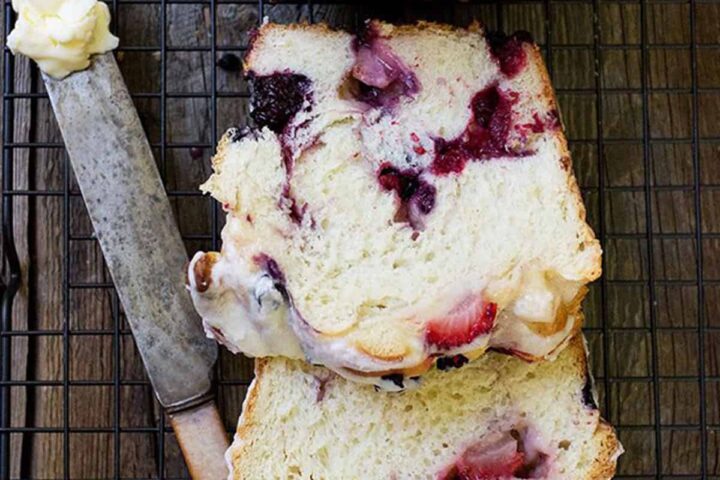
- As this bread is glazed, it doesn’t toast, but honestly, this one is at it’s best eaten fresh, out of hand, with a smear of butter.
- Keep in mind that warm Summer kitchens mean that our bread will rise much more quickly than in Winter, so keep an eye on it and enjoy the shorter rising time :)
- This bread also makes great French Toast or Bread pudding!
Making ahead, storing and freezing
This loaf is best in the first day or so of baking, as the fruit has a lot of moisture that will soften the bread quickly. Freeze any left-overs before it gets too moist.

Want to save this recipe?
Enter your email and I’ll send it to your inbox. Plus, you’ll get great new recipes from me every week!
By submitting this form, you consent to receive emails from Seasons and Suppers.
You can unsubscribe at any time.
Get the Recipe: Glazed Summer Fruit Yeast Bread
Ingredients
Dough:
- 2 1/2 cups all-purpose flour, spooned and levelled
- 2 1/4 teaspoons Instant yeast, *see instructions for Active Dry yeast
- 1/4 teaspoon salt
- 1/2 cup light brown sugar
- 1/4 cup lukewarm water
- 1 large egg, lightly beaten
- 3/4 cup milk
- 1/4 cup butter, at room temperature
Filling:
- 2 Tablespoons white sugar
- 1/2 teaspoon cinnamon
- 2 1/2 cups fresh raspberries, blueberries, blackberries and/or quartered strawberries
Glaze:
- 3/4 cup icing/confectioners’ sugar
- 1 1/2 – 2 Tablepoons milk
- 1/2 teaspoon vanilla
Instructions
- **For Active Dry yeast: proof yeast in 1/4 cup lukewarm water, then add to the dough when the water is specified.
- Heat the milk in a small saucepan until bubbles begin to form, then add the butter. Stir to melt butter completely, then remove from heat. Set aside to cool to lukewarm.
- In a large bowl or the bowl of a stand mixer fitted with a kneading hook, combine 2 cups of the flour, yeast, salt and brown sugar and mix together well. Add the water, egg, and lukewarm milk/butter mixture and mix thoroughly. Begin adding more flour, a bit at a time, until a soft, moist (but not sticky) dough forms. Place dough into a greased bowl, cover, and let rise until doubled, about an hour.
- Remove dough to a lightly floured surface and gently press down to deflate dough. In a large bowl, mix together the white sugar and cinnamon. Using a sharp knife, cut the dough into 1-inch-ish irregular pieces and place into bowl with sugar. Toss dough in sugar to coat.
- Grease two 8×4-inch loaf pans (or one 4×12-inch loaf pan, like I used). Divide chopped dough between the two prepared pans, scattering fresh berries in between the dough pieces as you fill up the pans, and then scattering some on top. Cover loaves with greased plastic wrap and set out to rise until almost doubled, 30-45 minutes.
- Preheat oven to 350 F. Bake loaves in preheated oven for about 40 minutes, checking at 30 minute mark and covering loosely with aluminum foil if loaves are dark enough at that point. Internal temperature of bread should be in the 195-200 F. range when done.
- Allow bread to cool in pans for about 15 minutes, then run a knife around the edges and remove to a cooling rack to cool completely. Mix together glaze ingredients well, adjusting for consistency by adding a bit more icing sugar or milk, as needed. Drizzle over cooled loaf.
- This bread is best in the first 24 hours after baking, as the extra moisture from the fruit will begin to soften the bread. If you can’t eat it all immediately, freeze it for later. This bread would also make great bread pudding!
Notes
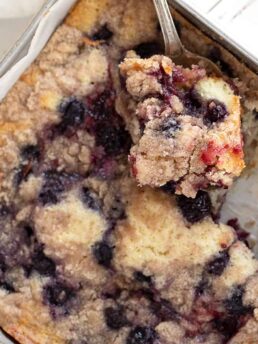
More recipes with fruit to love!
Hi! I’m Jennifer, a home cook schooled by trial and error and almost 40 years of getting dinner on the table! I love to share my favourite recipes, both old and new, together with lots of tips and tricks to hopefully help make your home cooking enjoyable, stress-free, rewarding and of course, delicious!
Hi! Could I make this with frozen berries?
Hi Maggie, I don’t think it’s ideal with frozen fruit, but may work. You would need to thaw them before adding to the dough, as using from frozen would greatly slow the rise of the bread. If you try it, let me know how it works out.
It worked SO well!!! I used a Costco frozen tri berry blend… I let them thaw for around an hour and I did my best to pat them dry with a paper towel. The texture of the breads was amazing! Thanks for the prompt response :)))
So glad to hear, Maggie! Good to know :)
Hi Jennifer, I ended up having to use almost 3-3.5 cups of flour because the dough was very sticky. Is this unusual? Have you ever had this problem?
Hi Grace and yes, that happens a lot with bread making :) It’s not a problem, but just a factor of the variations of flour. I always treat the flour as a inevitably variable amount and rarely actually measure it. I just keep adding flour until the dough is the right consistency, however much that is.
This looks simply incredible. Particularly that delicious craggy-top. Perfection!!
Thanks so much :)