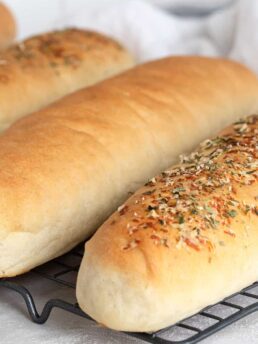
Elevate your summer hot dogs with this easy homemade hot dog buns recipe. These New England style, top-sliced buns also have tall soft sides that toast up beautifully!
Be it ever so humble, there will always be a place on my menu for a BBQ’d summer hot dog. So why settle for a store-bought bun when you can easily make your own?! These top-sliced hot dog buns are not only perfect for hot dogs, but for other treats, such as lobster rolls.
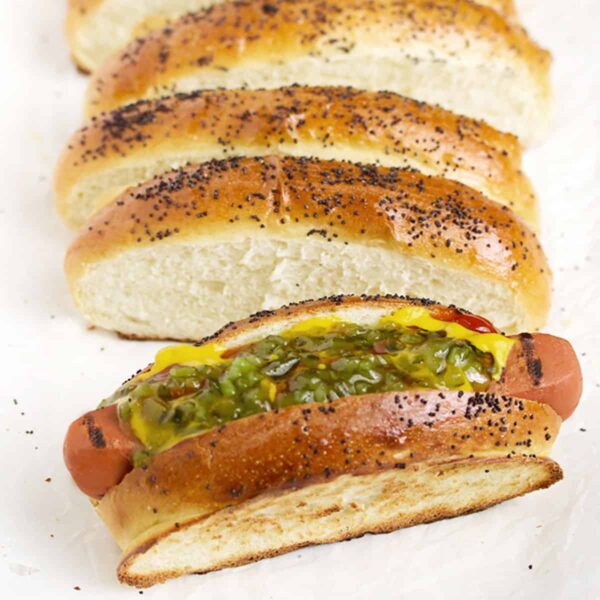
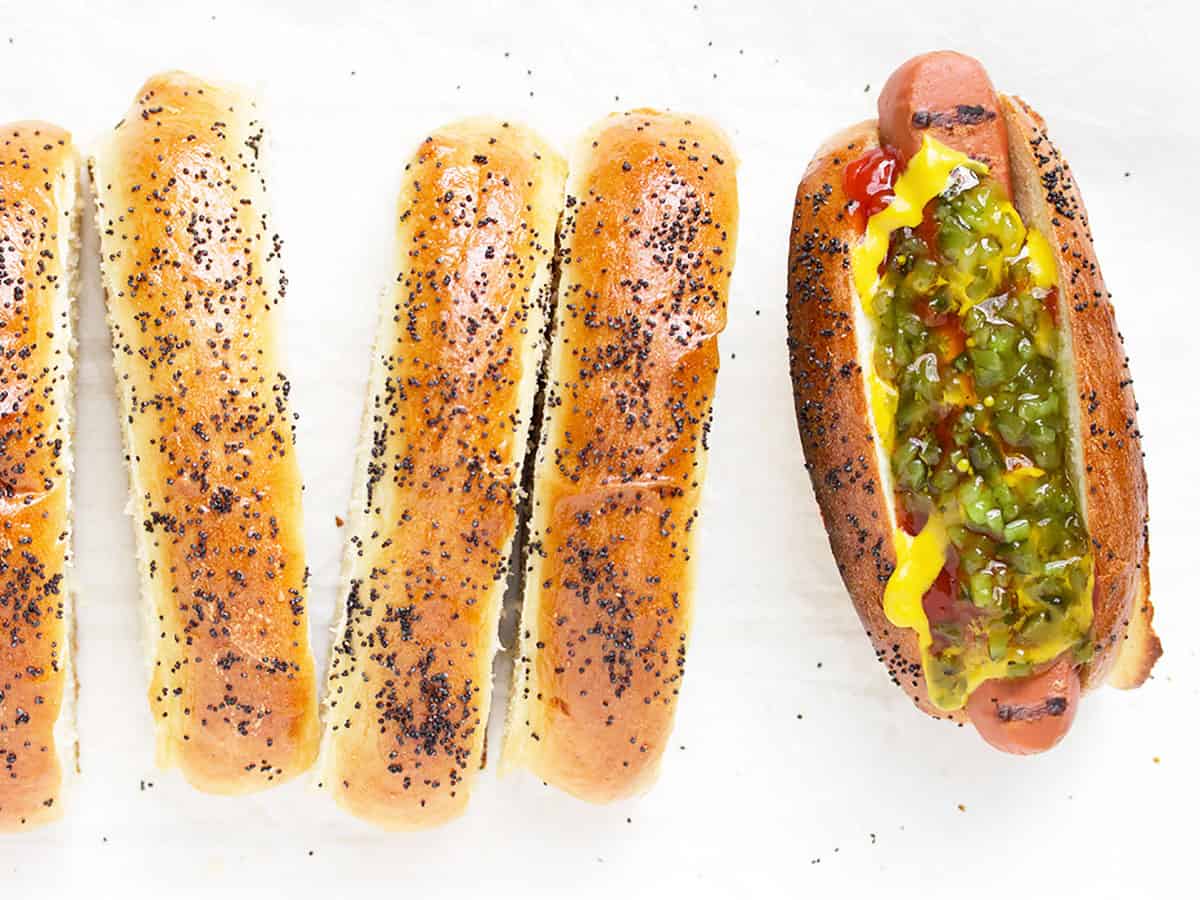
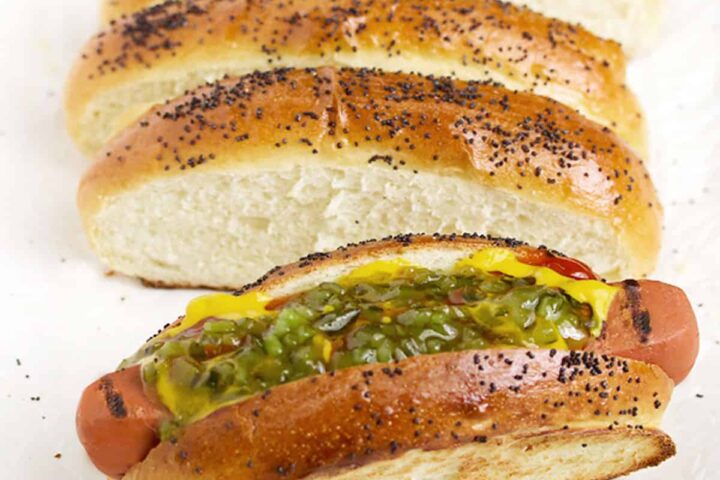
These buns are my ideal hot dog buns. First, I love top-sliced hot dog buns. They’re just easier to eat and they keep that wiener and toppings all nice and secure (none of that slipping out the side thing). Secondly, they have tall, soft sides, so they can be toasted on the outside. Just toss them on the BBQ or toast both sides under the broiler. Toasting makes them nice and firm, so they are really easy to hold, without squishing. It also does away with having to open and flatten classic buns to toast the inside and have them break in two. I hate when that happens.
Ingredients and Substitutions
Whole Milk – using whole (3-3.5% b.f.) milk will give the best results, but 2% milk should work here as well.
Yeast – you can use Active Dry or Instant yeast for these hot dog buns. I have included instructions for both types.
Recipe Tips
You can dress up your rolls with poppy seeds or sesame seeds, or just enjoy them plain.
This recipe will make 8 buns in just a couple of hours, most of it dough-rising time. They can be made ahead. Just cool completely then store in an air-tight container. They also freeze beautifully.

Want to save this recipe?
Enter your email and I'll send it to your inbox. Plus, you'll get great new recipes from me every week!
By submitting this form, you consent to receive emails from Seasons and Suppers.
You can unsubscribe at any time.
Get the Recipe: Top-Sliced Hot Dog Buns
Ingredients
- 1 1/4 cups whole milk, 3-3.5% b.f., scalded and cooled *see Instructions
- 2 Tablespoons white sugar
- 2 1/4 teaspoons active dry or instant yeast
- 2 1/2 - 3 cups all-purpose flour, spooned and levelled
- 1 teaspoon fine salt
- 1 large egg, lightly beaten
- Optional Poppy or sesame seeds, for topping
Instructions
- Scald the milk: In a small saucepan, heat milk over medium heat until it just comes to a simmer. Set aside to cool to lukewarm (120° F. for instant yeast or 110° F. for active dry yeast). Once cooled to lukewarm, add sugar and stir in, then sprinkle yeast over top. Stir and let stand a few minutes to proof.
- In a large bowl or the bowl of your stand mixer fitted with a kneading hook, combine 2 cups of the flour and the salt. Add the milk/yeast mixture and stir to combine. Start adding additional flour, a bit at a time, until dough comes together. Knead by hand or with the kneading hook until dough is smooth and moist, but not sticky. Remove dough to a greased bowl, cover with plastic wrap and allow to rise until doubled, about 1 hour.
- Grease an 7x11-inch baking pan and set aside (*see tips below if you only have a 9x13-inch pan!).
- Remove dough to a lightly floured surface and divide dough in to 8 equal pieces (about 3 oz. each, if you have a scale). Shape each piece of dough in to a ball (*see tips below), then using the palm of your hand roll and stretch slightly, until it is an oblong shape, about 4 1/2-5-inches long. Place in your prepared pan, pinched side down, pushing it up against the short end of the pan slightly. Continue with the remaining pieces of dough, placing each snuggly up against the next, until all 8 are in the pan. (They should be quite snug up against each other, so that when they rise, they rise up instead of out). Spray a piece of plastic wrap, then cover pan (oiled side down) and set aside to rise until doubled.
- Preheat oven to 375° F. (regular bake setting/not fan assisted) with rack in middle of oven.
- When ready to bake, remove plastic wrap and brush buns with egg, ensuring that you get some on the ends and all exposed surfaces. If using, sprinkle with poppy or sesame seeds.
- Bake in pre-heated 375° F. oven for 20-25 minutes, or until golden and they sound hollow when lightly tapped. Remove from oven and let stand a few minutes. Run a knife along the edges and remove buns as one piece and place on a cooling rack to cool completely. Once cooled, using a serrated knife, cut between the rolls. To serve, place cut rolls on to baking sheet and place under the broiler to toast each side (or pop on to the BBQ and toast each side). Once toasted, make a slice lengthwise in the middle of the bun for your hot dog or other fillings.
- Store any extras in an air-tight bag or freeze up to 2 months.
- Tips: If you only have a 9x13-inch pan, fill the end 2-inches of the pan with crumpled foil balls, then make a straight edge by placing a folded piece of foil on the inside edge. This will shorten the width of the pan from 13-inches to 11-inches, so as the buns rise, they rise up instead of sideways.
- To shape dough in to balls: Place the piece of dough in your palm, with the smoothest side down. Now using your other hand, start pinching opposite sides of the dough together in the centre. Turn the dough slightly and pinch again, until all the outside edges have been pinched in to the middle. Be sure to pinch well to seal, then place, pinched side down on to your work surface. The top should to taut and smooth.
Notes
More Bun Recipes to Love!
Hi! I’m Jennifer, a home cook schooled by trial and error and almost 40 years of getting dinner on the table! I love to share my favourite recipes, both old and new, together with lots of tips and tricks to hopefully help make your home cooking enjoyable, stress-free, rewarding and of course, delicious!
Hi! Just tried and made this hot dog bun recipe for the first time. ABSOLUTELY FABULOUS!! My go to from now on. Easy recipe, great ingredients, fast to make and most of all delicious to eat!! Tender, soft texture and holds up to the dog and toppings!! So enjoyed them! No more store bought buns for me! I’d rather make and eat these! Thanks for sharing the recipe!!♡♡
I’m so glad to hear, Mary! Thanks so much :)
Hi, these sound like just what I am looking for, but I need 12. Could I 1 1/2 the recipe and then use the larger more common baking pan?
Hi Judy and yes, that should work. The only issue with the larger pan (9×13 for example) is that the buns will be 9″ long, which is longer than they are typically.
These easy buns turned our simple hot dog night into something gourmet. I buttered the outsides and pan-fried them before adding the sausages—crispy on the outside, soft and fluffy inside. Total win.
I didn’t have the recommended baking sheet, but a trusty old repurposed Costco lasagna tin did the trick.
Do yourself a favour: make these buns and instantly level up your hot dog game. You’ll never go back to store-bought!
Thanks so much, Natalile :)
These are terrific! They are hearty enough to hold generous filling without becoming soggy or limp like those flimsy grocery store buns. Thank you for sharing your recipe.
So glad to hear, Linda :) Thanks so much!
I find this part of Step 4 a bit confusing – “Continue with the remaining pieces of dough, placing each snuggly up against the next, until all 8 are in the pan and equally spaced apart (They should be quite snug up against each other, so that when they rise, they rise up instead of out).”
If the pieces of dough are placed “snuggly up against the next” how can they be “equally spaced apart”? Should there be a little distance between each piece so that they’ll be snug against one another after proving? I’d like to get it right…your buns are picture-perfect!
You’re right, Sadie. That is confusing :) I will fix that! The buns should be placed so they are touching the other one (with no space between). I think what I was attempting to say is that however you place them, be consistent and even about how much you “snug” them.
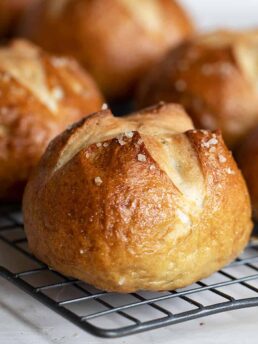
These are great buns regardless of how you space them! I wanted buns that would accommodate a sausage with peppers, or a generous seafood filling, so needed buns that were wider than the ones pictured with the recipe. I used an 11 x 7-inch pan for 4 buns. The dough portions were about 120 grams. I spaced the buns about 1/2″ apart. By the time they’d proved they were snugly touching. I made the remaining dough into round buns. Excellent oven spring. The baked buns were nice and tall.
So glad you enjoyed them Sadie :) I haven’t tried bigger ones, but I am going to try it soon, for sure. Thanks so much!
Hi Jennifer,
This recipe sounds amazing and I can’t wait to try it. Can I use my bread machine for the dough?
Hi Nora and while I have no experience with a bread machine, from what I know, it should work just fine. Enjoy!
Worked out great, thanks.
So glad to hear, Brent :) Thanks!
SO excited to try these! Can we make them with other types of milk than whole milk ? (1%, 2%, …)
Hi Charlotte, you can, but it will change the lightness and texture and how long they stay fresh. I would suggest using the highest fat milk you can or have.
These are amazing! I’m never buying buns at the store again. I haven’t had the best of luck with yeast recipes in the past, but these turned out perfectly. Thank you!
So glad to hear, Kristin :) Thanks so much!
Read the reviews and found that around 90 minutes for the first rise and about 45 for the second rise worked perfectly for me. They were like fluffy clouds before baking! We topped them with cornmeal because we didn’t have any seeds on-hand. They came out so delicious!
So glad you enjoyed them, Nicole! Thanks so much :)
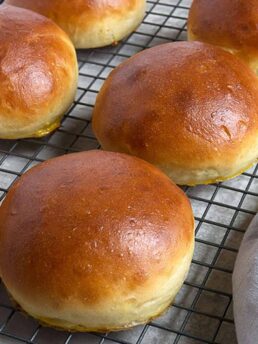
Could you use this recipe to make hamburger buns?
Hi Stefany and yes, you certainly could by just shaping them into rounds, instead. That said, I love this NYT recipe for burger buns myself – https://cooking.nytimes.com/recipes/1012612-light-brioche-buns
Thank you so much for the suggestion!
Oh my am I ever glad I happened upon this recipe. I live in Alberta Canada and have been all over the Edmonton region looking for these for lobster rolls. Since noone sells them I am so excited to make them! You are a life saver thank you!!❤
So glad! Enjoy and thanks!
I am a little unclear about how/where to pinch the dough for hotdog buns. Could you explain it to me a little bit more please?
Hi Bryce and no problem :) The pinching refers to when you are shaping them into a ball. Refer to Step 10 in the Recipe Instructions, explaining how to pinch the dough into balls. Then, once in a ball, stretch it into an oblong shape and place on the baking sheet with the pinched side down. Does that help?