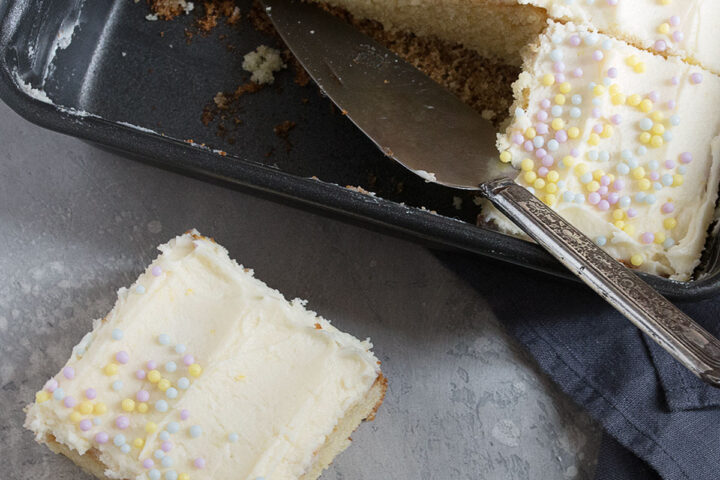
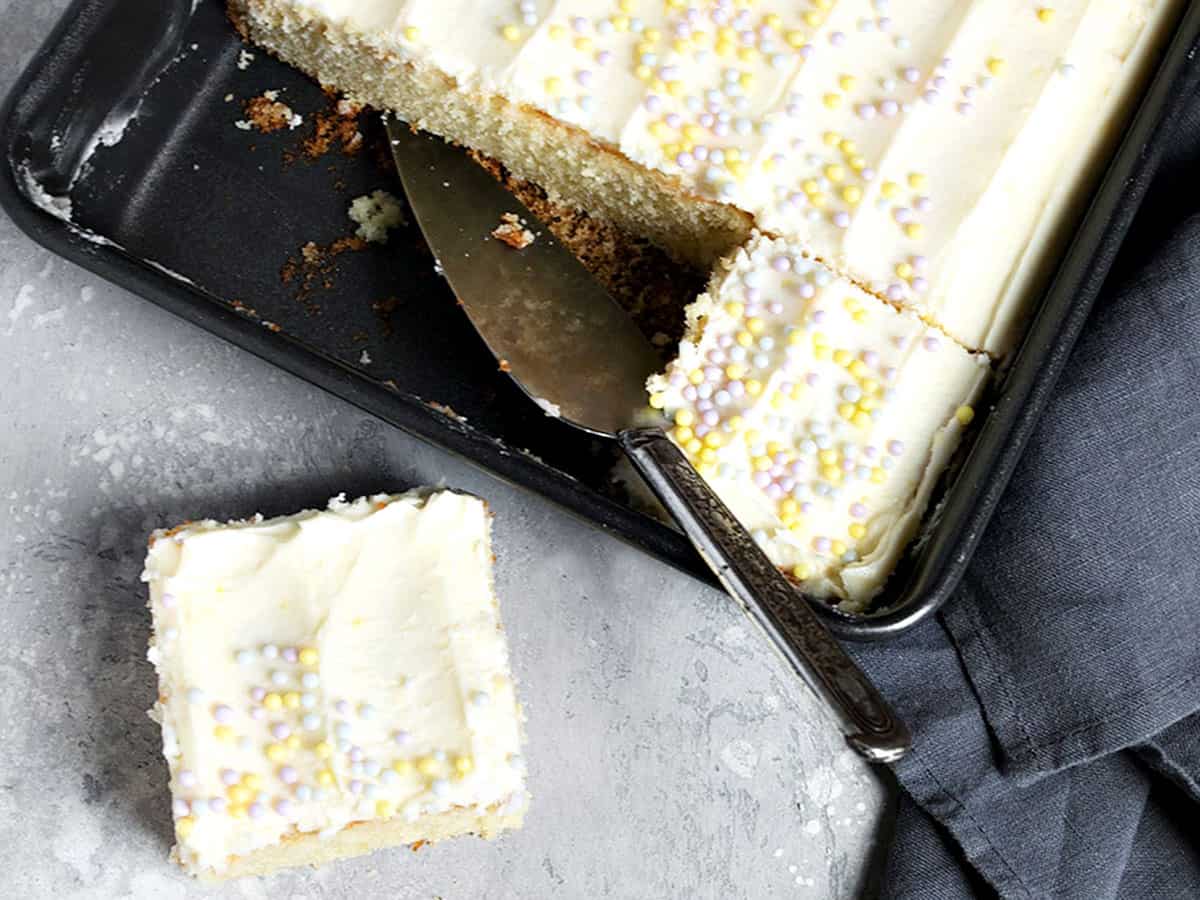
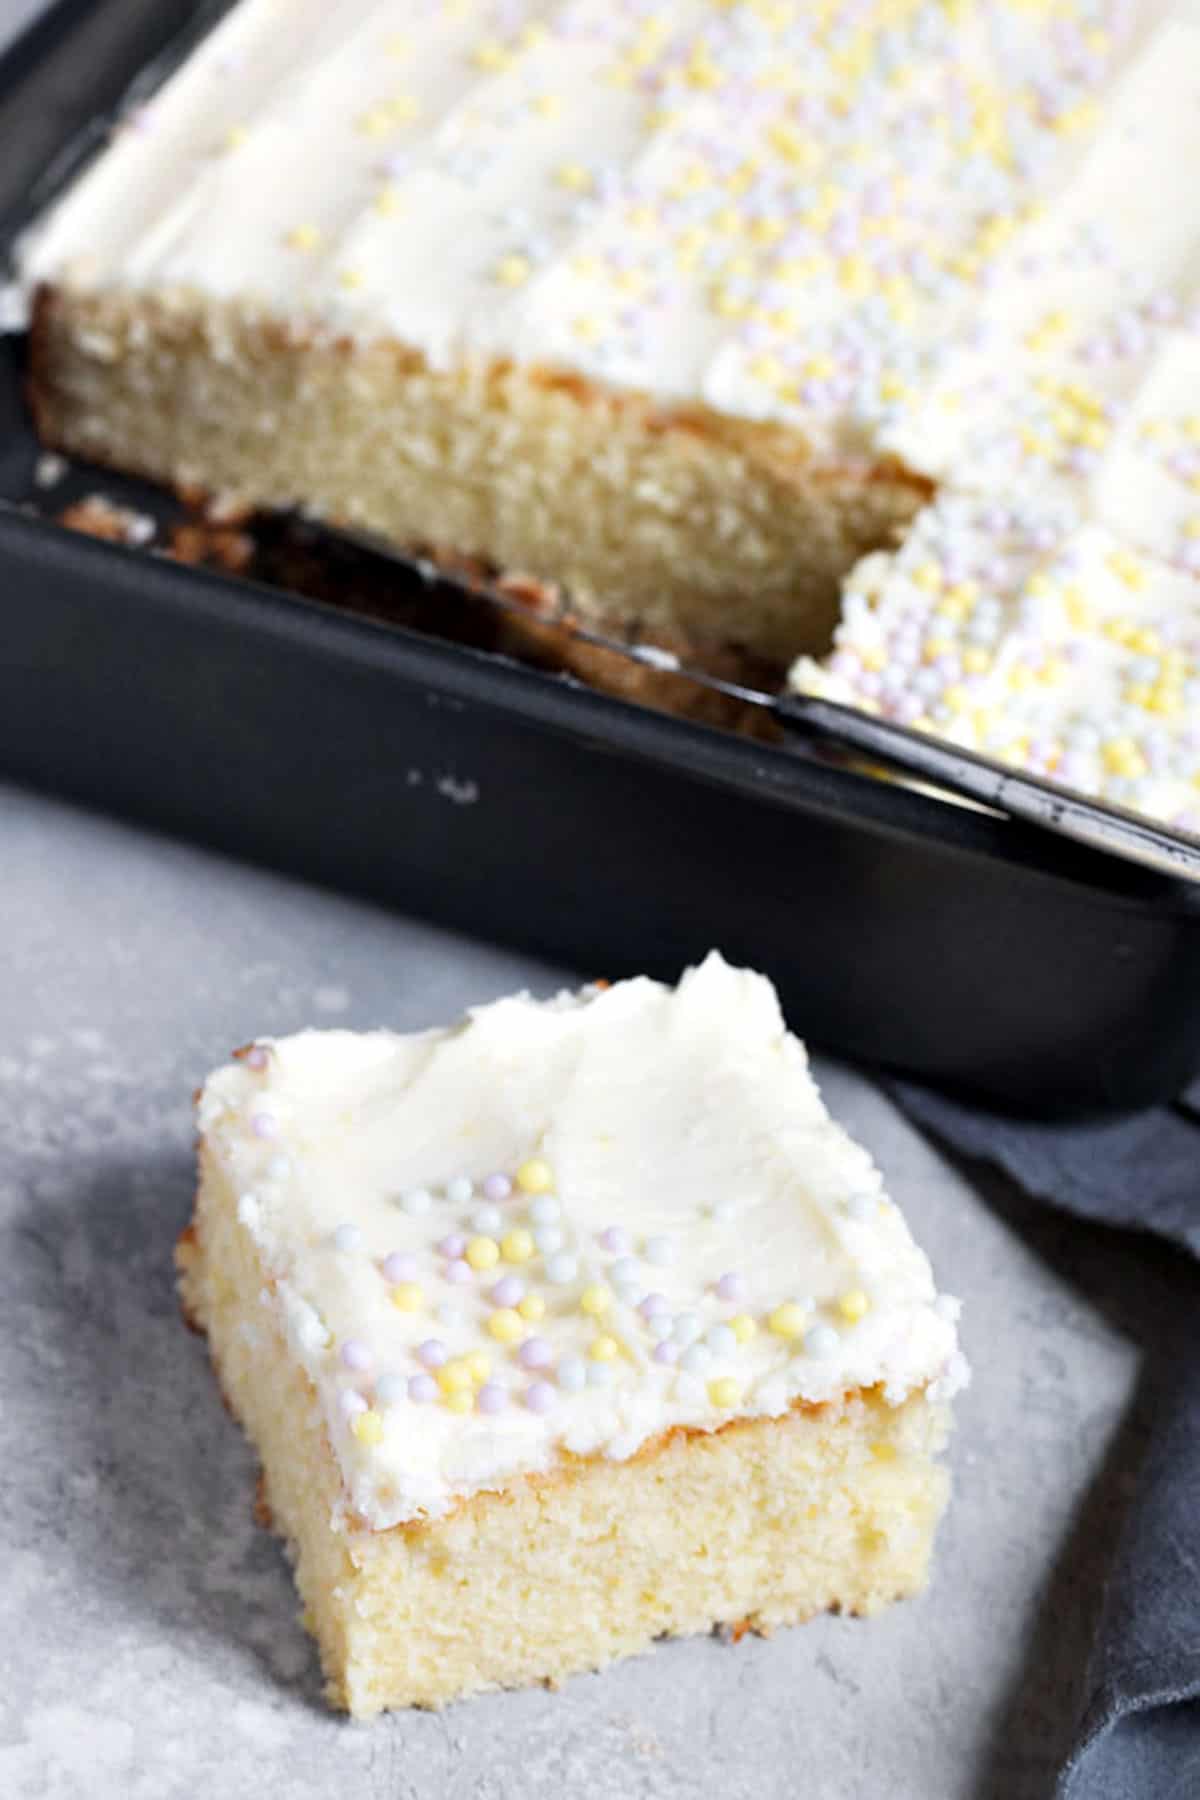
Light and moist lemon sheet cake, topped with lemon buttercream frosting. A great cake for feeding a crowd. Can be made ahead and frozen, too!
This lemon sheet cake is delicious, easy and pretty, and it will feed 15 easily and more, if needed. You can also make it ahead and freeze it, either just the cake or go ahead and frost it and freeze the whole thing. When ready to serve, thaw and decorate.
One of the reasons to make a sheet cake is because it is easier than a layer cake. That said, when it comes to making any cake, there are some simple things you can do to make sure your cake turns out to be delicious and pretty.
Ingredients and Substitutions
Lemon – Fresh squeezed lemon juice is recommended, for best flavour. Be sure to take the zest from your lemons before cutting and squeezing for juice. For the cake and frosting, you will need a total of 1/2 cup freshly squeezed lemon juice, from about 2 large lemons. You will need a total of 7 tsp of lemon zest, from about 3 large lemons. So you’ll want to start with at least 3 large lemons on hand.
Milk – whole milk is recommended. (Whole milk is 3 – 3.5% b.f.). If you don’t have whole milk on hand, you can mix a lower fat milk with a bit of cream.
Recipe Tips
If you’d like to be able to remove the whole cake from the pan, for presentation/slicing, line the pan with parchment paper, with an overhang on the long sides for lifting the cake out. Be sure that the cake has cooled before attempting to remove from the pan.
Making ahead
You can make this cake ahead and freeze it, either just the cake or the frosted cake. I would save any sprinkles/decoration until after freezing, as moisture as it thaws may cause them to bleed colour into the icing.
Tips for Baking a Better Cake
- Unless the recipe specifically specifies that an ingredient be cold, starting with room temperature butter, eggs, milk, sour cream etc. makes for a better finished product. Take these products out of the fridge about 30 minutes before starting your baking.
- If the recipe specifies weights for ingredients, use them! They will be more accurate that using traditional cup measures. Of course, you will need a kitchen scale, but it’s a great addition to your kitchen if you want to up your baking game.
- Test butter for “room temperature” by pressing down on it with your index finger. If your finger doesn’t leave an imprint in the butter, your butter is still too cold. Let stand a little longer and test again. When you can press down with your finger and it leaves an imprint of your finger, with no resistance, you are ready to bake. This can take between 30-60 minutes and is typically when butter reaches 65F (not 72F, that might be your actual room temperature). Note that you don’t want to leave baking butter out so long that when you press down with your finger it is so soft you would be able to press right through to the bottom. That butter is too soft for baking and will make a less than desirable finished product.
- Now that you know how to start with room temperature butter, be sure not to skimp on the beating time, when creaming together the butter and sugar at the start of most cake recipes. This “creaming” process is so important to the structure of your finished cake, so you want to beat for about 3 minutes and longer, if the recipe specifies it. Don’t guess how long you’ve beaten it. Set a timer, so you can make sure you have beaten it for the full time.
- Scrape down the sides of your bowl regularly and thoroughly as you begin to add the remaining ingredients to your cake batter, to ensure your ingredients are fully mixed in. Use a flexible spatula to scrape down the sides of the bowl and don’t forget the bottom of the bowl, where bits of butter or sugar can sometimes be hiding. If using a stand mixer, lower the bowl or raise the paddle to get at the bottom of the bowl.
- Ovens and baking pans vary and so will baking time. Always set your timer for less that the baking time the recipe suggests. Setting the timer for 10 minutes earlier on a 1 hour bake or 5 minutes early on a 30 minute bake can ensure that you have a chance to check the cake before it possibly reaches over-baked. Before opening the oven door, have a look through the oven window. If it is clearly not baked (centre is low and has a pale looking top), set the timer for another 5 minutes and check again. If it looks close, open oven and test cake in the centre. The tester should come out clean. If not, bake a few minutes more and check again. Repeat until tester comes out clean.
- Allow the cake to cool completely in the pan before attempting to remove from the pan and absolutely before frosting. Any bit of warmth in the cake will melt frosting and make for a not so pretty cake.
Tips for Frosting a Sheet Cake
The nicest part of baking a sheet cake is that they are so much easier to frost than a layer cake. That said, there are a number of ways to make your sheet cake just a pretty as a layer cake.
- Even if you plan to remove the cake from the pan to serve, it is easiest to frost the cake while still in the pan, as the sides of the pan make nice even line for the icing to nestle up to.
- Don’t mound all the frosting in the centre of your cooled cake. Using a large spoon, drop 5 or 6 piles of frosting around the top of the cake, then use an offset spatula to spread the frosting together and out to the sides. Spread gently and be sure you’re only spreading the frosting and not reaching the top layer of the cake, as this will pick up crumbs that will mix in to your frosting.
- Once you have covered the entire top of the cake with frosting, you can make it “pretty” by using the back of a spoon to make large swirls, if you like. Don’t fuss too much with it, as the frosting will start to set up and if you are still moving it around, it starts to get chunky looking.
- To create the frosting that I’ve used on my sheet cake, level your frosting, then use the tip of an offset spatula and run lines through the frosting from one end to the other, spacing them evenly and leaving a small gap between to make the ridge.
- Sprinkle with a decoration, if you like. I like to sprinkle things unevenly over a sheet cake, as I think it just looks prettier. I sprinkle diagonally from corner to corner, then sprinkle a little over the empty parts.
Want to save this recipe?
Enter your email and I'll send it to your inbox. Plus, you'll get great new recipes from me every week!
By submitting this form, you consent to receive emails from Seasons and Suppers.
You can unsubscribe at any time.
Get the Recipe: Lemon Sheet Cake with Lemon Buttercream Frosting
Ingredients
For the Lemon Cake:
- 1 1/3 cups whole milk, 3% butterfat
- 1/4 cup lemon juice, freshly squeezed and strained, from about 1 large lemon
- 3 cups all-purpose flour
- 1 1/4 teaspoons baking powder
- 3/4 teaspoon baking soda
- 1 teaspoon coarse kosher salt, or 3/4 tsp fine salt, but less if using salted butter
- 1 cup unsalted butter, at room temperature
- 2 cups granulated white sugar
- 4 teaspoons lemon zest, finely grated and packed, from about 2 lemons
- 4 large eggs, at room temperature
For the Lemon Buttercream Frosting:
- 1 cup butter, at room temperature
- 3 1/2 cups icing/confectioners' sugar
- 1 Tablespoon lemon zest, from about 2 lemons
- 1/4 cup lemon juice, freshly squeezed and strained, from about 1 large lemon
- Pinch salt
Instructions
- Make the cake: Heat oven to 350F. Grease a 9x13-inch baking pan or alternately, line with parchment if you'd like to be able to remove the cake from the pan to serve. Set aside.
- In a 2-cup measuring cup, combine the milk and lemon juice. Set aside.
- In a medium bowl, whisk together the flour, baking powder, baking soda and salt. Set aside.
- In a large bowl with an electric mixer or the bowl of a stand mixer fitted with the paddle attachment, cream the butter, sugar and lemon zest until light and fluffy, about 5 minutes. Add the eggs, one at a time, mixing for about 30 seconds after each addition. Scrape down the bottom and sides of the bowl to ensure the mixture is well combined.
- With the mixer on low speed, alternately add the flour mixture and the milk mixture to the bowl in three additions (1/3 of the flour, 1/2 of the milk, 1/3 of the flour, remaining milk, remaining flour). Mix until just combined, then use a rubber spatula to finish mixing the batter, to ensure all the ingredients are well incorporated.
- Pour the batter into the prepared pan. Smooth the top and tap the pan on the counter a few times to release any large air pockets.
- Bake for 35 to 40 minutes or until puffed and golden and a cake tester inserted into the centre of the cake comes out clean. Cool the cake completely in the pan, on a rack before frosting.
- Prepare the frosting: With an electric mixer or stand mixer with a paddle attachment, beat the room temperature butter for 1 minute. Add the icing sugar, lemon zest, lemon juice and pinch of salt to the bowl. With mixer on low, mix until icing sugar is combined, then increase mixer to medium high and beat until light and fluffy. If necessary add a teaspoon or two of milk to thin, if frosting seems too thick. Alternately, add a bit more icing sugar if icing seems to thin. Frosting should be smooth, shiny and hold it's shape.
- Spoon the frosting in 5 or 6 small mounds on top of the cooled cake. Use a spatula to gently spread the frosting out to the edges. Smooth or swirl frosting. Sprinkle with decorations, if desired.
- Frosted cake will keep well, covered for up to 2 days. The cake can also be made ahead and frozen, either just the cake or the frosted cake. Save any decorations until after freezing.
Notes
More Lemon Cake Recipes to Love!
Hi! I’m Jennifer, a home cook schooled by trial and error and almost 40 years of getting dinner on the table! I love to share my favourite recipes, both old and new, together with lots of tips and tricks to hopefully help make your home cooking enjoyable, stress free, rewarding and of course, delicious!



I made the lemon sheet cake and it was delicious. I used the lemon cream cheese frosting from this site and everyone at my son’s graduation party gave it rave reviews.
So glad to hear, Joanne :) Thanks so much!
I made this for my daughter’s 1st birthday and it turned out fantastic. The crumb and texture was perfect for my preference as it is not overly fluffy. There is still a good bite while still being tender. I’m not a frosting fan (I know haha) so I just did a lemon glaze. We dropped off some cake to family and they all appreciated that the cake was not sickly sweet. The recipe is very easy to follow and the sheet-style makes it even more convenient.
So glad to hear, Mabel and I imagine it was lovely with the lemon glaze. Thanks so much!
Made this for my sister’s birthday and it was a major hit! Her husband , who lost his taste buds, could taste the lemon! And a male friend of theirs had 2 pieces!! And my sister had her extra piece for breakfast the next day!!!
Easy to make. Absolutely fantastic!
So glad you enjoyed it! I love this cake, too :) Thanks!
This will make for a show-stopping dessert on the Easter table!! So pretty!
Thanks Annie :)
You know I love my lemon desserts Jennifer, so this cake will definitely need to be added to my baking list!
Thanks Mary Ann :)
You’re right, it seems that everyone loves lemon! And I’m one of the biggest fans. This looks so moist and delish! Love your pretty sprinkles too!
Thanks Chris!
This is just great for the season Jennifer! We adore a great lemon cake and this one looks perfect. I also love how easy it is to feed a big crowd. Beautiful too! Pinned
Thanks Tricia :)
I’m glad I just read through your notes. I always thought room temp butter meant being able to press right through to the bottom. Might explain some things…
Lemon cake is my weakness and you sure have a wonderful assortment. I’ve made most. All of them Wonderful.
Thanks so much, randi! I obviously have a weakness for lemon, too. I just never tire of baking with lemons :)
Hello, I believe I’ve heard Canadian all-purpose flour is different/finer than the American verison, so if I’m in the US – should I use “cake flour” instead of AP? Thank you – this cake looks lovely :) and I’d like to try it.
Hi NR, yes, Canadian all-purpose flour is a bit higher in protein than American all-purpose, but only by 1% or so. For cakes, the American all-purpose is probably a touch better, as it is that little bit softer. Cake flour would be too soft (both Canadian and American versions :). So all that said, you’ll be just fine with American all-purpose here.