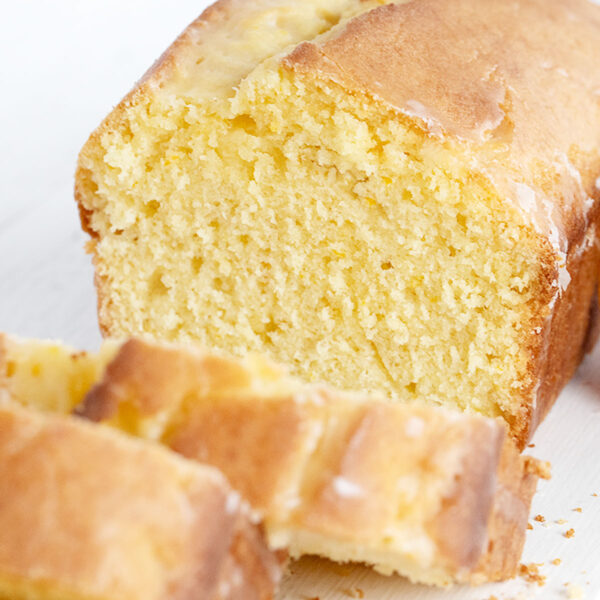
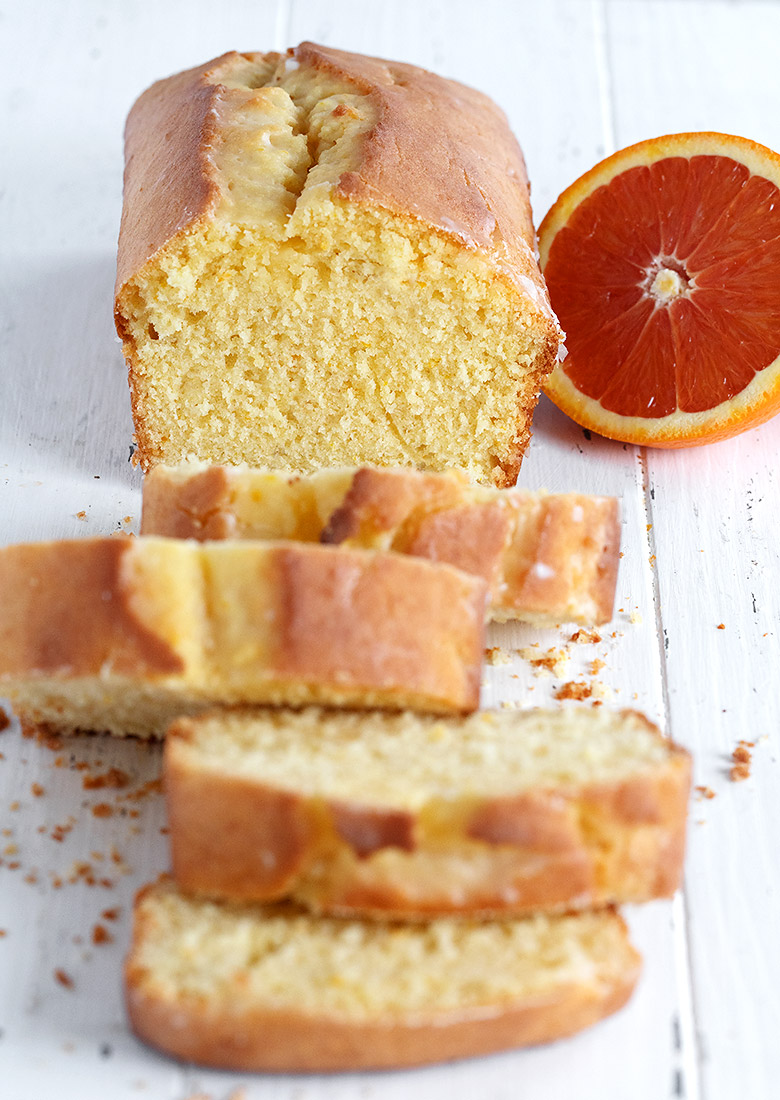
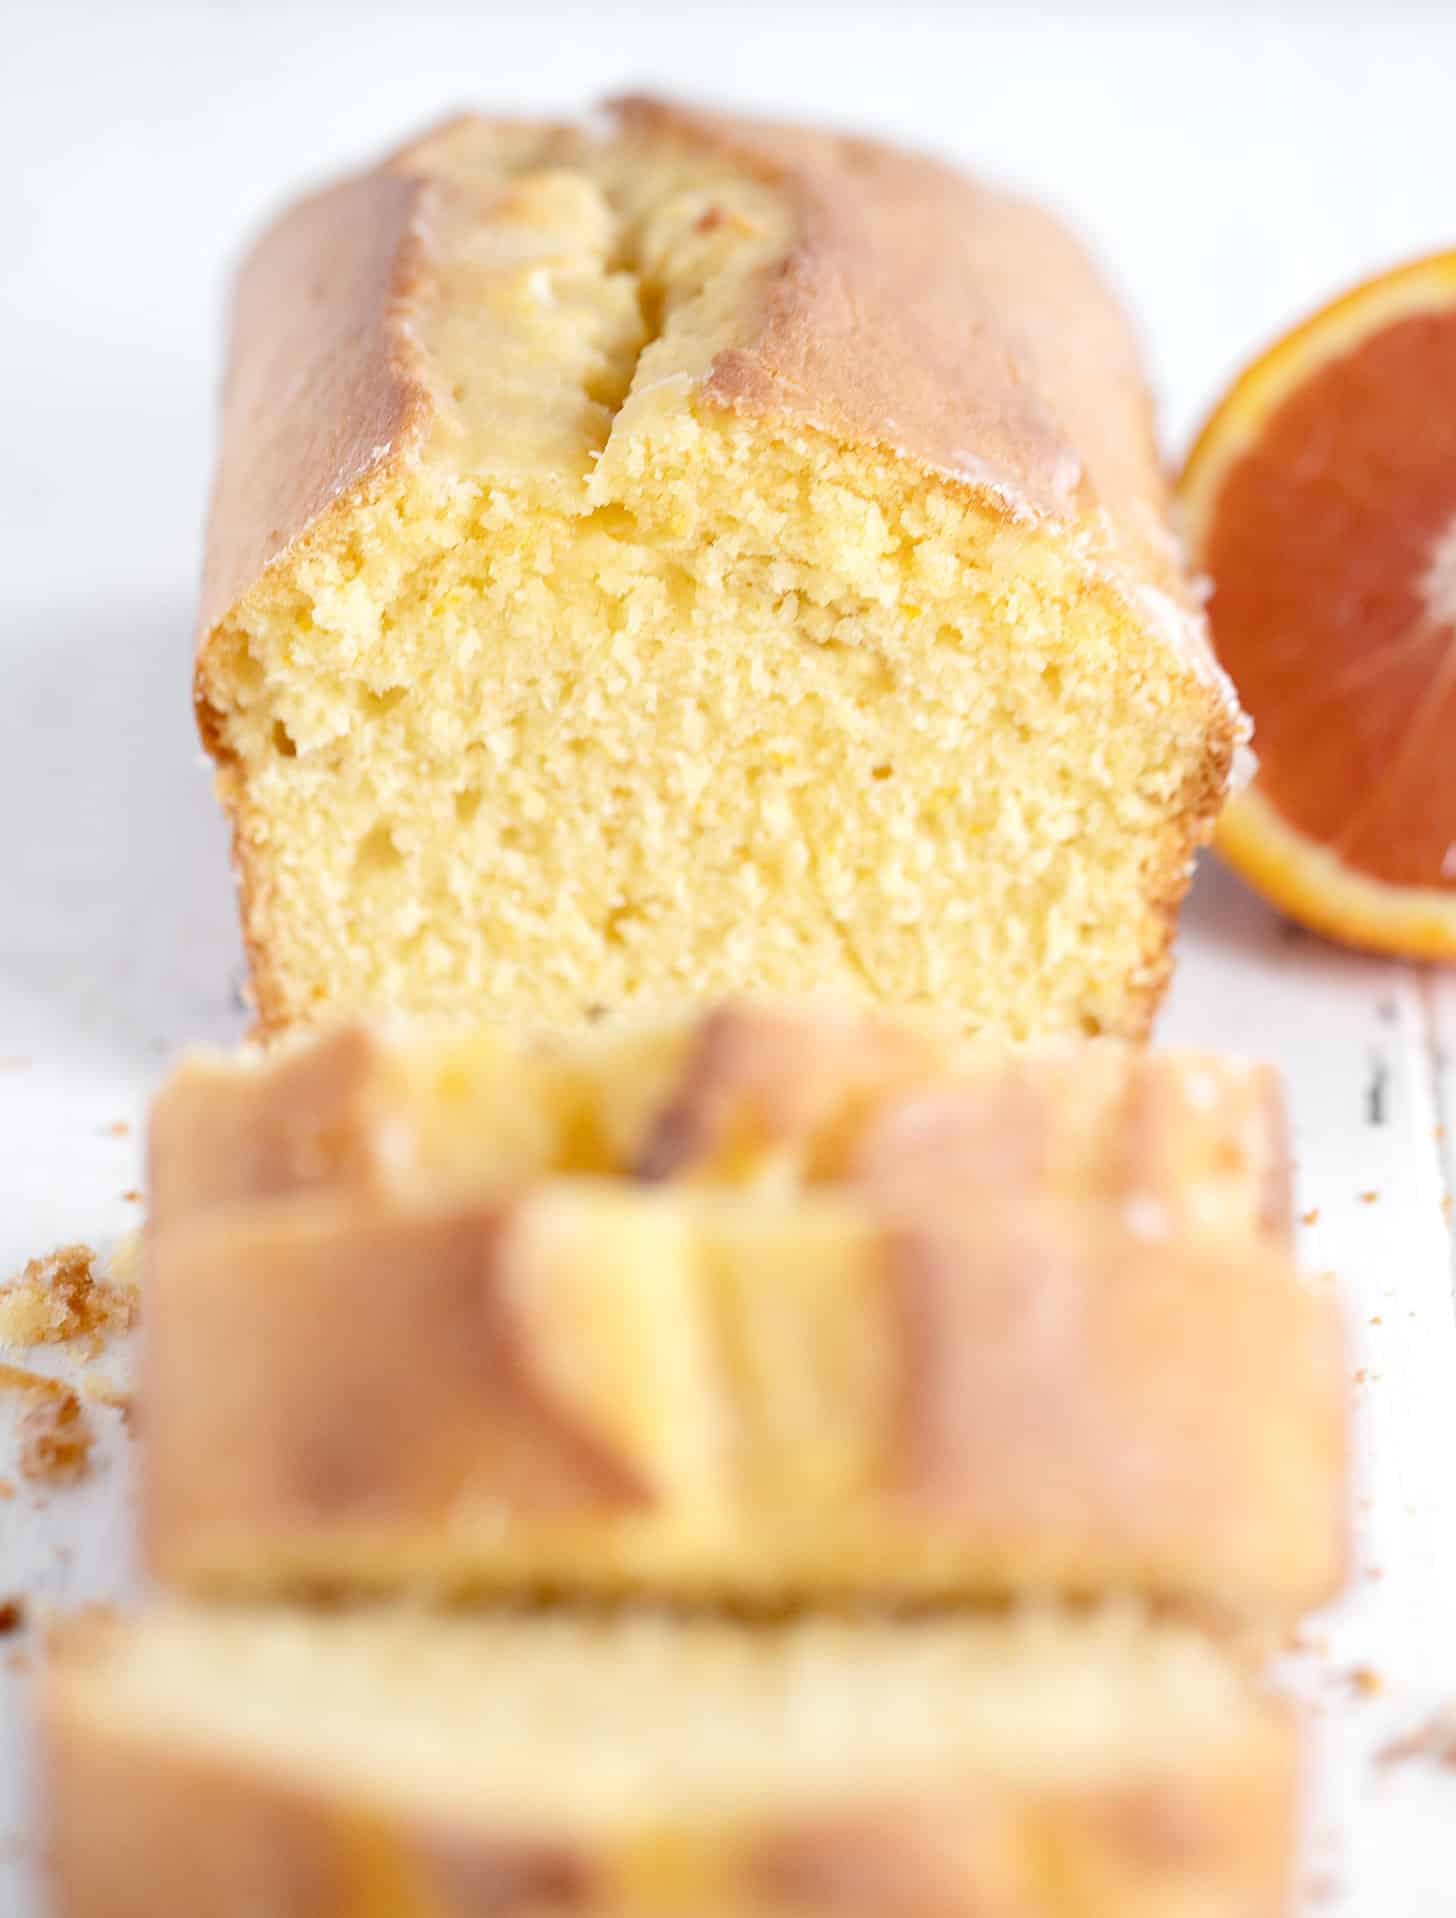
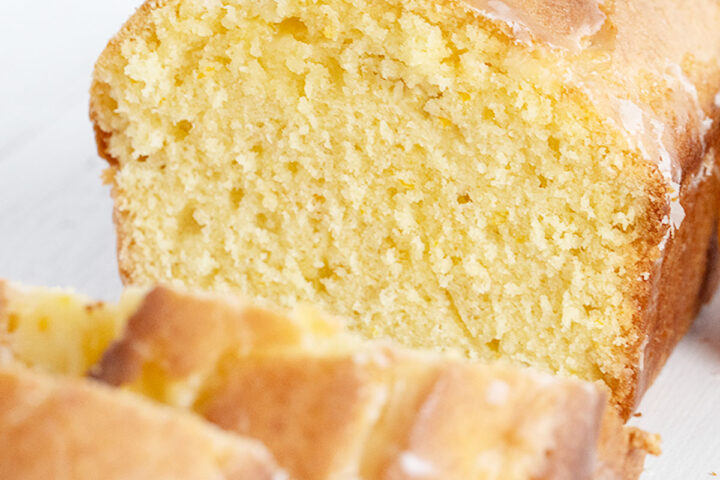
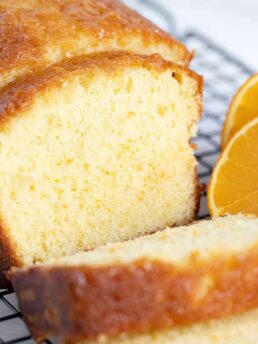
This classic orange pound cake loaf is flavoured with fresh orange juice and zest and topped with a sweet orange glaze.
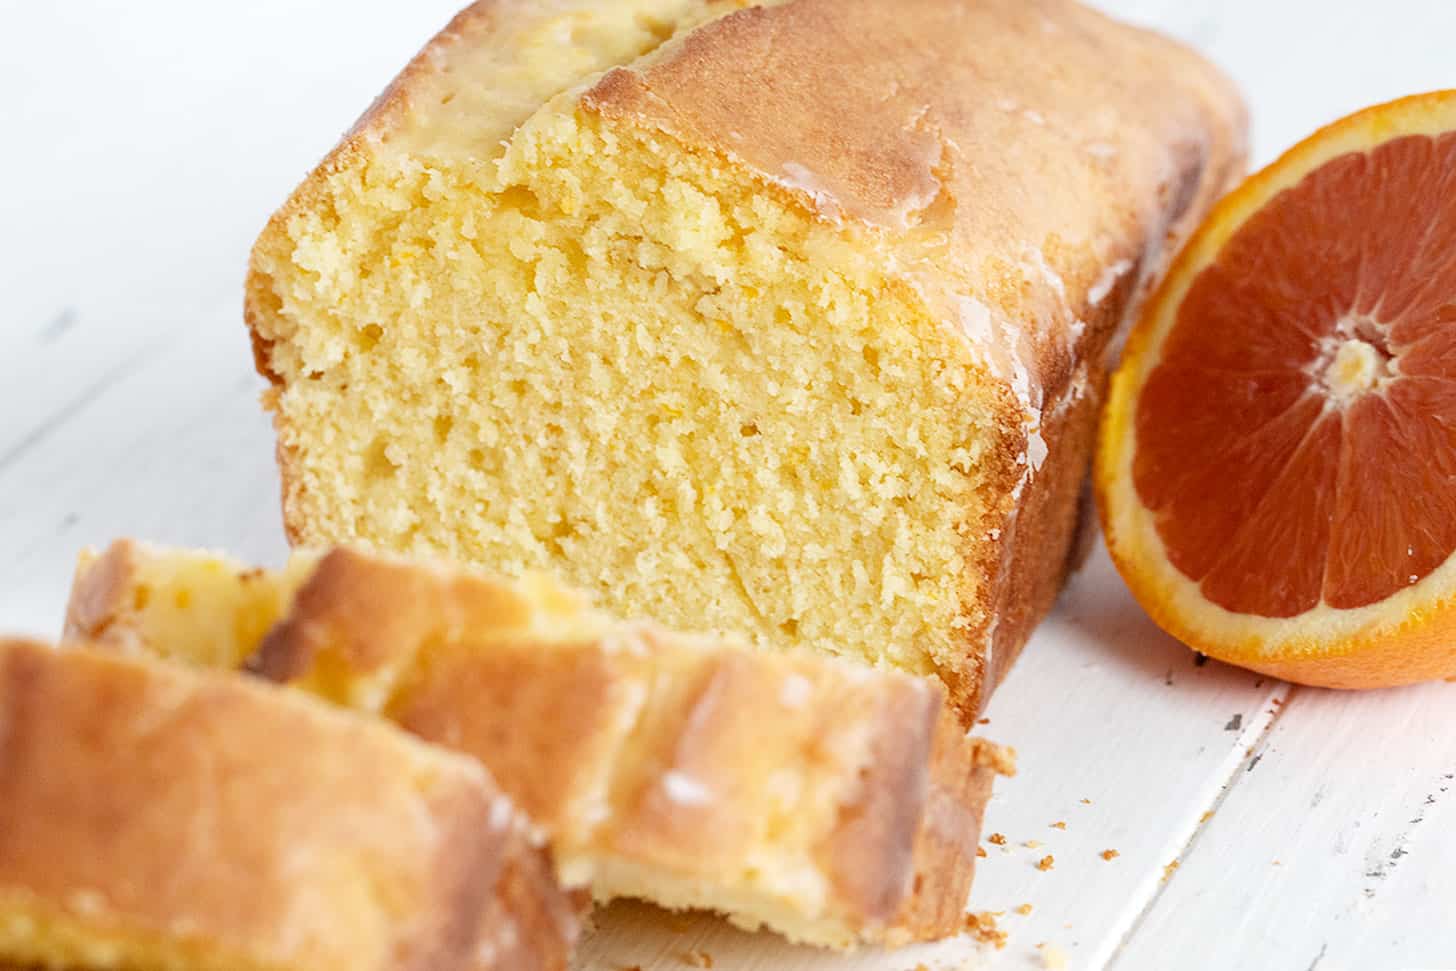
Lemon tends to get a lot of love in the loaf world, but orange is such a lovely change and just a bright and fresh as its lemon counterpart. This classic orange pound cake loaf has a wonderful texture, that cuts beautifully, but is also moist and full of flavour.
Ingredients and substitutions
A few notes about the key ingredients …
Oranges: You can use any orange you like. I used Cara Cara oranges here, which are generally a bit smaller than Navel oranges. You will need about 3 medium or two large oranges.
Orange Juice: The assumption is that you will use freshly squeezed orange juice here, as you will need actual oranges on hand to get the zest.
Recipe tips!
What does “room temperature butter” really mean?
Softening butter to room temperature is a cornerstone of much baking, yet it’s the area where many mistakes can happen that will affect the quality of your baked goods. “Room temperature” or “softened” butter simply means leaving your butter out of the refrigerator until it softens to a certain point. It’s knowing what that certain point is that trips people up.
Even though you may think of room temperature as being 72F, when talking about butter, room temperature is actually more like 68F. You could actually test it with an instant read thermometer if you like. Alternately, you can test it by pressing down very lightly on it with your index finger and if you leave an imprint in the butter, you’re good to go.
And yes, you can over-soften butter! If you leave the butter out until it reaches actual room temperature, it could reach the point where it begins to melt, such as on a warm day or when you have your oven on, increasing the air temperature. Butter that starts to melt means that the fat has begun separating from the milk solids and that is not good butter for baking.
How to speed up softening the butter for baking
As noted above, you never want your baking butter to melt to any degree, so for me, that rules out the microwave completely. For me, the only and best way to soften butter more quickly is to grate cold-from-the-fridge butter with a cheese grater. This trick should cut the softening time at least in half and probably more.
How to measure the flour
Always measure your flour using the stir, spoon and level method. This means first stir (aerate/fluff) the flour in your storage container, then use a spoon to over-fill a dry measuring cup, then finally use the straight back edge of a knife to scrape across the top of the measuring cup, allowing the excess to fall back into your flour container. Never scoop flour directly from the bag, as you will end up using more flour than intended for the recipe.
The importance of sufficient creaming of the butter and sugar
The process of beating together the softened butter with the white sugar is an important one for the best texture of your finished loaf. Don’t skimp on this and better yet, set a timer, so you know you’ve beaten it long enough (it’s easy to “think” it’s been a couple of minutes :) Creaming of the butter and sugar should always be done at medium speed (Speed 4 or 5 on a Kitchenaid mixer).
Bringing eggs to room temperature
Eggs that are at room temperature will simply mix better with the other batter ingredients and will produce the best rise and texture in your finished baking. It will take eggs about 30 minutes on the counter to come to room temperature. You can speed it up a bit by placing the eggs in a bowl and covering with just slightly warm (not hot) tap water.
Why your baking time might be different than mine
As someone who has shared a lot of baking recipes, the most common feedback I receive is reporting differences in baking time between what I said it would be and what it was for someone else. Unfortunately, all I know for certain is how long this recipe took to bake in MY pans and in MY oven. As such, you should always treat baking times as approximate.
Several factors can influence baking time, such as oven rack position, individual oven temperature calibrations and finally, the size and colour and material of your baking pan. If your loaf pan happens to be black or if you are using a glass loaf pan, both of these will attract and hold heat and will cause your loaf to bake more quickly. Using a different sized loaf pan than that which is specified will result in a thinner or thicker loaf, so the baking time will be different. Maybe your eggs and/or butter where a little cooler than mine, which can extend baking time.
In all cases, a good rule of thumb for baking is to set a timer for AHEAD of the baking time specified (5-10 minutes). When the timer goes, don’t open the oven, but will turn on the oven light to gauge the done-ness of the loaf at that point. If your loaf is baking super quick, you can catch it before it over-bakes. If it looks like it has a ways to go yet (isn’t fully risen, is pale and doesn’t look like it’s pulled away from the sides of the pan at all yet), re-set the timer for another short period and check again. As it starts to look like it might be done (or very close to done), only then will I open the oven and test with a long skewer in the centre of the loaf. If the skewer comes out moist, I will cook a bit longer and re-test. When the skewer comes out clean, your loaf is done. Do be sure to use a fresh skewer for every test.
In short, keep baking until it tests done in your oven and in your pan, and don’t get hung up on what the recipe says for timing. That’s always an estimate. Trust what you see.
Top tip
There is nothing worse than getting to the end of the process of baking a beautiful quick loaf like this one, only to have it stick to the pan or break when trying to remove it from the loaf pan. For quick loaves like this one, I first spray/grease my loaf pans and then I always line them with parchment paper (the greasing helps the parchment to lay flat against the sides of the pan without shifting or falling down into the pan). Ensure that the parchment extends higher than the side edges of the pan, so you have something to grab on to to lift it out.
Making ahead, storing and freezing
This pound cake loaf is best enjoyed on the day it is baked, but it does keep well for 3-4 days. Store at room temperature well wrapped.
This loaf will also freeze well for up to 3 months.
Want to save this recipe?
Enter your email and I’ll send it to your inbox. Plus, you’ll get great new recipes from me every week!
By submitting this form, you consent to receive emails from Seasons and Suppers.
You can unsubscribe at any time.
Get the Recipe: Glazed Orange Pound Cake Loaf
Ingredients
Loaf:
- 2/3 cup (150 g) butter, at room temperature
- 2/3 cup (120 g) white granulated sugar
- 3 large eggs, at room temperature
- Zest of 1 orange, about 1 – 1 1/2 Tablespoons
- 1/3 cup + 1 Tbsp (100 ml) orange juice, freshly squeezed, about 2 medium oranges
- 2 cups (250 g) all-purpose flour, spooned and levelled
- 2 teaspoons baking powder
- 1/8 teaspoons salt, or just a pinch if using salted butter
Glaze:
- 1 1/4 cups (120 g) icing sugar
- 2 Tablespoons (50 ml) orange juice, from about 1 med orange
Instructions
- Preheat oven to 375F (regular bake setting/not fan-assisted), with oven rack in the centre of the oven. *Reduce 25F if glass loaf pan or if your loaf pan is black.
- Grease a 4 1/2 x 10-inch tea loaf pan and line with parchment paper, for easy removal. *Alternately, you can use a 9×5 loaf pan. The volume is roughly the same, so the thickness and baking time should be similar. I haven’t test this loaf with an 8 x 4 loaf pan, so I can’t guarantee the batter will fit in that sized pan. If it does, it will make a thicker loaf and the baking time will be longer.
- In a medium bowl, whisk together the flour, baking powder and salt. Set aside.
- In a large bowl with an electric mixer or the bowl of a stand mixer fitted with the paddle attachment, beat the room temperature butter with the white sugar until light and fluffy, 2 1/2 – 3 minutes. Scrape down the sides of the bowl once half way through. Don’t skimp on this beating process, as it will affect the texture of your finished loaf.
- Add the eggs, one at a time, beating well between each addition and scrape down the sides of the bowl as needed. Turn off the mixer and add the orange zest and orange juice. Turn the mixer back on to low to mix in (to avoid splashing).
- With mixer on low, add the dry ingredients until it is all added, then beat briefly to ensure it is well combined.
- Pour batter into prepared loaf pan and smooth the top.
- Bake in preheated for 45-60 minutes, or until a tester inserted in the centre comes out clean.
- Remove from oven and allow the loaf to cool in the baking pan for 10 minutes, then remove from pan to a cooling rack to cool completely.
- Once cooled, prepare the glaze by combining the icing sugar with the orange juice. The glaze should not be thick. If so, add a bit more orange juice, as needed. Likewise, if it seems too thin, add a bit more icing sugar. Your glaze should easily fall off a spoon, but should flow like lava. Place a baking sheet under your cooling rack to catch drips, then spoon the glaze down the centre of the loaf and allow it to flow over the top of the loaf and down the sides. Allow to stand at room temperature until glaze sets before slicing.
- Loaf will keep well at room temperature, with the cut-end wrapped, for several days. Wrapping the entire loaf tightly may cause the glaze to soften. This loaf will also freeze well.
Notes
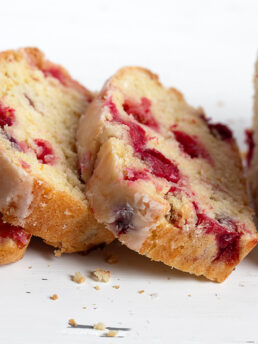
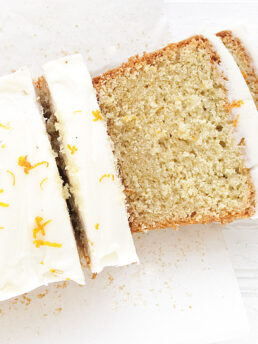
More orange cake recipes to love!
Hi! I’m Jennifer, a home cook schooled by trial and error and almost 40 years of getting dinner on the table! I love to share my favourite recipes, both old and new, together with lots of tips and tricks to hopefully help make your home cooking enjoyable, stress-free, rewarding and of course, delicious!
I have a question. I see that you have the weight for the ingredients – do you actually make this loaf with these weights? or do you cook by volume and just used a conversion tool to convert the measurements?
In other words, when making this loaf do you weigh the ingredients or do you measure by volume?
Thanks!
Hi Francine, it depends on the recipe. This recipe was based off a pound cake recipe that was originally made with gram measures, so I made it with weights measurements. When I wrote it up, I converted and provided volume measurements, as well. I’ll always bake with weights if I can, for best accuracy, but that said, I have spent a lifetime baking with cups and teaspoons, so I’m comfortable with that, as well :)
Thank you for your reply, I now feel confident about making this recipe by weight, which is my preferred way of measuring ingredients. BTW, your Banana loaf recipe is superb. Thanks!
I tried your cinnamon loaf and loved it. My father loves orange loaf and I’m doubling this recipe and making it into a Bundt cake for him this weekend for Father’s Day
Sounds great, Chelsea and a perfect orange treat for your Dad! Hope he enjoys it :)
Citrus in baked goods is so good! I bet this smells as good as it tastes!! Such a great weekend baking project, Jennifer :)
Thanks Dawn and yes, the smell when it’s baking is wonderful :)
What a beautiful little cake! We love pound cake too, and especially one with a sweet glaze and plenty of flavor. Pinned to make soon :)
Thanks so much, Tricia :)
I have a basket of oranges just calling out for a loaf like this! Thanks for the tip on softening butter. I never think to grate it to speed up the process. I’ll have to try that next time I’m in a pinch!
Thanks Leanne! I’ve been bringing home oranges like crazy, so I seem to have a perpetual basket of oranges. Lots of orange dishes in my future :)
My husband Tom loves pound cake Jennifer, so I’ll need to add this to my baking list. He’d love it topped with Cool Whip!
Thanks Mary Ann and sounds delicious!