
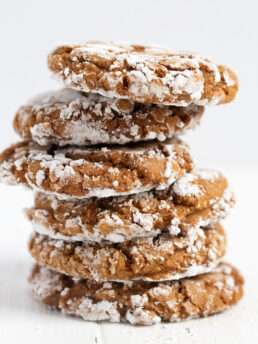
These fun and festive gingerbread pinecone cookies are easily shaped and cut by hand. A great addition to your holiday cookie platter or for cookie exchanges. Freeze well and travel well!
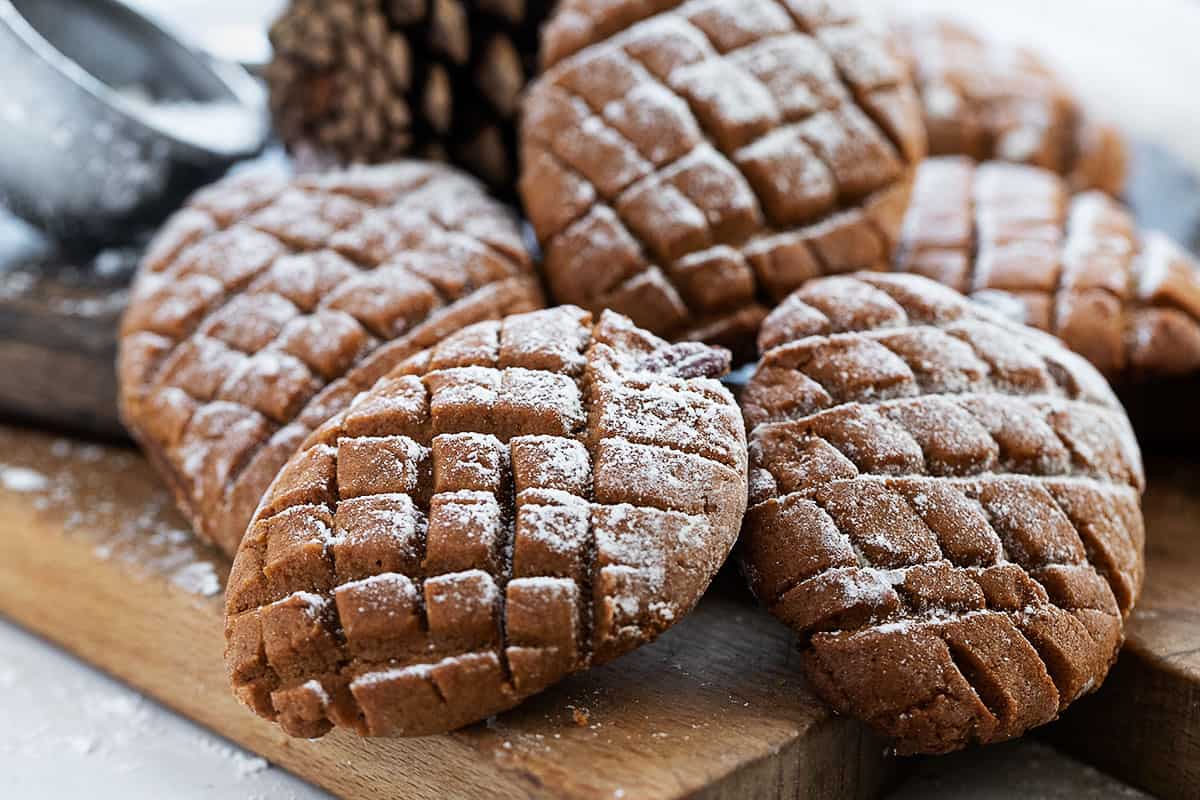
If you are looking for something a little different for your holiday cookie baking this year, how about pinecone cookies?! These delicious gingerbread cookies are shaped easily by hand (no cookie mould required!) and then cut simply with a sharp knife.
And if you’re thinking these look fiddly, let me assure you they are anything but. If I can do it, you can do it :) I’ve documented the easy process below in the Step-by-Step photos, so you can see for yourself!
Ingredients and substitutions
A few notes about the key ingredients …
Molasses – you’ll want to use molasses labelled as “Fancy” for these cookies. Cooking and Blackstrap molasses has too strong a flavour for cookies.
Brown Sugar – you can use light or dark brown sugar here. I generally use light brown sugar. Dark brown sugar will create darker cookies with a touch more molasses flavour.
Shortening – you can use either melted vegetable shortening, vegetable/canola oil or melted butter. I generally stick with the original recipe and use melted shortening.
After you have mixed the dough and chilled it, follow these easy steps to shape the cookies …
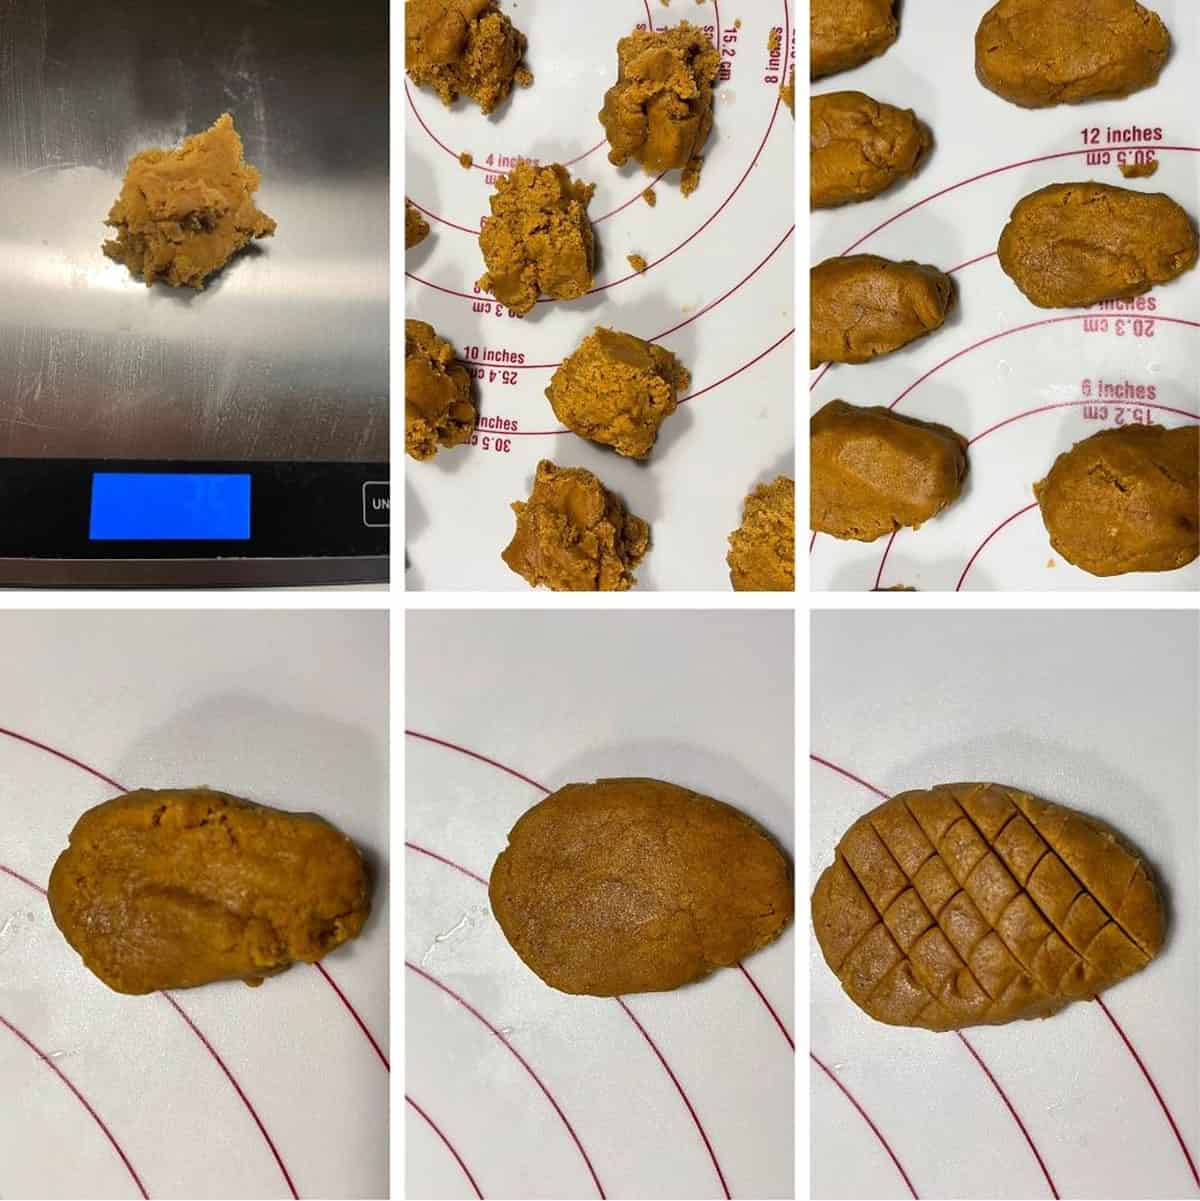
Step 1: Portion the dough into equal sized pieces. Here I am weighing out 35g pieces, which is large walnut/ping pong ball size-ish. The exact size isn’t as important as making them all the same size, so that they will bake evenly.
Step 2: Roughly shape the dough into a rounded, triangle-ish shape, about 1-inch thick, as shown.
Step 3: Use the palm of your hand to flatten the triangle into about a 1/2-inch thick cookie. I try to cup the palm of my hand slightly, so that the centre of the cookie stays a bit thicker than the edges.
Step 4: Using a sharp knife (a paring knife works well), cut about 5 diagonal slices into the dough, about 1/2-inch apart, cutting about 1/4-inch into the dough in the centre, but slicing right to the edges (though the slices won’t be as deep if the sides are thinner).
Step 5: Repeat slicing the dough in the other direction, again cutting about 5 slices into the dough.
Step 6: Place onto baking sheet. If you like, you can push a piece of pecan into the top end, as a stem (I cut pecan halves in half here). Bake and cool before dusting.
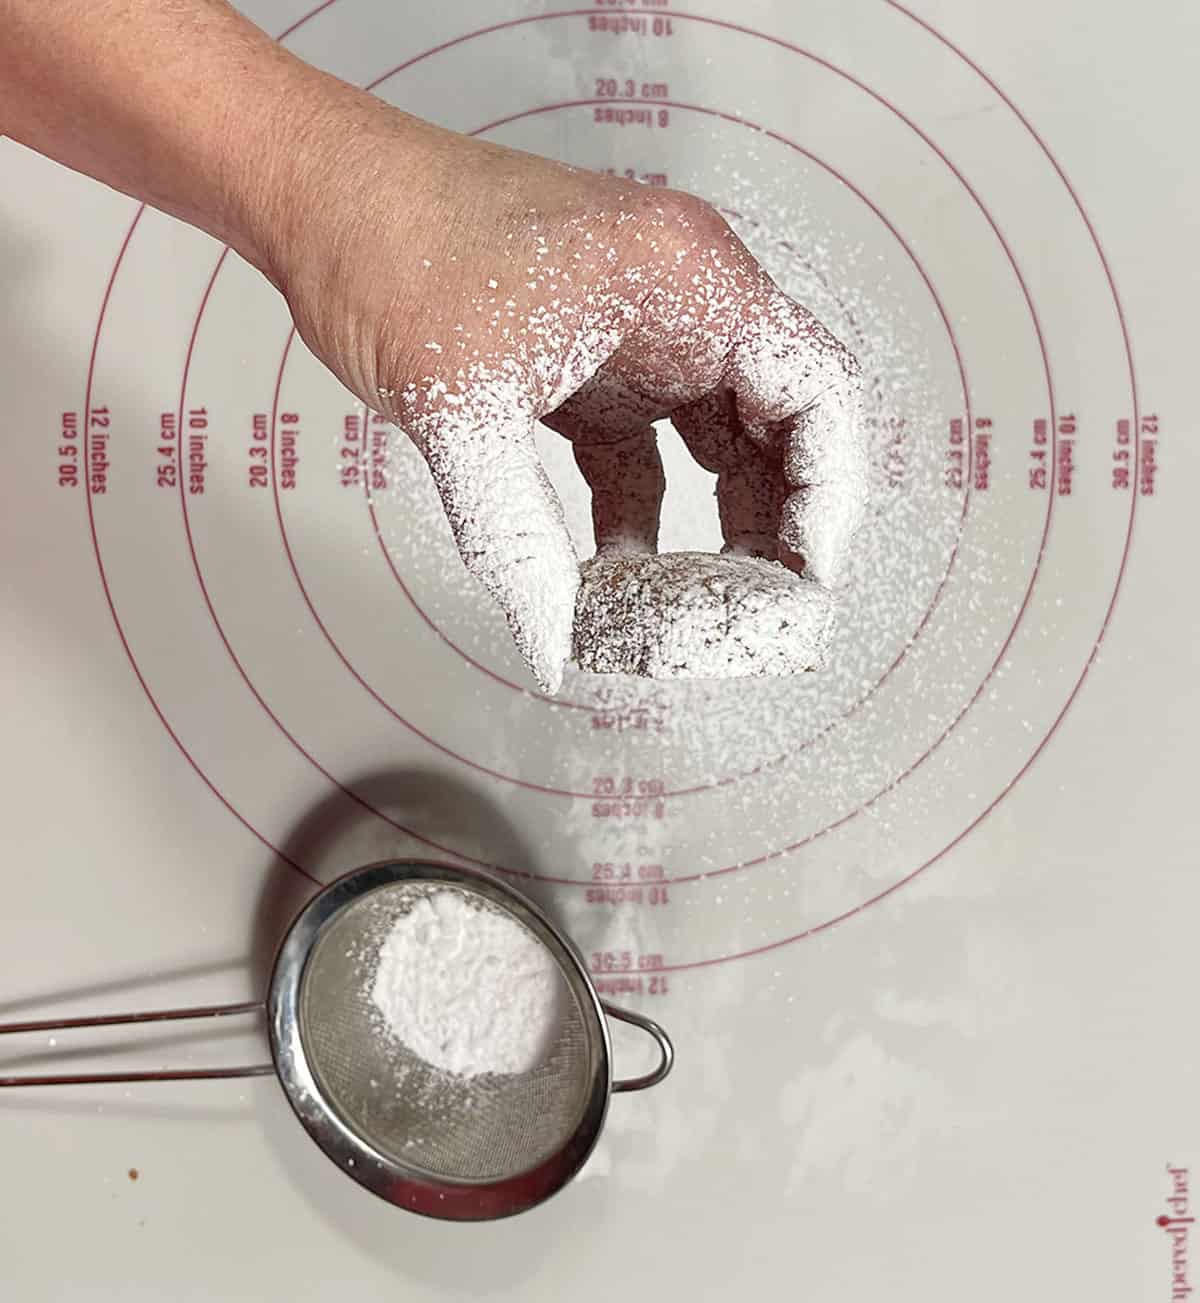
Step 7: Once the cookies are cooled, hold the cookies upright, with the wide end up. Tilt just slightly back so they are not perfectly vertical. Dust with icing/confectioners’ sugar. This method dusts the edges of the pine cone to highlight the texture of the cookie, with more at the top than the bottom. I find it more effective than just dusting them as they lay flat.
Recipe tips!
- The wonderful thing about gingerbread cookies, is that you can adjust the baking time slightly to create either soft or crispy cookies. For soft cookies, bake for about 18 minutes. For more crunchy cookies, leave them in the oven for about 22 minutes. To split the difference, aim for 20 minutes.
- Cookie baking time can vary between kitchens, so I always bake one test cookie to judge the best baking time for my oven and on my pan. For this recipe, if you want to do a test cookie, I would suggest baking for about 19-20 minutes. It takes a little extra time, but it ensures that I don’t end up with an entire pan of under or over-baked cookies. Be sure to let your test cookie cool, then taste. You can adjust the baking time up or down from there, depending on your preference.
Storing and freezing
These cookies will keep well in an airtight container, stored at room temperature for about 1 week.
You can freeze these cookies after baking and cooling completely. Don’t dust with with confectioners’ sugar if you want to freeze. Save the dusting for after the cookies are thawed and brought to room temperature.
These are sturdy cookies, so they would travel well.

Top tip!
This gingerbread cookie dough that has been my go-to for years, and is also perfect for rolling out and cutting out into gingerbread men or other shapes. For rolling, be sure to chill the dough and use a little flour on your rolling surface.
Want to save this recipe?
Enter your email and I’ll send it to your inbox. Plus, you’ll get great new recipes from me every week!
By submitting this form, you consent to receive emails from Seasons and Suppers.
You can unsubscribe at any time.
Ingredients
- 2 3/4 cups all-purpose flour, spooned and levelled
- 3 teaspoons baking powder
- 1/4 teaspoon baking soda
- 1/2 teaspoon salt
- 1 teaspoon ground ginger
- 1 teaspoon ground cinnamon
- 1/4 teaspoon ground allspice
- 1/8 – 1/4 teaspoon ground cloves, *see Note 1 below
- 1 large egg
- 1 cup brown sugar, light or dark, packed
- 2/3 cup Fancy molasses, less 1 tsp or scant 2/3 cup *see Note 2 below
- 1/2 cup solid vegetable shortening (such as Crisco), melted and slightly cooled *see Note 3 below
Optional:
- Pecan or walnut halves, halved again, for “stem”
For garnish:
- Icing/confectioners’ sugar
Instructions
- In a medium bowl, whisk together the flour, baking powder, baking soda, salt, ginger, cinnamon, allspice and cloves. Set aside.
- In a large bowl with an electric mixer or the bowl of a stand mixer fitted with the paddle attachment, beat together the egg, brown sugar and molasses. Mix in the cooled, melted shortening. Add the flour mixture to the egg mixture and mix until combined thoroughly and mixture is doughy.
- Form dough into a ball, cover with plastic wrap and refrigerate for at least 2 hours or up to 24 hours.
- When ready to bake, preheat oven to 350F (regular bake/not fan assisted), with the rack in the centre of the oven.
- Using a scale, measure out 35g pieces of dough (alternately, pull off a piece roughly large walnut size, being sure to keep all the pieces as close to the same size as possible, so they will bake evenly).
- Take one piece of dough and use your hands to shape the dough into a rounded, triangle shape about 1-inch thick (see Step-by-Step photos above this Recipe Card to see the shaping). Use the palm of your hand to flatten the triangle shape to about a 1/2-inch thick. (I like to cup my hand slightly, so that the centre of the cookies is slightly thicker than the edges). Using a sharp knife (a paring knife works well), cut about 5 diagonal slices across the dough, about 1/2-inch apart. Repeat with 5 similar slices running the other direction (again, refer to the Step-by-Step photos above that demonstrates the slicing).
- Place onto an un-greased baking sheet about 2 inches apart. Repeat with remaining dough pieces. *Cook in batches if you can't fit all the cookies on one baking sheet.
- If you like, you can press a piece of a pecan or walnut into the side end of the cookie to act as a “stem”. I used pecan halves that I cut in half again.
- Once all the cookies are on the baking sheet, take the baking sheet and place it in the fridge for 15-20 minutes before baking. This helps them keep their shape well when baking.
- Bake in preheated oven for 18-22 minutes (18 minutes for soft cookies, 22 minutes for crispy cookies or go with about 20 minutes for somewhere in between).
- Remove from oven, allow to stand a couple of minutes, then transfer to a cooling rack to cool completely.
- *If making ahead to freeze, once cooled completely, transfer to a container and freeze up to 2 months. Don’t dust with sugar until ready to serve.
- Once cookies are cooled, lift cookie and hold vertically, with the wide end up. Tilt back every so slightly and dust with icing sugar (see Step-by-Step photos above to see this, if needed). Repeat with all the cookies.
Notes
More gingerbread recipes to love!

Hi! I’m Jennifer, a home cook schooled by trial and error and almost 40 years of getting dinner on the table! I love to share my favourite recipes, both old and new, together with lots of tips and tricks to hopefully help make your home cooking enjoyable, stress-free, rewarding and of course, delicious!
Would this dough work well with a cookie mold ? Thanks
Hi Laura, I haven’t tried it, but I think it would. It’s a good dough for rolling and cutting, so it should hold shape and design well.
These are adorable Jennifer! Gingerbread is a must at Christmas for us. These are great for gifting too. So festive!
Thanks so much, Mary Ann! They were fun cookies to make :)