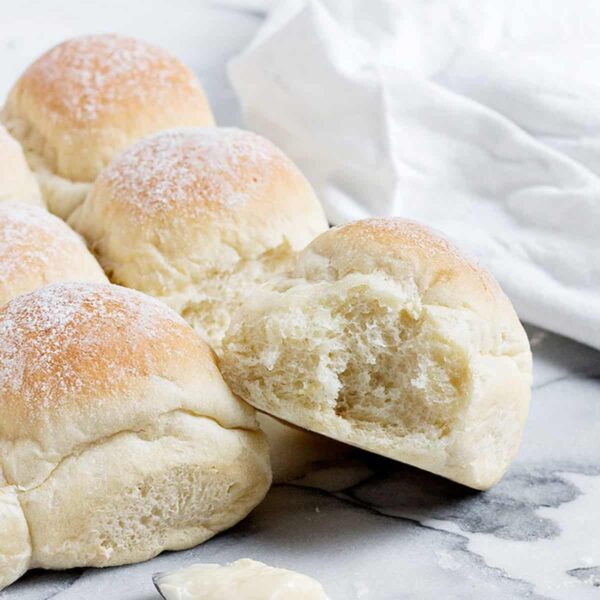
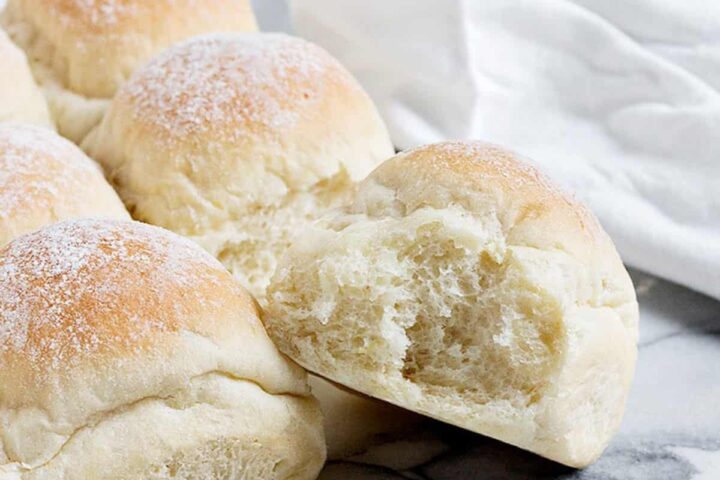
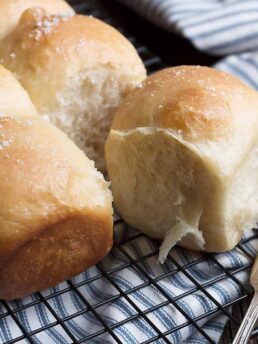
These flour-topped potato dinner rolls are incredibly soft and light, making them a perfect choice for your holiday table or next to your Fall and Winter soups. They freeze beautifully so they are ideal for stashing away to enjoy anytime.
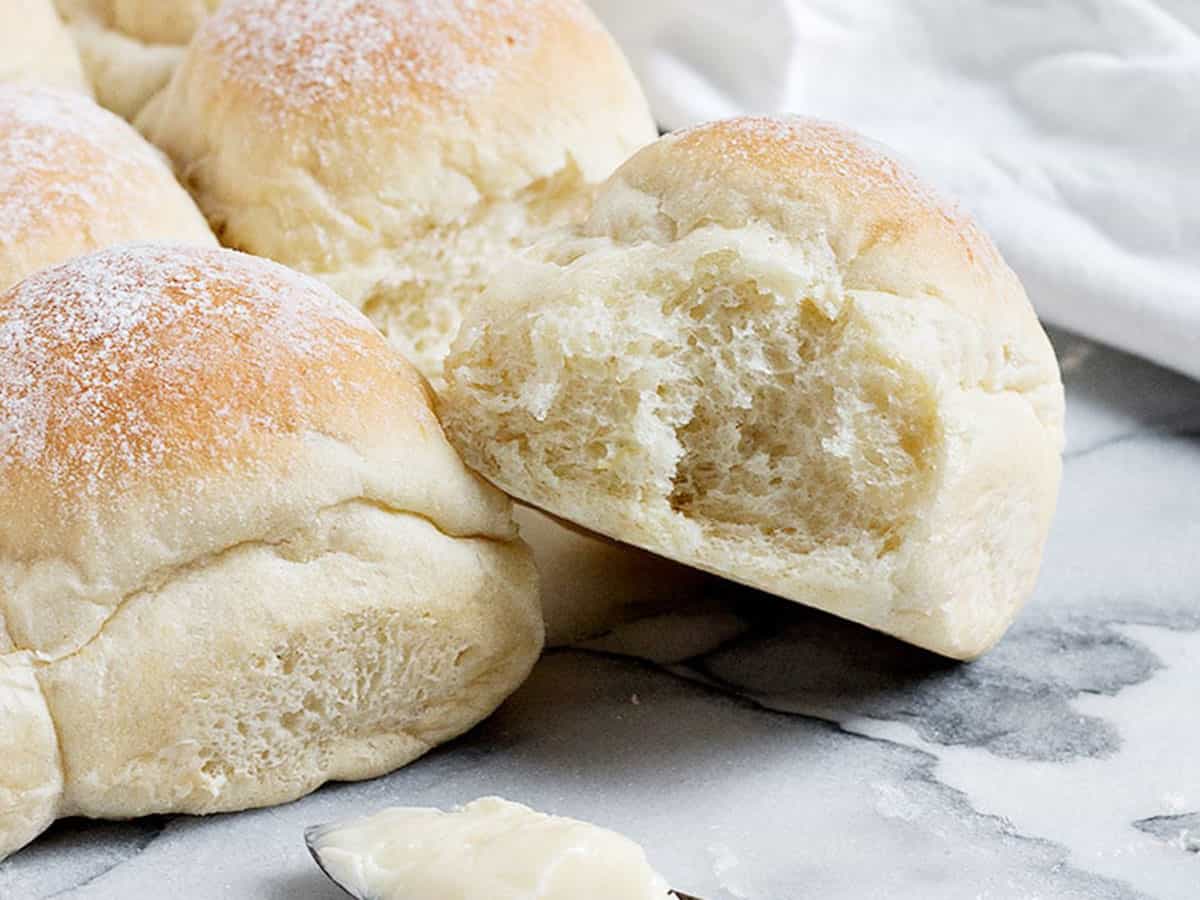
These potato dinner rolls are incredibly soft and light, and they magically stay that way for days! I love that these are smaller rolls. While I love a great roll, I also want to save room for other things on the plate.
Ingredients and substitutions
A few notes about the key ingredients …
Potatoes – You can use any type of potato here. Russets are fine, as are yellow-fleshed potatoes. You’ll only need a couple of small potatoes. Leftover mashed potatoes are just fine here. If the leftover mashed potatoes are buttered and salted already, youll want to reduce the amount of additional butter and salt you add to the dough a bit. And yes, in a pinch, instant potato flakes would also work.
Yeast – You can use regular Instant Yeast (such as SAF) or Active Dry Yeast here.
Flour – I prefer to use unbleached all-purpose flour for all my breads, but regular all-purpose flour is just fine, as well.
Butter or vegetable oil – You can opt to use butter or vegetable oil for these rolls. Butter will bring more flavour, but vegetable oil tends to produce an even lighter bun and is a great choice for a vegan dinner roll.
How to make these potato dinner rolls
This is a summary of the steps to make these potato rolls. Always refer to the complete instructions below in the recipe card when making the recipe.


- Add the peeled potatoes to a saucepan and cover with cold water. Bring to a boil, then continue to boil the potatoes until completely tender.
- Test the potatoes with a fork to be sure.
- Ladle off the potato cooking water into a measuring cup and measure out the required amount. Set aside.


- Remove the potatoes with a slotted spoon to a bowl, then mash with a fork.
- Measure out the required amount of mashed potatoes and set aside.
- Combine the potato cooking water, mashed potatoes, butter and honey in a stand mixer fitted with the paddle attachment. Mix together for about 2 minutes to cool the mixture.


- Make sure the liquid has cooled sufficiently. If it is too hot, it can kill the yeast. Aim for 105F. and ideally, test with an instant-read thermometer.
- Add the yeast to the mixture and stir in.
- Add a portion of the flour and the salt and mix in with the paddle attachment.


- Remove the paddle attachment and install the kneading hook.
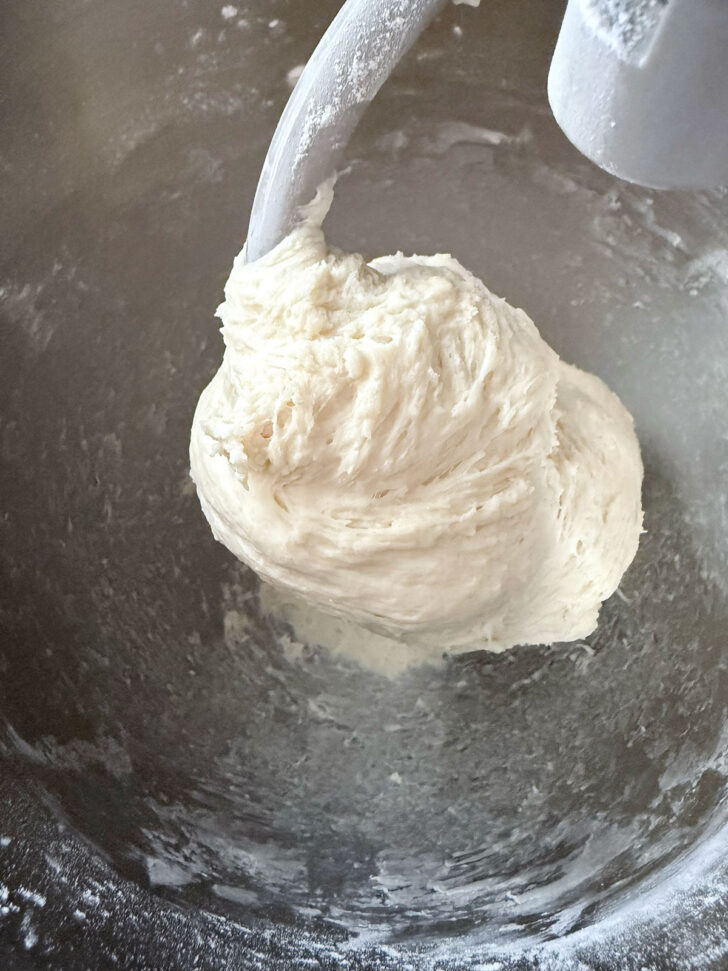
- Begin adding more flour in small increments until you have a moist dough that cleans the bowl and wraps the dough hook, but has a bit of stickiness on the bottom of the bowl.
- Remove the dough to a floured work surface and knead briefly, adding more flour only if the dough is sticking to your hand or the work surface. Form into a ball.


- Set the dough to rise until doubled in size, about 30-60 minutes.
- Weigh out the dough ball.
- Divide the dough ball total weight by the number of rolls, then weigh out each roll. This ensures an equal size of rolls that will bake evenly. Alternately, divide the dough as equally as possible.


- Place the dough balls into the baking pan, cover with greased plastic wrap and let rise until doubled and puffy, about 30-45 minutes.
- Dust the top of the rolls with flour before baking.
- Bake 18-22 minutes, just until very lightly golden or to 190F when tested with an instant-read thermometer.
Recipe Video
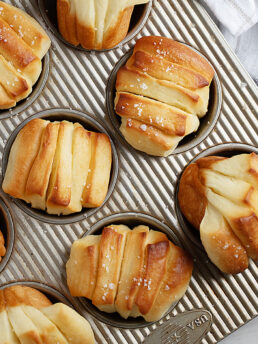
Variations
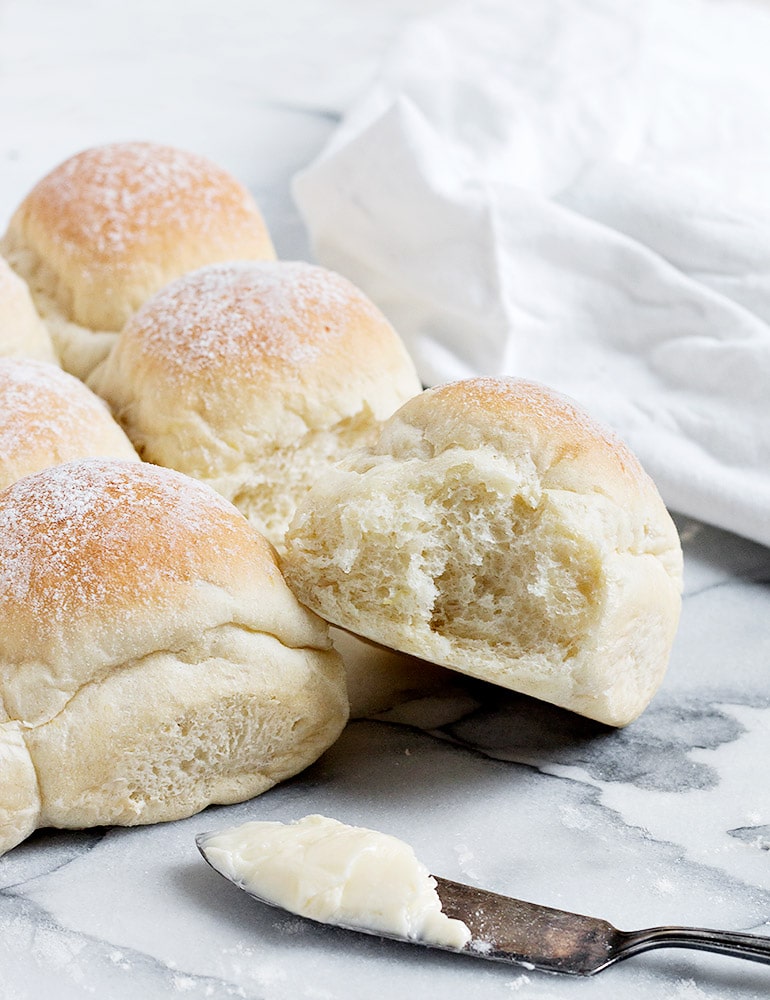
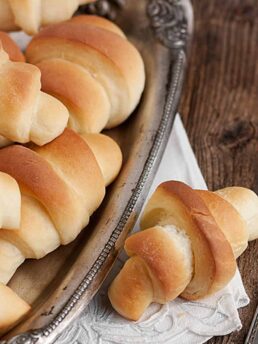
I love a flour-topped dinner roll, but if you prefer you can leave them plain to bake, then brush them with butter while hot from the oven, for a buttery roll. You can also brush the rolls before baking with an egg wash (mixing an egg with a splash of water) for a shiny roll. An egg wash is also a great base if you’d like to sprinkle the rolls with sesame or poppy seeds.
Recipe tips!
- Don’t forget you’re going to need some of the potato cooking water, so be sure to scoop some out and set it aside before draining the potatoes!
- As you prepare and shape the dough, add only enough flour to make a dough that isn’t sticky, but that is still very moist – right on the edge of sticky. The more moisture/the less flour added, the more tender your finished rolls will be.
- Be sure not to over-bake these rolls. They are perfect when baked to the point when they have just a touch of colour on top.
- This recipe makes 18 rolls. If you’d like less, halve the recipe and bake in 3 rows or 3 in an 8×8-inch pan.
Making ahead, storing and freezing
These rolls freeze really well, so they are perfect for making ahead Thaw in the wrapping at room temperature, then warm them by wrapping in foil and placing into a 350F. oven for 10 minutes or so.
Store left-over rolls well wrapped at room temperature and enjoy for several days.
Top tip!
You’ll want to take your rolls out when they are “just done” – lightly golden on top and not yet browning on the sides. Again, the less time in the oven, the more moist the rolls and the longer they will stay moist.
Want to save this recipe?
Enter your email and I’ll send it to your inbox. Plus, you’ll get great new recipes from me every week!
By submitting this form, you consent to receive emails from Seasons and Suppers.
You can unsubscribe at any time.
Get the Recipe: Simply Perfect Potato Rolls
Ingredients
- 1 cup mashed potatoes, from 1 large or two small potatoes such as Russet or Yukon Gold
- 1 cup potato cooking water
- 1/4 cup butter, or vegetable/canola oil *see Note 1 below
- 2 Tablespoons honey, or 1 1/2 Tbsp white sugar *see Note 2 below
- 4 1/2 teaspoons instant or dry active yeast
- 1 3/4 teaspoons fine table salt
- 3 – 3 1/2 cups all-purpose flour, plus more as needed and additional for topping
Instructions
- Note! This recipe was updated in December 2024. It is the same recipe, I have just doubled it to make 18 rolls instead of 9. If you are fan of the smaller bake, use the "1/2" button above to halve the recipe and bake in an 8×8-inch pan.
Prepare the mashed potatoes:
- Peel the potatoes, then cut them in halves or quarters. Place in a medium-large saucepan. Cover potatoes with at least an inch of cold water. Bring to a boil over high heat, then lower the heat slightly and continue cooking until potatoes are perfectly tender. Test the potatoes by inserting a knife through the potato. You should not meet any resistance. DO NOT DRAIN THE POTATOES! Use a ladle to spoon out the potato cooking water into a measuring cup, measuring out the required amount. Spoon the potatoes into a small bowl with a slotted spoon, then use a fork to thoroughly mash the potatoes in the bowl. Measure out the required amount of mashed potatoes and set aside.
Prepare the bread:
- Place the measured potato cooking water and mashed potatoes in a large bowl or the bowl of a stand mixer fitted with the paddle attachment. Add the butter (or vegetable oil) and the honey (or sugar).
- Using the paddle attachment, mix on low speed until mixture has cooled to just lukewarm (about 105F), about 2 minutes. Ideally, test with an instant-read thermometer to be sure it has cooled sufficiently. If it is too hot, it can kill the yeast. Sprinkle in the yeast and mix to combine. If using instant yeast, proceed to next step. For active dry yeast, let stand for 5 minutes before proceeding.
- Add the salt and 2 1/2 cups of the flour to the bowl and still using the paddle attachment, mix until combined. Remove the paddle attachment and replace it with the kneading hook. Begin adding more of the flour gradually, starting by adding about 1/4 cup at a time, then reducing to smaller amounts of flour addition as the dough comes together. Mix the flour in well between additions until you have a moist dough that cleans the sides of the bowl and wraps the kneading hook, but may still look sticky at the bottom of the bowl.
- Remove the dough to a floured work surface and knead briefly, adding a bit of additional flour only if the dough is sticking to your hands or the work surface. Form dough into a ball, place into a greased bowl, cover with plastic wrap and allow to rise until doubled, about 30-60 minutes.
- Preheat oven to 350F (regular bake/not fan assisted). *Reduce oven temperature to 325F if using a glass baking pan. Lightly grease an 9×13-inch baking pan. Set aside.
- Remove the dough to a floured work surface and gently deflate. Divide dough into 18 equal pieces (*see Note 1). Form each piece into a ball (*see Note 3) and place into your prepared pan in 6 rows or 3 rolls, leaving a little space between rolls. Spray a piece of plastic wrap and cover the pan with the sprayed side of the plastic wrap towards the rolls. Rise until doubled in size and puffy, 30-45 minutes. The rolls should have risen into each other. Using a fine mesh strainer, dust the top of the rolls with flour.
- Bake rolls for 18-22 minutes, just until very lightly golden on top and not yet browning on the sides, or to 190F when tested with an instant read thermometer. *Do not over-bake. These rolls should be quite light in colour, so don't judge by the colour. You don't want them browned. Cool the rolls in the pan for 5 minutes, then remove to a cooling rack to cool. If not enjoying immediately, once cooled store in an airtight container or freeze.
Notes
Watch how to make it
More roll recipes to love!
Hi! I’m Jennifer, a home cook schooled by trial and error and almost 40 years of getting dinner on the table! I love to share my favourite recipes, both old and new, together with lots of tips and tricks to hopefully help make your home cooking enjoyable, stress-free, rewarding and of course, delicious!
I only have a fan-assisted oven. What temperature should I use?
Hi Douglas, the rule of thumb for conversion from non fan-assisted to fan-assisted is to reduce the oven temperature by 20-25 degrees F (6-10 degrees C). In theory, that should keep the baking time close to what is stated, but you would be wise to always check early and regularly.