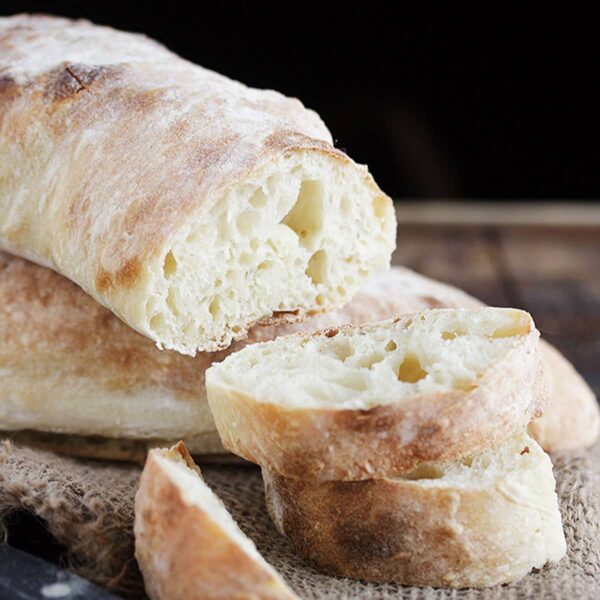
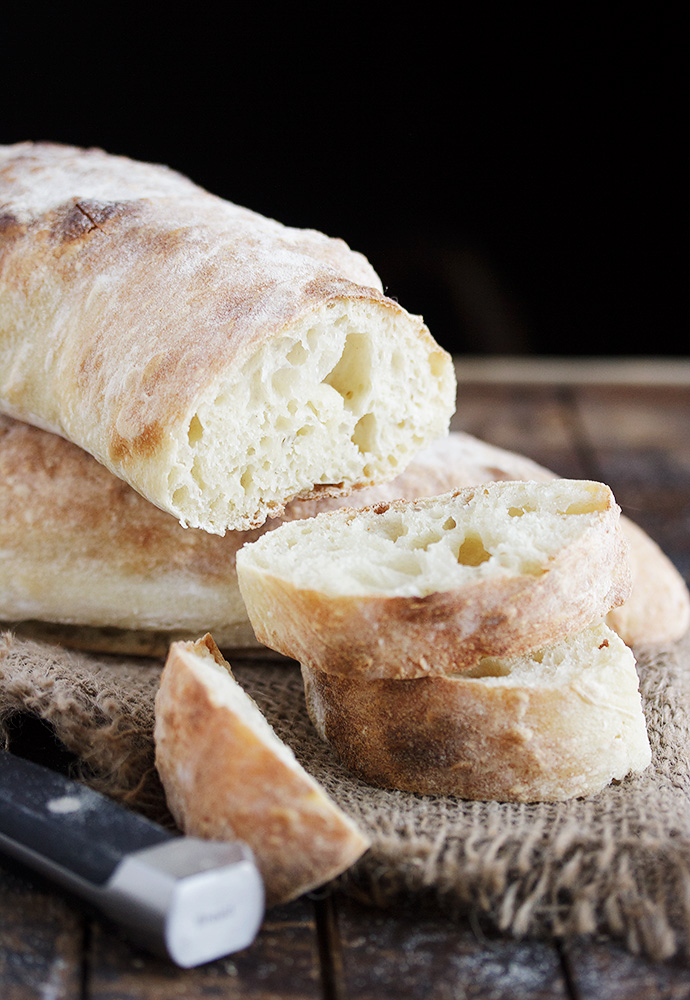
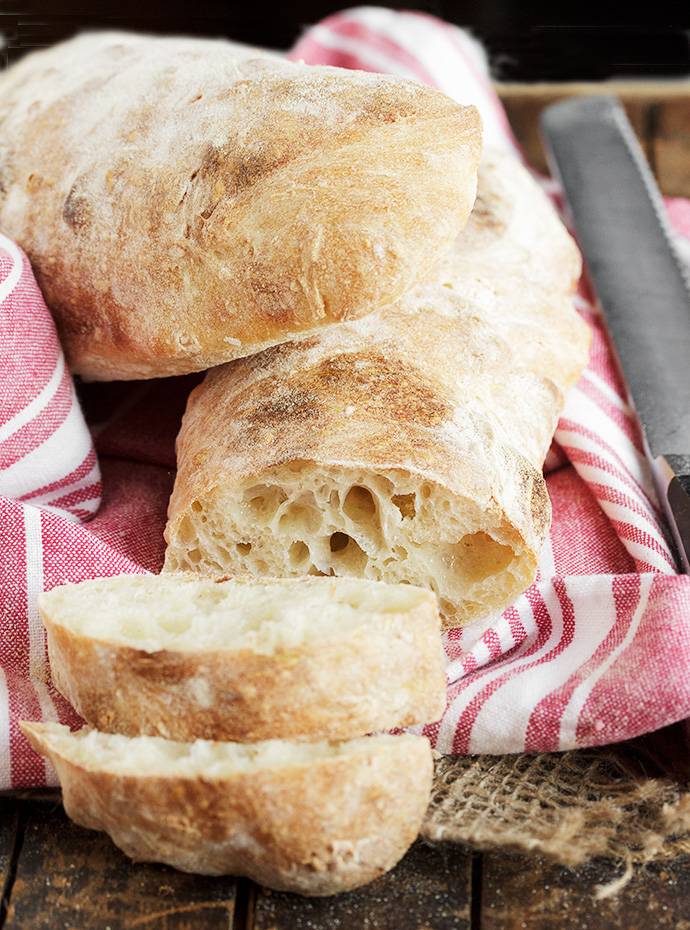
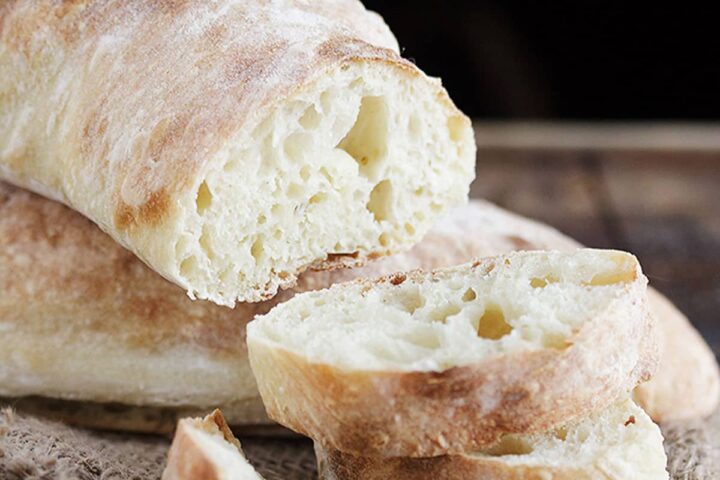
Delicious homemade ciabatta bread is not nearly as hard to make at home as you may think! This ciabatta recipe is great for first-time ciabatta bakers!
If you’re anything like me, the weekends are when I really dig in to cooking and baking projects. So in that spirit, I thought I’d share a great recipe for making this delicious ciabatta bread recipe this weekend. It’s not nearly as hard to make as you might think.
I’m not going to lie though, this is probably not the bread that should be your first bread-baking experience. It’s somewhat unique in both it’s consistency and method. That’s not to say it’s hard – just different :)
Ingredients and Substitutions
Flour – Bread flour will always give the best results when making ciabatta, but all purpose flour will technically work, with a bit of a compromise on texture. You may find you need a little extra flour is using all purpose flour.
Yeast – I only use SAF Instant Yeast for all my yeast baking. I highly recommend it. Regular Active Dry yeast will also work.
Making this ciabatta bread
This bread starts with a yeast “starter” dough. I like to mix it up quickly before going to bed and then let it bubble away on the counter over-night. Then the next morning, I can just carry on with making the bread.
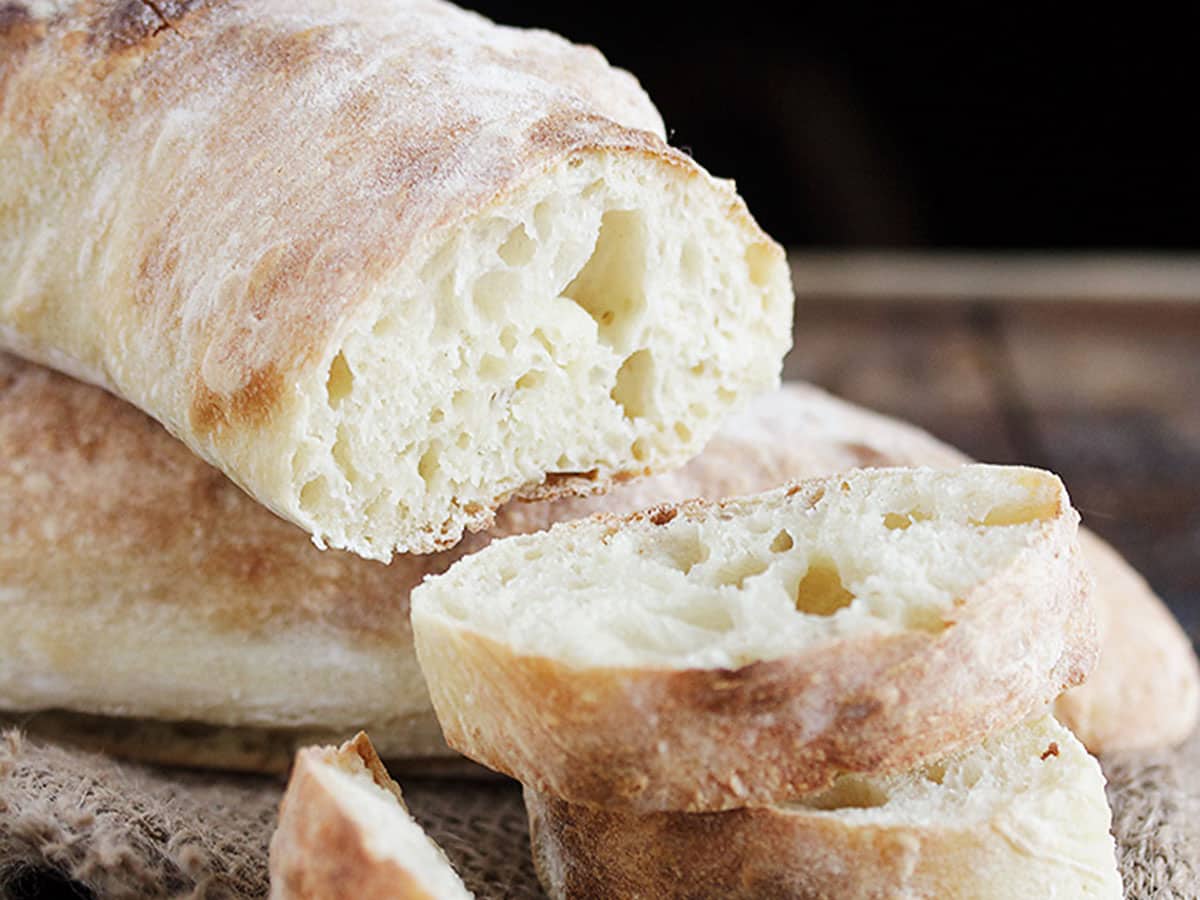
Once you mix the dough, you’re immediately going to notice that you have more of a batter than a dough. Resist the urge to add more flour at this point. The secret to those great holes it to have a really moist dough and the more flour you add, the more you’ll be defeating that.
This is not a bread dough that will ever be kneadable!
That said, you will need to add a little bit of flour along the way here. Purists will suggest flouring your hands (or even wetting them to deal with the dough). That’s great advice if you have lots of experience with wet dough. For the rest of us, a little sprinkling of flour here and there is a sanity saver!
Even as you move along with this dough, it will resemble a jiggly mass that seems to be barely holding its shape. Again, just go with it as much as you can, adding only enough flour to remove extreme stickiness.
Recipe Tips
I cannot recommend the use of a silicone bowl scraper enough when dealing with this dough. It’s worth picking one up for this bread for sure – it’s a sanity saver! A metal bench scraper sprayed with cooking oil will also work. If all else fails, a large silicon spatula would be my choice. All these tools will allow you to work this dough without actually touching it with your hands, which is a bonus when working with a sticky dough.
Storing and Freezing
Store baked bread in an airtight container at room temperature for a couple of days, or freeze for longer storage.
Want to save this recipe?
Enter your email and I'll send it to your inbox. Plus, you'll get great new recipes from me every week!
By submitting this form, you consent to receive emails from Seasons and Suppers.
You can unsubscribe at any time.
Get the Recipe: Homemade Ciabatta Bread
Ingredients
Yeast Starter Dough: (Start 8-12 hours ahead - the night before works perfectly)
- 1/2 teaspoon active dry yeast or instant yeast
- 3/4 cup (177 ml) water, at room temperature
- 1 cup (125 g) bread or all-purpose flour, bread flour recommended
Ciabatta Dough:
- 1/2 teaspoon active dry yeast or instant yeast
- 3/4 cup (177 ml) water, at room temperature
- All of the Yeast Starter Dough From above, plus the following:
- 2 cups (250 g) bread or all-purpose flour, bread flour recommended
- 1 1/2 teaspoons salt
Instructions
- This bread dough is very moist and loose, but only use as much additional flour as you need to be able to handle it without it sticking. Be sure to start your starter dough 8-12 hours ahead of when you want to make your bread.
- For the Yeast Starter Dough: Combine all ingredients in a 1-quart (4-cup) bowl and stir well. Cover with plastic wrap and allow to sit at room temperature for 8-12 hours (overnight works perfectly).
- For the Ciabatta Dough: In a large bowl or the bowl of a stand mixer fitted with a paddle attachment, stir the yeast in to the water. Add all of the Yeast Starter Dough that you made earlier and has been sitting. Mix briefly. Add the flour and salt and mix to combine. Beat on medium-low for 3 minutes. Stop the mixer and let dough rest for 10 minutes. Beat again on medium-low for 3 minutes. Stop again and let dough rest for 10 minutes.
- Remove dough to a lightly oiled bowl large enough to hold double the amount of dough. Cover the bowl with plastic wrap and let the dough rest until it starts to puff up, about 30-45 minutes.
- Using a silicone bowl scraper or spatula, scrape the dough on to a well-floured work surface. Have a cup of flour handy to use. Sprinkle the top of the dough with some flour. Using your silicone bowl scraper, scoop up one edge of the dough and fold it over the top of the dough to reach the middle. Scoop up the opposite edge and scoop it up to cover the fold you just made. Add some more flour to your board and the top of the dough (just enough to control stickiness). Let dough rest for 15 minutes and then repeat this same folding. Let rest another 15 minutes.
- Line a baking sheet with parchment paper. Sprinkle the parchment paper with flour. Roughly shape the dough in to an 8x8-inch square . Using a sharp knife, cut your dough into two 4x8-inch rectangles. Gently transfer to the parchment-lined baking sheet by using a bench scraper positioned underneath the rectangles to support it. Flour the top of the dough then cover with a tea towel and allow to rise until puffy, about 30 minutes.
- Meanwhile, preheat oven to 475° F. (regular bake setting/not fan assisted)
- Bake in the preheated oven for 20-25 minutes, or until deep golden brown and the internal temperature is over 200° Transfer to a cooling rack to cool.
Notes
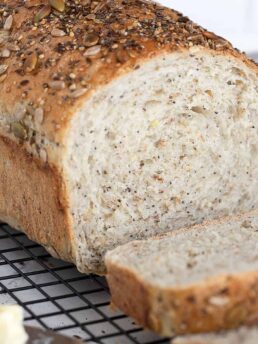
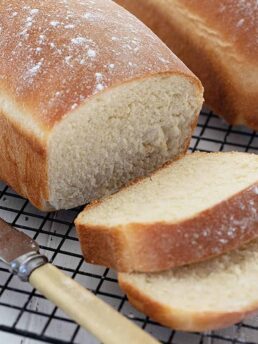
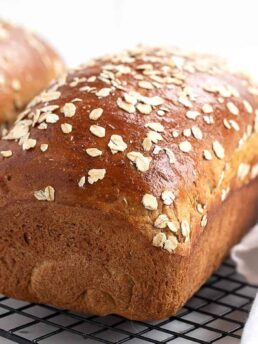
More Bread Recipes to Love!
Hi! I’m Jennifer, a home cook schooled by trial and error and almost 40 years of getting dinner on the table! I love to share my favourite recipes, both old and new, together with lots of tips and tricks to hopefully help make your home cooking enjoyable, stress free, rewarding and of course, delicious!
This bread was a hit with the family and super good to serve with the bean and bacon soup!
Oh that sounds like a delicious combination, CJ (love that soup!!) So glad you all enjoyed it :)
First time I made bread. It was really easy. But it was a bit bitter. Can I cut back on the salt? To how much?
Hi Norma. Salt’s only role in bread is for flavouring, so you could omit it all together if you wanted. That said I’d try using half as much next time and see how that tastes to you.
i love making my own bread at home. Nothing comes close to freshly baked at home loaf of bread. I haven’t made ciabatta before, but I do not know why not after seeing how simple it really is! I need to get myself a bench scraper first, of course!
Same here, Amanda. Even with all the bread I’ve baked over the years, the smell and taste of homemade bread is still intoxicating! Look for a silicone bench scraper (or bowl scraper). You’ll find you’ll use it a lot for other things, too :)
I’ve been admiring this bread for a couple of days now and I need to tell you that it looks perfect! I plan to be up to my shoulders in bread dough tomorrow and this one will fit right on in with the group. Luckily it is designed to wait until the following day for baking. :)
Thanks Terri and enjoy the bread :)
Such a pretty loaf of bread! I grew up on fresh homemade bread and can only imagine that this one taste soooo good!
Thanks so much, Katya. There is nothing like homemade bread :)
I love making homemade bread – the smell is one of the best smells on earth! This looks delicious – I’ve never made ciabatta bread, but you make it look so simple that I must try
Thanks Jessica. This bread really delivers all that!
Excellent, I have always wished to make bread that looks this nice.
Thanks so much, Pam :)
Weekends are definitely meant for baking bread. Especially with these cold temps we’ve been having. Got a nice little chuckle out of jiggly mass! He he he!
This dough reminds me so much of that silly putty stuff my kids used to play with. It’s definitely jiggly. And I know jiggly ;)
Incredible goodness right here, Jennifer! I don’t consider myself to be an experienced bread baker but I am a huge ciabatta lover so I am definitely trying this recipe. Beauty!
Thanks Julia. Hope you get a chance to try it!
Can’t remember the last time that I actually bought a loaf of bread, I always just make it at home. In saying that though.. I never have made ciabatta from scratch before. This si SO something I need to make!
You must try it Thalia. It’s so much different from a loaf bread, but so delicious!
How did you know? Ciabatta is my favorite bread, I’m so glad you posted this recipe. I’ve gotten the bread baking bug lately, too, but I’m going in the opposite direction from this beautiful loaf — I made bread in the crock pot yesterday! I was dealing with a very wet dough, too, and I like your suggestions for handling it.
A silicone scraper is the only way to go with this dough, Sue. My goal is to never have to touch the dough with my hands, because that’s when things go south ;)
I love ciabatta and it’s on my to-bake list. The texture looks spot on!
Thanks Laura. It’s a fun little project and the rewards are delicious :)
I’ve always wanted to make my own, and you’re so right! This recipe is definitely not as hard as I thought it would be. Love it!
Thanks Katrina and I hope you give it a try. Once you do, you’ll want to make it all the time! :)
Ah yes…that spongy crumb, I can just taste it. Never made ciabatta before, but I’ve always meant to–maybe sometime this winter! :)
You should June … it’s actually kind of fun and definitely delicious!
You’ve got me in the mood to bake bread now! This looks so ridiculously delicious!
Thanks Amanda. This bread was delicious. It didn’t last long here. Was great just out of hand with a smear of butter :)