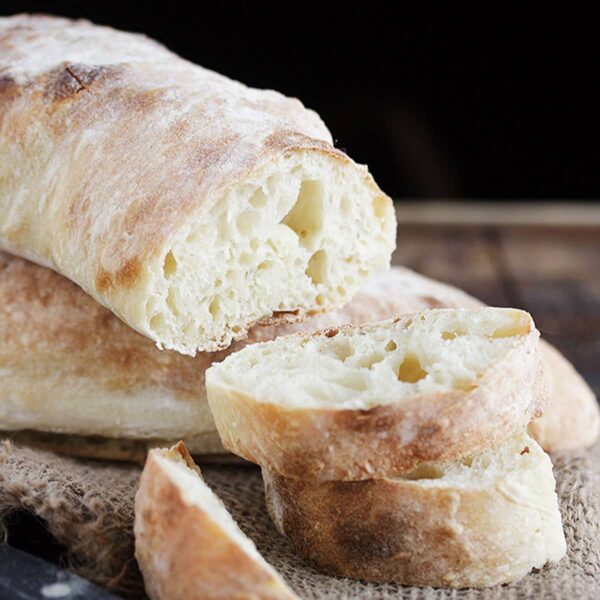
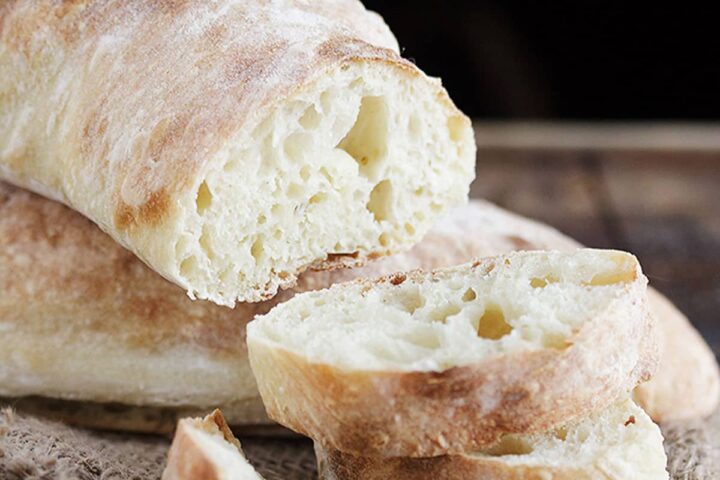
Delicious homemade ciabatta bread is not nearly as hard to make at home as you may think! This ciabatta recipe is great for first-time ciabatta bakers!
If you’re anything like me, the weekends are when I really dig in to cooking and baking projects. So in that spirit, I thought I’d share a great recipe for making this delicious ciabatta bread recipe this weekend. It’s not nearly as hard to make as you might think.
I’m not going to lie though, this is probably not the bread that should be your first bread-baking experience. It’s somewhat unique in both it’s consistency and method. That’s not to say it’s hard – just different :)
Ingredients and Substitutions
Flour – Bread flour will always give the best results when making ciabatta, but all purpose flour will technically work, with a bit of a compromise on texture. You may find you need a little extra flour is using all purpose flour.
Yeast – I only use SAF Instant Yeast for all my yeast baking. I highly recommend it. Regular Active Dry yeast will also work.
Making this ciabatta bread
This bread starts with a yeast “starter” dough. I like to mix it up quickly before going to bed and then let it bubble away on the counter over-night. Then the next morning, I can just carry on with making the bread.
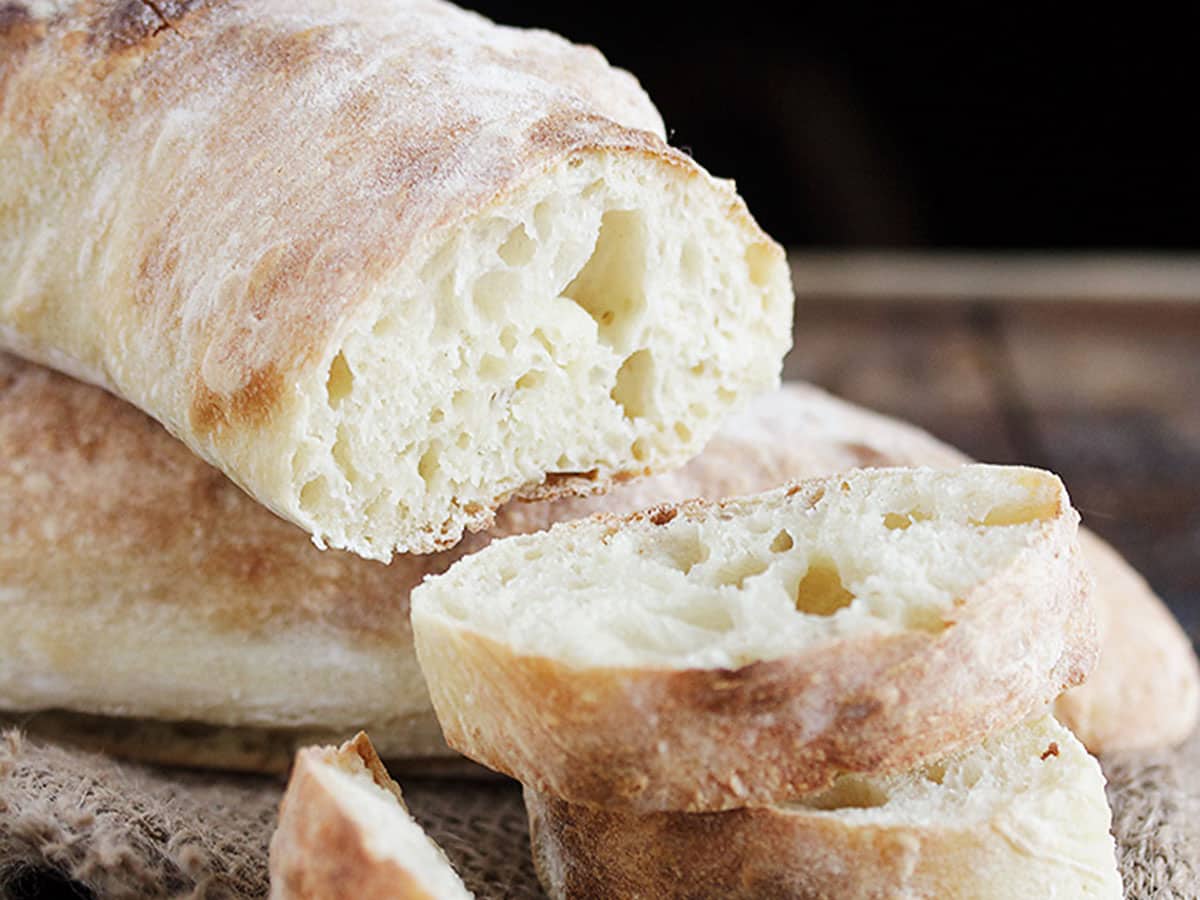
Once you mix the dough, you’re immediately going to notice that you have more of a batter than a dough. Resist the urge to add more flour at this point. The secret to those great holes it to have a really moist dough and the more flour you add, the more you’ll be defeating that.
This is not a bread dough that will ever be kneadable!
That said, you will need to add a little bit of flour along the way here. Purists will suggest flouring your hands (or even wetting them to deal with the dough). That’s great advice if you have lots of experience with wet dough. For the rest of us, a little sprinkling of flour here and there is a sanity saver!
Even as you move along with this dough, it will resemble a jiggly mass that seems to be barely holding its shape. Again, just go with it as much as you can, adding only enough flour to remove extreme stickiness.
Recipe Tips
I cannot recommend the use of a silicone bowl scraper enough when dealing with this dough. It’s worth picking one up for this bread for sure – it’s a sanity saver! A metal bench scraper sprayed with cooking oil will also work. If all else fails, a large silicon spatula would be my choice. All these tools will allow you to work this dough without actually touching it with your hands, which is a bonus when working with a sticky dough.
Storing and Freezing
Store baked bread in an airtight container at room temperature for a couple of days, or freeze for longer storage.
Want to save this recipe?
Enter your email and I'll send it to your inbox. Plus, you'll get great new recipes from me every week!
By submitting this form, you consent to receive emails from Seasons and Suppers.
You can unsubscribe at any time.
Get the Recipe: Homemade Ciabatta Bread
Ingredients
Yeast Starter Dough: (Start 8-12 hours ahead - the night before works perfectly)
- 1/2 teaspoon active dry yeast or instant yeast
- 3/4 cup (177 ml) water, at room temperature
- 1 cup (125 g) bread or all-purpose flour, bread flour recommended
Ciabatta Dough:
- 1/2 teaspoon active dry yeast or instant yeast
- 3/4 cup (177 ml) water, at room temperature
- All of the Yeast Starter Dough From above, plus the following:
- 2 cups (250 g) bread or all-purpose flour, bread flour recommended
- 1 1/2 teaspoons salt
Instructions
- This bread dough is very moist and loose, but only use as much additional flour as you need to be able to handle it without it sticking. Be sure to start your starter dough 8-12 hours ahead of when you want to make your bread.
- For the Yeast Starter Dough: Combine all ingredients in a 1-quart (4-cup) bowl and stir well. Cover with plastic wrap and allow to sit at room temperature for 8-12 hours (overnight works perfectly).
- For the Ciabatta Dough: In a large bowl or the bowl of a stand mixer fitted with a paddle attachment, stir the yeast in to the water. Add all of the Yeast Starter Dough that you made earlier and has been sitting. Mix briefly. Add the flour and salt and mix to combine. Beat on medium-low for 3 minutes. Stop the mixer and let dough rest for 10 minutes. Beat again on medium-low for 3 minutes. Stop again and let dough rest for 10 minutes.
- Remove dough to a lightly oiled bowl large enough to hold double the amount of dough. Cover the bowl with plastic wrap and let the dough rest until it starts to puff up, about 30-45 minutes.
- Using a silicone bowl scraper or spatula, scrape the dough on to a well-floured work surface. Have a cup of flour handy to use. Sprinkle the top of the dough with some flour. Using your silicone bowl scraper, scoop up one edge of the dough and fold it over the top of the dough to reach the middle. Scoop up the opposite edge and scoop it up to cover the fold you just made. Add some more flour to your board and the top of the dough (just enough to control stickiness). Let dough rest for 15 minutes and then repeat this same folding. Let rest another 15 minutes.
- Line a baking sheet with parchment paper. Sprinkle the parchment paper with flour. Roughly shape the dough in to an 8x8-inch square . Using a sharp knife, cut your dough into two 4x8-inch rectangles. Gently transfer to the parchment-lined baking sheet by using a bench scraper positioned underneath the rectangles to support it. Flour the top of the dough then cover with a tea towel and allow to rise until puffy, about 30 minutes.
- Meanwhile, preheat oven to 475° F. (regular bake setting/not fan assisted)
- Bake in the preheated oven for 20-25 minutes, or until deep golden brown and the internal temperature is over 200° Transfer to a cooling rack to cool.
Notes
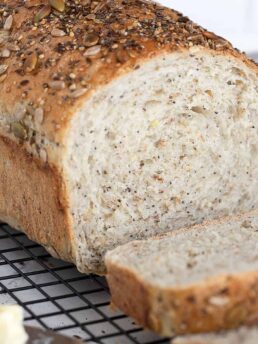
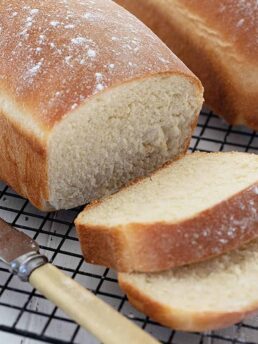
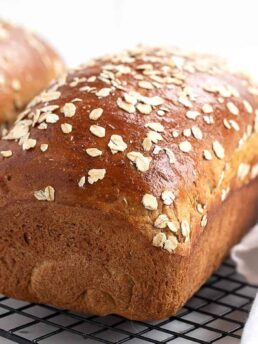
More Bread Recipes to Love!
Hi! I’m Jennifer, a home cook schooled by trial and error and almost 40 years of getting dinner on the table! I love to share my favourite recipes, both old and new, together with lots of tips and tricks to hopefully help make your home cooking enjoyable, stress free, rewarding and of course, delicious!
Instead of 2 loaves, would it work if I divided it into 4? I was thinking of making long buns for steak and cheese sandwiches.
That should work just fine! Enjoy :)
Took awhile to make but was worth it in the end. Was very soft, light and airy. Thin crisp crust. Loved by my husband and friends.
So glad to hear, Kathy :) Thanks so much!
Made this bread for the first time this weekend (actually first time making bread!) and it turned out great! Thanks! Will certainly make it again.
So pleased to hear, Mitch. Thanks so much!
They turned out wonderfully! My husband kept cutting another slice. He’s a hard critic. So that’s a big deal. I will definitely make this recipe again. Thank you for sharing it!
I’m so glad to hear, Holly! Thanks :)
Made your cibatta bread recipe and it came out fantastic.
I followed your receipe exactly and the directions were so easy to follow.
A couple of questions on the yeast starter dough which I used it after 9 hours. If I let it sit longer would it effect taste? Can I let it sit longer then 12 hours?
By the way, I also made your hamburger bun recipe and they were so yummy and they looked like I bought from the market. Both recipes are keepers. Thanks so much.
So glad you enjoyed it, Lori! Thanks so much :)
In the past, I have made this recipe a few times out of all-purpose flour, and every time it would taste amazing. However, since I have been trying to opt for healthier grains, it has been a while since I made your ciabatta recipe. Today, I made it out of All-O-Wheat Whole Wheat flour. I followed grams for both water and flour (teaspoons for everything else). It was way to wet to work with so I added an extra 1/4 cup to 1/3 cup of flour (to be honest I don’t know the correct quantity as I chucked some in). This produced a more workable dough with a great amount of elasticity. The results were definitely not as good as when it was made out of all-purpose flour. However, it wasn’t bad either, it was a little dense though (perhaps because I added the extra flour). Will definitely be making it again out of Whole Wheat but without adding any extra flour!
(leaving a review again because I forgot to rate it the first time!)
Hi Sadia and so glad you are enjoying this recipe. Whole wheat flour will bring a new set of considerations to this recipe. Whole wheat flour will absorb more liquid, so generally you would want to either reduce the amount of whole wheat flour (vs. all-purpose flour) OR increase the amount of liquid. Adding a dough rest to the process may help, allowing the whole wheat flour a bit of time to absorb the liquid.
I just want to let you know that I have been making this recipe for a few years now. It is perfect every time! I had to start doubling and even tripling the recipe because my family eats it all as soon as it’s cool enough to cut. Thank you!
I’m so glad to hear, Beth! Thanks so much :)
Tried this for the first time. My bread came out okay. I think I sprinkled flour a little too generously when I was folding the dough, and I didn’t see the big bubbles in the finished product that I normally associate with ciabatta. I think it may have been too cool in my house for the bread to really rise well. But it tastes great, and I’ll make it again! Any flaws I’m chalking up to operator error. :-)
Ciabatta dough is really tricky, Lisa. It’s a bit like silly putty, which makes it a challenge to work with. I had to make it several times before I got it right, for sure.
Can this be made successfully without a stand mixer?
Hi Debra and yes, it is possible, but not nearly as easy. The dough is too wet to knead by hand, so you would need to use some method for working wet dough by hand (stretch/fold) etc. King Arthur website has an article about kneading wet dough that might give you some guidance.
I have made this recipe dozens of times with excellent results. Any tips on making rolls instead of loaves?
Hi Anne and I’m so glad you are enjoying this ciabatta!! For rolls, I just cut the logs into 3 or 4 square pieces. It works better if the squares are a bit larger.
I’d like to add chopped nuts and dried cranberries to it. Is that possible?
It is possible, but you won’t be able to knead them in at any point. You’d just have to add them when mixing the dough.
I’ve made this recipe about 3 times now, and absolutely love it! Still working out the kinks in my technique, because for some reason I get all the lovely air pockets but it only wants to rise outward and not upward. BUT, even though mine isn’t always pretty, this bread has quickly become a household favorite. Thanks so much!
So glad you are enjoying it, Krystal :) Sometimes the easiest way to make it rise up instead of out is to tuck a rolled-up tea towel under the parchment on either side to create a bit of a wall for the dough. Just pull them out right before you pop the pan in the oven.
My FAVORITE ciabatta bread recipe! It’s so good! I usually make it twice a month. It’s great to freeze too. I live alone, so it’s nice to have some extras to throw in the freezer. Such a fun and simple recipe packed with flavor. I’ve been making this recipe since last year. I just forgot to leave a review. Making a loaf right now! Thank you for putting out wonderful recipes like this for the world for free. I truly appreciate it!
So glad to hear, Tara! Thanks so much :)
First time making any kind of bread. Pretty easy to follow the recipe, and it turned out great
So glad to hear, Caren :) Thanks so much!
Finally made this recipe. Thank you, Jennifer. Our new favourite
So glad to hear, Donna :) Thanks so much!
First time making this bread. Most recipes seemed very, very long. This was perfect. Got some large holes. Probably should have had more but will try again. Delicious taste. Hubby loved it.
Thank you for posting.
So glad you enjoyed it, Carole! Thanks so much!