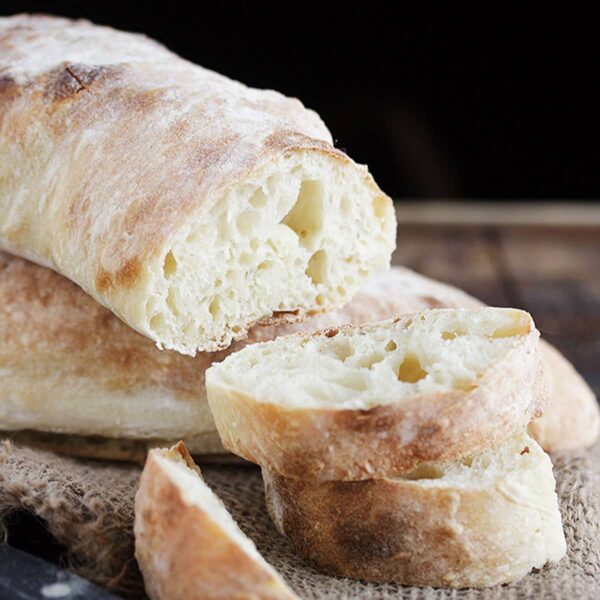
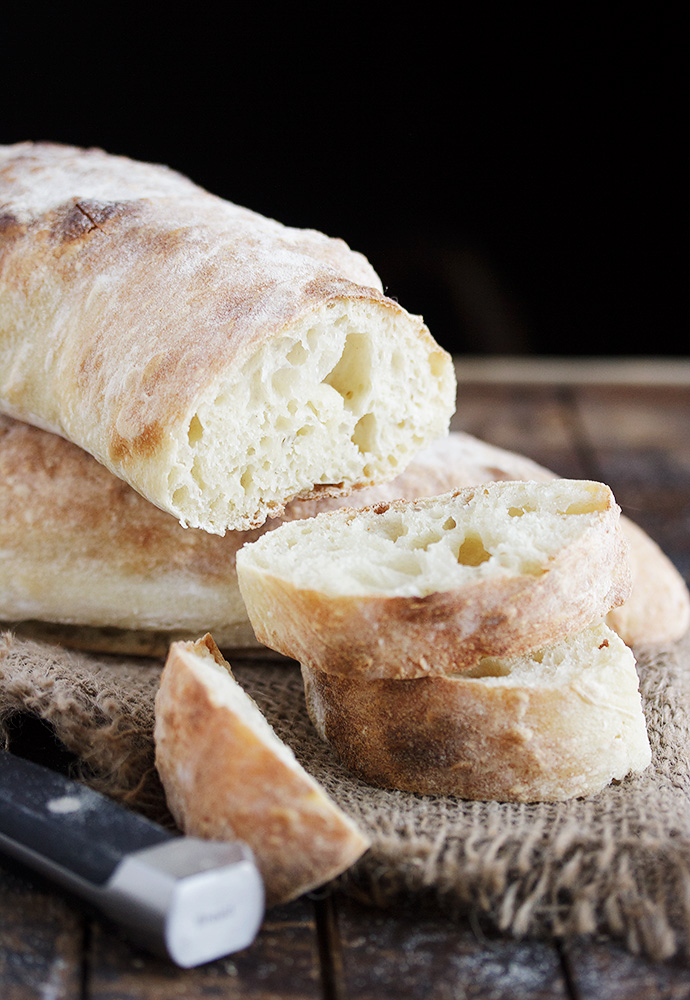
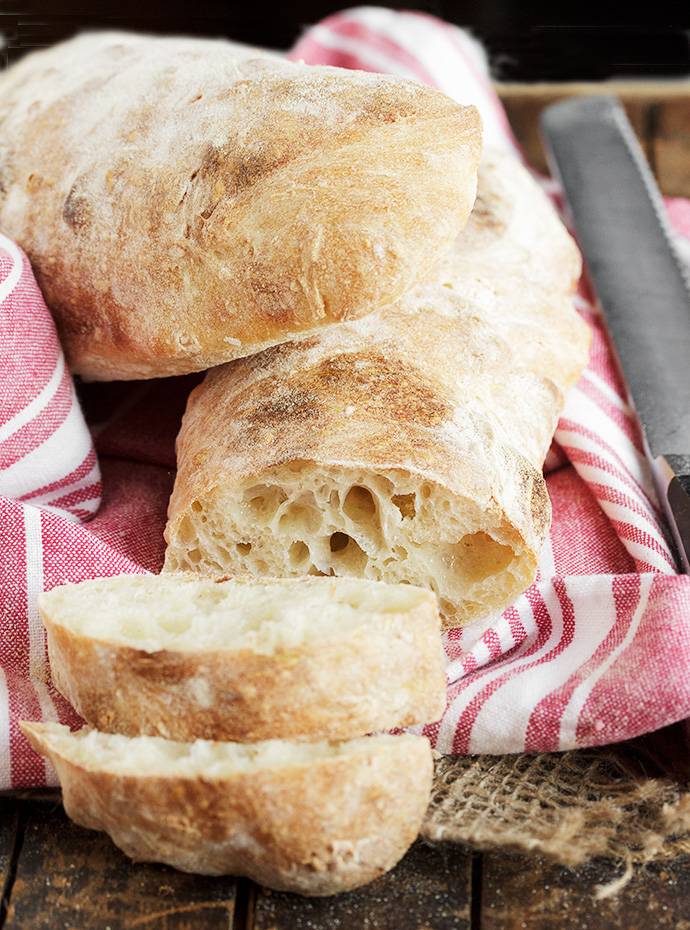
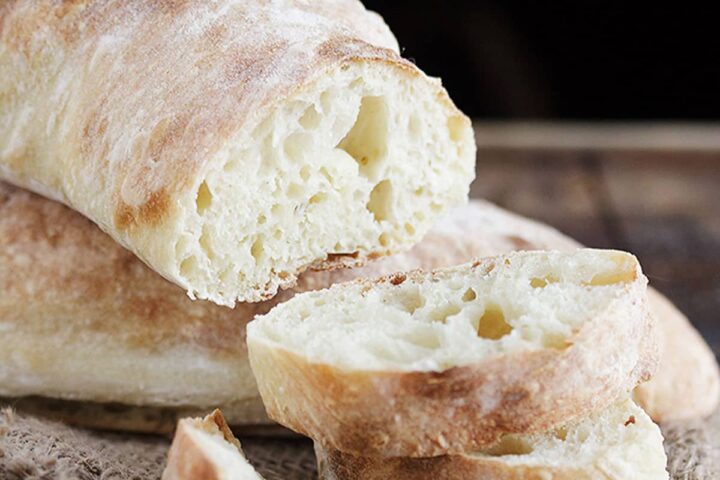
Delicious homemade ciabatta bread is not nearly as hard to make at home as you may think! This ciabatta recipe is great for first-time ciabatta bakers!
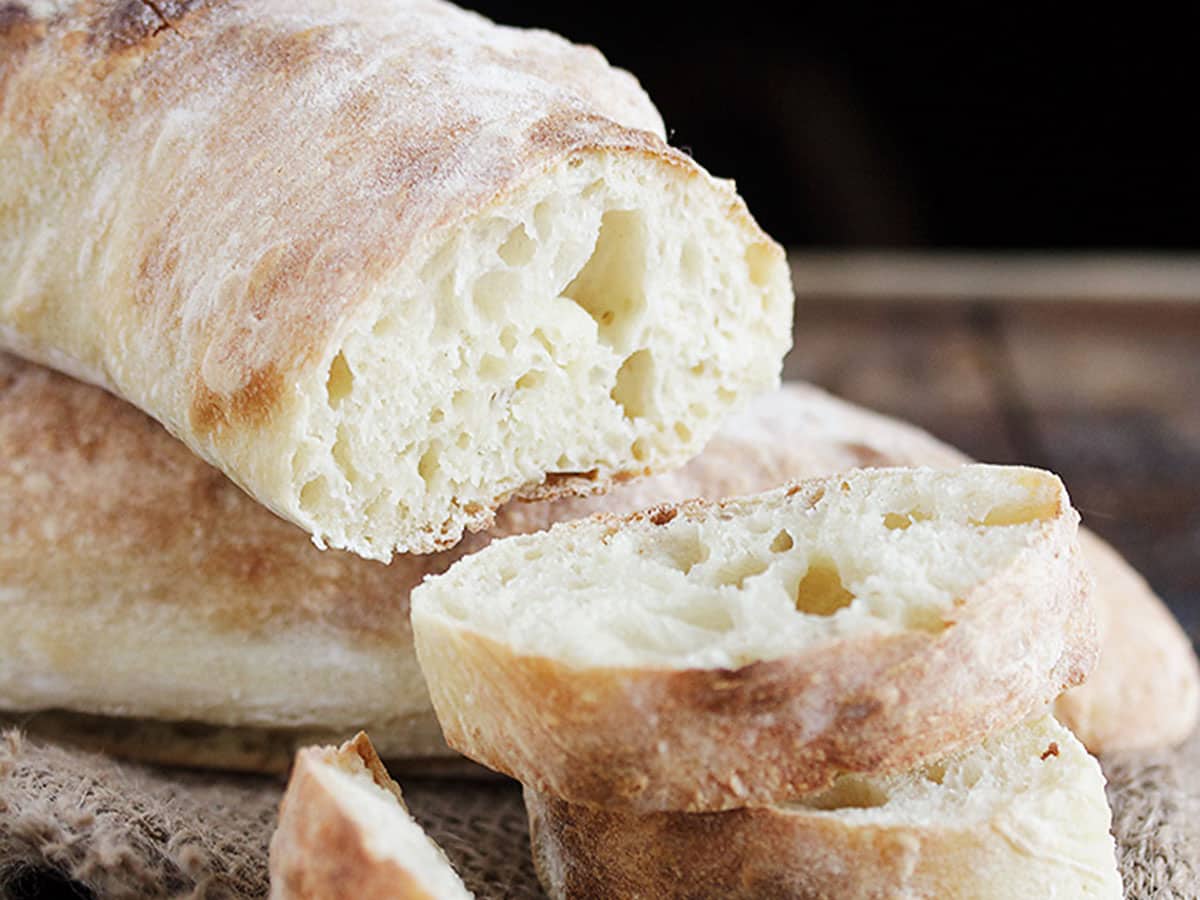
If you’re anything like me, the weekends are when I really dig in to cooking and baking projects. So in that spirit, I thought I’d share a great recipe for making this delicious ciabatta bread recipe this weekend. It’s not nearly as hard to make as you might think.
I’m not going to lie though, this is probably not the bread that should be your first bread-baking experience. It’s somewhat unique in both it’s consistency and method. That’s not to say it’s hard – just different :)
Ingredients and Substitutions
Flour – Bread flour will always give the best results when making ciabatta, but all purpose flour will technically work, with a bit of a compromise on texture. You may find you need a little extra flour is using all purpose flour.
Yeast – I only use SAF Instant Yeast for all my yeast baking. I highly recommend it. Regular Active Dry yeast will also work.
Making this ciabatta bread
This bread starts with a yeast “starter” dough. I like to mix it up quickly before going to bed and then let it bubble away on the counter over-night. Then the next morning, I can just carry on with making the bread.
Once you mix the dough, you’re immediately going to notice that you have more of a batter than a dough. Resist the urge to add more flour at this point. The secret to those great holes it to have a really moist dough and the more flour you add, the more you’ll be defeating that.
This is not a bread dough that will ever be kneadable!
That said, you will need to add a little bit of flour along the way here. Purists will suggest flouring your hands (or even wetting them to deal with the dough). That’s great advice if you have lots of experience with wet dough. For the rest of us, a little sprinkling of flour here and there is a sanity saver!
Even as you move along with this dough, it will resemble a jiggly mass that seems to be barely holding its shape. Again, just go with it as much as you can, adding only enough flour to remove extreme stickiness.
Recipe Tips
I cannot recommend the use of a silicone bowl scraper enough when dealing with this dough. It’s worth picking one up for this bread for sure – it’s a sanity saver! A metal bench scraper sprayed with cooking oil will also work. If all else fails, a large silicon spatula would be my choice. All these tools will allow you to work this dough without actually touching it with your hands, which is a bonus when working with a sticky dough.
Storing and Freezing
Store baked bread in an airtight container at room temperature for a couple of days, or freeze for longer storage.
Want to save this recipe?
Enter your email and I'll send it to your inbox. Plus, you'll get great new recipes from me every week!
By submitting this form, you consent to receive emails from Seasons and Suppers.
You can unsubscribe at any time.
Get the Recipe: Homemade Ciabatta Bread
Ingredients
Yeast Starter Dough: (Start 8-12 hours ahead - the night before works perfectly)
- 1/2 teaspoon active dry yeast or instant yeast
- 3/4 cup (177 ml) water, at room temperature
- 1 cup (125 g) bread or all-purpose flour, bread flour recommended
Ciabatta Dough:
- 1/2 teaspoon active dry yeast or instant yeast
- 3/4 cup (177 ml) water, at room temperature
- All of the Yeast Starter Dough From above, plus the following:
- 2 cups (250 g) bread or all-purpose flour, bread flour recommended
- 1 1/2 teaspoons salt
Instructions
- This bread dough is very moist and loose, but only use as much additional flour as you need to be able to handle it without it sticking. Be sure to start your starter dough 8-12 hours ahead of when you want to make your bread.
- For the Yeast Starter Dough: Combine all ingredients in a 1-quart (4-cup) bowl and stir well. Cover with plastic wrap and allow to sit at room temperature for 8-12 hours (overnight works perfectly).
- For the Ciabatta Dough: In a large bowl or the bowl of a stand mixer fitted with a paddle attachment, stir the yeast in to the water. Add all of the Yeast Starter Dough that you made earlier and has been sitting. Mix briefly. Add the flour and salt and mix to combine. Beat on medium-low for 3 minutes. Stop the mixer and let dough rest for 10 minutes. Beat again on medium-low for 3 minutes. Stop again and let dough rest for 10 minutes.
- Remove dough to a lightly oiled bowl large enough to hold double the amount of dough. Cover the bowl with plastic wrap and let the dough rest until it starts to puff up, about 30-45 minutes.
- Using a silicone bowl scraper or spatula, scrape the dough on to a well-floured work surface. Have a cup of flour handy to use. Sprinkle the top of the dough with some flour. Using your silicone bowl scraper, scoop up one edge of the dough and fold it over the top of the dough to reach the middle. Scoop up the opposite edge and scoop it up to cover the fold you just made. Add some more flour to your board and the top of the dough (just enough to control stickiness). Let dough rest for 15 minutes and then repeat this same folding. Let rest another 15 minutes.
- Line a baking sheet with parchment paper. Sprinkle the parchment paper with flour. Roughly shape the dough in to an 8x8-inch square . Using a sharp knife, cut your dough into two 4x8-inch rectangles. Gently transfer to the parchment-lined baking sheet by using a bench scraper positioned underneath the rectangles to support it. Flour the top of the dough then cover with a tea towel and allow to rise until puffy, about 30 minutes.
- Meanwhile, preheat oven to 475° F. (regular bake setting/not fan assisted)
- Bake in the preheated oven for 20-25 minutes, or until deep golden brown and the internal temperature is over 200° Transfer to a cooling rack to cool.
Notes
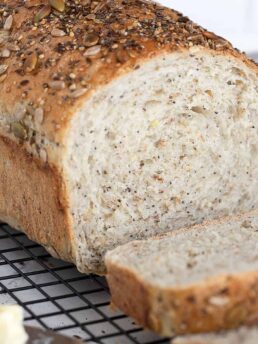
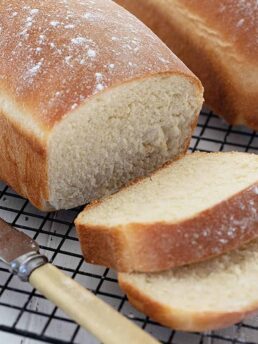
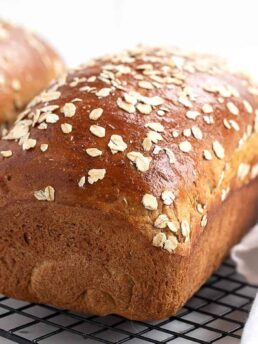
More Bread Recipes to Love!
Hi! I’m Jennifer, a home cook schooled by trial and error and almost 40 years of getting dinner on the table! I love to share my favourite recipes, both old and new, together with lots of tips and tricks to hopefully help make your home cooking enjoyable, stress free, rewarding and of course, delicious!
Bread turned out great! I put ice cubes in a pan I heated up with the oven on the lower rack. That really helped with a crisper crust.
Tastes really good! I didn’t get the big bubbles in the bread but I am guessing that was from moving the loaves too much to get on the baking stone. Not sure what the trick to that is but not easy to move such a soft dough.
Will definitely use this recipe again!
So glad you enjoyed it, Tracey. I will often transfer it to the oven on parchment, to avoid deflating the bread. Once the bread is set, you can easily remove the parchment.
Looks delicious! Will be trying this recipe this weekend; can bread flour be substituted for the AP flour?
Hi Chris and yes, you can sub bread flour, though start with a little bit less than specified for the all purpose, as I find you need less bread flour generally.
I made this bread today. I will absolutely make it again. I give it 5 stars.
So glad you enjoyed it, Barbara! Thanks :)
New family favorite ! Topped with cheese cracked pepper and Jalapeño…yum !
So glad you are enjoying it, Kyna! Thanks so much :)
great bread!
just one question. are the nutrition facts per loaf?
Usually the nutrition is per serving, but for this recipe, it is per loaf.
just made this bread and it came out amazing! perfect for a caprese sandwich :)
So glad to hear and loving the sound of a caprese sandwich :)
The taste is amazing. I’ve made it twice. I’ve been weighing the flour instead of going by volume, but I think I need to add some more flour. Do you have the list of ingredients bt weight, by any chance? I know the dough is supposed to be wet, but I think mine is way too wet.
Hi Eliana, When it comes to flour, there is no absolute amount, whether measured in volume or weights. You should add as much as you need to add to make the dough workable, while still keeping it as wet as possible to get those big holes. If you feel you need to add a bit more flour to get there, add a bit more flour :)
What a fantastic recipe..it came out beautifully..thanks!
Glad to hear :) Thanks so much!
I made the starter and it was extremely water. I set it at room temp for 12 hrs and it looked like the water in the starter had settled at the top? Is that normal?
Yes, that’s normal. Just stir the starter up before using.
A paddle mixer was too hard on my Kitchen Aid. Switched to a dough hook and no problems. Dough is more firm than I imagined based on the above description. Looks good so far though. Thanks for the recipe!
Glad to hear, Matt :) Thanks!
Made this todayit seemed to turn out pretty good. Still could use some tweaking on my baking. Family says it tastes great.
Glad to hear, Bonnie! It’s a tricky (sticky!) dough, so will only get better and better the more often you work with it :) Thanks so much!
Holy wow this is so yummy! I made rolls and my 21-year old daughter is stuffing a still-warm turkey sandwich in her face right now. Delicious! Great texture and flavor. Thank you!
So glad to hear, Sue :) Thanks so much!
If I want to make sandwich sized rolls, is the bake time still the same?
Hi Victoria, I would suspect it would be less, though I don’t know exactly how much, as I’ve never tried it myself.
Can instant yeast be used instead of active dry yeast?
Yes it can, Morgan (I actually use Instant myself). Enjoy!
Hello Jenny, I made this version in whole wheat and it is delicious!! Thanks for sharing.
Also I was wondering how much is the portion size of the nutritional label at the end of the receipe?
Thanks,
Montse
Glad to hear! As for the serving size, this is one of the few recipes where the nutrition is for the entire yield of the recipe (not per serving, as indicated on the label) Thanks!
The recipe looks AMAZING! I’m planing on making it in the following days and I was if it is better to use active dry bread yeast or is it better to use normal active dry yeast. Thanks!
Hi Elisabeth, I’m not exactly sure what active dry bread yeast is, but normal active dry yeast will do just fine with this one :)
What if you dont have a mixer?
You can make this without a mixer, Christal. Several people have had great success making it by hand. Just follow the steps with a spoon and a bowl. A silicon spatula works especially well with this wet dough.