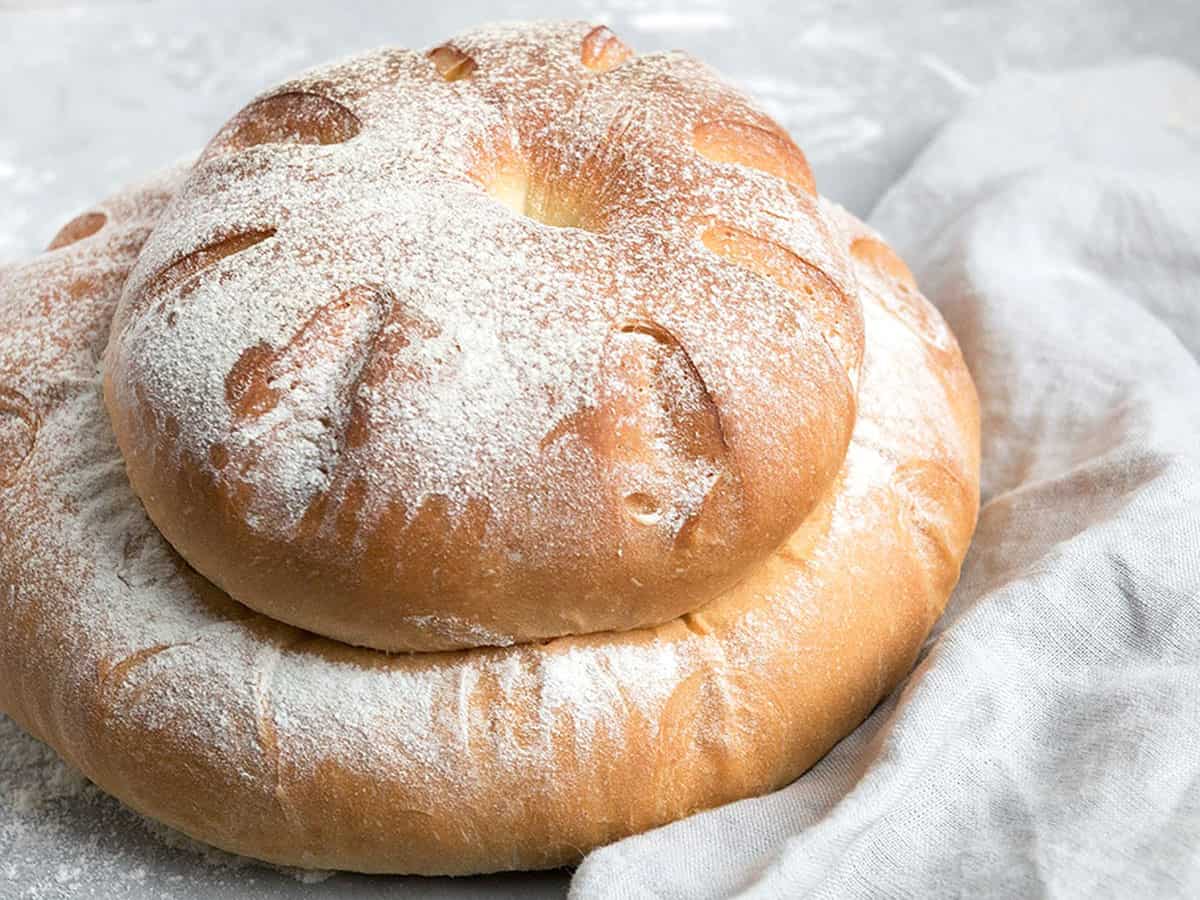
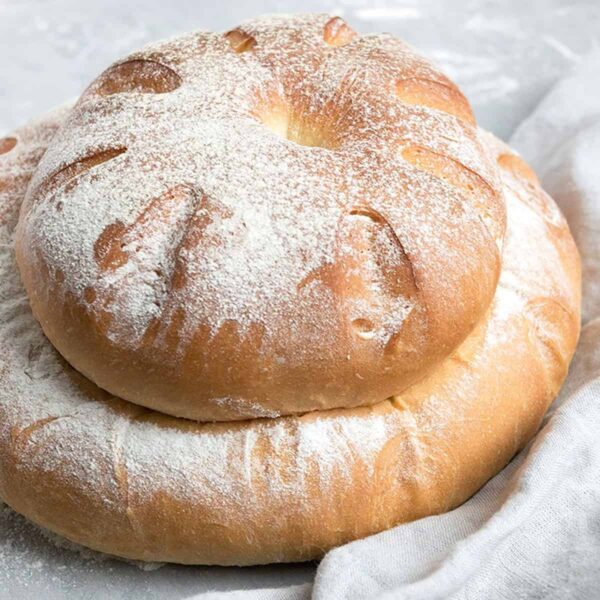
A classic crusty loaf, this British cottage loaf is a delicious white bread baked up in a unique free-form shape.
One of my favourite parts of the Christmas holiday break is taking advantage of the lazy days to binge watch something on TV with the family. This year, we enjoyed a day (or three :) of the Great British Bake-Off.
I realized early on that while I tend to consider myself a baker, I’m definitely not a baker on that level! I don’t have near the patience or skill for most of those bakes. That said, there were a few things that caught my eye and seemed like they would be a fun little at home baking challenge.
I had never heard of cottage loaf before, but it seemed like a basic loaf of white bread that was just shaped uniquely, so I figured I could maybe handle it. So I tucked the idea away for a quiet snowy day’s baking adventure.
That quiet snowy day finally came, and here it is! My first cottage loaf. And let me tell you, it is a delicious loaf of bread and only a bit more work than with a regular pan loaf.
I did have a little oven trouble (see the Recipe Tips :), so I definitely didn’t ace this first little baking challenge, but I am looking forward to making it again.
Ingredients and substitutions
A few notes about the key ingredients …
Flour – bread flour or strong flour is specified, for the best texture. In a pinch, all purpose should work, though you will probably need to use a bit more flour to bring the dough together and of course, the resulting bread will have a slightly different texture.
Yeast – Instant Yeast (such as SAF Brand) is specified in this recipe and is recommended. If you only have Active Dry yeast, note the instructions in the Recipe Card for proofing the yeast in the lukewarm water.
Recipe tips!
- This is the original Paul Hollywood Cottage Loaf recipe, except I substituted soft butter for the originally specified lard.
- In true Bake-Off fashion, I had a bit of baking drama when baking my loaf, when I discovered that while setting my oven timer for the first 15 minute bake, I accidentally turned off my oven. When I discovered it at the 15 minute mark, the oven temperature had dropped down to 312F. I turned the oven back on to 375F and just continued baking. While my finished loaf was fine, I suspect my rise and crust suffered a bit and my baking time was probably a bit extended.
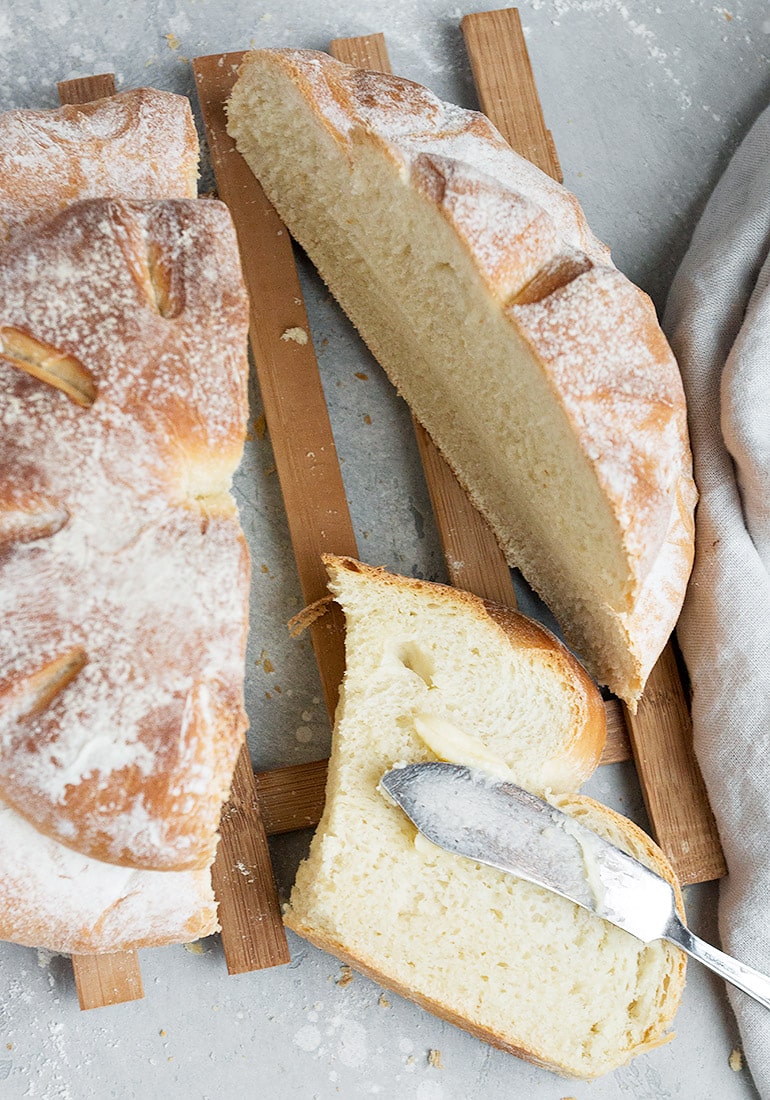
- I tested my loaf with a thermometer when I took it out and it registered about 201F. I thought that would be fine, but after cutting into it, I think it could have used a few more minutes in the oven (I think that’s what Paul Hollywood would say ;) If you have a thermometer, probably 208-210F would be a better goal.
- You may want to lay a piece of foil over the top for the last minutes of baking. The top bit starts to brown up before the loaf is done, so the foil will allow you to keep it in the oven longer without over-browning the top.
- My rise times were 1 hour for the first and another full hour for the second rise.
Storing and freezing
Store cooled bread in an airtight container for about 2 days. This bread can also be frozen up to 2 months.
Want to save this recipe?
Enter your email and I’ll send it to your inbox. Plus, you’ll get great new recipes from me every week!
By submitting this form, you consent to receive emails from Seasons and Suppers.
You can unsubscribe at any time.
Get the Recipe: British Cottage Loaf
Ingredients
- 4 cups (500 g) bread flour, plus extra for dusting
- 2 teaspoons (7 g) Instant yeast
- 1 1/4 teaspoon (7 g) fine salt
- 3 1/2 Tablespoons (50 g) butter, cut into small pieces and softened or lard
- 1 1/3 cups lukewarm water
Instructions
- If you only have Active Dry yeast, you will have to proof the yeast in the lukewarm water, as you can't add Active Dry yeast directly to the flour.
- Add the flour into a large bowl and add the yeast on one side and the salt on the other. Add the softened butter pieces and pour in about 1 cup of lukewarm water. Mix using one hand, then add a further 1/3 of water (you may not need it all, or you may need a little more), a little at a time, until all the flour is incorporated and the dough is soft but not soggy.
- Pour the dough onto a lightly floured work surface and knead for 5–10 minutes, until it is smooth and silky.
- Place the dough in a lightly oiled bowl, cover with a clean tea towel and leave to rise until doubled in size. This will take at least 1 hour and can take 2–3 hours, or longer, depending on the room temperature.
- Remove the dough onto a lightly floured surface and fold it inwards repeatedly to knock out the air and ensure that it rises upwards, rather than outwards. This is especially important in a freestanding loaf without a tin to support it.
- Tear off one third of the dough and set aside. Shape the larger piece into a ball by first flattening the dough into a rough rectangle, then rolling it into a thick oblong. Turn the dough so that the longer edge is running away from you and flatten it slightly. Now fold in the two ends to the centre and press them down, so you end up with a chunky, squarish shape. Turn the dough over, so that the join is underneath.
- With your palms turned upwards, put your hands on each side, slightly under the dough. Move the cob around, tucking the dough neatly under itself as it turns. You are gently forcing the sides of the dough down and underneath, to create a smooth, taut top and a rough underside. Avoid using too much extra flour during shaping. Place the ball of dough on the prepared baking tray.
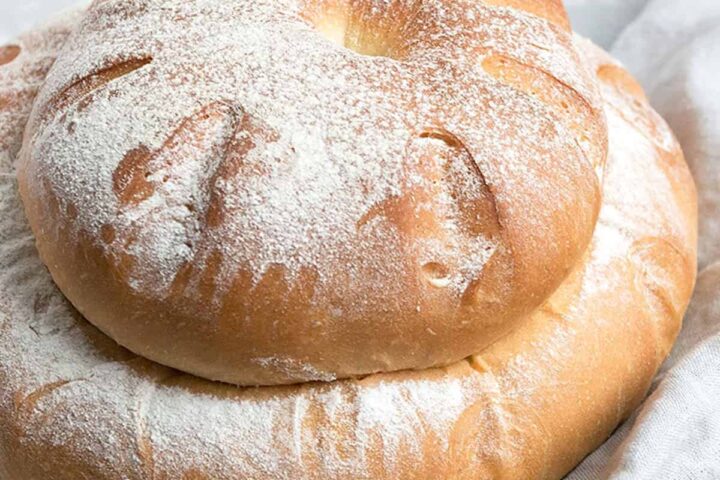
- Repeat the rolling and shaping for the smaller piece of dough, then place the smaller ball on top of the larger ball. Flatten the top slightly, then dust your middle finger and forefinger with flour and push them through the centre of the loaf all the way to the bottom. Use a sharp knife to make 8 slashes in the surface of both the top and larger lower part of the loaf.
- Place the tray inside a large, clean plastic bag and leave to prove for 1 hour, or until well risen, and springy when prodded. Meanwhile, heat the oven to 415°F and put a roasting tray in the bottom of the oven to heat up.
- Remove the risen loaf from the bag and dust with flour. Fill the roasting tray with cold water to create steam and put the bread in the oven. Bake for 15 minutes, then lower the oven to 375°F and bake for a further 20–25 minutes, until crusty, golden brown and the base sounds hollow when tapped. (If not, put it back into the oven for another 5 minutes.)
- Transfer the baked loaf to a wire rack to cool.
Notes
More bread recipes to love!
Hi! I’m Jennifer, a home cook schooled by trial and error and almost 40 years of getting dinner on the table! I love to share my favourite recipes, both old and new, together with lots of tips and tricks to hopefully help make your home cooking enjoyable, stress free, rewarding and of course, delicious!



Made my second Cottage Loaf tonight. So much fun to make and eat!
So glad you are enjoying it, Cindy and yes, it is a fun loaf! Thanks :)
I am just beginning to learn to bake and this bread was a new challenge for me. But, your instructions were spot on and it turned out lovely. The bread is light, crusty and delicious! Just wondering, can you use a stand mixer dough hook for the kneading?
Hi Melinda and so glad to hear! And yes, you can always opt for the mixer kneading for this one (or just about any dough, if you prefer). Thanks!
I made this loaf this evening.
It’s was a long process and waiting but it was certainly worth it. The shape wasn’t right but the taste and the crust is fabulous. Everyone is waiting for toasted fresh bread in the morning.
So glad to hear! Thanks :)
What a gorgeous loaf, I love the shape!
I don’t have the patience either Jennifer. I wish I did though. This loaf looks absolutely beautiful! You always inspire me to challenge myself! On my list!
Thanks Mary Ann :)
We love that show too! And I have a feeling with this gorgeous loaf, the Great British Bake-Off just might sign you on! Beautiful job!
Thanks so much, Annie :)
Sounds like an entertaining baking adventure! Things like ‘accidentally’ turned off the oven happen to me too (all the time:) Just yesterday I accidentally used all-purpose flour instead of bread flour and my sourdough was acting weird and the loaf tasted off. Yet your British cottage loaf looks incredible! Such a cozy name too. I’d love to make one.
Thanks! I curse my oven daily! The “Cancel” button (that turns the oven off) is right below the “Start Timer” button. When I rush and my aim is bad, I usually end up turning my oven off AND not starting the timer (twice as bad!). I have no idea how I managed to turn off the oven but start the timer :) In any event, it’s obviously a very forgiving loaf. And delicious, so definitely worth the bake, for sure.
I’ve never heard of this, but would love to try! And who doesn’t love the taste and smell of freshly baked bread smeared with butter??
That’s what I figured, Dawn :) Thanks!
We are in awe of those wonderful recipes for sure – such a great show! It’s easy to see why it’s so popular. And this loaf – it is absolutely gorgeous! I love baking this time of year and could really hurt myself on this gorgeous loaf. Great job Jennifer!
Thanks so much, Tricia :)