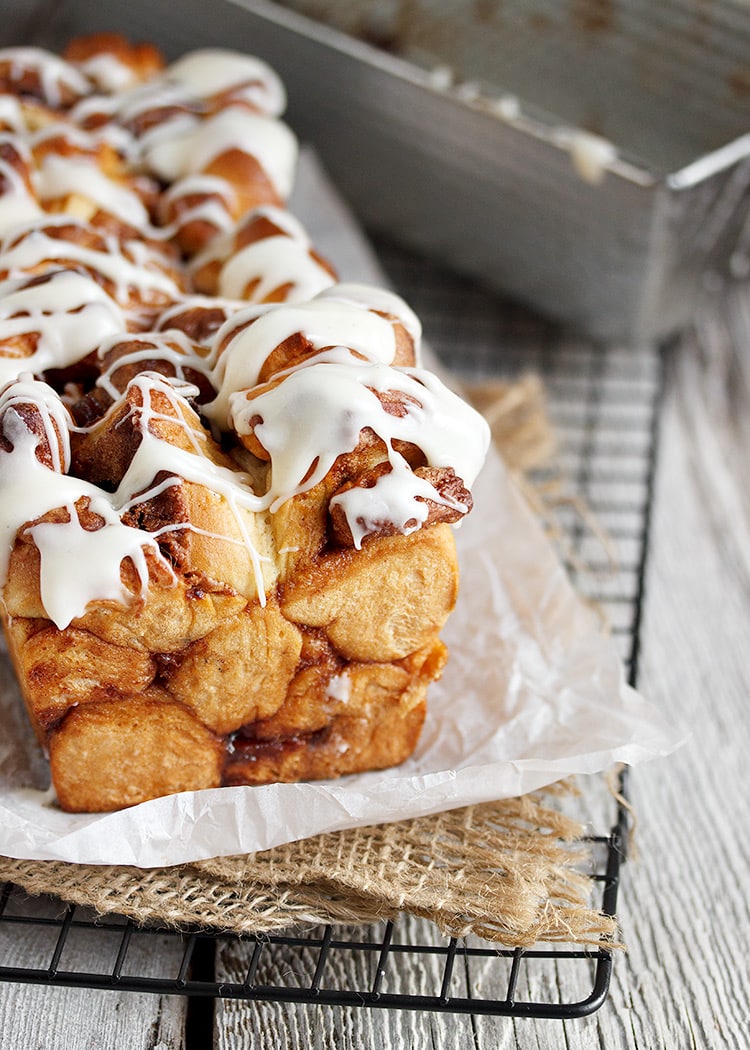
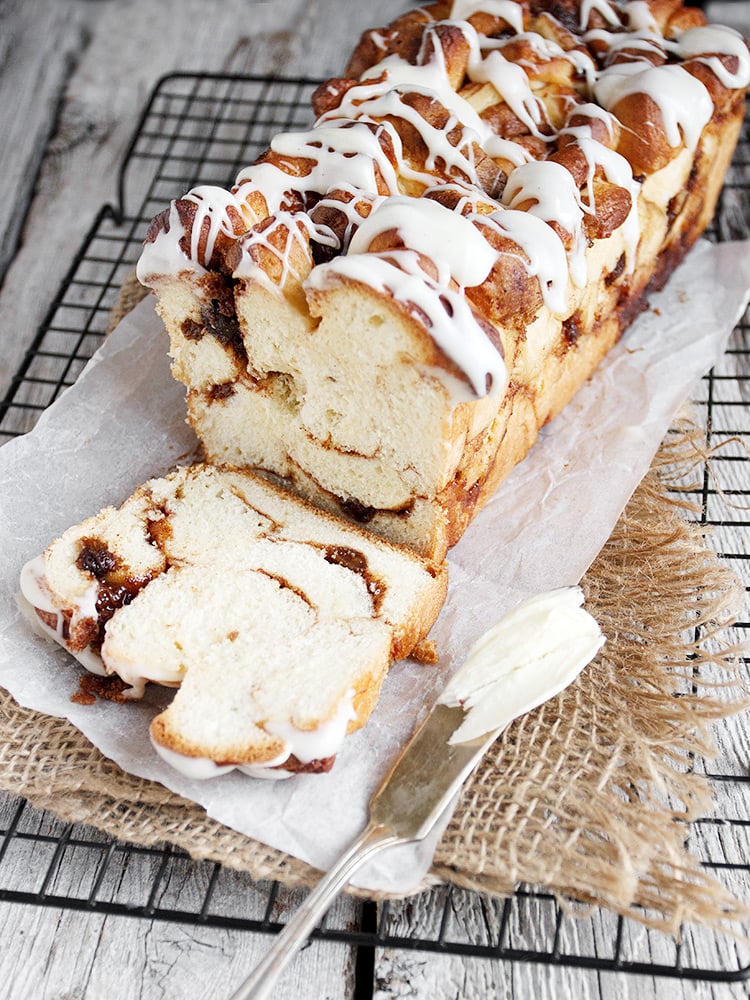
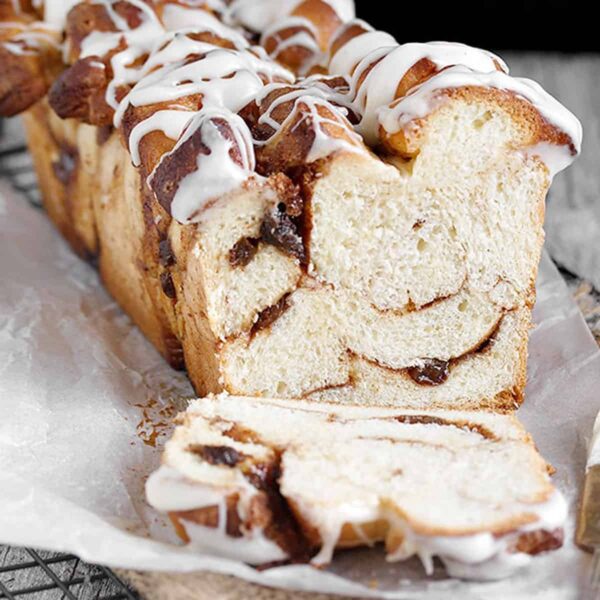
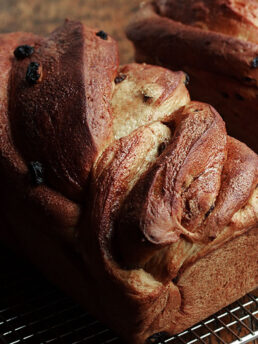
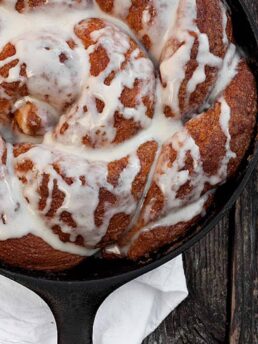
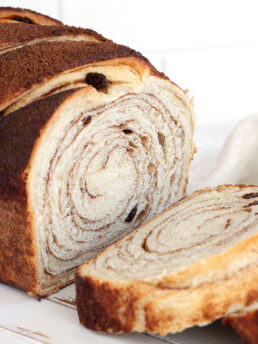
A sweet, glazed cinnamon raisin bread, with a pretty cobblestone effect. An easy and delicious bread!
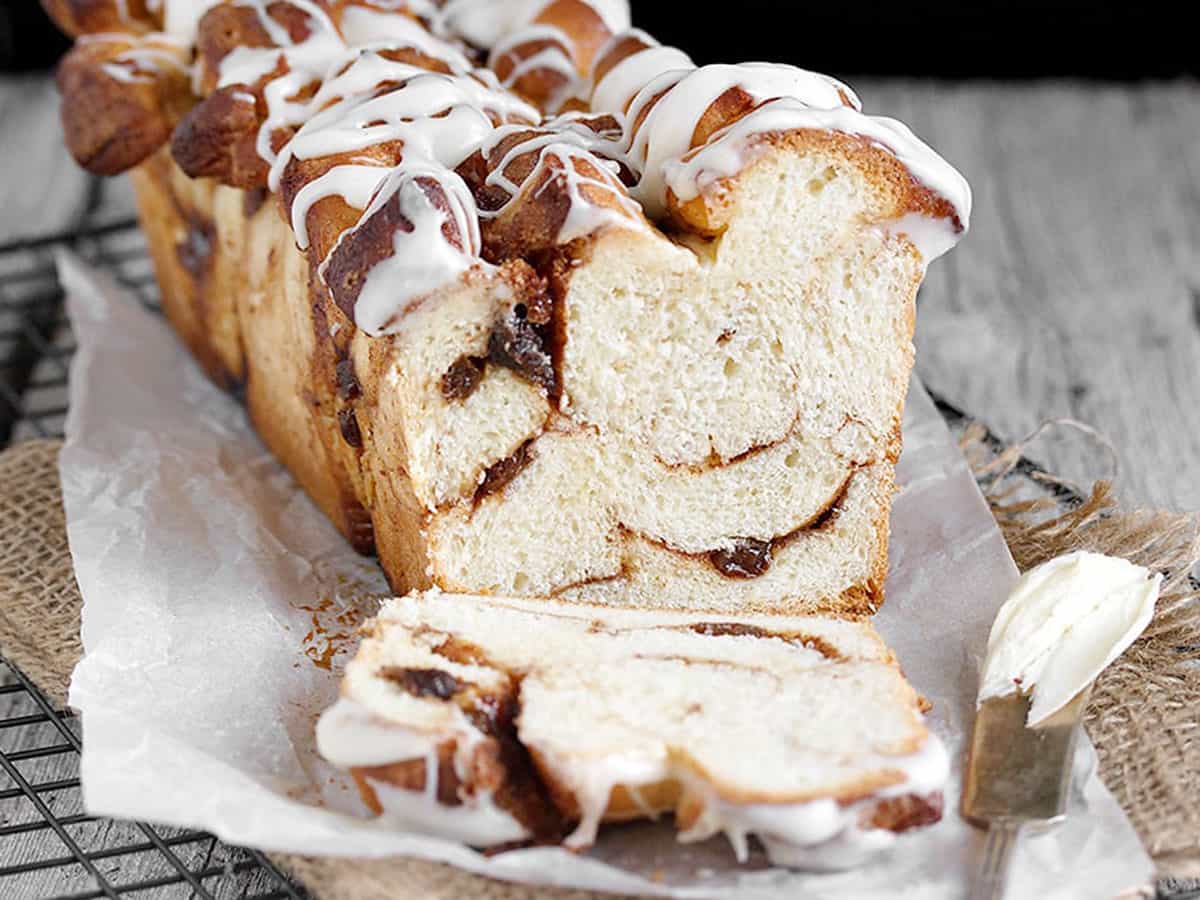
I have a sweet spot for cinnamon raisin bread and this cobblestone bread is a unique way to enjoy it.
The pretty cobblestone effect is made by cutting the jelly-rolled dough (with the cinnamon/raisin mixture inside), into small chunks and then layering them in the loaf pan. The finished loaf retains the cobblestone look, but bakes up into a solid, sliceable bread.
Ingredients and substitutions
A few notes about the key ingredients …
Yeast – you can use Instant or Active Dry yeast for this bread. I have included instructions for both types.
Bread flour – bread flour is recommended, for best results. All-purpose flour could be used in a pinch, though you may need to use a touch more flour to bring the dough together.
Raisins – you can use any type of raisin, though I prefer to use Thompson raisins generally.
Recipe tips!
- When making bread, the amount of flour specified is always an approximate amount. I always hold back 1 cup and add only as much as is needed to make a smooth, moist (not sticky) dough.
- If you have an instant read thermometer, rather than guess if your bread is cooked through, use it to test your bread for doneness. Simply insert the probe in the centre of the bread. It should read in the 190-200F range when done.
My Best Tips for Baking with Yeast
I think most of the problems people have with baking with yeast, is treating yeast-based recipes like say, a cake recipe, where you just measure the ingredients, mix them all together and bake.
Yeast-based recipes just can never be that precise. Things like temperature, moisture in the flour your are using, the season your are baking in and rising time can differ from one kitchen to the next. All that makes yeast recipes less consistent from one kitchen to the next.
Now that you know this though, that’s more than half the battle :) Baking with yeast isn’t just measuring, mixing and baking, like a cake, for example. You’ll need to add to the mix a little trust in what you see (it looks sticky, so it needs more flour, regardless of how much flour the recipe says should go in), and a feel for the dough (does it feel smooth like a baby’s bottom when you’re done kneading?) and watching much it has grown in size as it rises (rather than watching the clock). Do that, and all will be good!
- Be careful with the temperature of your proofing liquid before adding the yeast, so you don’t compromise the yeast from the start. If the liquid is too cold, the yeast won’t activate. Too hot and it will die. The best temperature range for proofing liquid is 105-110F for Active Dry Yeast. Instant yeast is a bit more forgiving and can take temperatures up to 120F. All yeasts die at about 140°F. An Instant Read thermometer is handy to have on hand to check.
- Always treat the amount of flour specified in yeast-based recipes as “approximate”. Flours will vary from kitchen to kitchen and by season, so the amount needed to make a smooth, soft dough will vary.
- Given tip #2, I always hold back 1/4-1/3 of the flour specified in a recipe and add in only as much as is needed. If you dump all the flour in at the start, you may find that it is too much and it’s difficult to adjust well after that.
- Use a large glass measuring cup to proof your dough. It’s easy to see when the dough has doubled.
- Be patient. Rising times are also “approximate” and will vary as well. Trust what you see and not the clock.
Want to save this recipe?
Enter your email and I’ll send it to your inbox. Plus, you’ll get great new recipes from me every week!
By submitting this form, you consent to receive emails from Seasons and Suppers.
You can unsubscribe at any time.
Get the Recipe: Glazed Cinnamon Raisin Cobblestone Bread
Ingredients
Dough:
- 1/2 cup lukewarm milk , about 110°F
- 1/4 cup white granulated sugar
- 1 1/2 teaspoon Active dry or Instant yeast
- 1 large egg, at room temperature
- 1 large egg yolk, at room temperature
- 2 1/4 cups bread flour , or unbleached all-purpose flour, spooned and levelled, plus more as needed
- 1/2 teaspoon salt
- 1/2 cup salted unsalted butter, very soft (but not melted)
Filling:
- 1 large egg, lightly beaten
- 1/2 cup light brown sugar, firmly packed
- 2 teaspoons ground cinnamon
- 1/2 cup raisins, plumped (see instructions)
Optional Glaze:
- 1 cup icing/confectioners’ sugar
- 2-3 Tablespoons milk
- 1/4 teaspoon vanilla
Instructions
- For the dough: Combine the warm milk and sugar in a large bowl or the bowl of the stand mixer and sprinkle the yeast over the top. Stir to blend well. Let the mixture stand for 5 to 10 minutes, until the yeast is activated and foamy or bubbling. Add the egg and yolk and whisk by hand until well blended. Stir in the flour and salt with a spatula. Attach the dough hook and knead on low speed for 2 minutes. The dough may look ragged at this point. Increase the speed to medium and knead for 1 minute. With the mixer running, add the soft butter, 1 tablespoon at a time, allowing each addition to blend in before adding the next. Once all the butter has been added, decrease the speed to medium-low and continue to knead for 5 to 6 minutes longer, until the dough looks soft and silky.
- Remove the dough to a lightly buttered or oiled bowl. Brush the surface of the dough with a little butter or oil. Cover with plastic wrap and let the dough rise until doubled, 1 to 1 1/2 hours.
- To plump the raisins: Add raisins to a small bowl. Cover with very hot water and let stand 15 minutes. Drain and pat dry before adding to dough.
- Turn the dough onto a floured work surface. Press down firmly to expel some of the air. Dust with flour and roll into a 12 by 15-inch rectangle. Position the dough so that one of the long sides is parallel to you.
- Brush the dough thinly but evenly with beaten egg, leaving a 1-inch border along the long edge of the dough opposite you. In the small bowl, mix together the brown sugar and cinnamon. Sprinkle this mixture over the egg glaze, then spread it with your fingers into an even layer. Scatter the raisins evenly over the top.
- Beginning with the long edge closest to you, roll the dough into a tight roll and pinch together a seam at the end. Roll the dough so that the seam is facing upward. Use a sharp knife to slice the roll in half lengthwise, then cut crosswise into about 12 pieces. Generously butter a 9×5 loaf plan and transfer the pieces to the pan. Try to arrange the bottom layer dough-side down to make it easier to remove the bread from the pan after baking and to prevent the sugar from burning on the bottom of the pan. Otherwise, just toss them in every which way. Level the top the best you can, but a rugged look is fine.
- Cover the pan loosely with greased plastic wrap and allow to rise until the dough reaches about 1/4-inch below the rim of the pan, about 1 – 1 1/2 hours.
- Preheat the oven to 350°F (regular bake setting/not fan assisted) with a rack in the centre of the oven. Bake the loaf for 35 to 45 minutes, until an instant-read thermometer registers 190°F. Transfer to a rack and cool in the pan for 15 minutes, then turn the loaf out of the pan onto a piece of parchment paper to cool completely.
- Prepare glaze (if using) by mixing together the glaze ingredients until smooth. Drizzle over cooled loaf.
Notes
More Cinnamon Bread Recipes to Love!
Hi! I’m Jennifer, a home cook schooled by trial and error and almost 40 years of getting dinner on the table! I love to share my favourite recipes, both old and new, together with lots of tips and tricks to hopefully help make your home cooking enjoyable, stress free, rewarding and of course, delicious!



Can this bread be made ahead & frozen?
Hi Linda and yes it can. If your plan is to make and freeze right away, you might want to save the glaze for later. While the glaze will freeze, it is doesn’t always hold up as well (looks wise) as the bread does.
Hi there, just wondering, in the instructions it says to brush the dough lightly after rolling it out – do I use all of the egg or just brush it on for the cinnamon mixture to adhere. And if so then could I use the leftover eggwhite from the yolk in the dough?
Hi Joanne and I feel like you could just go ahead and use that extra egg white if you want, though I’m not completely sure whether having the fat from the yolk in the brushing makes a difference or not, since I’ve never tested this. So I guess it’s maybe worth a try to use up the white and see how it goes. Let me know how it works out :)
Hi Judith, The amount of flour listed for bread recipes is always “approximate”. Flours vary from country to country and kitchen to kitchen, even. When you are preparing the dough at the start, you should add as much flour as you need to, to make a soft, moist, but not sticky dough, regardless of the amount specified in the recipe. In my kitchen, that might be 1 1/2 cups, but in yours that might be 2 cups. Just keep adding a bit at a time until you get to the point where you could knead it by hand without it sticking to you or the counter :) Hope that helps.