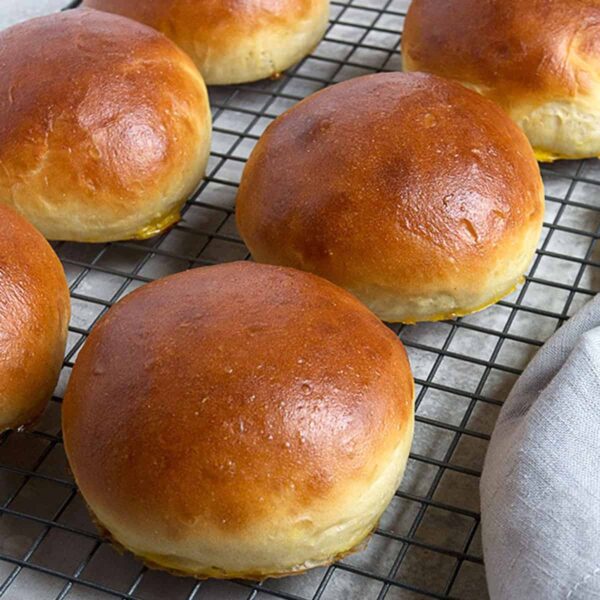
Elevate your burger game with this delicious, homemade hamburger buns! These brioche-like buns are light in texture and high in flavour.
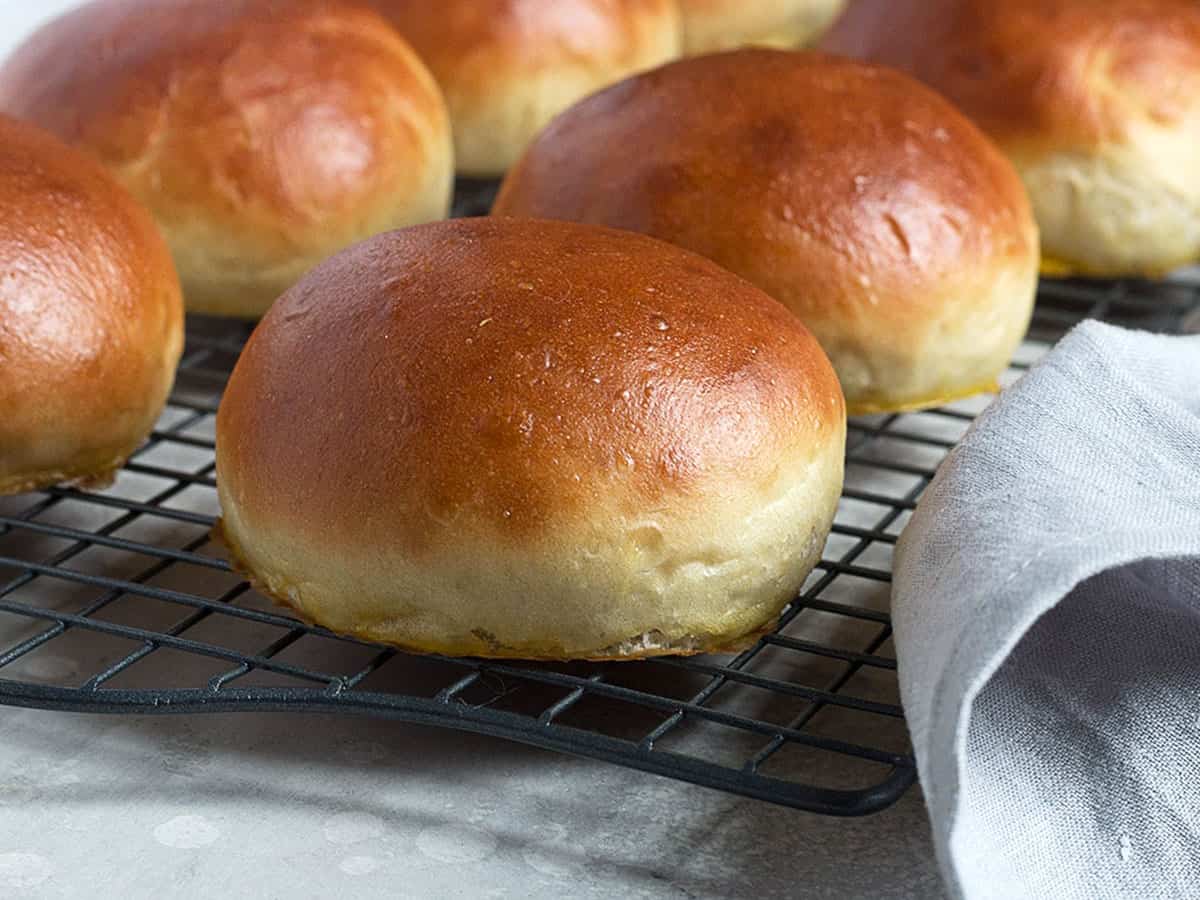
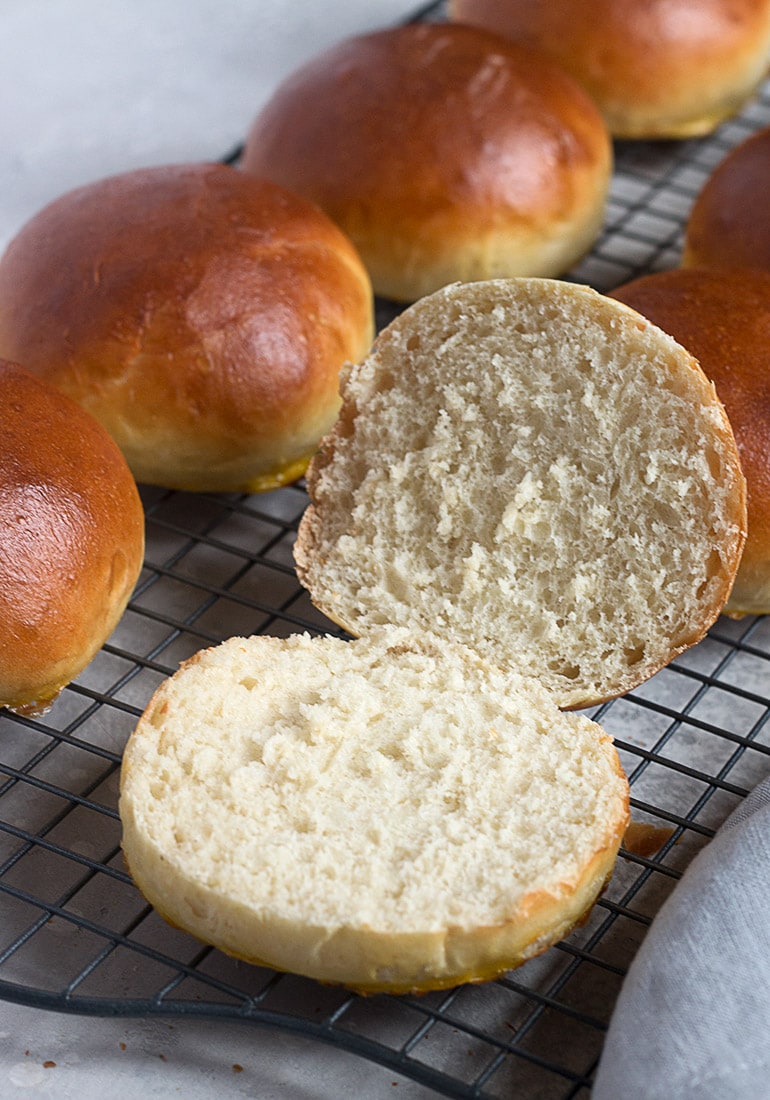
This is the only hamburger buns recipe I’ve used to make hamburger buns for years! While these buns are enriched with eggs and a bit of butter for flavour, they somehow still manage to be light in texture, yet sturdy enough to hold all the burger and the toppings.
So if you’re looking to elevate your burger game this Summer, these delicious homemade hamburger buns are a great place to start. They freeze beautifully, so make a couple of batches and load up the freezer and you’re always ready for a leisurely Summer BBQ
Ingredients and substitutions
A few notes about the key ingredients …
Bread flour – You’ll get the best results if you start with bread flour and even better, if you start with unbleached bread flour. Here in Canada, that’s not the easiest to find on the shelf in grocery stores. I get mine at Bulk Barn. Failing that, bleached bread flour is fine. You can use just all-purpose, but your buns might not rise quite as high.
Active Dry or Regular Instant Yeast – Active dry yeast needs to be proofed (soaked) in warm water before using. I never use dry active yeast myself, but prefer to use Instant Yeast (such as SAF Brand). While Instant Yeast doesn’t require proofing in water before using, it doesn’t hurt if you do, so I just go ahead and proof the Instant Yeast in the same manner as described in the recipe.
How to shape hamburger buns
I think the one thing that tends to trip people up when making buns is the shaping of “the ball”. It’s quite understandable that someone might think that you just need to grab a piece of dough and form/squeeze it into a ball shape. In fact though, there is a bit of a technique to creating “a ball” with dough, that creates what’s known as surface tension or tightness on the top of the ball. It’s this tension that encourages the dough to rise higher, while also creating a lovely smooth top.
The technique for forming the dough into buns is shown in this video. It’s the easiest way I think and produces great results.
1. Stretch the top to create a smooth top.
2. Flip over and stretch the sides in towards the centre and pinch together.
3. Do this all around the edges, until the sides are smooth, too.
4. Flip the ball over, so your pinched part is down.
Recipe video
Recipe Tip!
- The first thing you need to know about this dough is that it is very moist and almost sticky when made as prescribed. To get the best (lightest) results, you want to avoid as best you can adding much more flour here. Add just the bare minimum you need to, so you can handle the dough.
- This dough is also a slow riser, so be patient and allow it to rise for however long it takes to double etc. In a warm Summer kitchen, it will probably rise a little more quickly.
- I like to weigh the whole dough before dividing into balls. I then divide the total weight by 8, to calculate the dough weight of each roll. Weigh them out separately and you will have 8 identically sized rolls!
- Right after egg washing the buns and just before popping them in the oven, top buns with sesame seeds, poppy seed or “everything” mix if you’d like to add some toppings to your homemade buns.
Top tip!
Be sure to brush the egg wash on the dough evenly and thoroughly, being sure to get all around the bun and right to the bottom. Any bare spots left from your brushing will leave pale spots on the finished burger buns.
Making ahead, storing and freezing
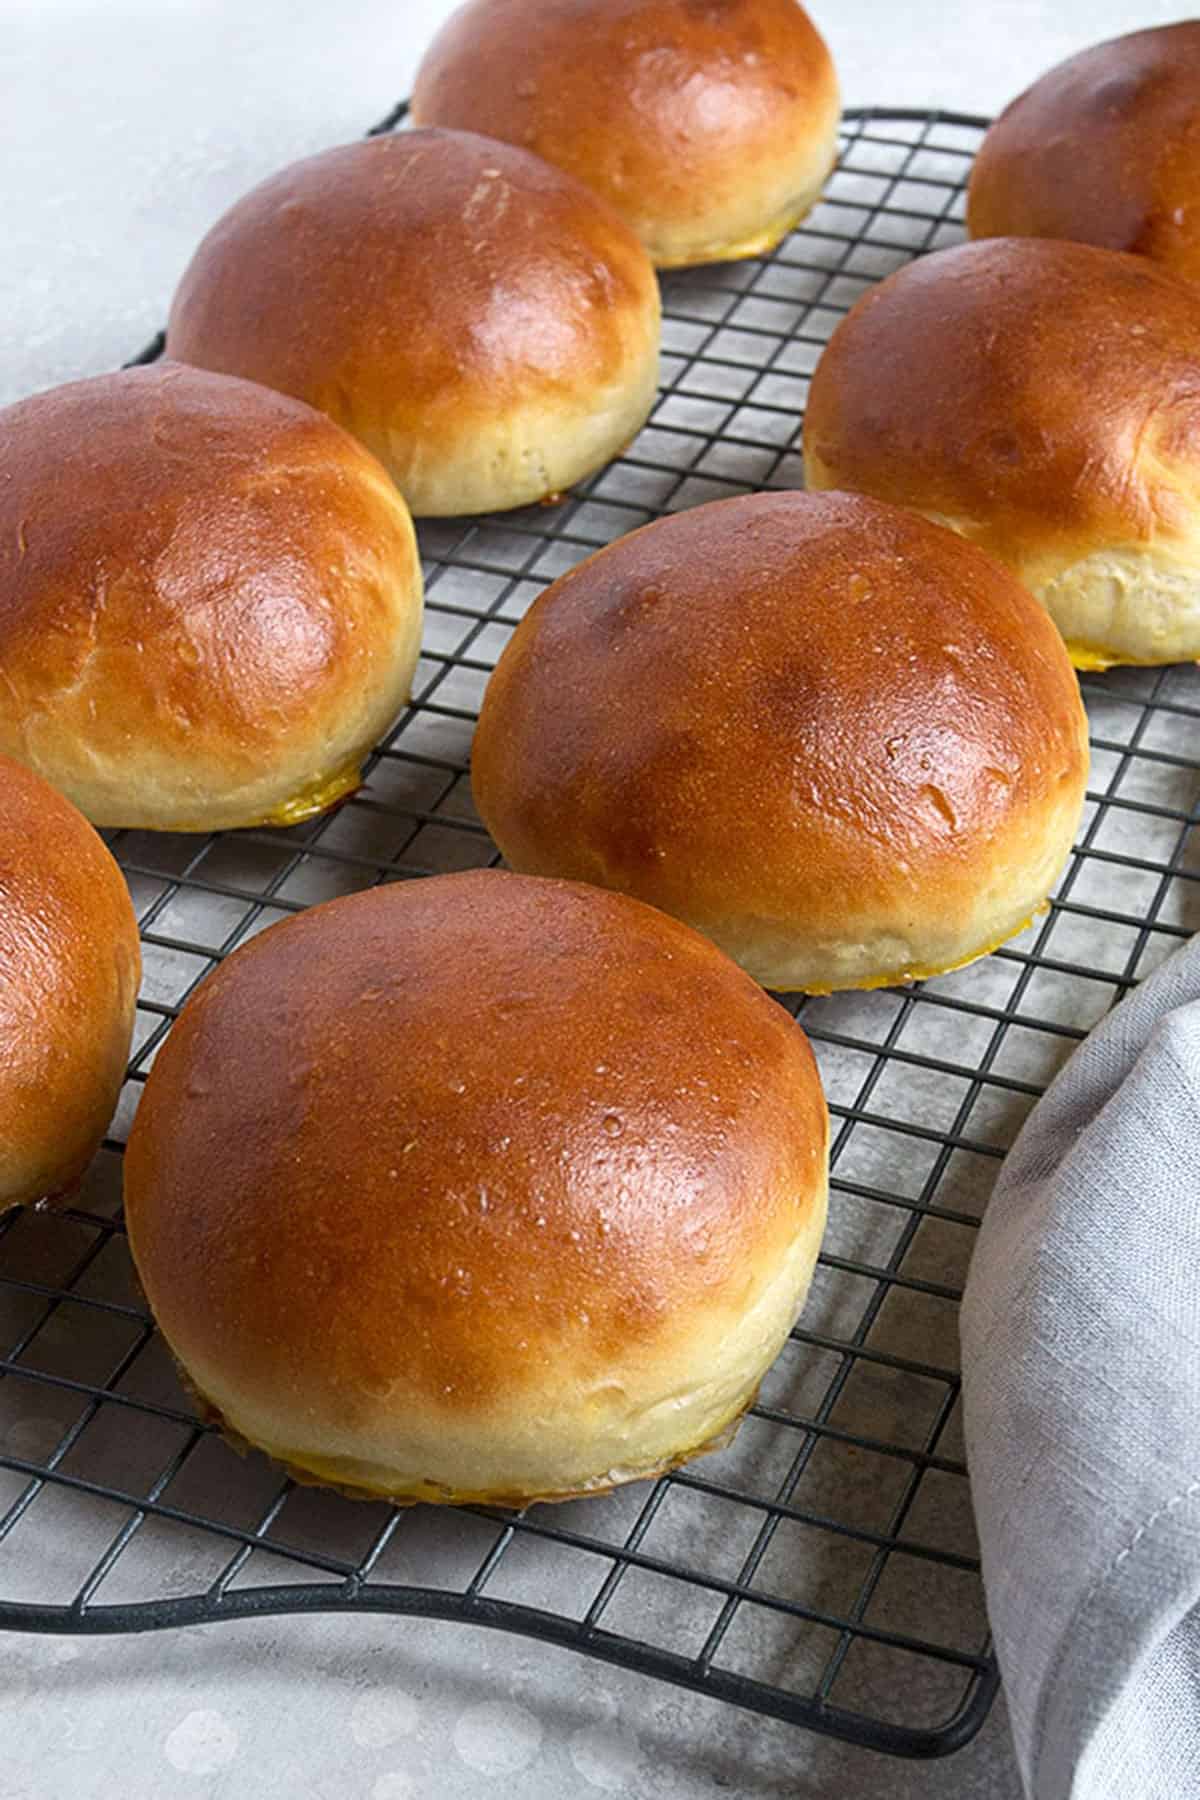
These are best enjoyed on the day they are made, but it is perfectly fine to make in the morning and enjoy for dinner.
Store rolls in an airtight container, until needed, up to 24 hours. Freeze for longer storage.
These buns freeze beautifully up to 2 months! Simply remove the buns from the freezer and thaw on the counter. It will only take a short time to thaw (30 minutes, or so).
Want to save this recipe?
Enter your email and I’ll send it to your inbox. Plus, you’ll get great new recipes from me every week!
By submitting this form, you consent to receive emails from Seasons and Suppers.
You can unsubscribe at any time.
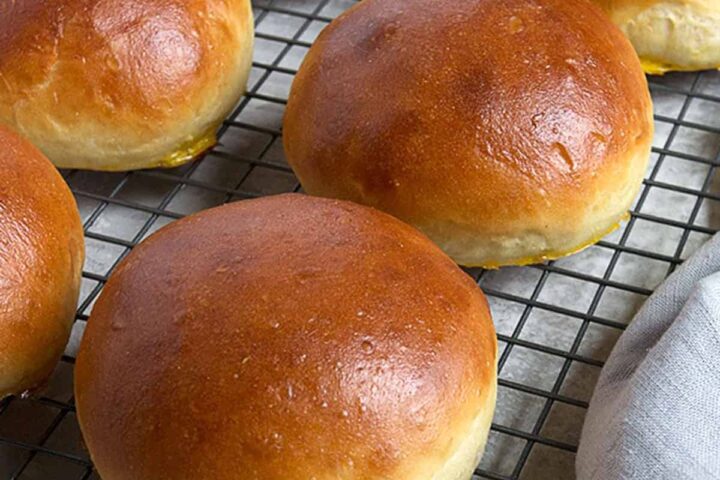
Get the Recipe: Simply Perfect Homemade Hamburger Buns
Ingredients
- 1 cup (240 g) water, warmed to about 105-110F
- 3 Tablespoons (45 g) milk, warmed slightly to lukewarm
- 2 teaspoons (6 g) active dry yeast or regular Instant yeast, not quick or rapid rise yeast
- 2 1/2 Tablespoons (33 g) white sugar
- 1 large egg, beaten with a fork
- 3 cups (375 g) bread flour, spooned and levelled
- 1/3 cup (45 g) all-purpose flour, spooned and levelled
- 1 1/2 teaspoons (9 g) fine salt
- 2 1/2 Tablespoons (35 g) unsalted butter, at room temperature
For egg wash:
- 1 large egg
- 1 Tablespoon water
- Poppy or sesame seeds, optional
Instructions
- Before you start! Scroll down to the Recipe Notes for some important tips on working with sticky dough.
- In a small bowl or 2 cup measuring cup, combine the warm water, warmed milk, yeast and sugar. Let stand until bubbly, about 5 minutes.
- In a large bowl, whisk together the bread flour, all purpose flour and salt. Add the butter. Using your finger tips, rub the butter in to the flour mixture, making even crumbs.
- Add the yeast mixture and the beaten egg to the bowl and using a dough scraper or silicone spatula, stir until a moist, sticky dough forms.
- Using a silicone bowl scraper, scrape the dough on to a very lightly floured counter or work surface. At this point the dough is very moist and sticky and not really able to be kneaded as you traditionally would. You will be tempted to dust with flour, but resist the urge to start. Instead of traditionally kneading, use your dough scraper or silicone spatula to scoop up the dough and then slam it back on the counter. (Don't just drop it, slam it. It's therapeutic :) Use your scraper to turn it over a few times on the counter, then pick it up and slam it again. Repeat this slaming/turning action for a couple of minutes. You should find that it is a sticking to the counter a little less. If you feel it isn't progressing after a couple of minutes (is still super sticky), very lightly dust the counter with flour and turn the dough over it to flour very lightly (Not too much flour. Just a dusting). Continue doing the slam and turn action for several more minutes. At some point, after about 5 minutes or so of this routine, your dough should stop sticking to the counter. Though it will still be a quite moist dough, you should be able to form it into a ball. *If your dough is still sticking after 5-7 minutes of working it, dust with a tiny bit more flour, as needed, until it is no longer sticking, but is still nice and moist.
- Shape dough into a ball and place into a greased bowl. Cover with plastic wrap and let rise until doubled, 1-2 hours. Note that this dough is a bit of a slow-riser. Allow it to rise until doubled, no matter how long that takes.
- Line a large baking sheet with parchment paper and set aside.
- Using a dough scraper, divide the dough into 8 equal pieces. (* I like to weight the dough ball and then divide that weight by 8, to get a weight for each piece. I then weigh out each piece to that weight, to get 8 exactly equal pieces. My last bake, the individual balls were 101g apiece. Yours may vary somewhat.)
- If your dough is still too sticky at this point to form into balls, very lightly dust with a tiny bit of four.
- Form each of the 8 dough pieces into balls (* See video above the recipe card on how to do this!). Place balls on parchment lined baking sheet about 2-3 inches apart. Cover loosely with a clean kitchen towel and let rise until doubled again, 1-2 hours.
- Set a large shallow roasting pan of water on the lowest rack of the oven. Preheat oven to 400F (not fan assisted) with a rack in centre of the oven, as well.
- When buns have doubled, beat remaining egg with 1 tablespoon water and brush the buns thoroughly. * Be sure to brush the entire bun, top and sides, right down to the pan, as any areas you miss will be pale-coloured once baked. If desired, you could sprinkle with sesame or poppy seeds at this point, as well. Bake, turning sheet 180 degrees halfway through baking, until tops are golden brown, about 15 minutes.
- Immediately transfer buns to a rack to cool completely.
Notes
More bun recipes to love!
Hi! I’m Jennifer, a home cook schooled by trial and error and almost 40 years of getting dinner on the table! I love to share my favourite recipes, both old and new, together with lots of tips and tricks to hopefully help make your home cooking enjoyable, stress free, rewarding and of course, delicious!



Hi! How do you best defrost these buns from frozen? Do you let them thaw in the freezer overnight? Or do you bake them in the oven again from frozen to warm them up? Or is there any other way you suggest?
Hi Sarah, if you just set the frozen buns on the counter, they will thaw in 20-30 minutes, so I just take them out a little ahead of dinner. Once thawed, can re-warm them or toast them, just as you would any other hamburger bun.
Hi! Thanks for the recipe! One question, have you frozen them before baking? would that work?
Hi Gaby and no, I haven’t frozen them before baking myself. In theory, it should work, but honestly, they freeze/thaw fabulously, I’ve never felt the need to do it any other way. If you try it though, let me know how it works out.
These buns were so good! I’m fairly new to breadmaking, but they were perfect. I’ve made them several times and they have spoiled us – no more of those from the supermarket!. Could I bake the dough in a loaf pan for sandwich bread? Is so, will it make one or two loaves, or maybe one loaf a a few rolls? Thanks!
So glad you enjoyed them, Connie :) And yes, you could definitely make a loaf. It should make a 9×5 loaf or and 8×4 loaf and a couple of rolls.
These were delicious! I will definitely be making them again. The texture was incredible- soft but plenty of structure. Thank you
So glad to hear, Talie :) Thanks so much!
Thank you for this great recipe! Because I had lots of rye flour, I substituted in one cup of rye flour and only used 2 cups of bread flour, following the recipe otherwise. They turned out really great and my partner said he thought they were the best he’d ever tasted.
Glad you enjoyed them, Lea :) Thanks so much!
I just made these tonight. I had to substitute the milk for sour cream since we were out but they worked out beautifully! They are gorgeous! My son always devours homemade bread or buns but he said this is the best I have made so please save the recipe! Recipe saved!
Thank you so much for sharing such a great recipe!
So glad you enjoyed them, Meg :) Thanks so much!
My grandson has an egg allergy, can I substitute a flax egg in this recipe? Thank you.
Hi Mary, I have absolutely zero experience using flax eggs in baking, but if you have had success making this substitution in baking, it should work just fine here, as well. As an alternative, you could also just omit the egg here. It will produce a slightly different bun, but still quite lovely. If you omit the egg, you will use slightly less flour overall. Enjoy!
This is the recipe to make if you’re looking for an airy but sturdy bun!
I’ve made a few recipes, and always need to tweak and make changes to get them to the point where I’m happy. This one I didn’t modify and found the first try to be perfection. The only thing I did differently was add seeds to the top (as recommended in the tips). I did 4 poppy seed and 4 sesame.
We ate these over three days (impossible burgers, pulled jackfruit sandwiches and tomato sandwiches) and they held their freshness for three days easily.
I have quite a bit of experience baking (thanks pandemic!) so I didn’t mind working with a sticky dough. I didn’t find the dough changed a lot with the slamming process, but it definitely developed it enough for the buns to turn out perfectly. It became a lot easier to work with after the first rise.
I used standard yeast and it took a little over 2 hours for each rise. I started the recipe around 11:15 and was finished baking at around 4:30.
Stick with this recipe, it’ll turn out great!
So glad you enjoyed them, Mike :) Thanks so much!
This recipe was absoulutely AMAZING! I had a little trouble with pinching the corners in but got the hang out it! My family adored these hambuirger buns and were 100% lighter/better than the store-bought ones. Thank you for shaing this wonderful recipe with us!
P.S If you want to have hamburger buns ready for dinner around 6, starting making the dough at 9 or 10am. If you double the recipe, when you cut the dough into 8 strips, cut your strips in half to make 16 perfect buns. :)
So glad to hear, Ella :) And great tips. Thanks so much!
Okay maybe a silly beginner question- do I leave the tray of water in the oven while baking? Or take it out before buns go in?
Hi Alyssa, no such thing as a silly question :) You would want to leave it in, to create a bit of a steam oven while the buns bake. This will keep the buns from getting crispy as they bake. Enjoy!
Made these before and loved them!!! Don’t want to buy buns for a family event but 8 won’t be enough…can I double or would it be too hard to slam??
Hi Nev, I’ve never doubled this, so I’m not sure how the slamming would work with more dough. I’d give it a go. If it’s too difficult to work with, just divide into two pieces and slam one at a time. A lot of slamming, but should work out fine :)
I double this recipe all the time, mix in my kitchen aid stand mixer 10 min let rise (1st) 1 hr then roll out in 2.5 oz buns. Makes just over 2 dozen buns perfect every time, oh I turned down the heat to 350 and cook both trays at the same time 20 min everything else was as per the recipe.
Good to know, Karen! Thanks so much :)
Having so much time at home during lockdown I tried to bake these buns, they are so delicious! working with the sticky dough is a bit hard but the result is amazing! I’ll never buy buns from the supermarket again. they are so soft and tasty, thank you so much for the recipe!
So glad to hear, Miriana :) Thanks so much!
These buns are so good! I’ve made them several times. They freeze beautifully and I find still taste good the next day. I was in the middle of making them last night when the power went out so I put them in the fridge after a2 hr rise, shaped and baked them the next morning and they were great! I do make mine a little smaller. I generally get 10 – 11 buns. Thx for a great recipe!!
Glad you are enjoying them, Joanne and good to know they still worked well after the refrigeration. I bet they had great flavour! Thanks :)
Good morning I started making these during the pandemic (I had never baked before) they turned out great and so easy to make I make them every 2 weeks , will never buy store bought again.
Thank you.
So glad to hear, Richard :) Thanks so much!
So I don’t know what happened and where I went wrong. I’ve made many buns before but for some reason these just spread out really big and flat during the second proof. Some I tried to make into a smaller ball to see if they would become bun like which they didn’t it was more like gold ball dinner rolls. Some I left as is and they just stayed flat like sting rays lol and some I re rolled and flatted a bit and they were ok but still not big enough for a burger bun. The flavour was great, but where did I go wrong?!?
Hi Aneesa, it’s really hard to tell where you went wrong, but clearly something did, as that isn’t how they should end up :) Let’s start with yeast. What type of yeast did you use? Secondly, are you baking at elevation by chance?
I used fleischmann’s active dry yeast. Also I’m in Toronto Canada so I’m not sure
Ok, so elevation isn’t a problem in Toronto :) So a few more questions. Did you proof the active dry yeast in water before using? What was the texture of your dough when you took it out of the mixer? Did you do the slamming on the counter kneading process for enough minutes so the dough was no longer sticky?
Yes I proofed it in the water sugar mix as written and it foamed up as it should. I didn’t use my mixer this time just did it by hand. When I turned it out onto the counter to start the slamming process it was still sticky. I did the slamming for about 5-6 minutes until it wasn’t sticky anymore. During the first proof it only took 1 hr to double then during the 2nd proof again after and he it doubled but I left it for the 2hrs just to make sure
Ok, great information. I’m almost certain that your buns were over-proofed. When it comes to proofing, you only want to proof them until they are doubled and no longer. Over- proofed doughs will collapse due to a weakened gluten structure and excessive gas production, which is why your buns spread during that long 2nd rise.
You know I had a feeling that that was the issue, but just needed to know for sure. Thank you so so so much for replying and helping me so much. Next try I will definitely not let it proof that long. Regardless the taste was amazing!!! Can’t wait to make this again and try it with the changes!!!
No problem, Aneesa :) Let me know how you make out next time :)