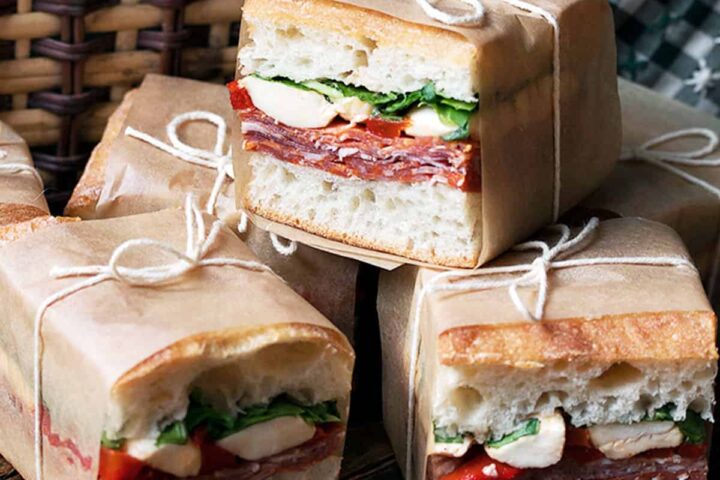
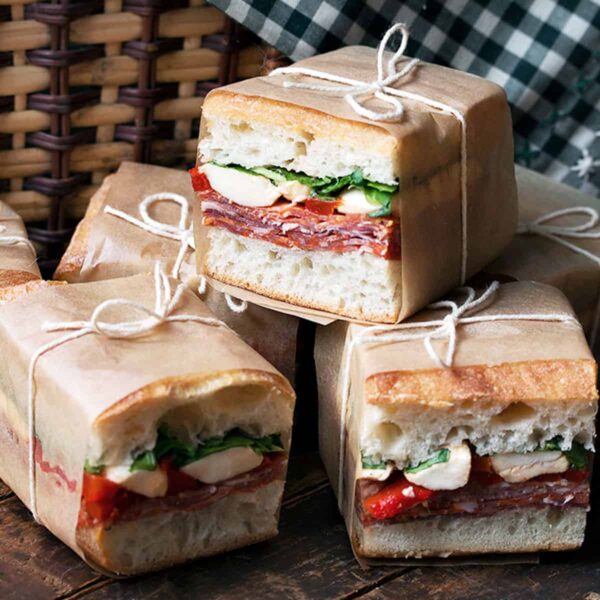
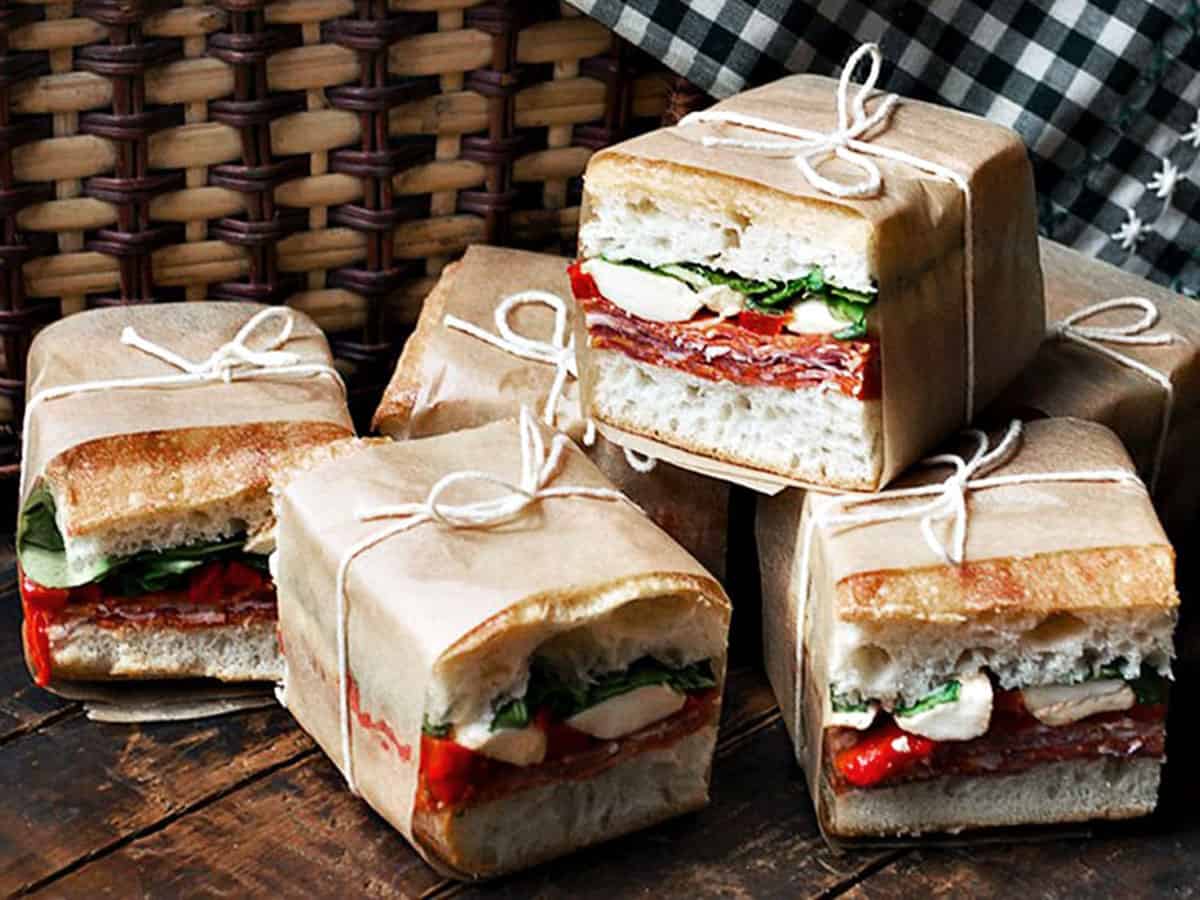
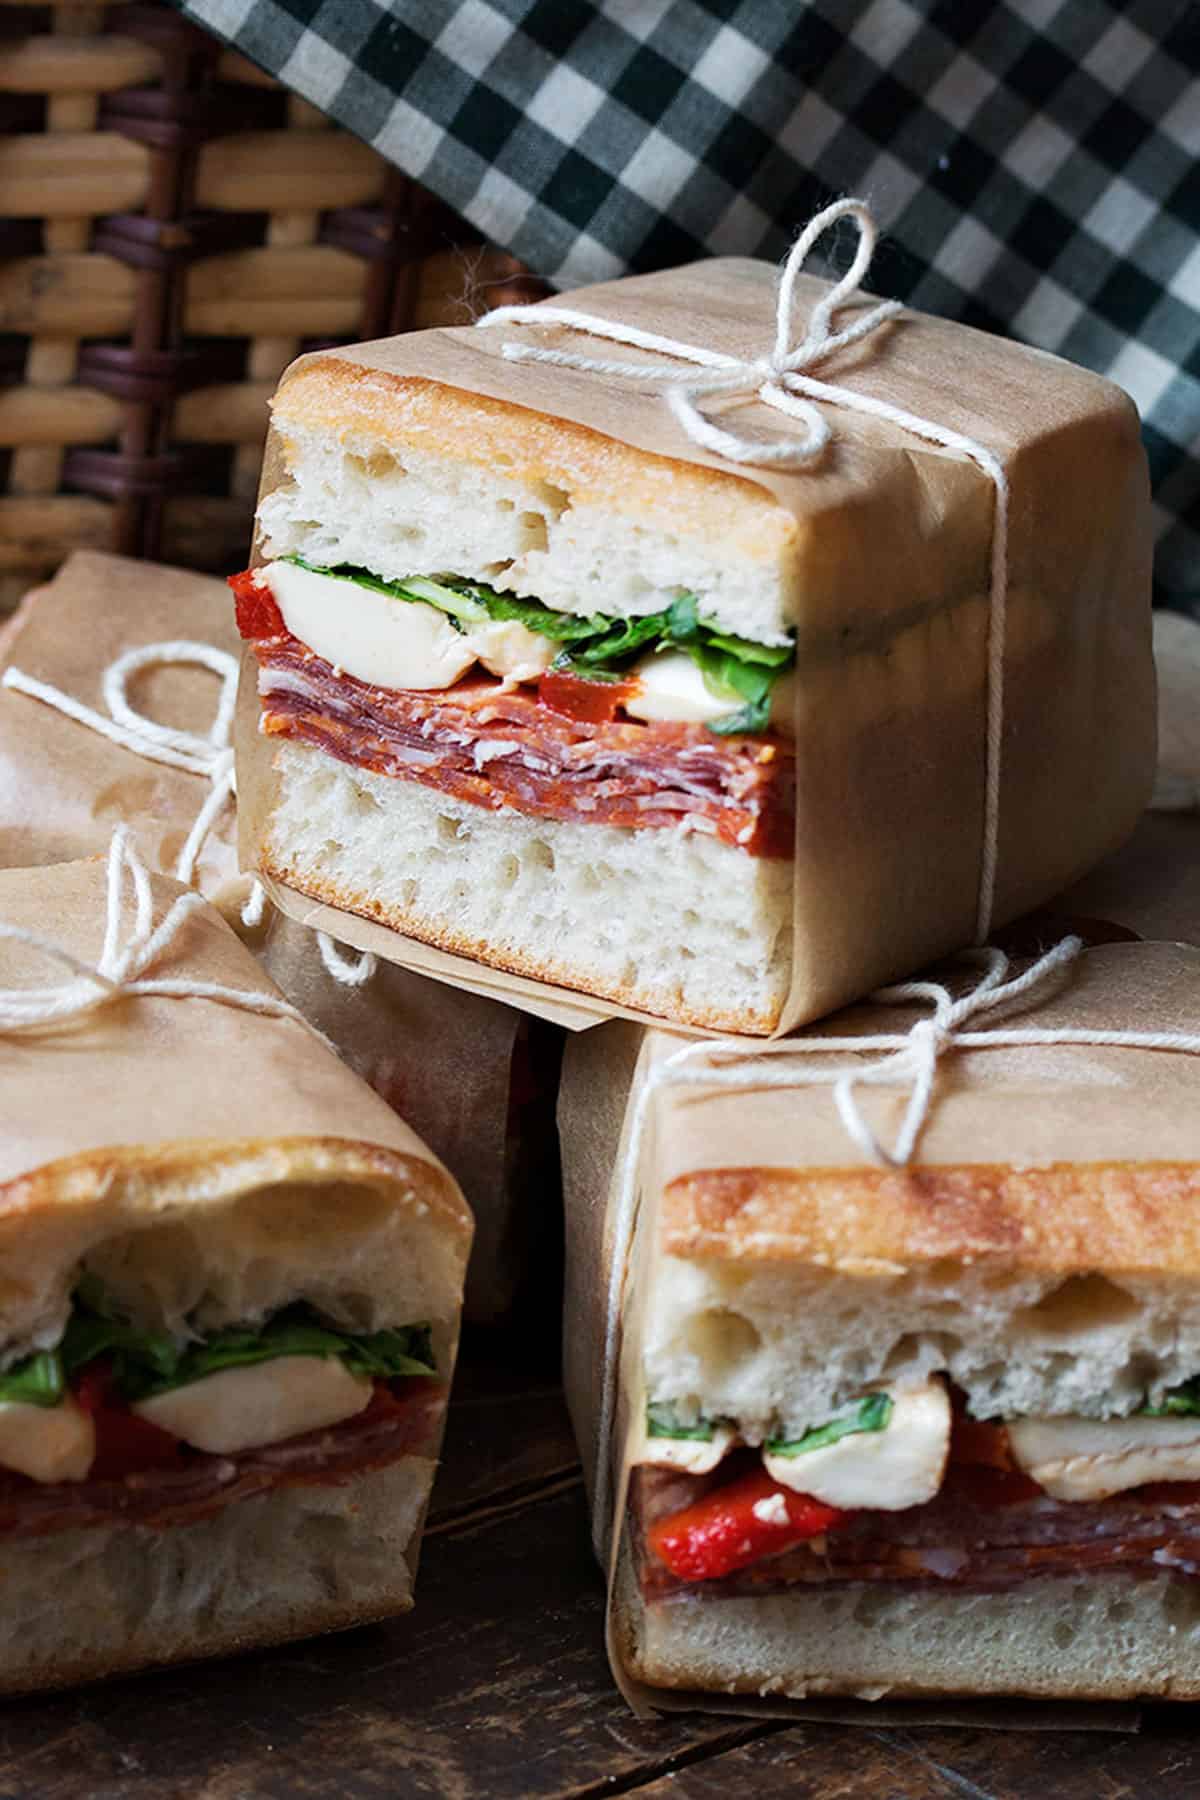
Perfect picnic sandwiches, these Pressed Sandwiches are great for Summer eating, whether a BBQ or a picnic. Easy to make ahead and they travel well!
Why you’ll love these pressed sandwiches
These lovely Pressed Italian Sandwiches are perfect for Summer picnics or packed lunches, as they are hearty and filling, can be made well ahead and travel well.
They are also great for Summer entertaining, as they are such pretty little packages that are easy to eat without plates. I love how all the flavours come together in this sandwich and notice how it’s red, white and green – just like the Italian flag!
Video: How to Make Pressed Italian Sandwiches
Key Ingredients
While there are endless possibilities of fillings for sandwiches, my Italian version features homemade roasted red peppers, a variety of Italian deli meats, bocconcini (with a little balsamic drizzle) and arugula, all on a lovely ciabatta bun.
How to store these Italian Sandwiches
These picnic sandwich will also keep really well in the fridge for several days, either before they are trimmed and cut or after. That makes them great for Summer snacking or when planning entertaining.
Cook’s Notes
- Pressed sandwiches are endlessly customizable. You can swap out spinach for the arugula, or sun-dried tomato for the roasted red pepper. And so on. The possibilities are endless.
- You can use any size ciabatta, from small buns to larger loaves. I like to start with a ciabatta baguette that I cut in half to make two 12-inch-ish loaves.
- I like to trim the edges off the sandwiches to make them neat squares and to enjoy seeing all the layers. But don’t throw away the trimmings! Chop them up and combine with some leafy greens and a drizzle of balsamic or Italian dressing for an absolutely fabulous salad.
- When it comes to adding a weight to press the sandwiches in the fridge, I use my cast-iron grill pan and the cast-iron press that came with it, topped with some cans to even out the weight. Refrigerate with the weight at least 6 hours or ideally, overnight.
- To keep the sandwich freshest, keep in the fridge, tightly wrapped in the plastic wrap and un-trimmed. When ready to serve or transport, simply trim the side and end crusts and if you like, wrap in a strip of parchment paper secured with some twine. You can then re-wrap in plastic wrap, if needed to keep them from drying out while they wait to be eaten.
- While it’s tempting to reach for a jar of roasted red peppers, I find that those packed in oil bring a little too much moisture to the pressed sandwich, making for the possibility of soggy bread. It only takes a few minutes to make your own, so I highly recommend that.
How to Serve
Once assembled, these are tightly wrapped and refrigerated with a weight on to to “press” them overnight. The next day, simply trim the sandwich loaf, cut in to small pieces and wrap with a little parchment and twine.
Want to save this recipe?
Enter your email and I'll send it to your inbox. Plus, you'll get great new recipes from me every week!
By submitting this form, you consent to receive emails from Seasons and Suppers.
You can unsubscribe at any time.

Get the Recipe: Pressed Italian Picnic Sandwiches
Ingredients
- 1 Ciabatta Baguette, cut in half to make approx. two 12-inch pieces
- 3 Tbsp butter
- 3 medium red peppers
- 3 cups arugula, rinsed and patted dry
- 2 cups bocconcini, sliced
- 10 oz Assorted Italian deli meats, (I used Soppressata Salami, Capocollo and Napoli Salami)
- Balsamic Vinegar
- Olive Oil
- Salt and Pepper, to taste
Instructions
- To roast the red peppers: Set your oven to the Broil setting. Slice the sides off the red peppers and place skin side up on a baking sheet (*I like to trim the ends so they lie as flat as possible, as they will brown better than pieces that are sloped). Place under the broiler until very well charred (blacon top, about 10 minutes (watch closely after 5 minutes. You'll want them to be mostly blackened on top.) Remove from the oven and immediately place the peppers in a plastic ziploc bag. Pop in the refrigerator for 30-40 minutes. Remove peppers from bag and peel off the blackened skin with a knife. Discard the skin and slice the peppers in to strips. Place in a bowl and drizzle with a bit of olive oil and sprinkle with salt and pepper. Set aside.
- To prepare the sandwiches: Cut your ciabatta in half and butter each piece (or you could brush with a bit of olive oil, if you prefer, but butter will help prevent moisture from getting into the bread. Place a generous layer of cold meats (4-5 over-lapping layers). Top with cooled roasted red pepper strips. Take your Bocconcini slices and place on a piece of paper towel. Top with another piece of paper towel and pat to dry a bit. Top the red peppers with a layer of the Bocconcini slices. Drizzle some balsamic vinegar over the Bocconcini slices and sprinkle with salt and pepper. Top with a generous layer of arugula. Top with top slice of ciabatta.
- Wrap each sandwich tightly with plastic wrap and place on a platter or baking sheet. When all the sandwiches are prepared, place the platter in the refrigerator. Place a heavy skillet on top of sandwiches to apply weight (if you don't have a heavy skillet, top with another baking sheet and place some large cans on top for the weight).
- Refrigerate at least 6 hours or ideally, overnight.
- When ready to serve, remove from plastic wrap. If desired, you can trim the sides and ends of the sandwiches to make neat sides and to enjoy the wonderful colours of these sandwiches.
Notes
Hi! I’m Jennifer, a home cook schooled by trial and error and almost 40 years of getting dinner on the table! I love to share my favourite recipes, both old and new, together with lots of tips and tricks to hopefully help make your home cooking enjoyable, stress free, rewarding and of course, delicious!


These are beautiful!
Thanx so much! Can’t wait to show them off!
You’re welcome, Renee. Enjoy!
Oh my goodness! These look absolutely delicious, Jennifer! I’m also really hungry right now, as I’m in the middle of a 24 hour fast :-(. I, too, came across you via Pinterest.
Thanks so much, Cathy. You’re a brave woman browsing Pinterest while on a 24 hour fast! :)
This sandwich looks delicious, Jennifer!
Thanks so much, Tamara.
This looks delish! I plan on making these on our vacation and taking to the beach! My family will love these. Being it is a vacation, I’ll probably just bring red pepper spread from Trader Joe’s instead of roasting the peppers (I’m lazy like that on vacation). I can’t wait to try these. Glad I came across this on pinterest!
Thanks Patty. You could also use jarred roasted red peppers. Just pat them dry a bit. Enjoy your sandwiches and your vacation!
These are gorgeous! You made them so beautifully. My mom and I keep talking about getting the family together for a picnic now that warm weather has FINALLY arrived — this is wonderful inspiration!
Hi Sophie and thanks so much. I’m glad the warm weather has found you. It’s been very hot here so far this summer. I hope you get to have that picnic!
I love these! I am planning to make an all Italian menu for my husband’s fiftieth birthday party next month. I love that I can make these a day or two ahead and I LOVE the way you wrapped them up with the parchment and twine. I think a huge tray of about 50 of these sandwiches will be a huge hit!!! Thanks for the recipe.
You’re welcome, Marla. These would be perfect for your party! If you’re making these a couple of days out, be sure to butter well under the red peppers. They are moist and may soften the bread a bit underneath if they are sitting a couple of days. The butter will help prevent that. Have a wonderful party.
So happy I just found your blog via Pinterest. These sandwiches look amazing!
Thanks Marla. Isn’t Pinterest great?!
This looks fabulous and I am going to add it to my Mouth Watering Mondays post. Come on by to see it at http://www.noshingwiththenolands.com Cheers, Tara
Thanks Tara. I will definitely come by and thanks for including my sandwiches!
they looks so incredible and beautiful! i’m impressed! greetings from my kitchen !
Dziekuje bardzo, Inka (hope I got that right :)
These are absolutely lovely. Thank you for sharing!
Thanks so much, Elizabeth. Thanks for stopping by.
I love Italian sandwiches and this version looks delicious! How perfect for an easy summer dinner or picnic!
Thanks Mercedes. Yes, perfect for a summer dinner, as well!
Yeah !! I like that too. :)
Wow ! Those look fantastic. Have never had a ”pressed” sandwich, so I think it’s about time !!
Thanks Antonia. These are great sandwiches and I love that they can be made well ahead and keep quite a while in the fridge, too.
These would be so much fun to bring to a picnic!
They would! I loved how pretty they were and wrapping them in parchment makes them feel really special.
Yum, these pressed sandwiches look absolutely perfect :-)
Thanks so much, Rachel.