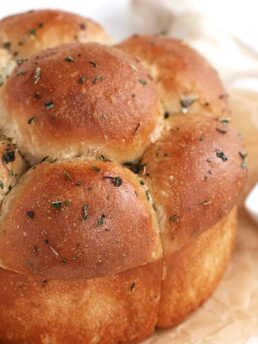
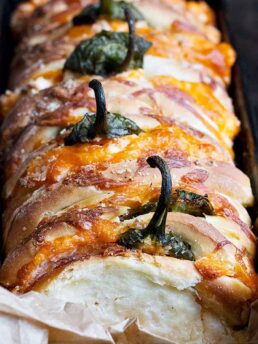
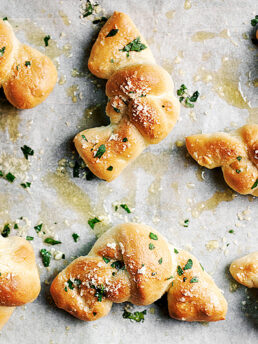
Delicious pull apart garlic bread, filled with the garlic and cheese, made as a loaf of pull apart bread.
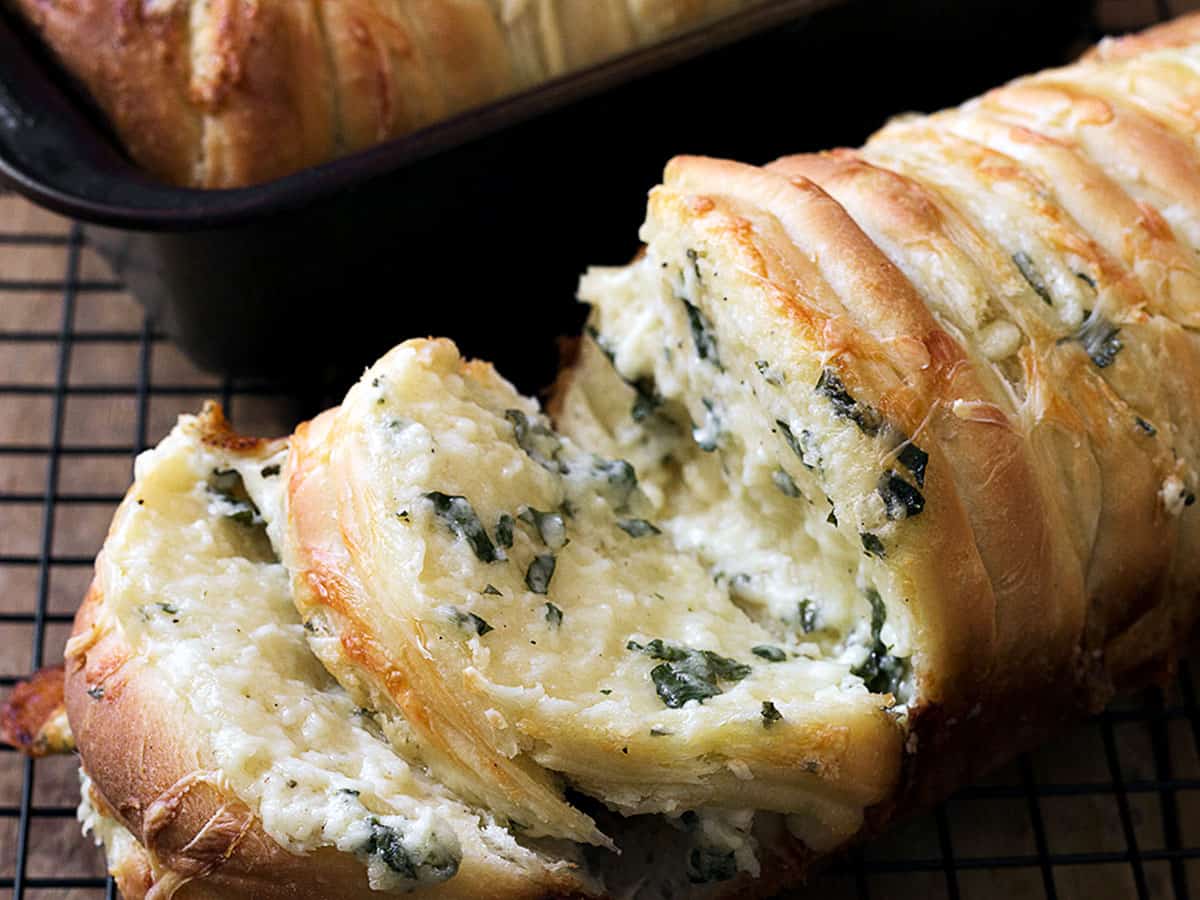
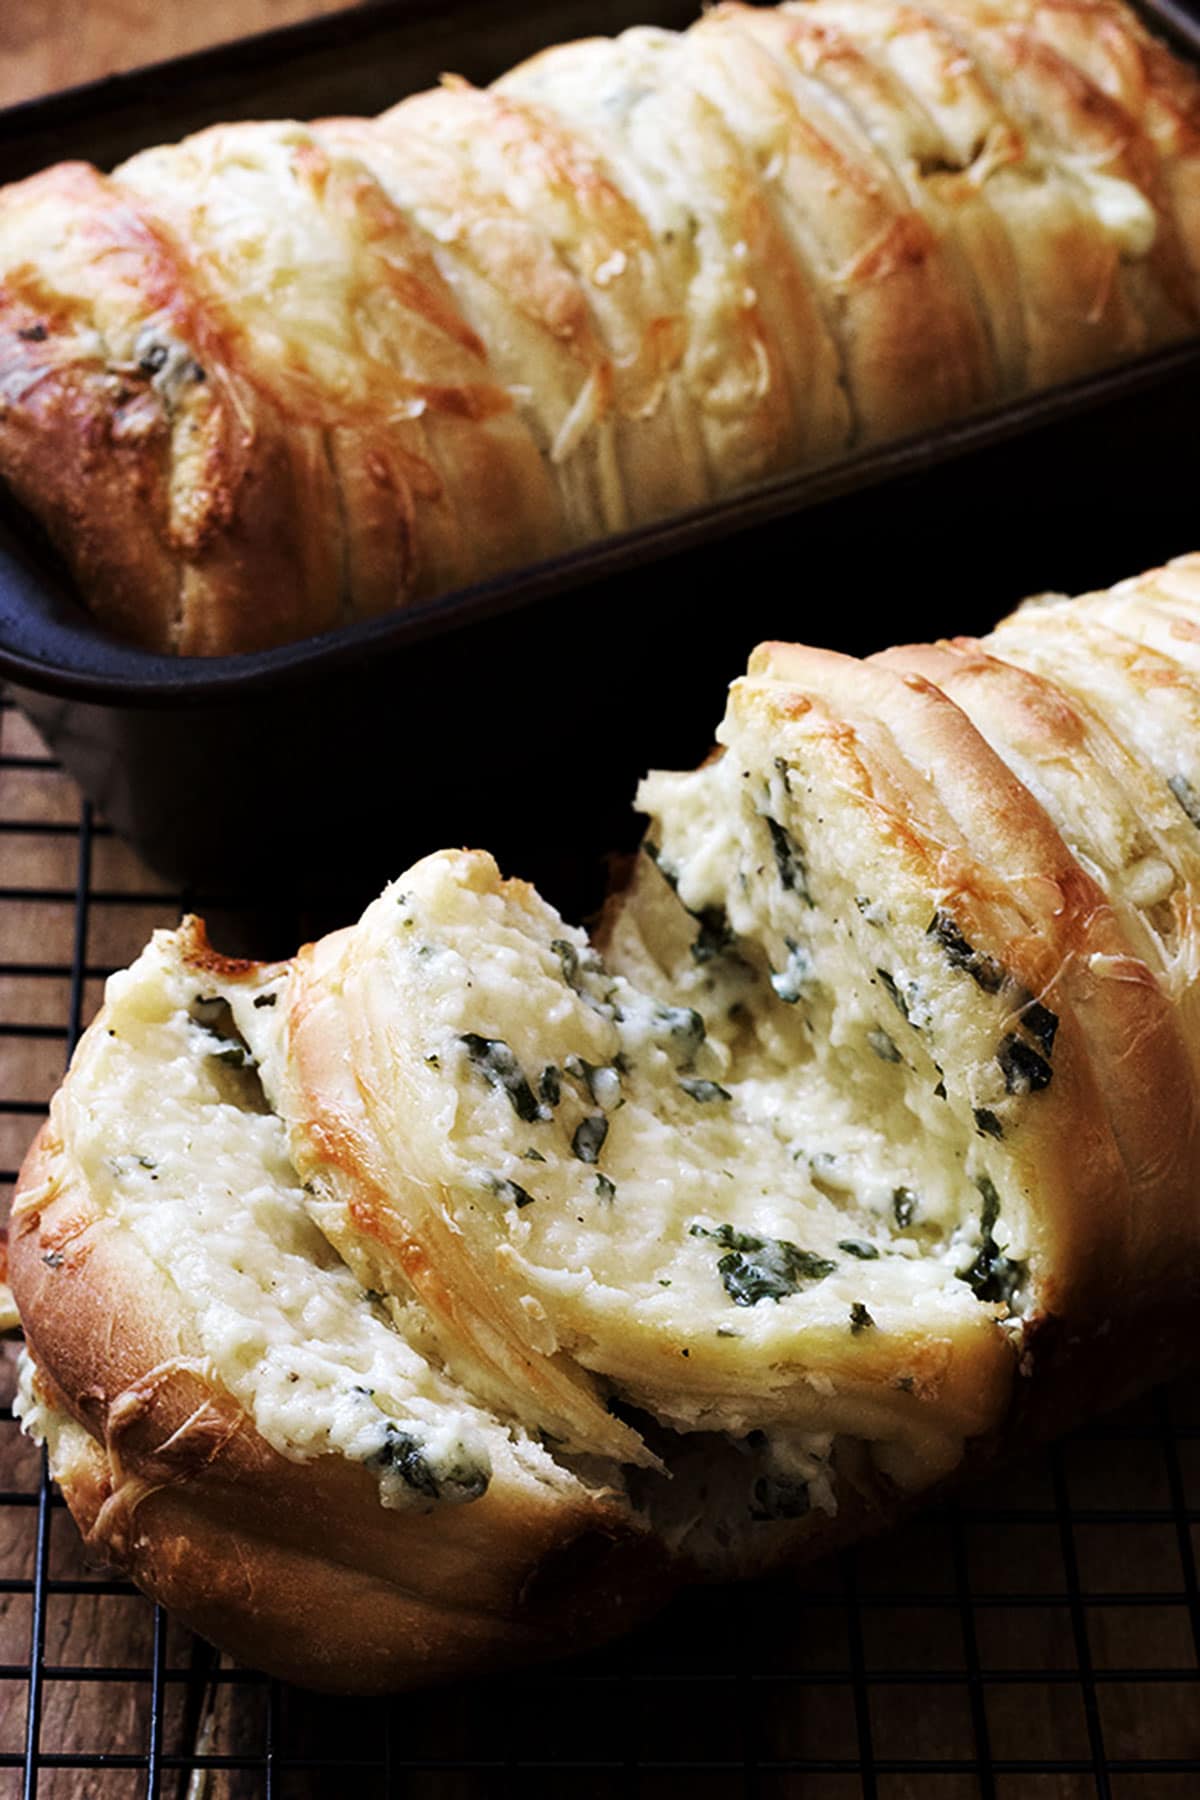
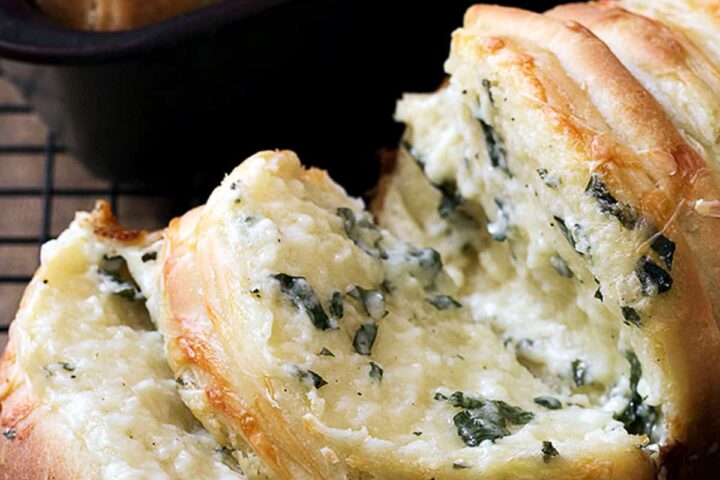
This pull apart loaf bakes up with a super soft, moist with all the great flavours of garlic and cheese in the middle, encased in a crispy crust. It’s the best of both worlds when it comes to cheesy garlic bread.
Speaking of crispy outside, that is thanks to the panko dusting that the pan gets. It’s a great technique for a lovely, crispy crust.
Ingredients and Substitutions
Yeast – you can use Active Dry Yeast, Instant Yeast or Rapid Rise Yeast. I’ve included instructions for each version in the Recipe Card.
Olive Oil – opt for extra virgin olive oil or substitute vegetable or canola oil.
Garlic Powder – note that garlic powder is specified, not garlic salt. Fresh garlic could be substituted, but the down side is that it tends to burn if exposed on the outside of the bread at all.
Mayonnaise – yes, it’s an unusual addition, but trust me, it works! I use real mayonnaise, such as Hellman’s
Recipe Tips
Rolling up the dough after you’ve spread your filling on it is best done using what I call the lift and flop method. Simply lift the rolled part and flop it forward. If you try to simply roll, all the filling will be pushed forward and you may end up with a big puddle on the counter at the end :)
The loaf bread shown here was baked in my 4×11-inch loaf pan. I’m thinking a 9×5 would be roughly equivalent. An 8×4 would probably be a tight fit.
Making Ahead, Storing and Freezing
This bread can be made 6-8 hours ahead. Cool completely, then store in an airtight container. Re-warm before serving, if you like. Loosely wrap in aluminum foil and place into a 350F oven until warmed through, 10-15 minutes.
This bread will freeze well up to 2 months.
Want to save this recipe?
Enter your email & I’ll send it to your inbox. Plus, get great new recipes from me every week!
By submitting this form, you consent to receive emails from Seasons and Suppers.
Get the Recipe: Pull Apart Garlic Cheese Bread
Ingredients
For pan:
- Olive oil
- 1/4 cup panko
Dough:
- 1 1/2 cup warm water
- 2 Tablespoons instant or rapid rise yeast
- 1/4 cup extra virgin olive oil
- 4 teaspoons sugar
- 2 1/2 teaspoons salt
- 1 Tablespoon Dried Italian seasoning
- 1 teaspoon garlic powder
- 5-6 cups bread or all purpose flour
Filling:
- 1/2 cup mayonnaise
- 3 Tablespoons extra virgin olive oil
- 1 Tablespoon lemon juice
- 1 cup Parmesan cheese, shredded
- 1 cup mozzarella cheese, shredded
- 1 Tablespoon fresh garlic, minced
- 2 Tablespoons fresh parsley, minced
For topping:
- 1 large egg
- Pinch of garlic powder, salt and pepper
- Sprinkling of additional Parmesan and mozzarella
- Drizzle of olive oil
Instructions
- Grease two 8×4-inch loaf pans with olive oil. Sprinkle with panko and tip to coat evenly. Set aside.
- In a large bowl or the bowl of a stand mixer fitted with a kneading hook, whisk together the water and yeast. Let stand a few minutes. Add oil, sugar, salt, Italian seasoning, garlic powder and about 4 cups of the flour. Mix and then knead, adding more flour in small increments, as necessary, to form a soft, moist dough. Cover bowl with plastic wrap and allow to rise for 45-60 minutes, or until almost doubled.
- Meanwhile, prepared the filling by stirring together all the filling ingredients. Set aside.
- When dough has risen, remove to a flour dusted work surface and gently deflate. Divide dough into two even pieces. Roll one piece of dough in to a rectangle about 1/2 inch thick. Spread 1/2 of the filling over dough, then roll up dough jelly-roll style.
- Cut jelly roll in to 8-10 slices. Snug slices next to each other in prepared loaf pan. Repeat with remaining piece of dough and remaining filling.
- Beat egg in a small bowl, then brush over dough. Sprinkle with garlic powder, salt and pepper, then scatter a bit more Parmesan and mozzarella over top. Drizzle with a bit of olive oil, over-top. Cover with plastic wrap and let rise until dough is puffy, about 45-60 minutes.
- Preheat oven to 375 F. Bake 20 minutes at 375 F., then reduce oven to 350 F. and bake for a further 20-30 minutes, or until nicely browned and cheese is melted.
Notes
More bread recipes to love!
Hi! I’m Jennifer, a home cook schooled by trial and error and almost 40 years of getting dinner on the table! I love to share my favourite recipes, both old and new, together with lots of tips and tricks to hopefully help make your home cooking enjoyable, stress free, rewarding and of course, delicious!




Fabulous! Very simple to make and they turn out great as a loaf or in a skillet! I will definitely be making these again!
So glad you enjoyed it, Jenna :) Thanks!
This is very tasty bread for dinner ! I just made now. Taste was very good !! But After raising bread prossed was humongassize ! Almost double size that I was expecting (or your picture) that came out over from 9 inch round bake pan !!
Do you think too much yeast for that ? I’m wondering….
But matter of taste was so good ! : )
Hmmmm. It is a lot of yeast in this recipe, so it is very fast rising (faster than you might expect). You might try a bit larger pan (10-inch) and a shorter rise time and see if that helps :)
Yes, I will do shorter rise time and larger pan next time !! Thank you .
I made this over the weekend in my cast iron skillet and it is very good.
Your recipe as printed calls for 2T of yeast…..did you mean 2t? I made it with 2t and it raises fine….thinking 2T is a lot of yeast for the amount of flour.
Glad you enjoyed it! And no, it really is 2 tablespoons of yeast.
Insanely good is right! This is the kind of bread I have absolutely no willpower around!
Thanks Laura :)
I was swooning when I saw this on IG and I’m still reeling. This is everything!!
Thanks Cathy :)
Wow, Jennifer, can I just have both? Or could you just move a couple hours closer? lol
Your breads always blow me away but this is so over the top delicious! Such unique, yummy flavours. So glad you share your creative ways with us!
Thanks Robyn :) I do love my bread and it’s so easy (and delicious) to be creative with it!
I don’t think I could decide which one I like more – I guess that means I’ll have to try both. Just for research, of course :)
Oh yes, Chris! Research is good :)
This bread is epic!! I love caesar salad and will definitely be putting some caesar dressing to work with this beauty! Now, if only I could choose a shape for the bread…
Thanks Katrina and as I’ve said, you won’t go wrong either way :)
I swear, every time you post something I want to drop everything and go make it, this skillet bread looks incredible!
Thanks Sue and I know what you mean. I have jumped up from my computer (or been tempted to!) several times today already :)
This is putting me in the mood ♥
Thanks Summer :)
Oh my goodness Jennifer! Both versions of this bread look totally scrumptious! I absolutely LOVE caesar salads, so I’ve got to try this!
Thanks Mary Ann and you won’t go wrong with either :)
I dream about bread like this and love that you baked it two ways, but now I have to choose. Mayonnaise in the filling is just brilliant. I can almost smell it now baking away in my oven. I could bake everyday but then I would want to eat it all myself while it was warm and tender. I should have eaten breakfast for coming to see you this morning, now I’m starving!
Thanks Tricia and you won’t believe the smell when this is baking. People will come running to find out what it is :)