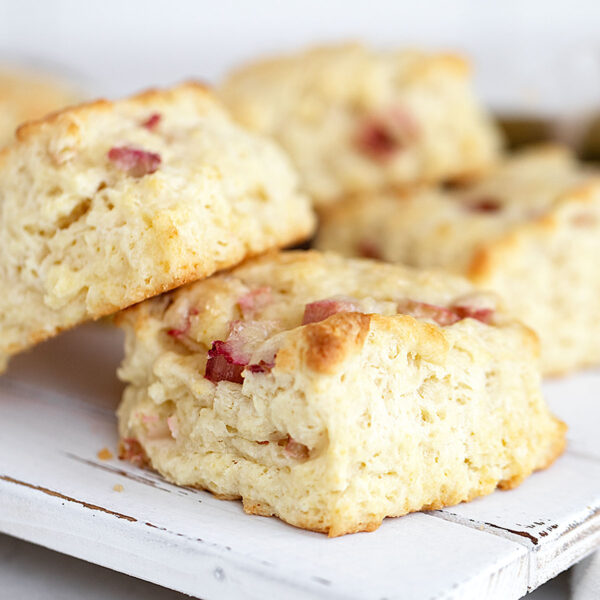
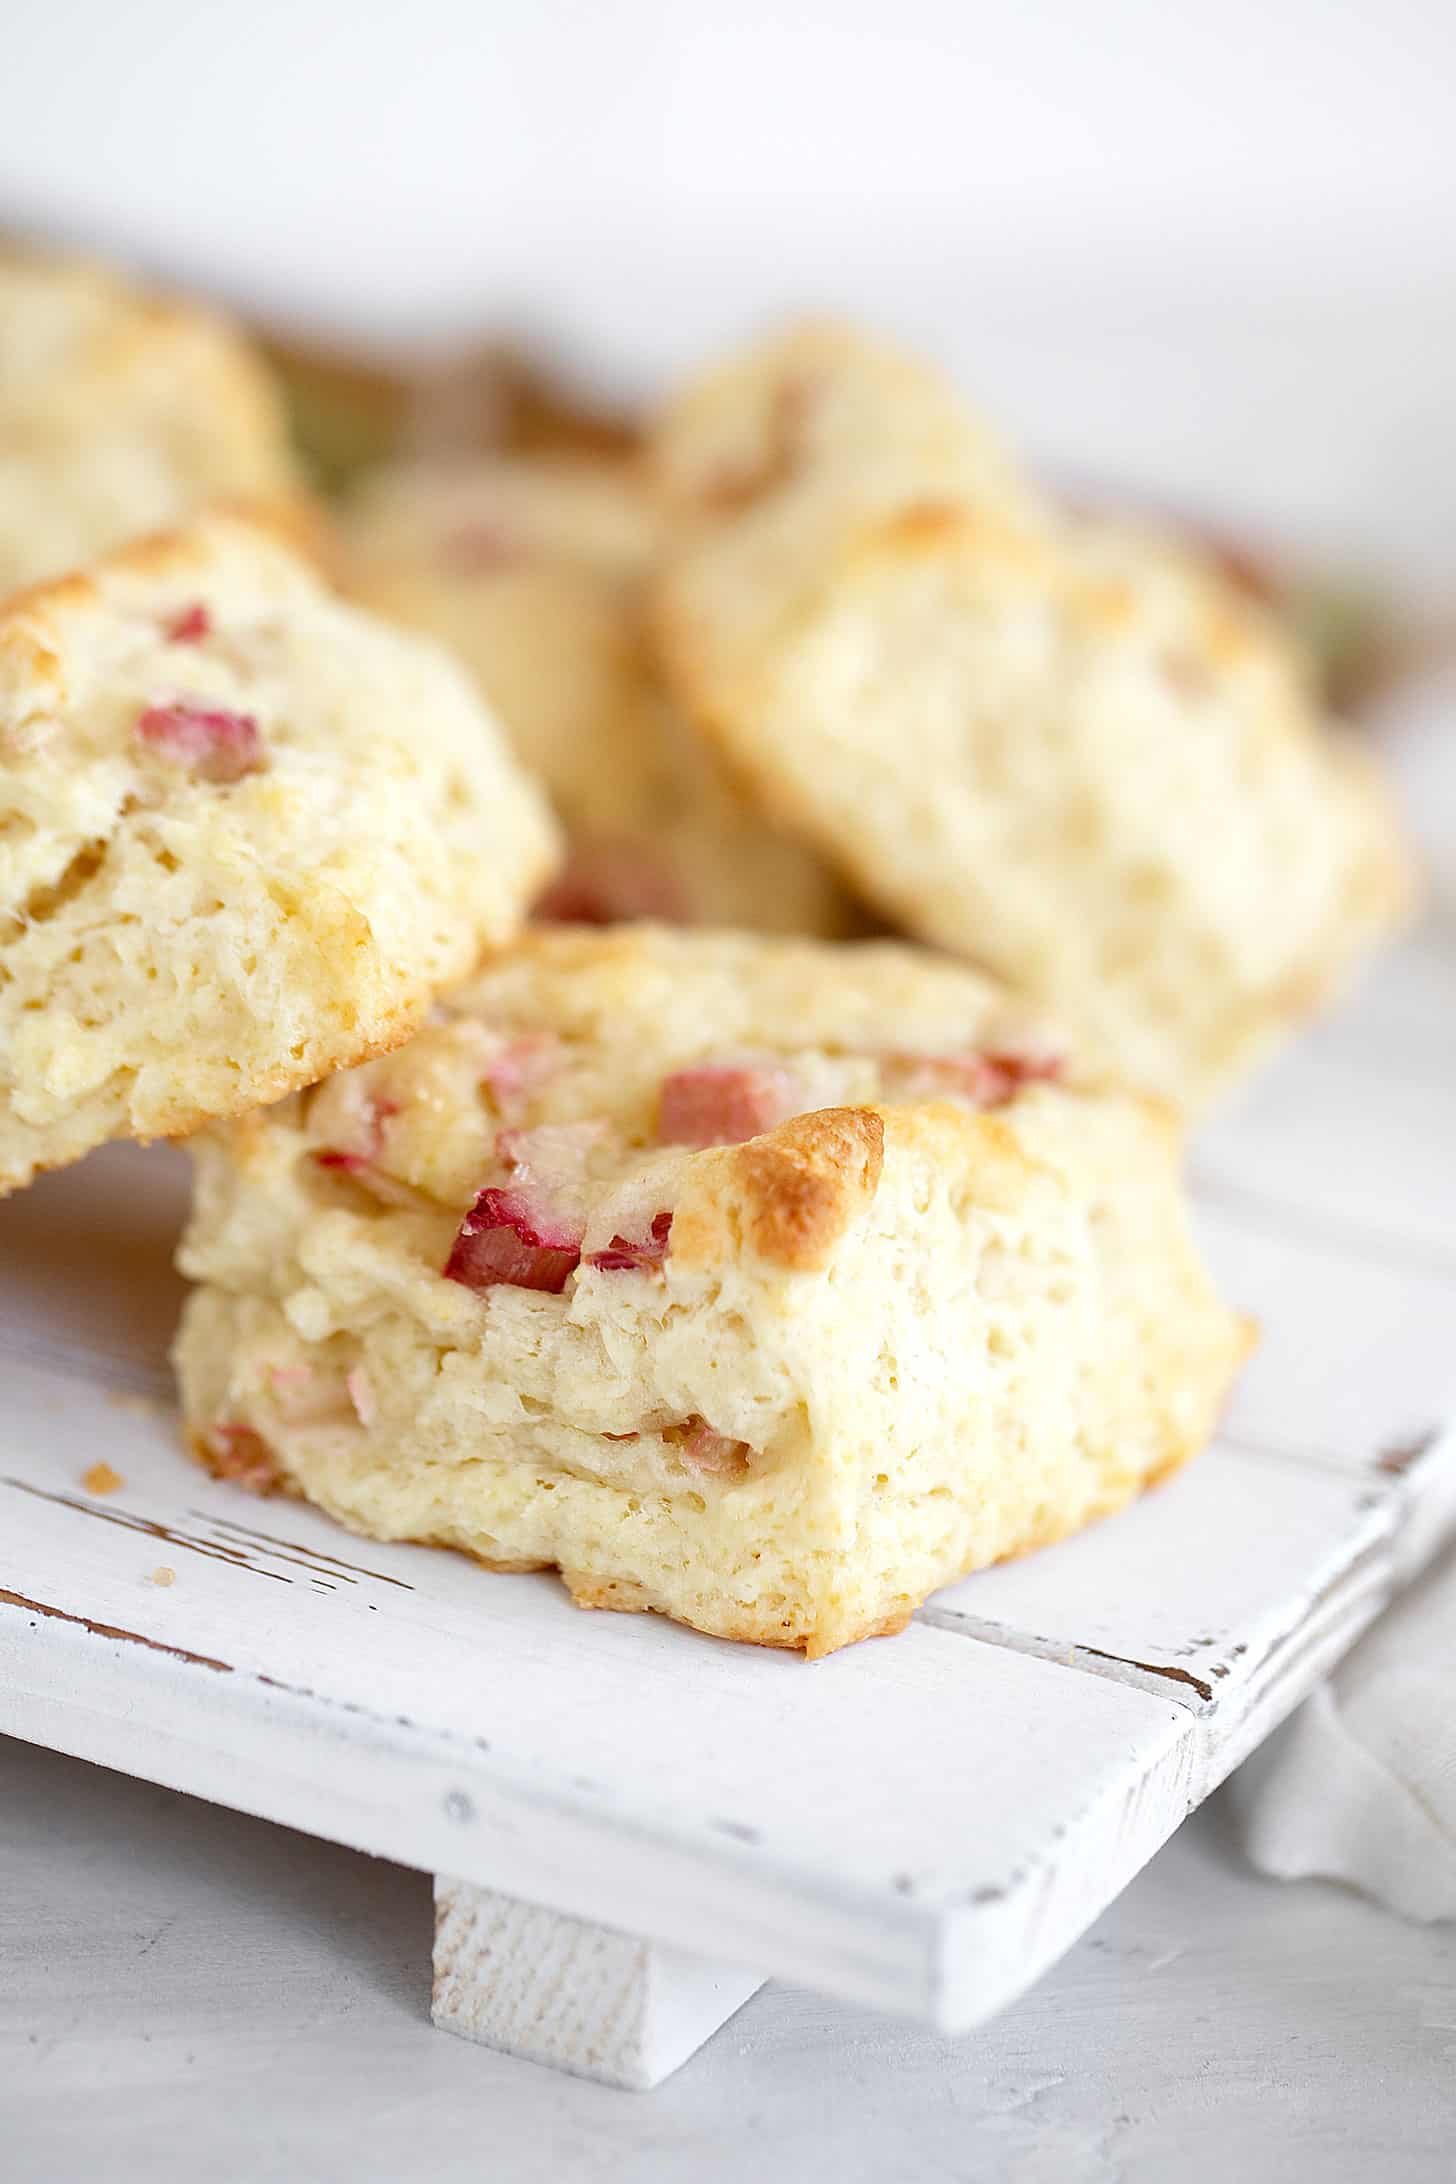
Delicious and tender rhubarb scones that can be made with either fresh or frozen rhubarb. A wonderful treat and they freeze beautifully!
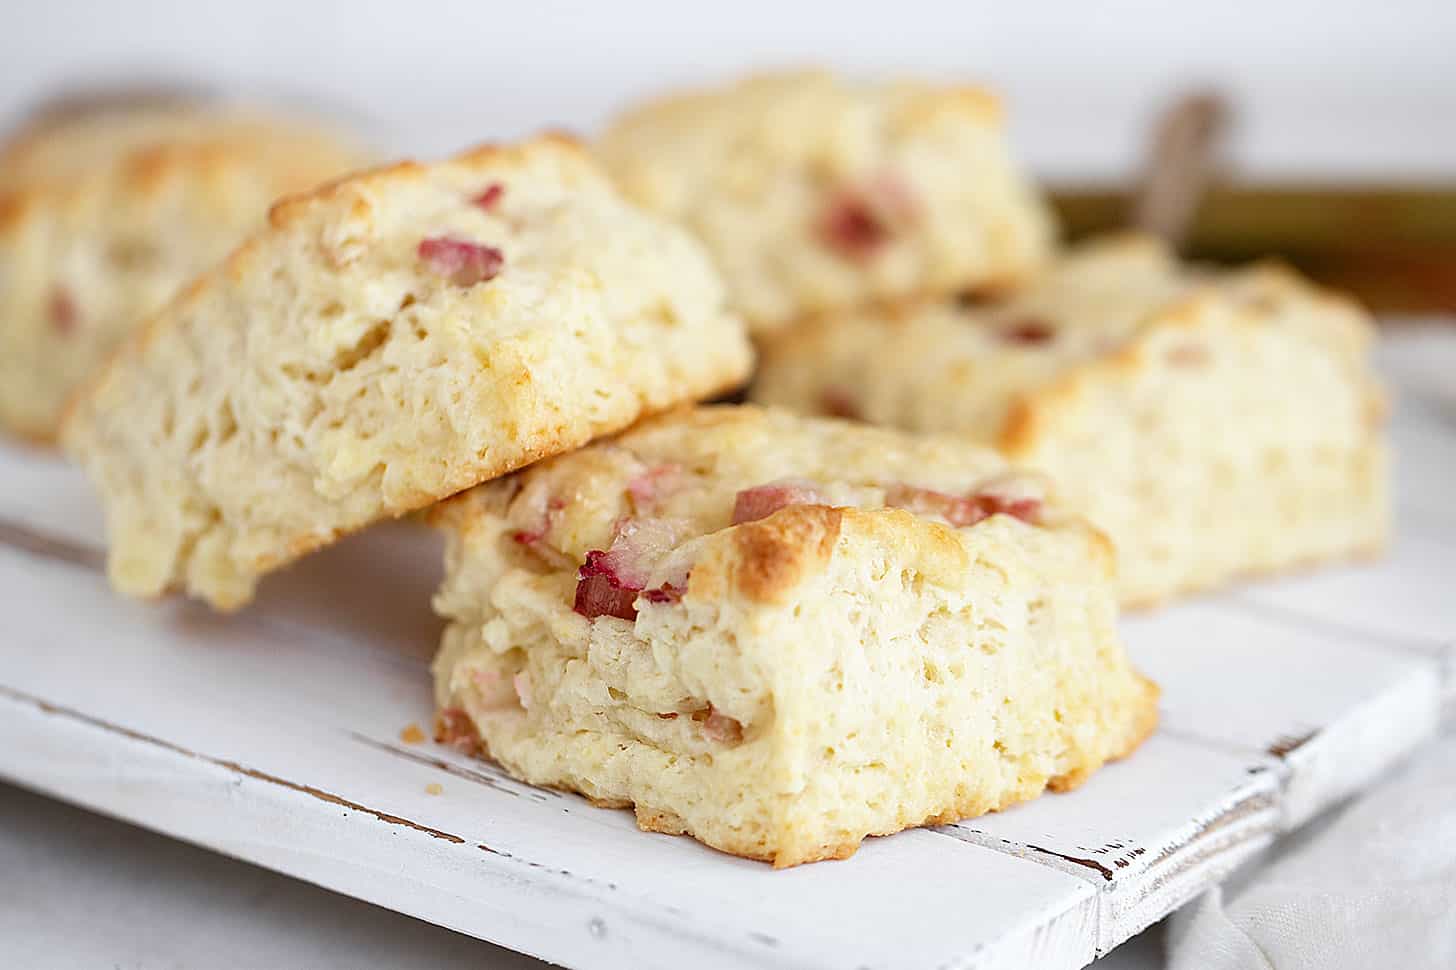
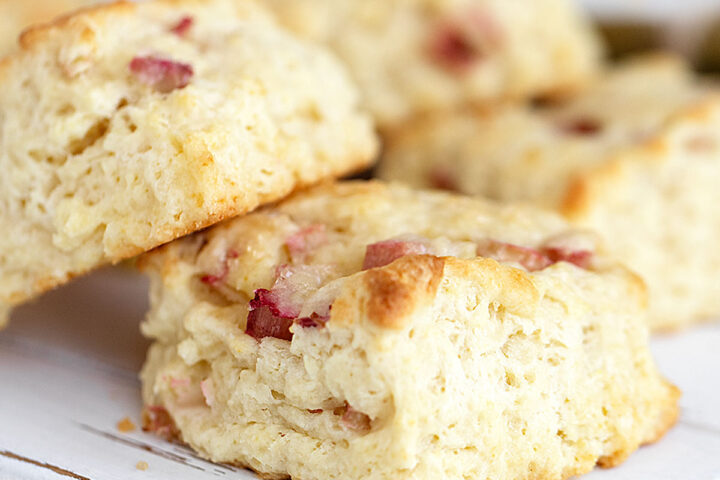
These rhubarb scones are a wonderful combination of sweet and tart flavours and are an excellent use for a small amount of leftover rhubarb. The use of heavy cream makes for a wonderfully rich and buttery scone.
These rhubarb scones freeze beautifully. Bake up a batch and freeze the extras to enjoy later.
Ingredients and substitutions
A few notes about the key ingredients …
Rhubarb – you can use fresh or frozen rhubarb for these scones. For frozen rhubarb, thaw in a colander to allow the excess moisture to drain off, then pat dry well, without squeezing or crushing.
Cream – the recipe specifies heavy, whipping cream (35% b.f.), together with a little milk. You can use a lighter cream if you prefer, though it will obviously produce a less rich scone. Swapping in a lighter cream may mean that you’ll need to use less of the liquid to moisten the dough.
How to make rhubarb scones
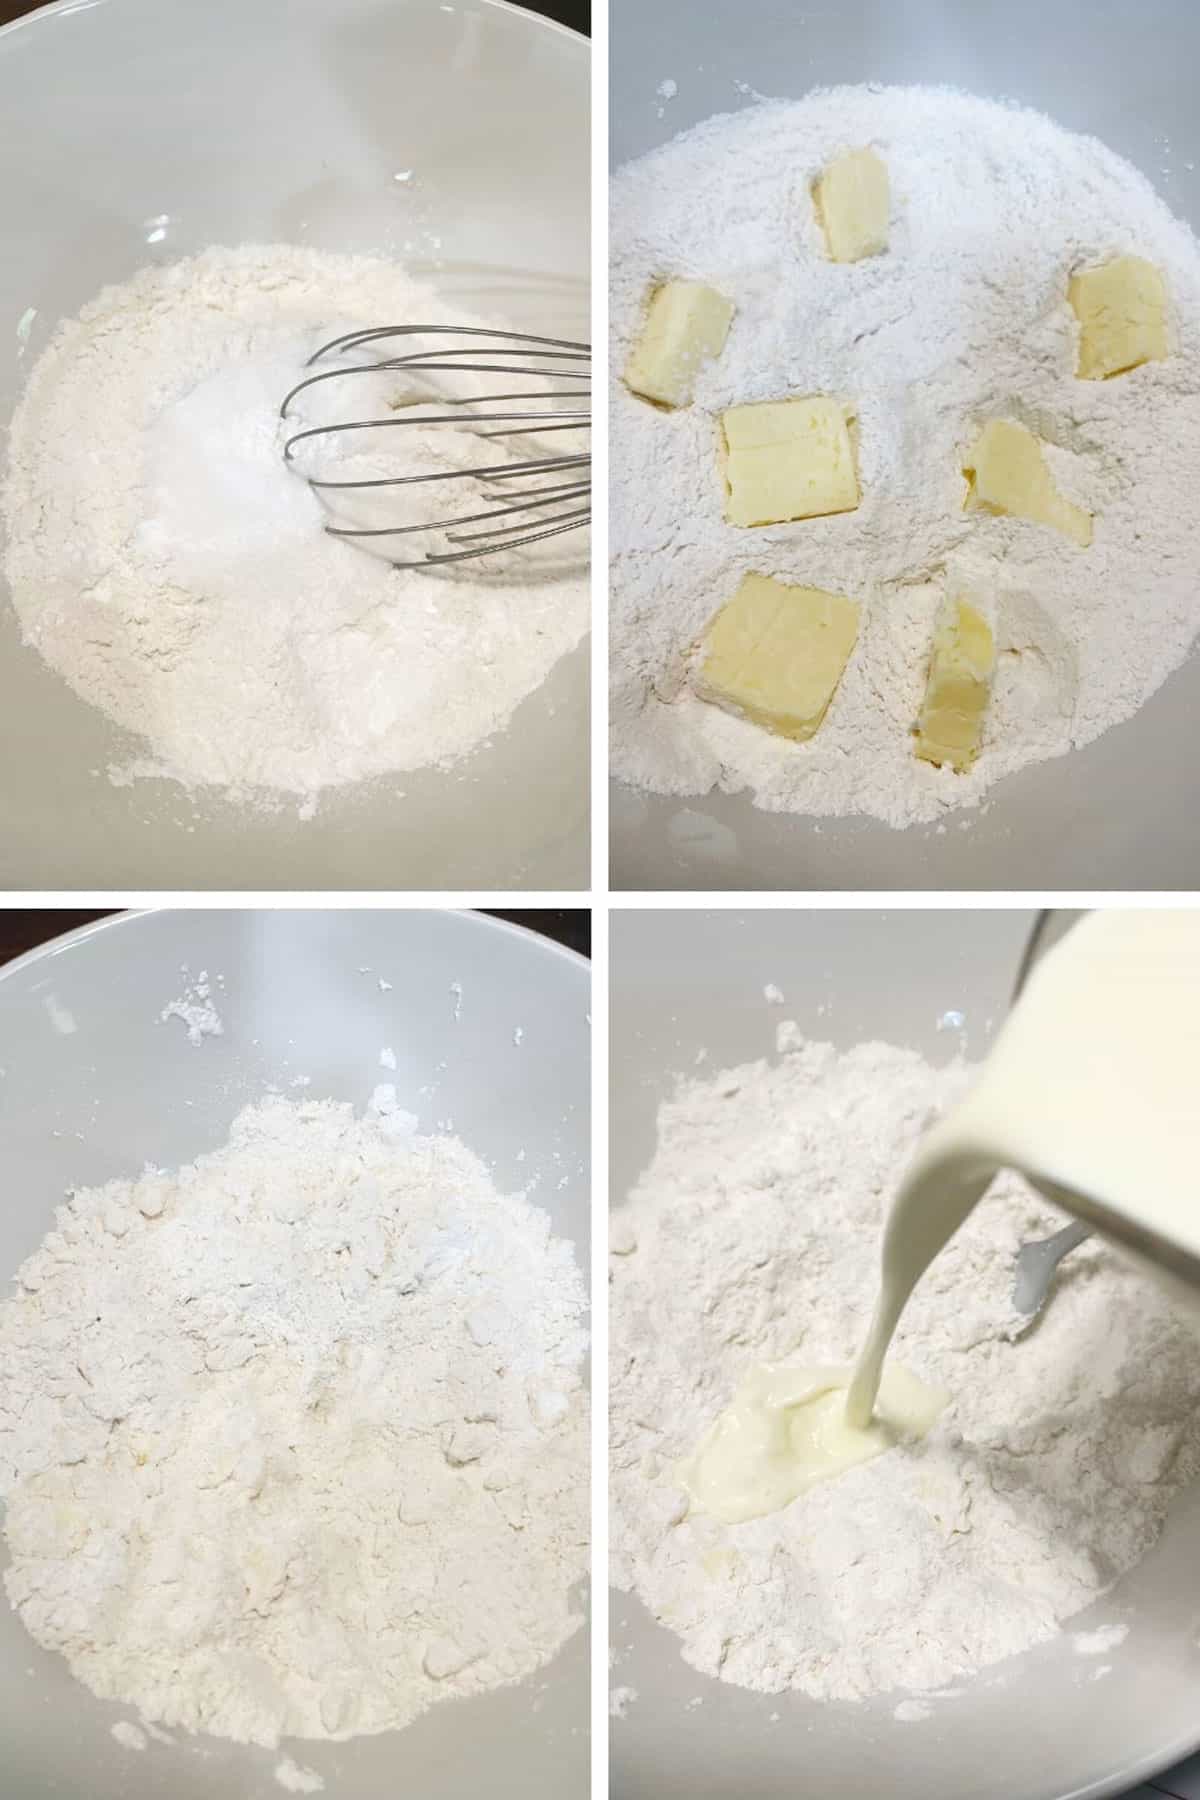
This is a visual summary of the steps to make rhubarb scones. Always refer to the complete instructions in the Recipe Card below when making the scones, as not all steps may be shown here.
Step 1: In a large bowl, whisk together the flour, sugar, baking powder and salt. Add the cold butter pieces and using your fingertips rub the butter into the flour until you have just pea-sized pieces of butter. Add about 2/3 of the cream mixture and stir to combine. Add the remaining cream mixture as needed, until you have a very moist, but not super wet dough.
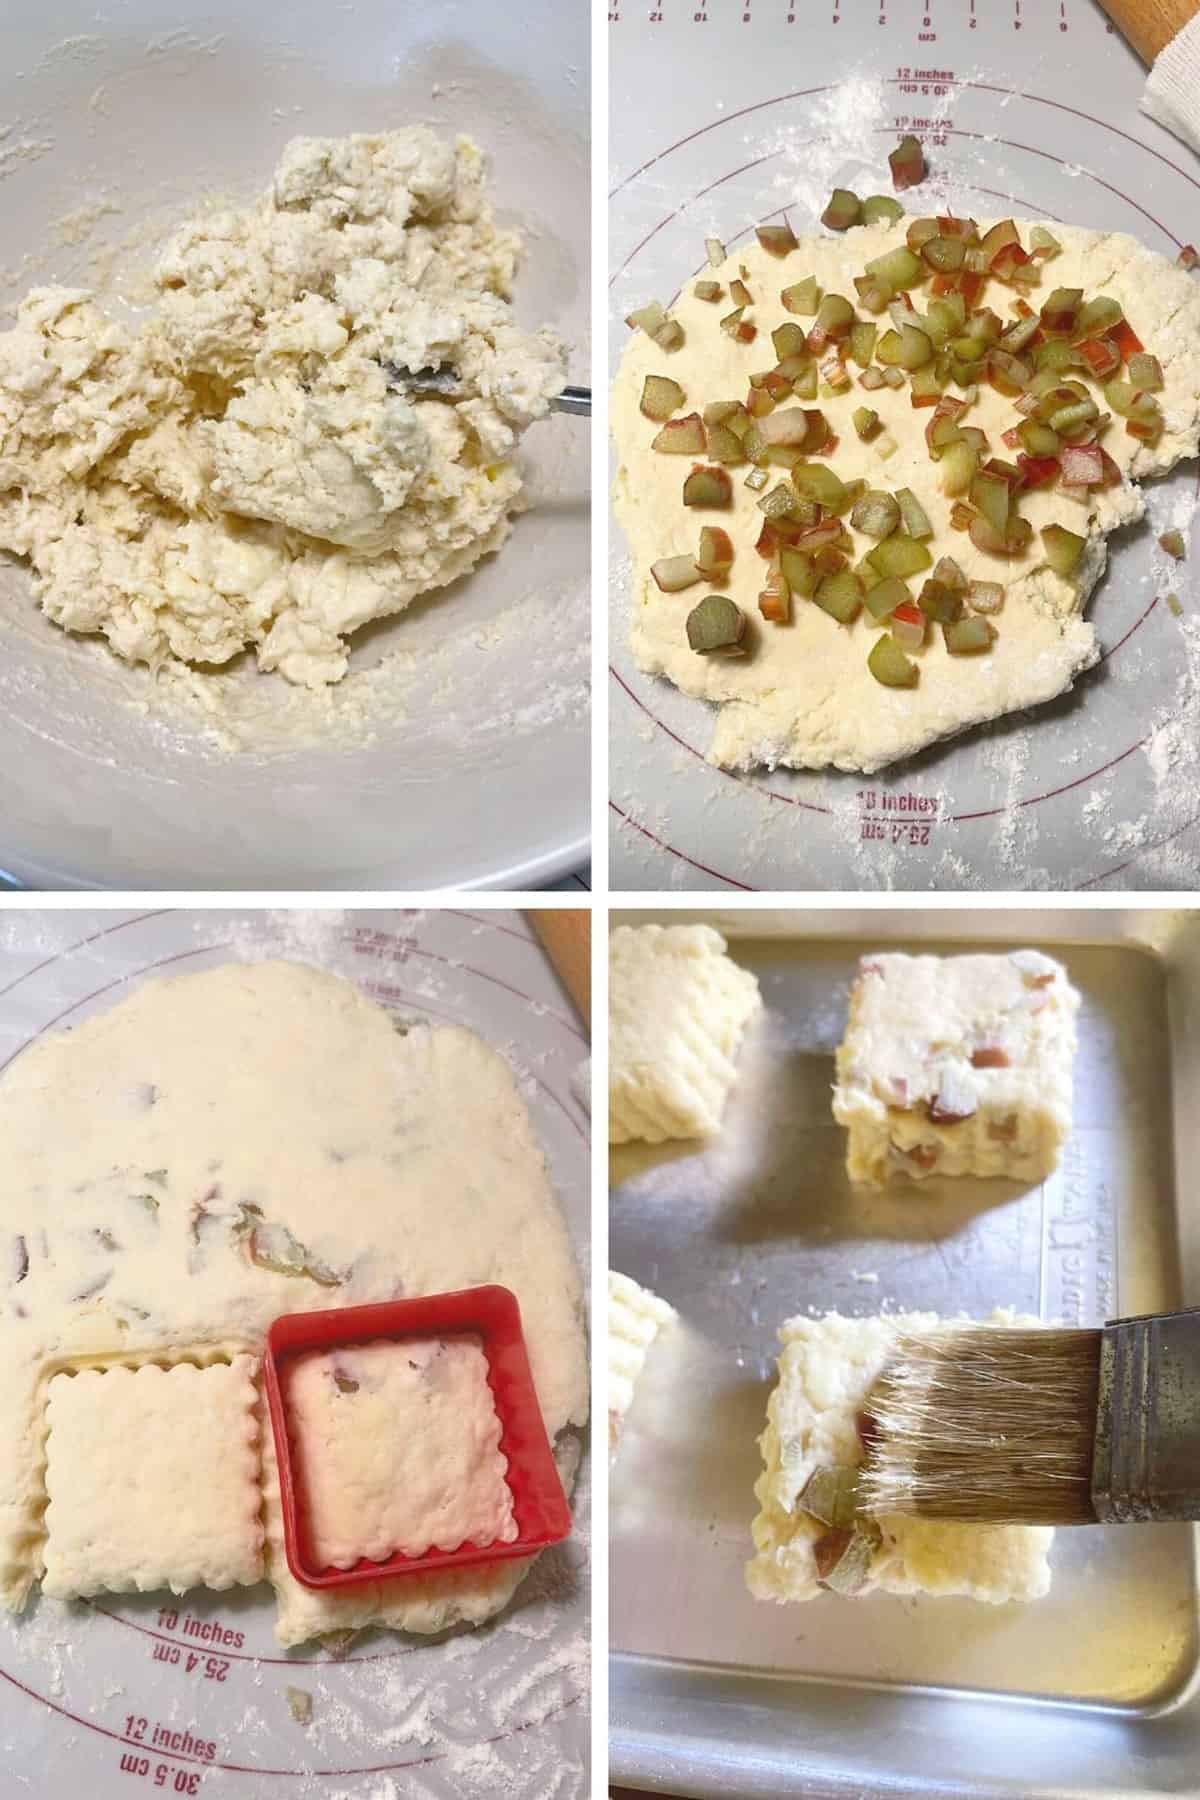
Step 2: Remove the dough to a lightly floured work surface and pat it into an oval about 1 inch thick. Scatter the rhubarb over top of the dough. Fold the dough in half, encasing the rhubarb pieces. Fold in half again, then roll or pat into a 1-inch thick piece. Use a cutter to cut scones and move them to a baking sheet. At this point, pop the baking sheet with the cut scones into the freezer to chill for 15-20 minutes.
Before baking, brush the tops of the scones with cream and sprinkle with sugar. Bake and enjoy!
Recipe tips!
- When adding the liquid to the flour/butter mixture, add only about 2/3 of it first, then add the last part only if needed. You want the dough to be very moist, but not super sticky. You will be able to add a touch more flour when you turn the dough out in order to be able to shape and fold it.
- Be sure to dice the rhubarb into fairly small dice, as it will be easier to shape, cut and bake the scones without large chunks of rhubarb in the dough.
- You can add as much rhubarb as you like but don’t use too much. First, the scone may be too tart (as the rhubarb is essentially unsweetened) and secondly, the scone will be crumbly and difficult to cut with too much rhubarb in it.
- Don’t skip the trip to the freezer. The cold scones will keep their shape as they bake and won’t spread out.
Making ahead, storing and freezing
Scones are always best enjoyed freshly baked, but they are still great anytime on the day they are baked.
Store baked and cooled scones in an airtight container for up to 3 days, though they do tend to soften a bit as they sit.
You can freeze both baked and unbaked scones for up to 2 months. If freezing unbaked scones, bake from frozen, allowing a couple of extra minutes of bake time.
The secret to making great scones!
- Always start with cold butter, cold cream and a cold egg.
- Work quickly, so you don’t warm and soften the butter.
- Don’t be afraid to adjust the liquid amount, adding less or more, as needed, until the dough is very moist, but not super sticky. Different flours will absorb differently, so the exact amount will vary from kitchen to kitchen.
- It’s ok to add a dusting of flour when shaping and cutting the scones, to prevent major sticking, but don’t overdo it. Use just what you need.
- Don’t overwork the dough. This warms and softens the butter.
- Fold the dough over several times before rolling and cutting. This creates layers and a better rise.
- Chill the cut scones before baking. This re-chills the butter and ensures the scones retain their shape, and layers and don’t spread.
- If adding fruit, keep the fruit as dry as possible, to avoid adding extra liquid to the dough.
- When brushing the tops of scones with cream, be sure to brush carefully so that only the top is moistened with the cream. Don’t use so much that it drips down the sides of the scones, as it can affect the rise by sealing the sides and not allowing steam to escape out the sides, which is what rises scones into lovely layers.
Want to save this recipe?
Enter your email and I’ll send it to your inbox. Plus, you’ll get great new recipes from me every week!
By submitting this form, you consent to receive emails from Seasons and Suppers.
You can unsubscribe at any time.
Get the Recipe: Rhubarb Scones
Ingredients
- 1/3-1/2 cup fresh or frozen rhubarb, finely diced into 1/4-inch pieces
- 2 cups all-purpose flour, spooned and levelled
- 1/2 cup white granulated sugar
- 2 1/2 teaspoons baking powder
- 1/2 teaspoon salt, *reduce to 1/4 teaspoon if using salted butter
- 1/3 cup cold unsalted butter, cut into 6 or 7 pieces
- 1 large egg, cold
- 1/2 cup heavy whipping cream, cold (35% b.f.)
- 1/4 cup milk, cold (2 or 3% milk recommended)
- 1/2 teaspoon vanilla extract or vanilla bean paste
For topping before baking:
- Additional heavy cream, for brushing
- Turbinado, coarse or fine white granulated sugar, for sprinkling on tops
Instructions
- Preheat oven to 400°F. (non-convection)
- If using frozen rhubarb, thaw in a strainer to remove excess moisture, then pat dry well. Dice the rhubarb into a fine 1/4-inch-ish dice. Set aside.
- In a bowl or measuring cup, use a fork to whisk together the egg, whipping cream, milk and vanilla. Set aside.
- In large bowl, whisk together the flour, sugar, baking powder, and salt. Add the pieces of cold butter into the dry ingredients and toss to coat the butter in a bit of flour. Using your fingertips (or a pastry blender or pastry cutter), rub the butter into the flour, breaking up the larger butter pieces as you go, until you have a mixture with about pea-sized pieces of butter.
- Make a well in the middle of the flour mixture and pour about 2/3 of the cream mixture into the bowl. Using a fork, stir dough just enough that the liquid is absorbed. Begin adding additional cream mixture, stirring as you add it, until the dough is very moist, but not super sticky. You may not need to use all of the cream mixture.
- Turn the dough onto a lightly floured surface, and gently pan the dough into a rough oval about 1-inch thick. You can dust with additional flour as needed if the dough is too sticky.
- Scatter the rhubarb pieces over top of the dough. Fold the dough in half over onto itself and lightly press the dough down. Turn the dough 90 degrees and fold in half again. Using your hands or a rolling pin, press or roll the dough into a piece 3/4 to 1 inch thick.
- Use a 2-inch round or square biscuit cutter (or use a knife to cut into 2-inch squares). Place scones onto an un-greased baking sheet, about 1 1/2 inches apart. *You can use parchment paper if you like, for easy clean-up, but it is not necessary. Gather any scraps and re-roll and cut additional scones. *Alternatively, you can pat the dough into a 3/4 to 1-inch thick round and use a sharp knife to cut the round into 8 wedges. Remove the wedges to the baking sheet 1 1/2 inches apart.
- Place the baking sheet with the cut scones into the freezer for 15-20 minutes. *This step is important. Cold scones will bake up better and hold their shape well. If you can't fit the baking sheet into your freezer, place it in the refrigerator for 30 minutes instead.
- Use a pastry brush to brush the tops of the scones with a bit more cream, then sprinkle with sugar.
- Bake scones for 15-17 minutes, rotating the baking sheet front to back halfway through baking. Bake until they are light golden brown on the edges. Remove scones from the oven and leave them on the baking sheet for 2-3 minutes before transferring them to a wire rack to cool.
Notes
- Always start with cold butter, cold cream and a cold egg.
- Work quickly, so you don’t warm and soften the butter.
- Don’t be afraid to adjust the liquid amount, adding less or more, as needed, until the dough is very moist, but not super sticky. Different flours will absorb differently, so the exact amount will vary from kitchen to kitchen.
- It’s ok to add a dusting of flour when shaping and cutting the scones, to prevent major sticking, but don’t overdo it. Use just what you need.
- Don’t overwork the dough. This warms and softens the butter.
- Fold the dough over several times before rolling and cutting. This creates layers and a better rise.
- Chill the cut scones before baking. This re-chills the butter and ensures the scones retain their shape, and layers and don’t spread.
- If adding fruit, keep the fruit as dry as possible, to avoid adding extra liquid to the dough.
- When brushing the tops of scones with cream, be sure to brush carefully so that only the top is moistened with the cream. Don’t use so much that it drips down the sides of the scones, as it can affect the rise by sealing the sides and not allowing steam to escape out the sides, which is what rises scones into lovely layers.
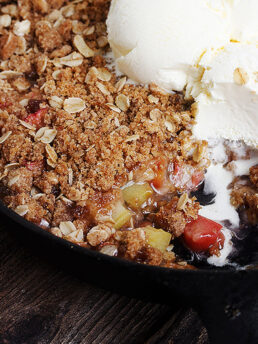
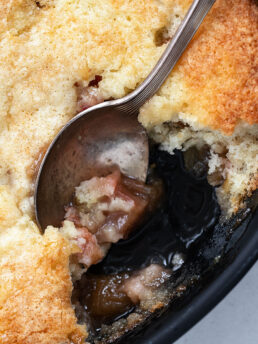
More rhubarb recipes to love!
Hi! I’m Jennifer, a home cook schooled by trial and error and almost 40 years of getting dinner on the table! I love to share my favourite recipes, both old and new, together with lots of tips and tricks to hopefully help make your home cooking enjoyable, stress free, rewarding and of course, delicious!