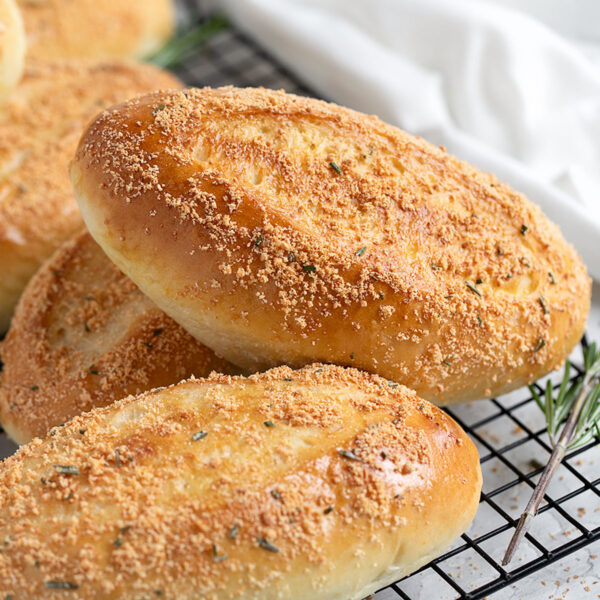
These soft rosemary Parmesan sandwich buns are easy to bake at home for sandwiches, subs or hoagies. They freeze beautifully, so you can stock the freezer and always have a supply on hand!
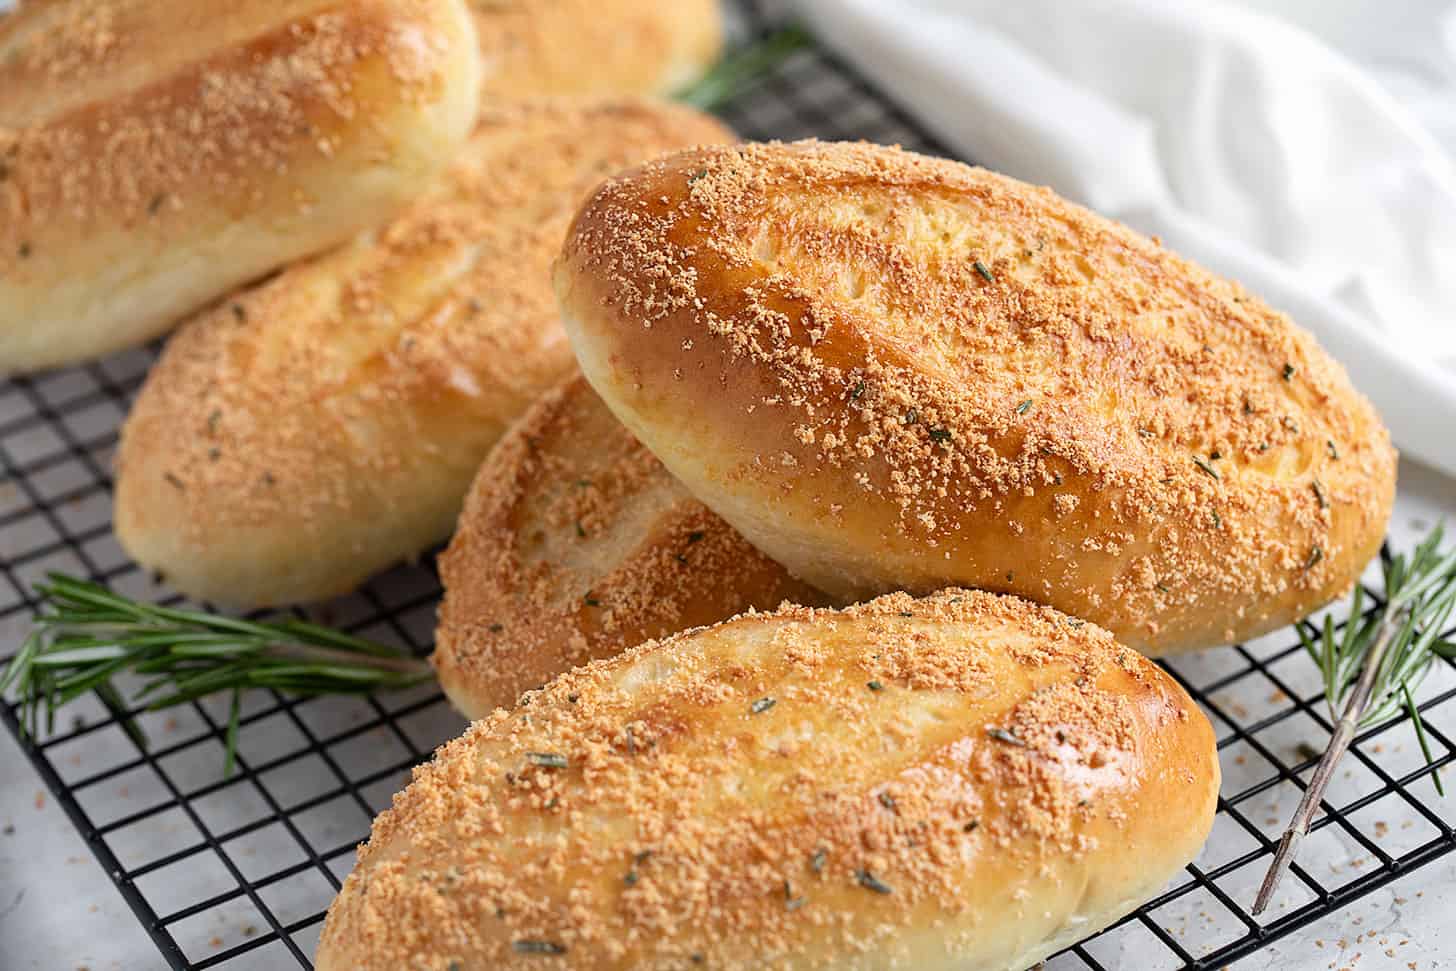
Once you start baking your own buns at home, it’s hard to stop. These rosemary Parmesan buns are the latest addition. These buns are bakery-worthy, but quick and easy to make at home.
A soft and tender crumb combines with a golden crust, flavoured with Parmesan and rosemary. Load them up with your favourite sandwich fillings, fashion them into delicious meatball sandwiches or turn them into fabulous garlic bread to serve alongside any dinner.
Love to bake your own at home? Try my popular Homemade Sub Rolls next!
Ingredients and substitutions
A few notes about the key ingredients …
Yeast – These buns use a healthy amount of yeast. It makes for a quick rise and a light texture. You can use Active Dry yeast or Instant yeast.
Rosemary – I’ve made these with both dried and fresh rosemary. Rosemary is so woody, it’s hard to tell the difference. Fresh is probably a bit more fragrant.
Parmesan – While I’m usually a grate-your-own Parmesan fan, for these buns, I used the pre-grated 100% Parmesan sold in the small tubs in the cheese section. I find the consistency works better as it holds its shape well through the baking process. You can certainly grate your own, but don’t grate it too fine, or it will melt and disappear during baking.
How to make rosemary Parmesan sandwich buns: step-by-step
This is a visual summary of the steps to make this recipe. Scroll down to the Recipe Card below for the complete list of ingredients and instructions.
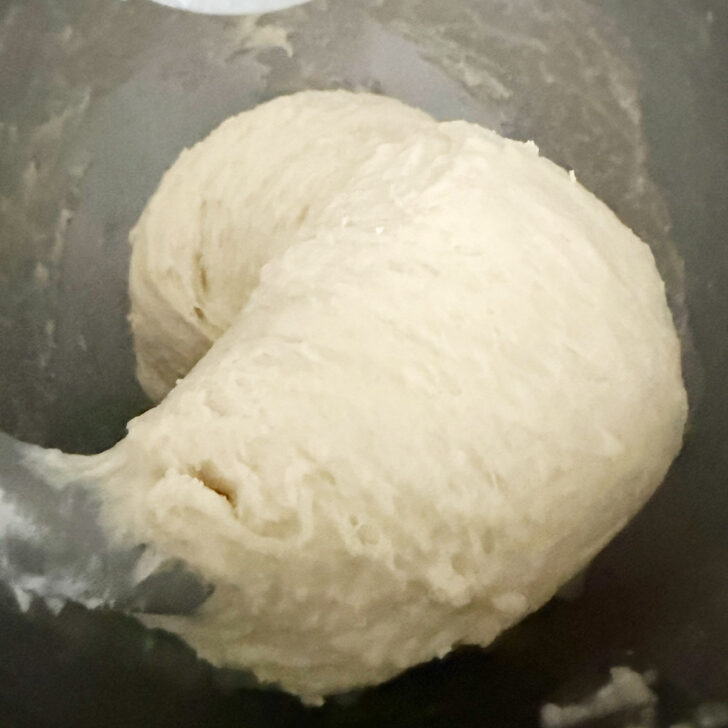
Step 1: Start by mixing together the dough. The dough will clean the bowl, but still be sticky.
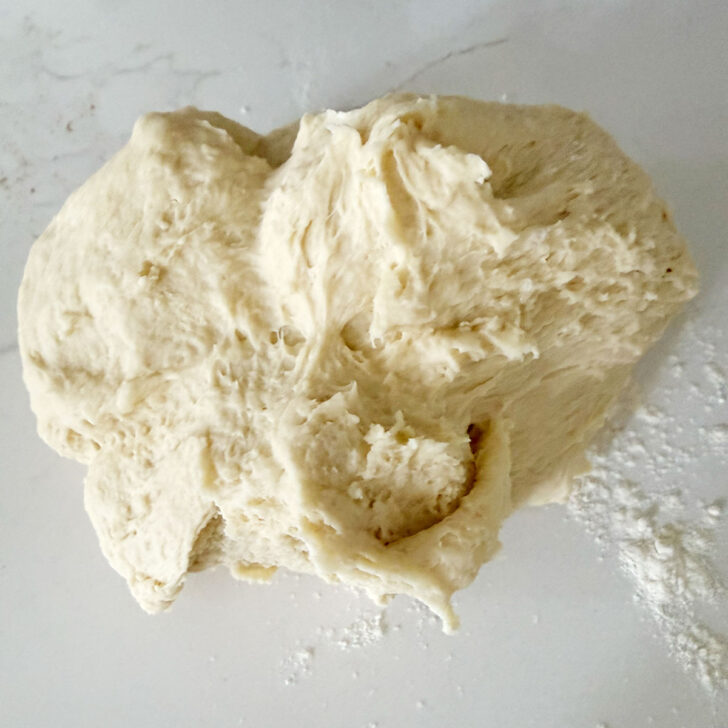
Step 2: Knead the dough on a floured surface for a few minutes.
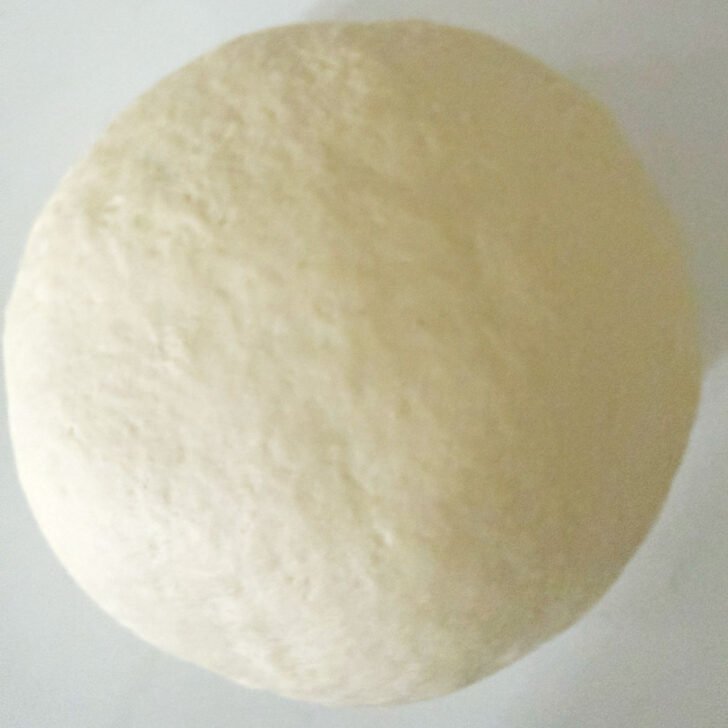
Step 3: Shape into a ball.
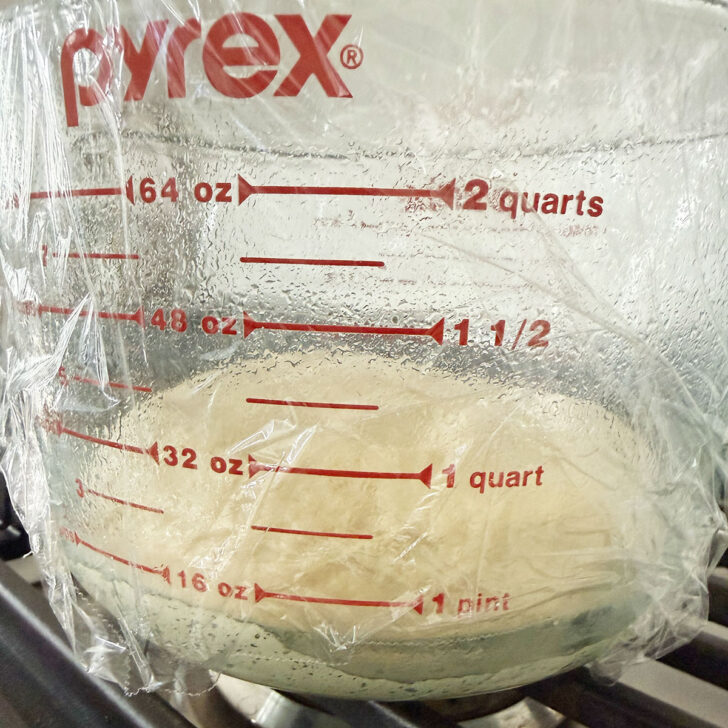
Step 4: Set the dough to rise in a greased, covered bowl.
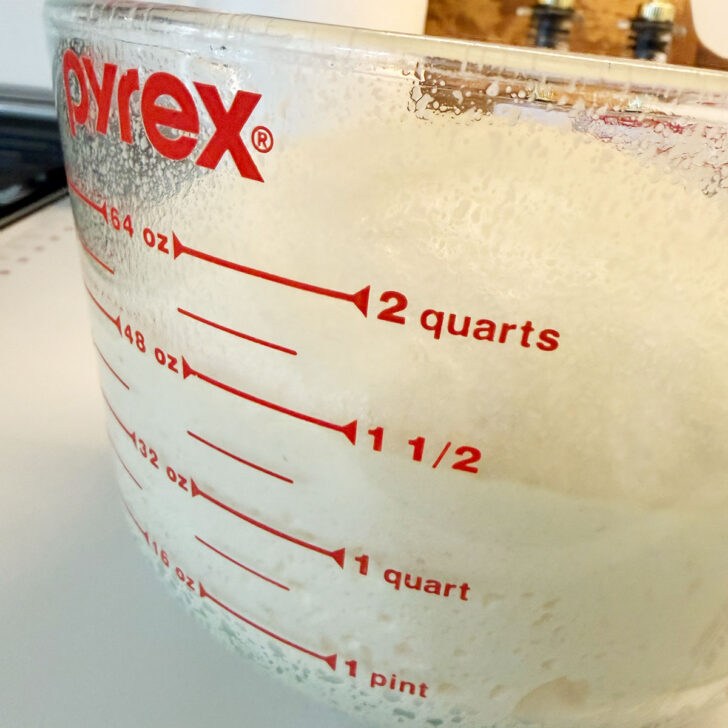
Step 5: Rise the dough just until doubled in size.
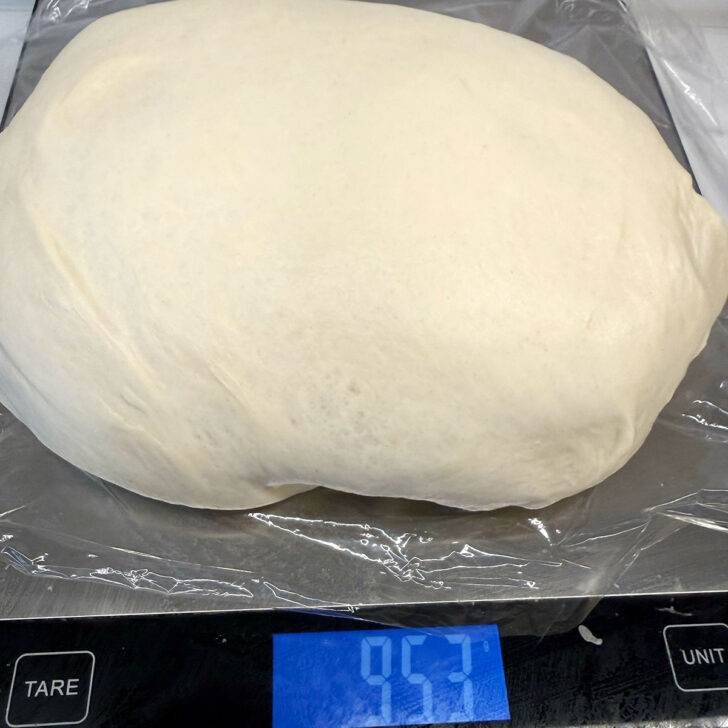
Step 6: Weigh the dough after rising. Divide by 6 to get the weight each bun should be.
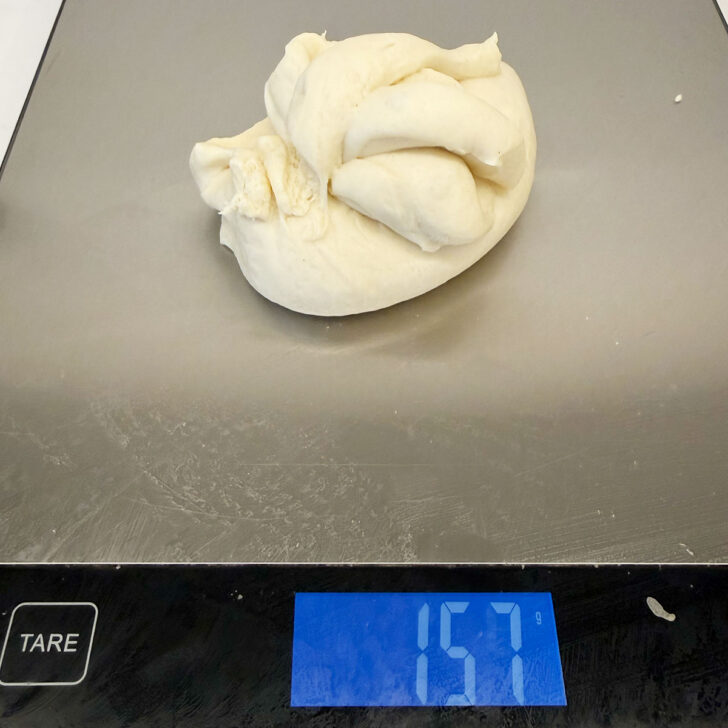
Step 7: Weigh out the individual buns.
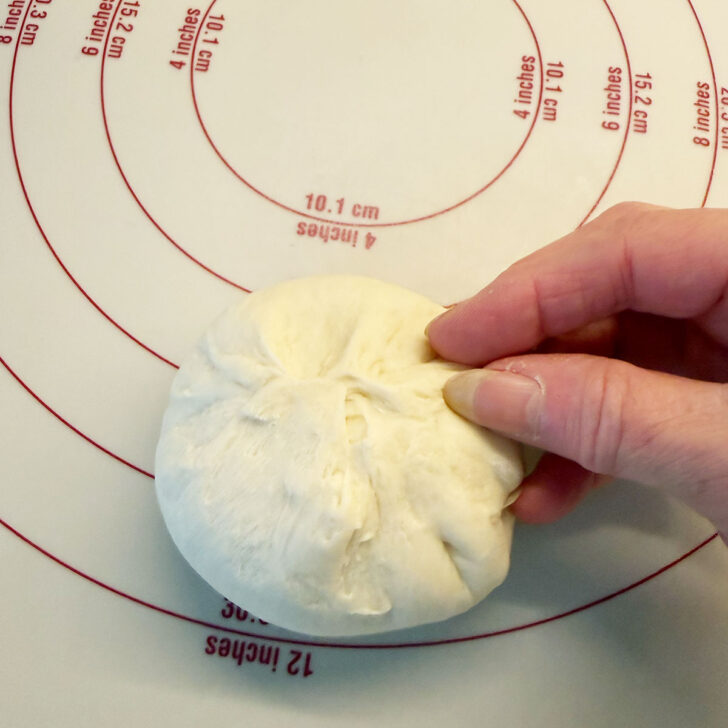
Step 8: Form each piece of dough into a ball.
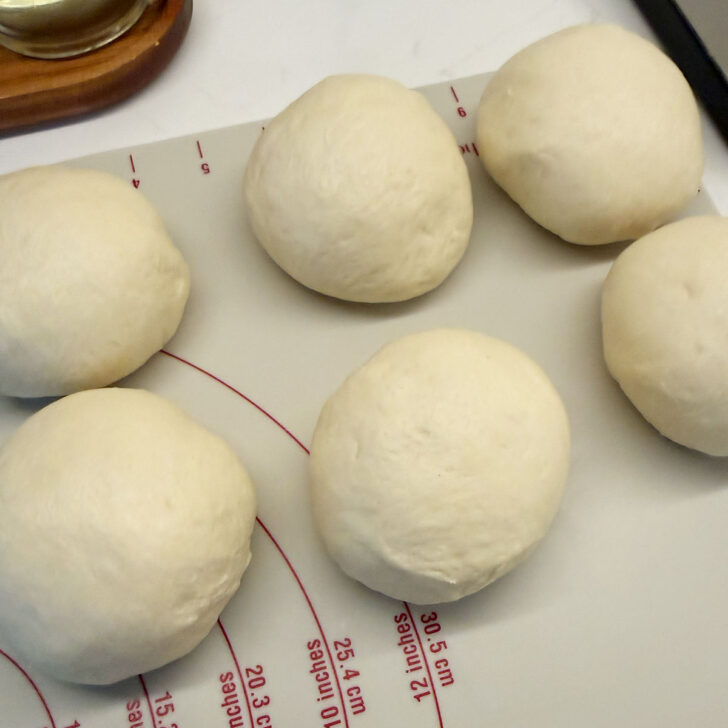
Step 9: Repeat with each dough piece.
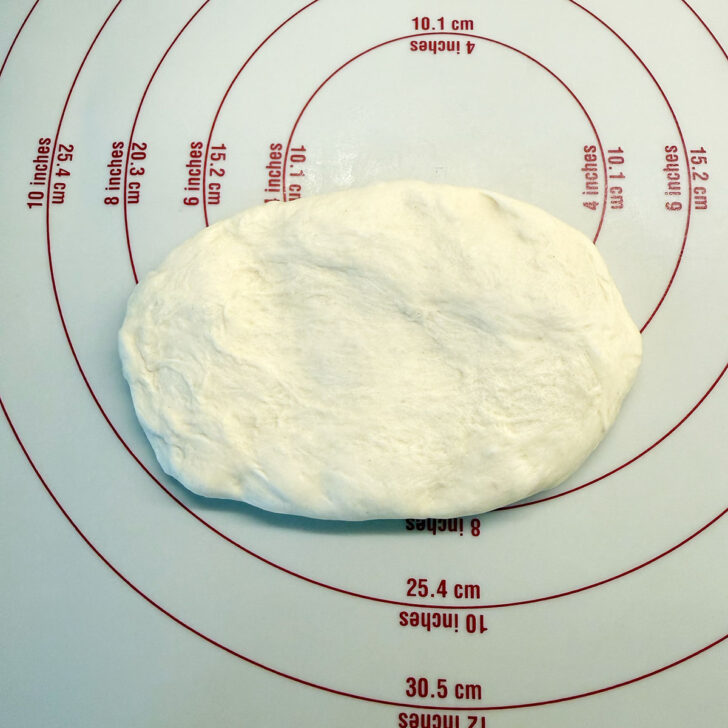
Step 10: Press each dough ball into an oval.
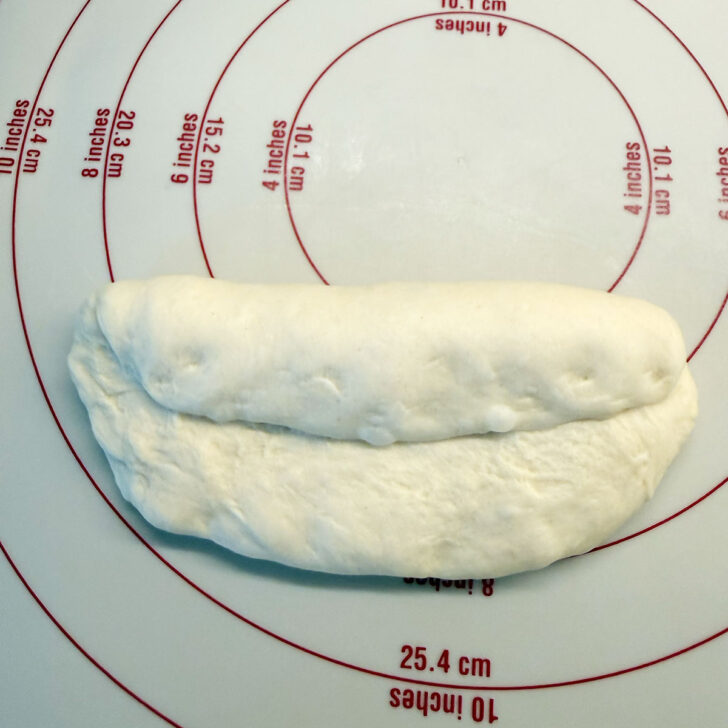
Step 11: Fold the top of the oval down to the middle.
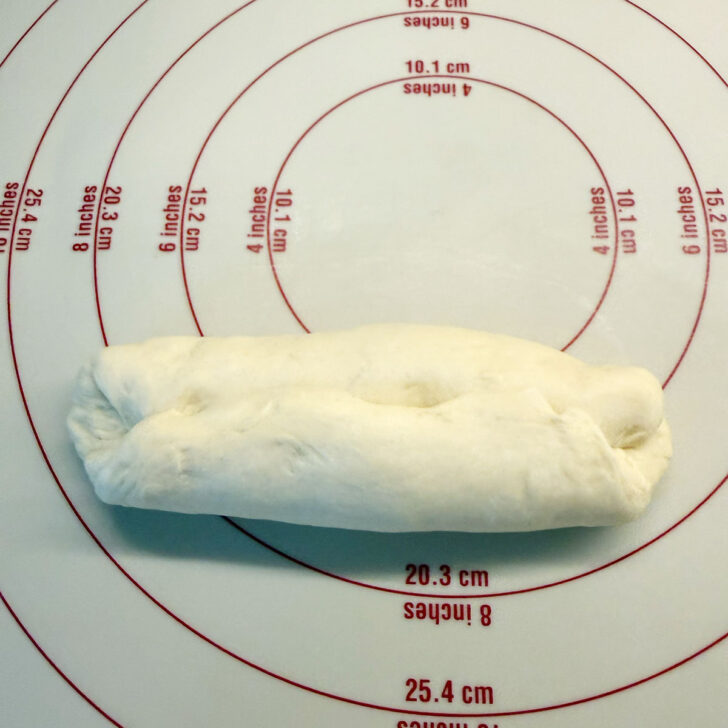
Step 12: Fold the bottom of the oval up to the middle.
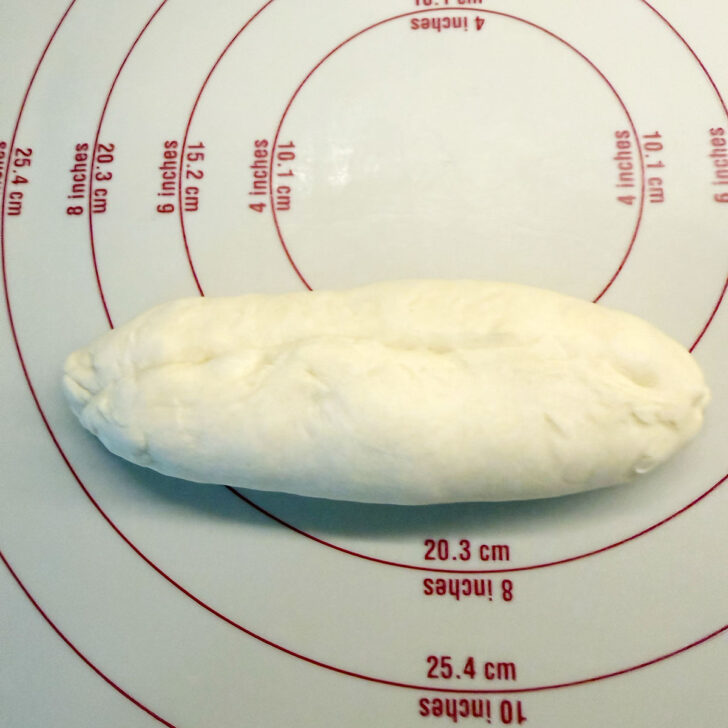
Step 13: Pinch the seams and ends together.
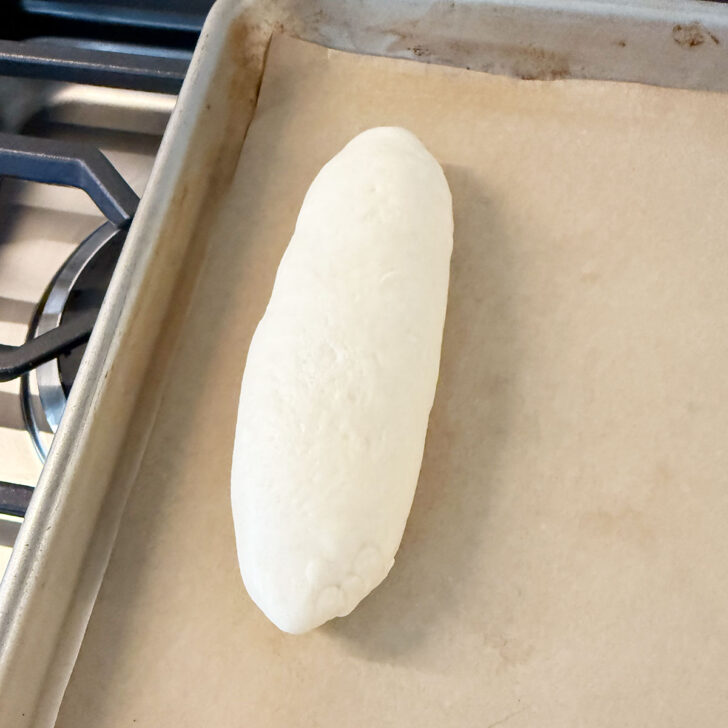
Step 14: Place seam down on a parchment-lined baking sheet.
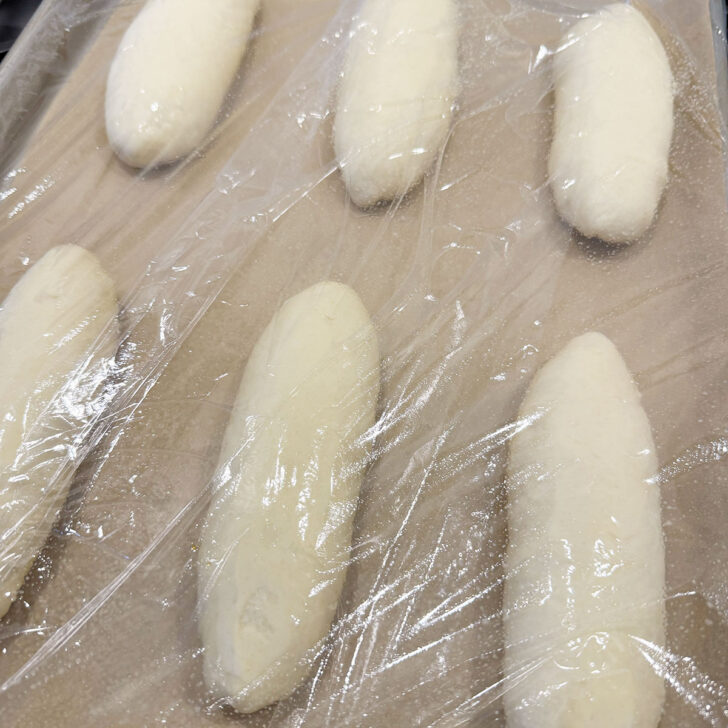
Step 15: Repeat to shape all the buns, then cover and let rise.
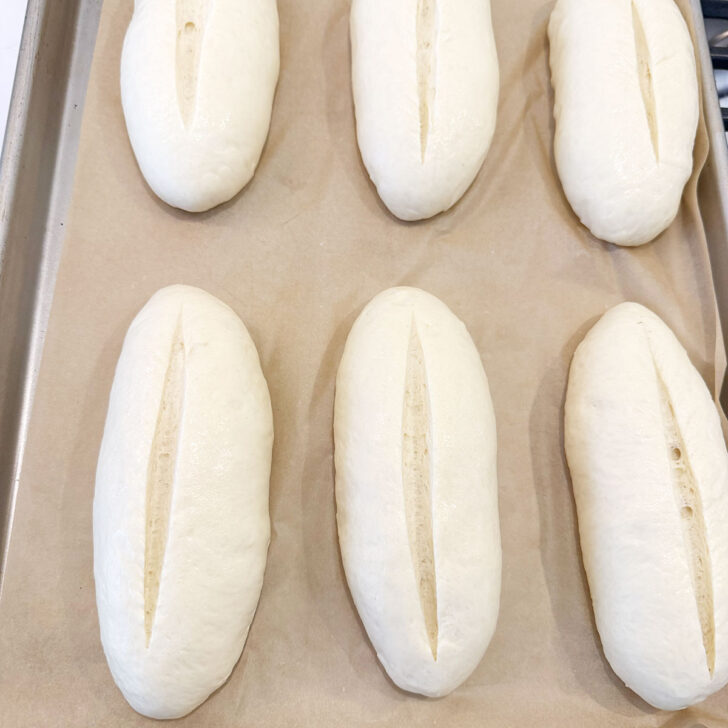
Step 16: Use a sharp knife to slash the buns down the centre.
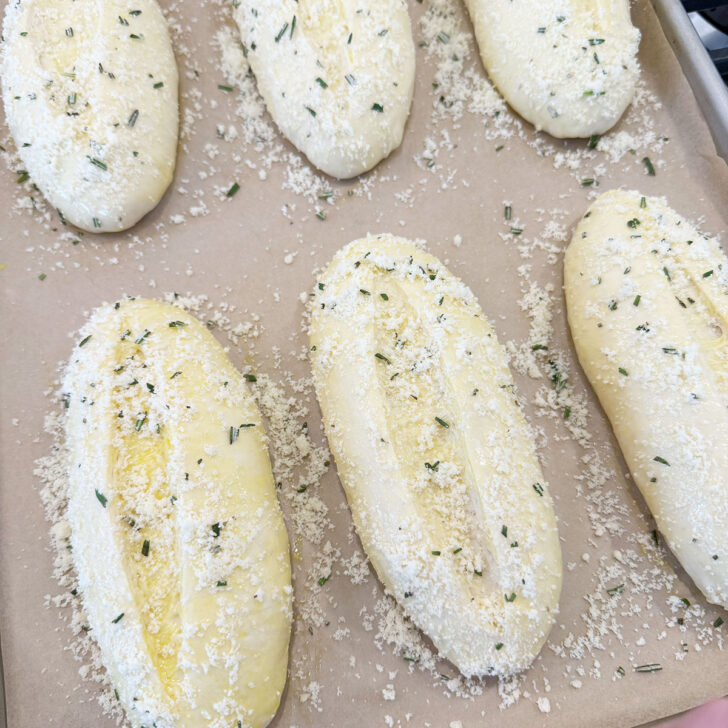
Step 17: Brush the buns with the egg wash, then sprinkle with the rosemary Parmesan topping.
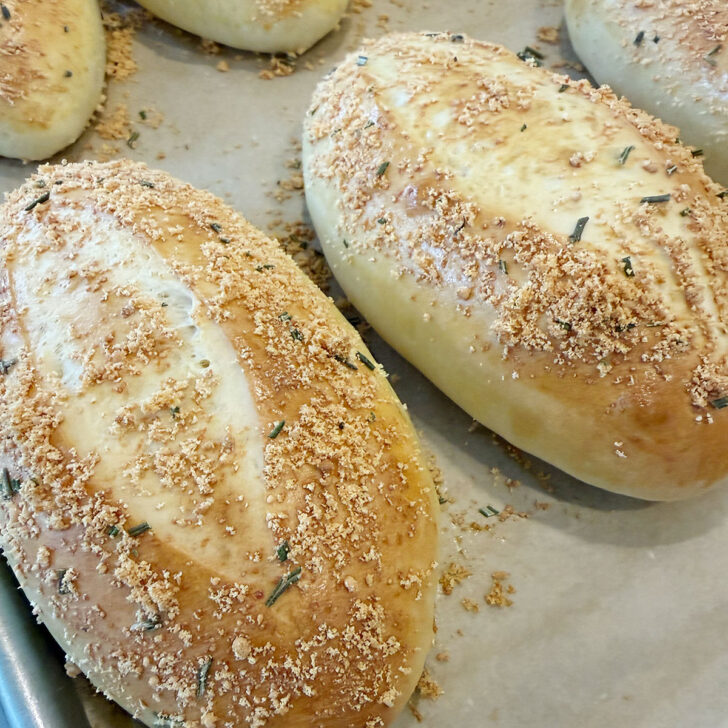
Step 18: Bake until golden and enjoy!
Recipe tips!
- Rosemary leaves are not easy to cut, as they tend to fly all over the place with every slice. I have better luck with kitchen scissors!
- Use your sharpest knife to slash the buns, using one quick, confident slash.
- Be sure to apply the egg wash evenly and thoroughly to avoid splotchy buns. Make sure to get all the way to the bottom and all the way around.
- I’ve portioned the dough into 6 generously sized buns, but you can easily increase to 8 and make slightly smaller buns if you like.
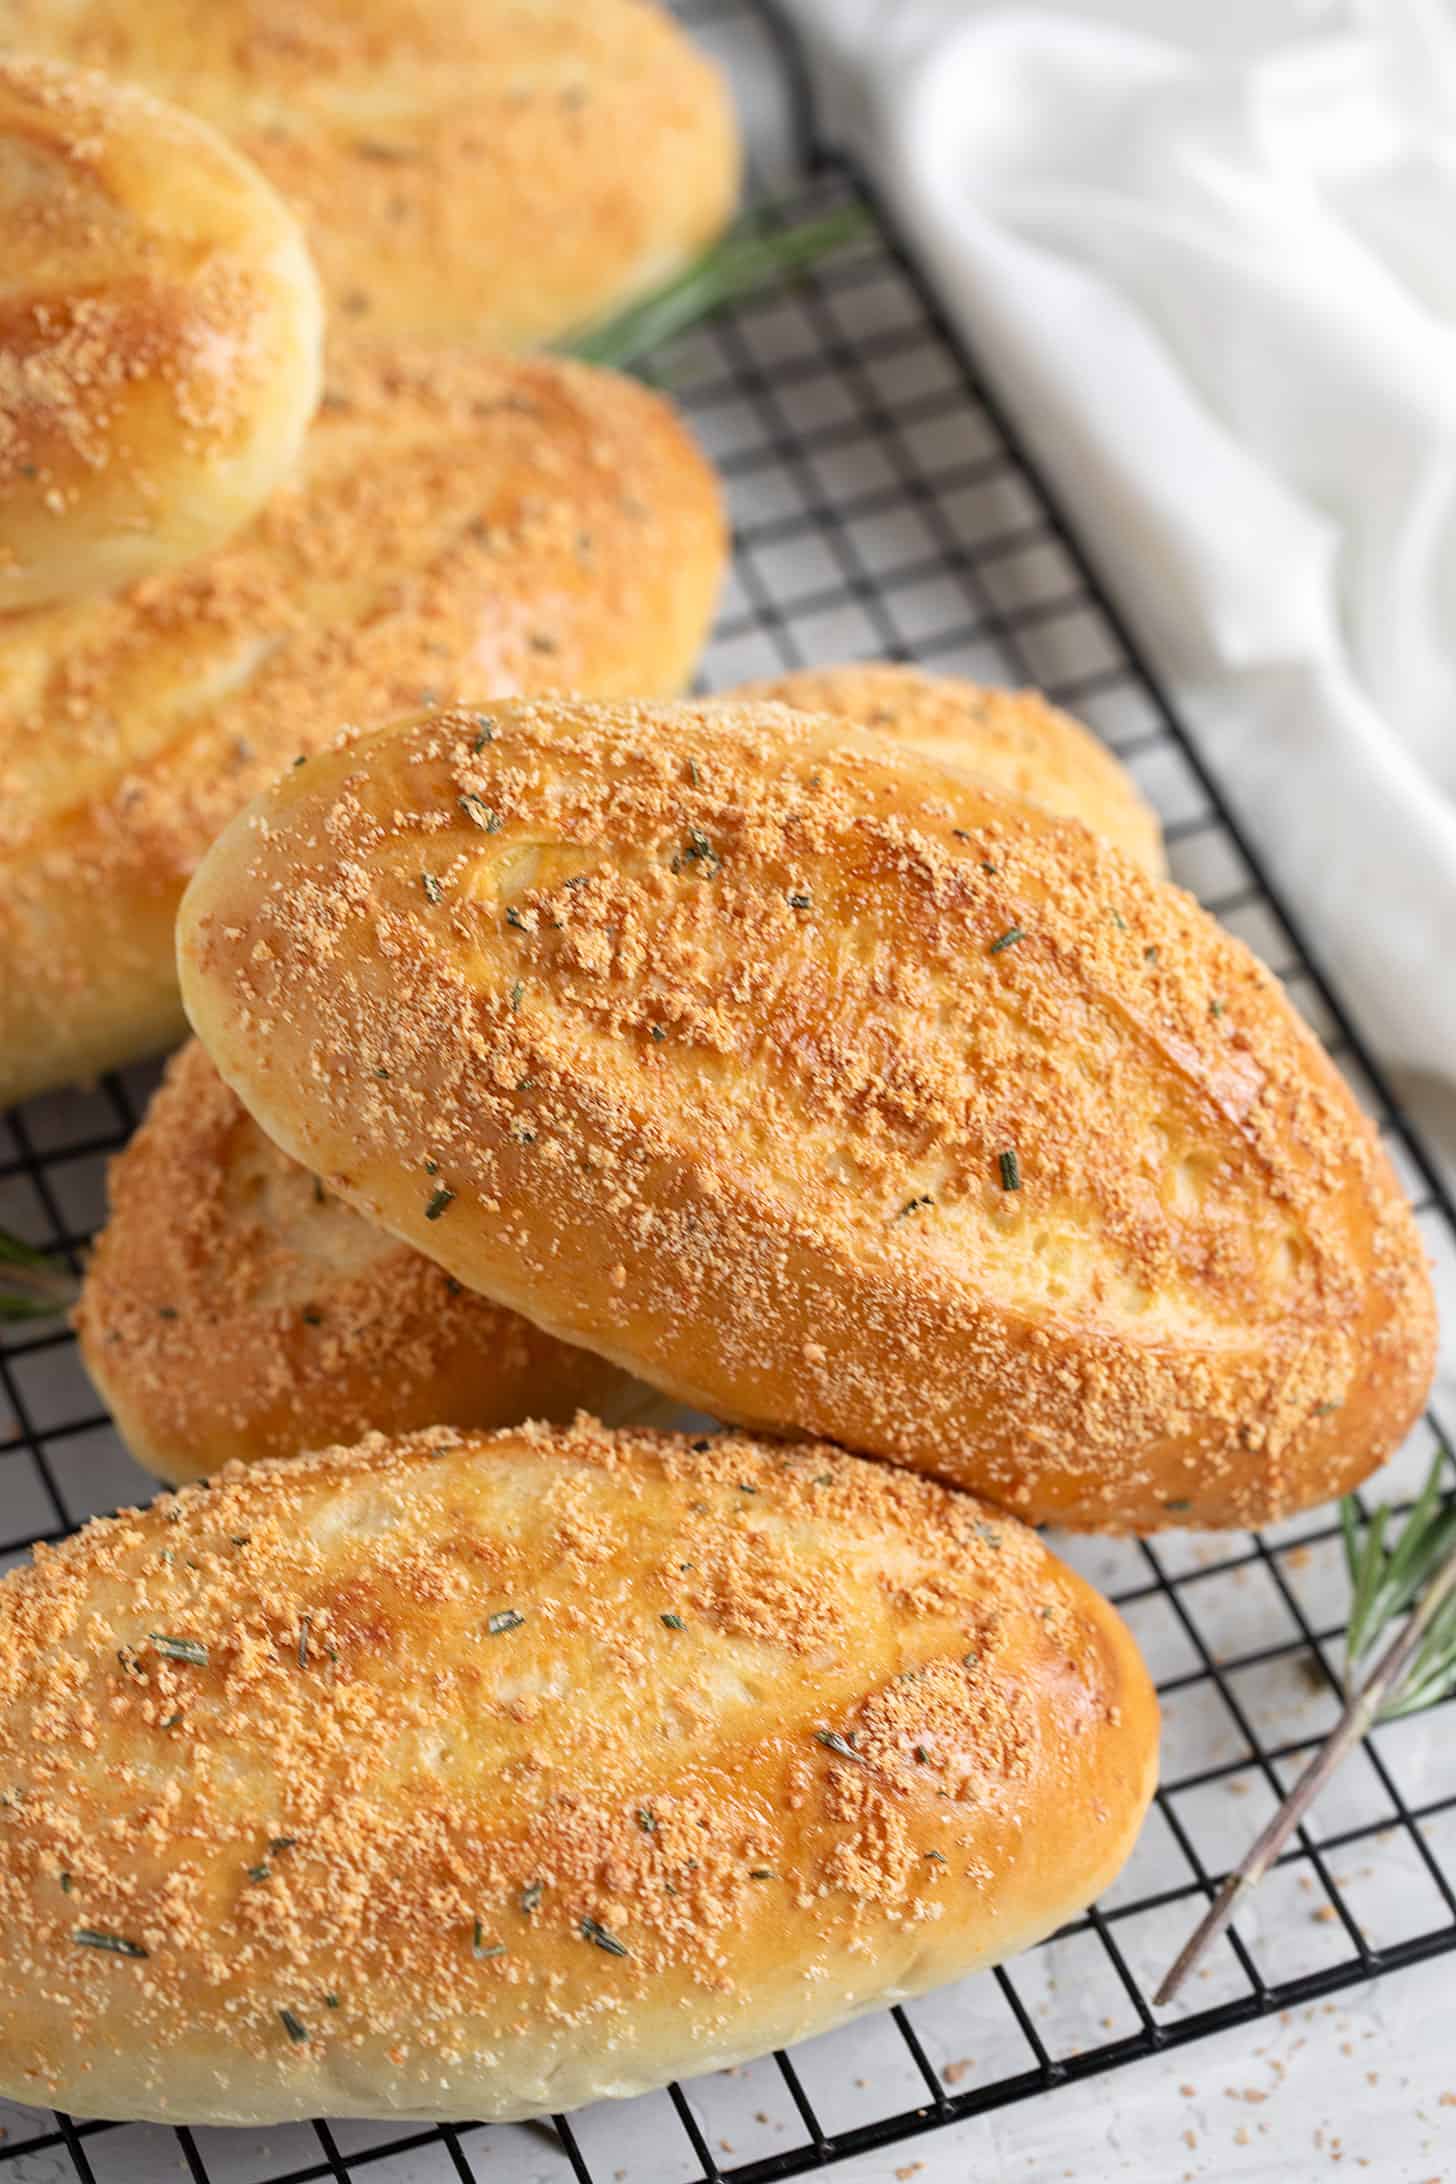
How to enjoy your rosemary Parmesan sandwich buns
- Slice in half and fill with deli meat, cheese, lettuce and tomatoes.
- Slice and fill with a breaded, fried chicken cutlet, cheese, and marinara for a Chicken Parm sandwich.
- Slice a slit in the top and stuff with provolone and meatballs, then top with marinara, for a fabulous meatball sandwich.
- Slice, spread with garlic butter and pop under the broiler for garlic bread.
Storing and freezing
After cooling completely, transfer to an airtight container or bread bag and store at room temperature for 2-3 days.
For longer storage, wrap well and freeze for up to 3 months. Thaw at room temperature, still wrapped, so they don’t dry out.
Want to save this recipe?
Enter your email and I’ll send it to your inbox. Plus, you’ll get great new recipes from me every week!
By submitting this form, you consent to receive emails from Seasons and Suppers.
You can unsubscribe at any time.
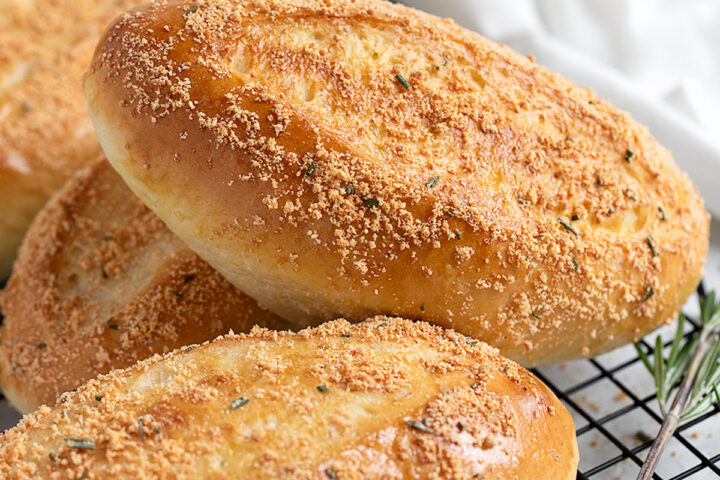
Get the Recipe: Rosemary Parmesan Sandwich Rolls
Ingredients
- 1 cup (240 ml) water, lukewarm, about 105F
- 1/2 cup (120 ml) milk, warmed to lukewarm, about 105F
- 2 Tablespoons honey
- 1 Tablespoon active dry or instant yeast
- 3 Tablespoons (42 6) butter, cut into 3 pieces
- 3 1/2 cups (375-425 g) bread flour, spooned and levelled *see Note 1 for substituting all-purpose flour
- 1-1 1/2 teaspoons fine salt, use a bit less in the dough if you would like to use the flaky salt for the tops
Egg wash:
- 1 large egg, beaten
For the rosemary Parmesan topping:
- 1/4 cup (60 ml) grated Parmesan
- 1 1/2 teaspoons rosemary leaves, fresh or dried, finely chopped
- 1/2 teaspoon garlic powder
- flaky sea salt, optional
Instructions
- Combine 1 cup water (lukewarm, about 105F) and 1/2 cup milk (warmed to lukewarm, about 105F) in a 2-cup measuring cup or a saucepan and warm just to lukewarm, about 105F, on the stovetop or in the microwave. Stir in 2 Tablespoons honey and 1 Tablespoon active dry or instant yeast. Add the 3 Tablespoons butter (cut into 3 pieces) and let stand for a few minutes. Add to a large bowl or the bowl of a stand mixer fitted with the kneading hook.
- Add 3 cups of the 3 1/2 cups bread flour (spooned and levelled *see Note 1 for substituting all-purpose flour) and the 1-1 1/2 teaspoons fine salt (use a bit less in the dough if you would like to use the flaky salt for the tops). Mix to combine well. Begin adding the remaining 1/2 cup of flour, a bit at a time, kneading between additions. Add only as much flour as needed, just until the dough cleans the bowl and wraps the kneading hook, but is still a bit sticky. You may not need to add the full amount, or you may need to add a couple of Tablespoons more. Knead the dough for a few minutes on Speed 2.
- Remove the dough to a floured work surface. Knead the dough by hand, adding additional flour only if the dough is sticking to your hands or the work surface. Knead the dough briefly, then form the dough into a ball. Place the dough ball into a greased bowl. Cover tightly with plastic wrap and let rise just until doubled, about 45 minutes.
- Remove the dough to a work surface and gently deflate. Divide the dough into 6 equal-sized pieces. (I like to weigh the dough on a kitchen scale, then divide the total weight by 6 to get the weight for each bun. Weigh out the individual pieces on the scale as well.)
- Form each piece of dough into a ball by pinching it together (see step-by-step photos), then flipping it over and rolling gently on the work surface with a cupped hand.
- Take one dough ball and use your hands to press the ball into an oval shape, about 6 inches long and 4 inches wide, with the long side closest to you. Take the top edge of the oval and fold it down to the middle. Take the bottom edge of the oval and fold it up to meet and slightly overlap in the middle. Pinch together from end to end, pinching the fleshy part of the dough together (see step-by-step photos). Flip over and place onto a large, parchment-lined baking sheet.
- Repeat with the remaining pieces of dough, placing them onto the baking sheet at least 2 inches apart (2 rows of 3 works well). Spray a large piece of plastic wrap (or two, if needed) with cooking spray and cover the baking sheet tightly. Allow the buns to rise until puffy, about 30 minutes.
- While the buns are rising, mix together the rosemary Parmesan topping by combining the 1/4 cup grated Parmesan, 1 1/2 teaspoons rosemary leaves (fresh or dried, finely chopped) and 1/2 teaspoon garlic powder in a small bowl. (I like to use kitchen scissors to snip the rosemary leaves into small pieces, rather than using a knife.) Set aside.
- Preheat oven to 350F (regular bake setting, adjust as needed for convection or fan-assisted), with the rack in the centre of the oven.
- Remove the plastic wrap. Using your sharpest knife, slash down the centre of the buns with one quick, confident stroke, starting and ending about 1 inch in from the ends of the bun. The cut should be about 1/2-inch deep.
- Beat 1 large egg (beaten) together with a teaspoon of water. Brush onto the buns, being sure to brush evenly and thoroughly, all the way to the bottom and all around the buns. Sprinkle evenly with the prepared rosemary Parmesan topping, then sprinkle the buns with a bit of flaky sea salt, if using.
- Bake the buns in the preheated oven for about 15 minutes, give or take a couple of minutes, or until deep golden in colour and the internal temperature reaches 195F. Remove from the oven, then immediately transfer to a cooling rack to cool completely. (If any of the buns bake together, leave them connected until cooled. Separating them while hot causes the steam to escape, which can make the crumb gummy.)
- Once cooled completely, store at room-temperature in an airtight container for 2-3 days or freeze up to 3 months, for longer storage.
Notes
More bun and roll recipes to love!
Hi! I’m Jennifer, a home cook schooled by trial and error and almost 40 years of getting dinner on the table! I love to share my favourite recipes, both old and new, together with lots of tips and tricks to hopefully help make your home cooking enjoyable, stress-free, rewarding and of course, delicious!