This classic cauliflower cheese recipe starts with roasting the cauliflower first for added flavour. Add an easy cheese sauce and a bit more time and you’ll have bubbly, browned and cheese cauliflower.
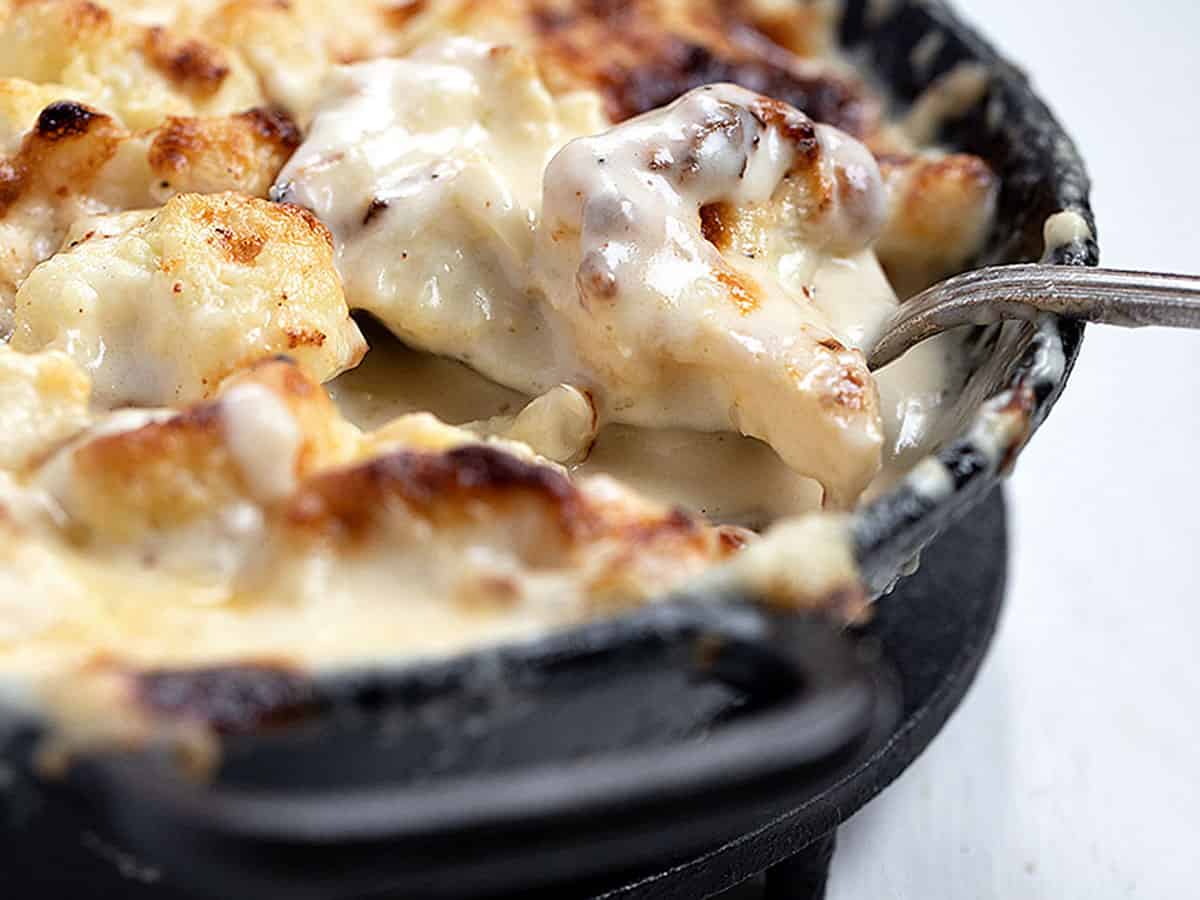
Before there was cauliflower “rice” and cauliflower “wings”, there was cauliflower cheese. No need for quotes here. The cauliflower in this one isn’t standing in for anything. It’s just cauliflower being cauliflower, coming together with an equally beautiful and creamy cheese sauce. It’s a classic and it’s pretty much cauliflower perfection, in my opinion. So in case you’ve forgotten about it, I thought I’d bring it back around :)
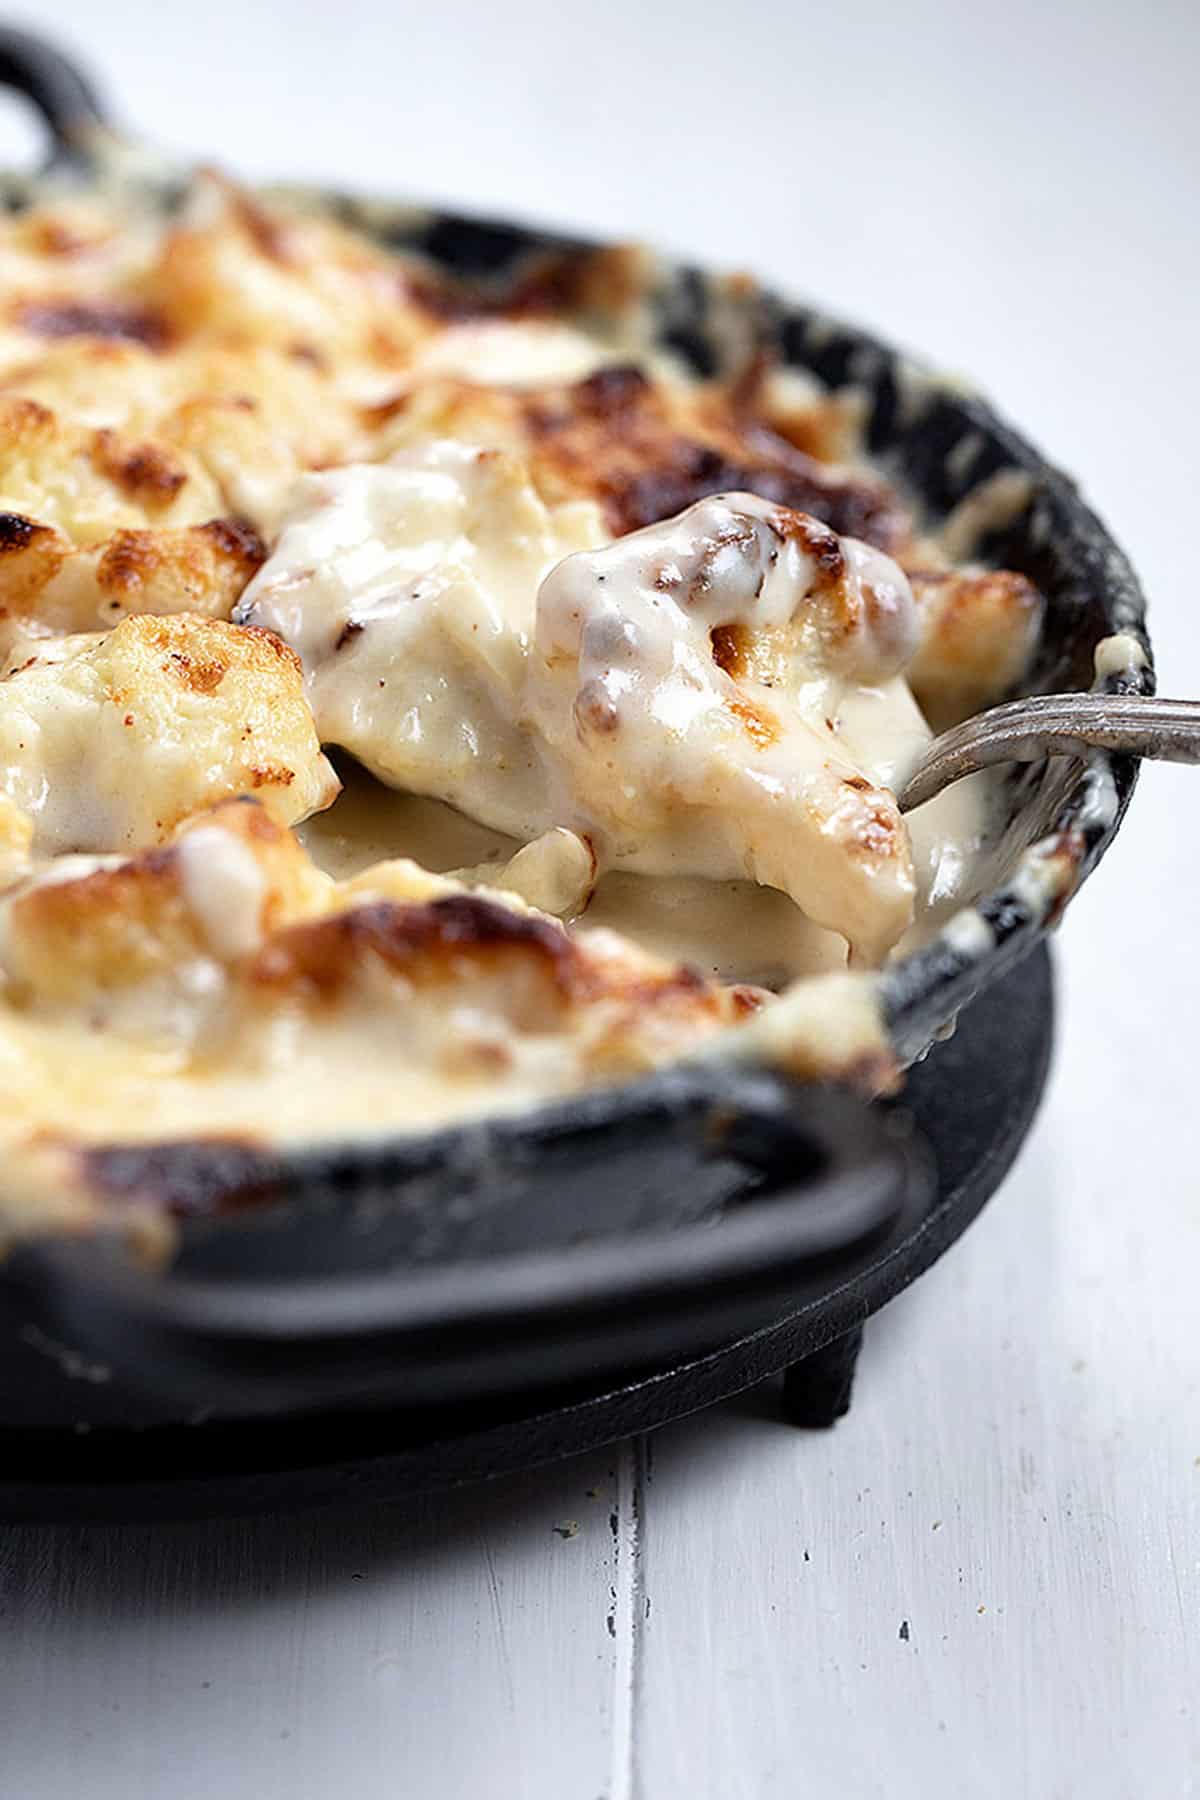
This cauliflower cheese recipe roasts off the cauliflower before combining it with the cheese sauce and baking. Roasting brings great flavour out of the cauliflower but also cooks off some of the moisture, which prevents the dreaded watery cheese sauce. It makes for the best cauliflower cheese!
Ingredients and substitutions
Cauliflower – Any nice medium to large cauliflower will work best here. A small cauliflower will also work if that’s all that’s available, but you’ll have a little more sauce-to-cauliflower ratio will be heavy on the sauce side.
Cheese – I prefer a nice aged, mature white cheddar, for the best flavour in the cheese sauce. A nice sharp cheddar cheese works well here, also. Technically, any cheese will work here, though, so use what you enjoy or have on hand.
Heavy Cream – Heavy (whipping) cream is the best choice for the absolutely creamiest sauce. If you don’t have any on hand, you could use a lighter cream, such as Half and Half (10% b.f.). In a pinch, you could just use all milk in the same quantity, though the creaminess and thickness of the sauce will suffer.
Milk – I’d recommend whole milk here (3-3.5% b.f), for best results. 2% will work, though I wouldn’t go below 2%.
Flour – Note that the recipe specifies a range of flour, which is what you can adjust to control the thickness of the cheese sauce and adjust for using a lower fat cream. See the recipe’s Notes section for more details on that.
Nutmeg – A pinch of nutmeg does wonderful things to a cheese sauce! If you can find the nutmeg that comes with it’s own grinder, even better, otherwise, just use powdered nutmeg.
I haven’t tested this recipe with plant-based cheese or milk/cream. I also haven’t tested with a gluten-free flour. If you are an experienced gluten-free cook, use whatever alternative flour you would generally use to make a roux (butter/flour thickener).
Variations
- Change up the cheese or use a combination of cheeses. Gruyere and Parmesan is always a winning combination if you want a change from cheddar.
- Add a bit of mustard powder to the cheese sauce if you like. About a 1/4 – 1/2 teaspoon or so would work here.
- Add some buttered bread crumbs to the top before baking, if you like.
- If you prefer, you can certainly boil and drain the cauliflower, as well. Be sure to cook only to just tender. Leftover cooked cauliflower is also an option to skip the roasting part altogther.
Recipe tips!
- Be sure to roast the cauliflower just until tender with just a few golden spots. Test it with a knife to be sure it’s tender, then remove. You don’t want to roast all of the moisture out of it.
- Add the milk/cream mixture in small increments (a scant 1/4 cup-ish at a time), to ensure a smooth sauce.
- If you are someone who likes a touch of mustard with your cheese sauce, a pinch of Dry Mustard would not be out of place in the sauce. Just add along with the nutmeg.
- Likewise, if you are a lover of breadcrumbs on cheesy dishes, go ahead and add your favourite crumb topping (buttered panko, breadcrumbs or crackers) to the top before baking.
- Be sure to properly season your dish, starting with seasoning the cauliflower before roasting and ending with tasting and seasoning the cheese sauce at the end of cooking it on the stove-top, to really bring out the flavours.
Top tip!
Turning off the heat under your pot (or removing it from the burner if you have an electric stovetop) immediately after adding the cheese helps to ensure a smooth and creamy sauce, as the cheese is allowed to melt slowly from the residual heat in the sauce.
Making ahead, storing and freezing
Making Ahead – If you’d like to make this ahead, make the cheese sauce ahead and roast the cauliflower ahead, but keep the two parts separate until you’re ready to bake later.
Storage – You can store leftovers covered in the refrigerator for 2-3 days.
Freezing – Yes, you can freeze cauliflower cheese either before or after baking. If freezing before baking, you’ll need to use a freezer-to-oven container (foil even) and then bake from frozen to use.
Want to save this recipe?
Enter your email and I’ll send it to your inbox. Plus, you’ll get great new recipes from me every week!
By submitting this form, you consent to receive emails from Seasons and Suppers.
You can unsubscribe at any time.
Get the Recipe: Cauliflower Cheese
Ingredients
- 1 medium to large cauliflower
- Olive oil
- Salt and Pepper
Cheese Sauce:
- 4 Tablespoons butter, salted or unsalted
- 3-4 Tablespoons all-purpose flour, *see Note 1 below
- 1 cup milk, at least 2% b.f.
- 1 cup whipping cream, 35% b.f. *see Note 2 below
- 2 cups aged cheddar cheese, grated, well packed
- Pinch nutmeg, grated or powdered
- Salt and freshly ground pepper, to taste
Instructions
- Preheat oven to 400F. (regular bake setting/not convection or fan-assisted)
- Prepare and roast the cauliflower: Remove the leaves and core from the cauliflower and break off the florets into large chunks. If you like, you can cut away most of the stalks and just use the florets or use it stalks and all. Cut the florets into equal-sized, bite-sized pieces, but not too small or they will over-cook in the oven.
- Place the cauliflower in a large bowl. Drizzle with olive oil and season with salt and pepper. Dump out onto a baking sheet and scatter into an even layer. Roast in the pre-heated oven for about 15-18 minutes or until just tender (test with a knife) and lightly golden in spots. Remove from the oven and set aside. Leave the oven on at 400F.
- Prepare the cheese sauce: Measure out your milk and cream in a 2-cup measuring cup and set aside. Grate your cheese and have it ready to use.
- In a large saucepan (you'll be adding the cauliflower to it later, so make sure it's big enough to hold it), melt the butter over medium heat. Add the flour and cook, stirring constantly for about 2 minutes, or as long as you feel you can without it scorch ing. Reduce the heat under the pan to medium-low. Pour in a small amount of the cream/milk and whisk until a smooth paste forms. Add a bit more milk and whisk again until smooth. Add a bit more of the milk and whisk until smooth again. Add the remaining milk a bit at a time and whisk until smooth, until all the milk has been added. Cook sauce over medium-low heat whisking regularly, until the sauce noticeably thickens, about 5 minutes. Remove the pot from the heat and add the cheese to the pot all at once. Stir in the cheese with just 2 or 3 stirs, then let stand without stirring for about 2 minutes, then stir it all together. The cheese should have all melted into the sauce. If by chance it hasn't, you can return the pot to the burner over low heat to finish the melting. Add the nutmeg and stir in. Taste the sauce and add salt and freshly ground black pepper, as needed.
- Add the roasted cauliflower to the pot with the cheese sauce and stir to completely coat the cauliflower. Spoon the cauliflower cheese mixture into a baking dish large enough to hold it all. Place the baking dish onto a baking sheet to catch any bubble overs.
- Place into the preheated 400F and bake for about 15-20 minutes or until bubbly and deep golden on top. If you'd like it browned more, switch the oven to broil for 1-2 minutes. Remove from the oven and let stand a few minutes before serving, to allow the sauce to set up.
Notes
- Roast the cauliflower just until tender with just a few golden spots. Test it with a knife to be sure it’s tender, then remove it. You don’t want to roast all of the moisture out of it.
- When making the cheese sauce, add the milk/cream mixture to in small increments (a scant 1/4 cup-ish at a time), to ensure a smooth sauce.
- Be sure to properly season your dish, starting with seasoning the cauliflower before roasting and ending with tasting and seasoning the cheese sauce at the end of cooking it on the stove-top, to really bring out the flavours.
- Turning off the heat under your pot (or removing it from the burner if you have an electric stovetop) immediately after adding the cheese helps to ensure a smooth and creamy sauce, as the cheese is allowed to melt slowly from the residual heat in the sauce.
More cauliflower recipes to love!
Hi! I’m Jennifer, a home cook schooled by trial and error and almost 40 years of getting dinner on the table! I love to share my favourite recipes, both old and new, together with lots of tips and tricks to hopefully help make your home cooking enjoyable, stress free, rewarding and of course, delicious!





Your comment about serving this with a salad, as you would Mac n Cheese, got me thinking about the additions often made to Mac N Cheese…..so I sauteed onions, bacons and mushrooms with the butter, then pushed the ‘bits’ to the side of the pan to make the roux. I continued the recipe from that point, using the mustard powder, grated nutmeg and a dash of cayenne. This is a truly great Cauliflower Cheese.
Hi Barbara and sounds delicious! So glad you enjoyed it :) Sorry about the comment glitches. I’m doing some site maintenance and it was probably your issue.
Can’t wait to try this, if I cook from frozen do I need to up the time/ temp? Thanks
Hi Holly, the temperature would stay the same, just increase the cooking time until warm and bubbly.
This is the kind of cozy comfort food that I need for cold winter days! Looks delicious Jennifer. We love our cauliflower in our house. And I really like the bit of nutmeg that you added to this recipe. I’ll have to give it a try soon!
Thanks Leanne :)
If I could swim in that pan I would! Cheesy cauliflower is a long-time favorite! This looks perfect!
Lol! I would, too :) Thanks Annie!
That cheese sauce looks incredibly delicious Jennifer! I’m a big cauliflower fan, so I’ll be trying this soon!
Thanks so much, Mary Ann :)
I’ve never tried cauliflower cheese but that’s going to change right now! Oh boy it looks delicious. So creamy, cheesy and spoon licking good. I bet I burn my tongue trying to eat this asap – haha.
It’s a treat, for sure Tricia! Definitely worth trying this one :)