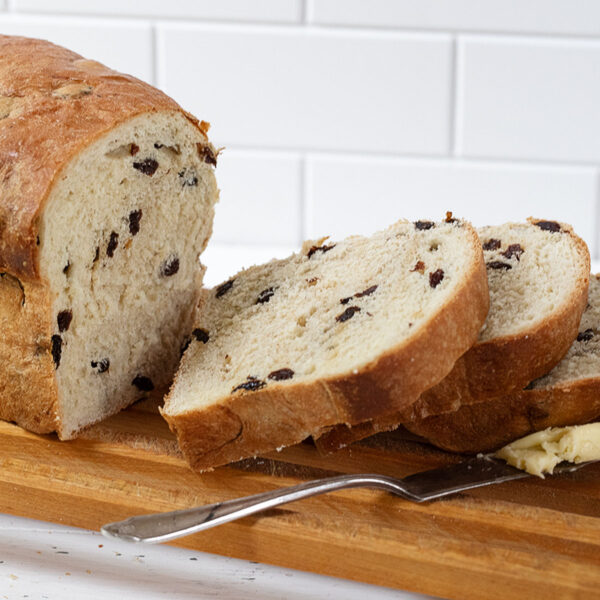
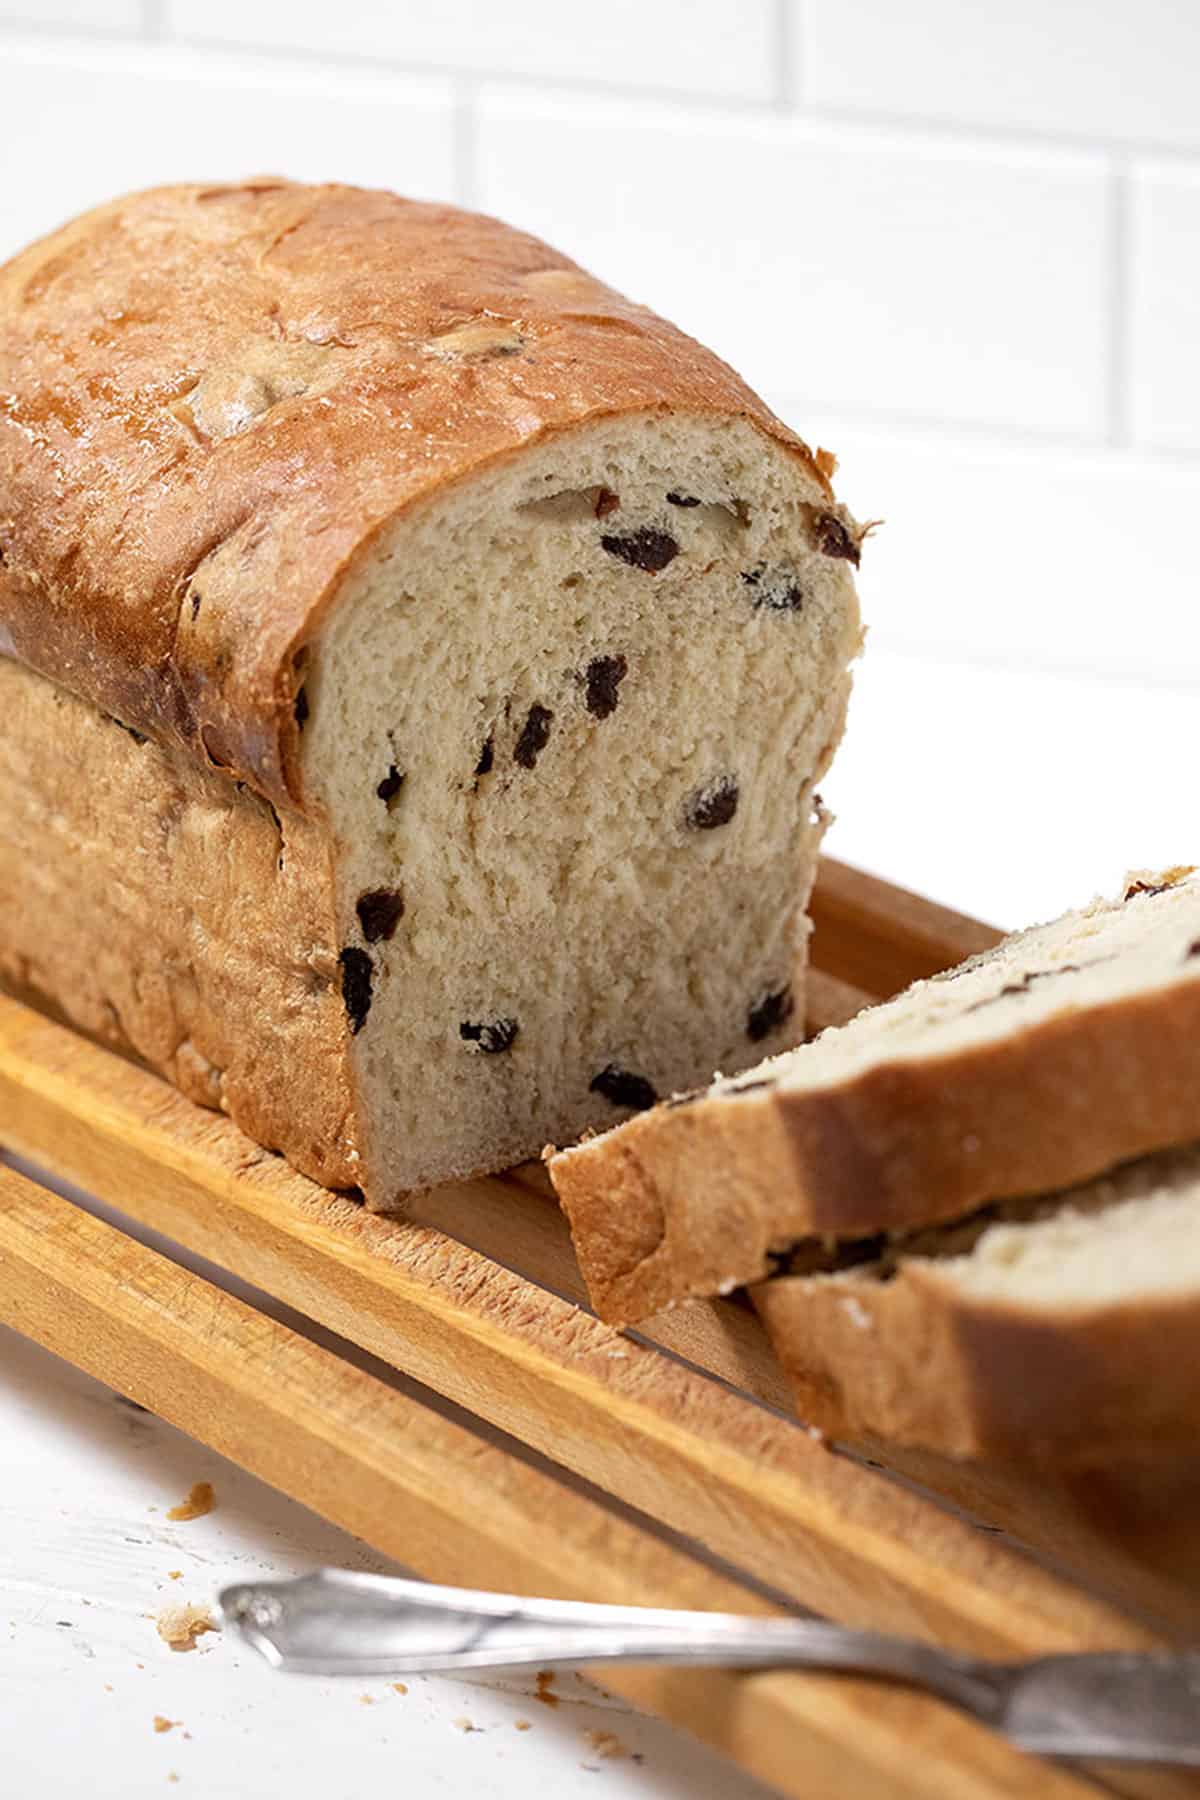
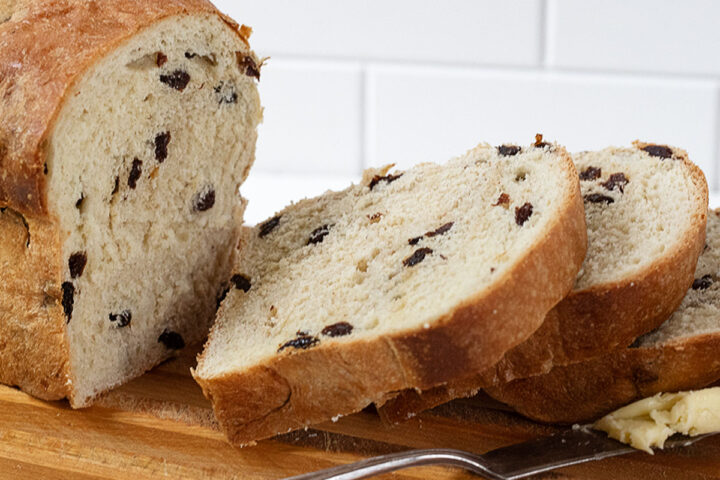
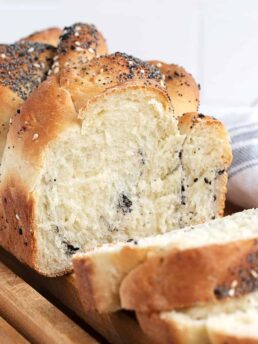
Simple, classic raisin bread, that is great eaten with butter, makes great toast or try it for sandwiches, too! Freezes beautifully.
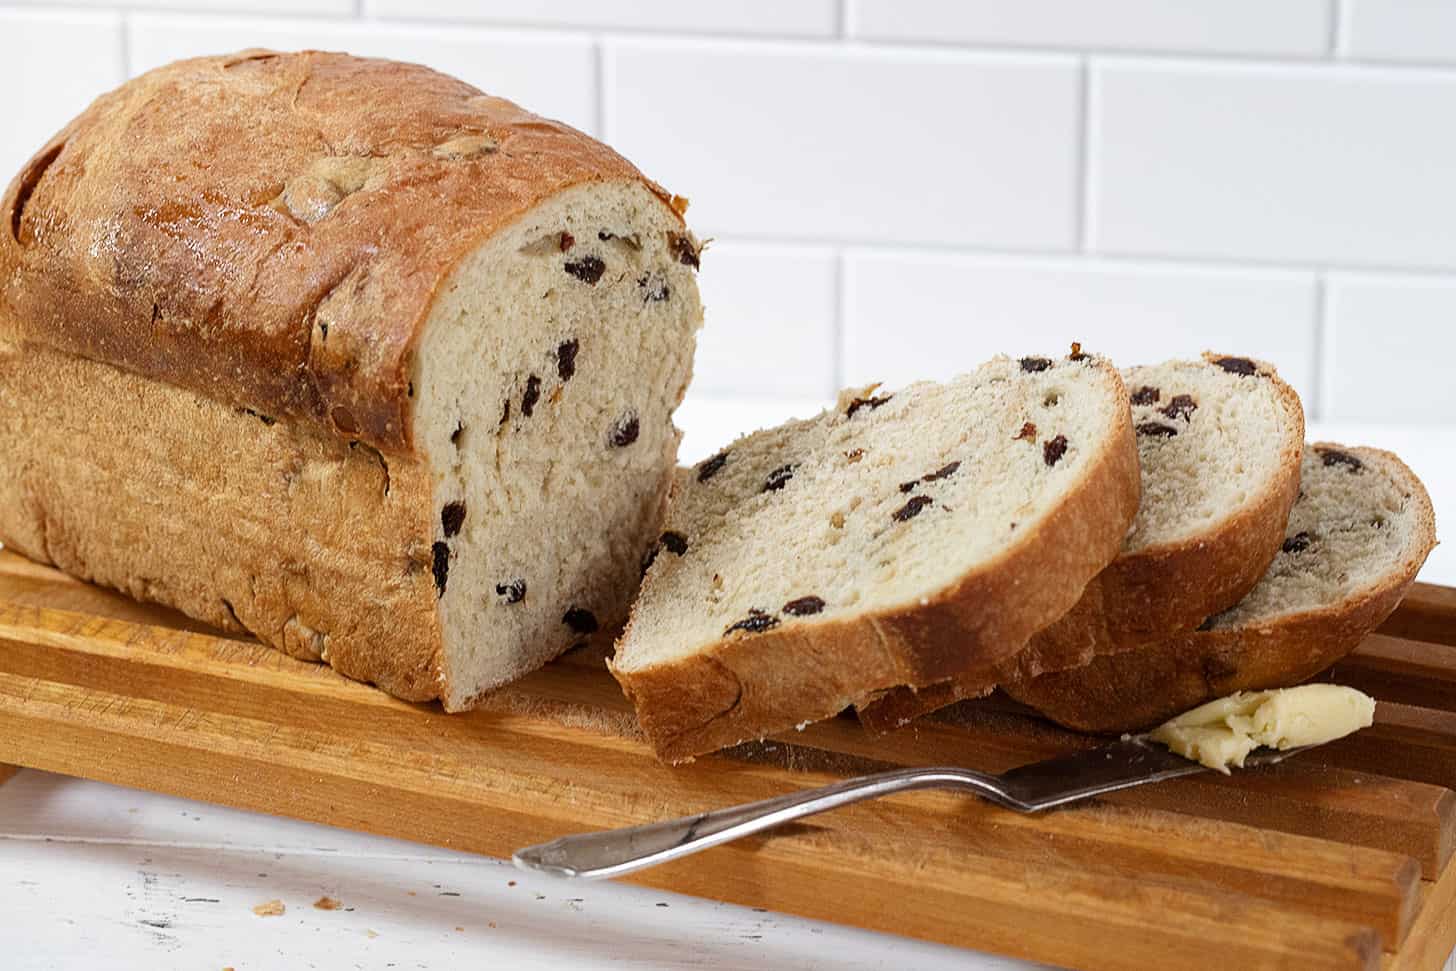
This classic raisin bread (without cinnamon) is in regular rotation in my kitchen. It’s one of my favourites and there are lots of reasons to love it!
First, this bread makes great toast, so it is perfect for morning enjoyment. And if you think you’ll miss the cinnamon, try adding cinnamon sugar to your toasted raisin bread.
Secondly, it also makes great sandwich bread. Yes! Try it with a turkey, havarti (or Swiss) and sprouts sandwich and I think you’ll agree :)
This bread freezes beautifully and you can easily double the recipe, if you’d like to double your pleasure and stash some away in the freezer to enjoy anytime.
Ingredients and substitutions
A few notes about the key ingredients …
Raisins – You can use any kind of raisin you like. I have used Thompson raisins here. I have also used Sultanas and Golden Raisins in the past. You can use what you have, what you prefer, or use a mixture, if you like.
Milk – Milk in yeast bread doughs provides wonderful flavour and texture. Whole milk (3%) will produce the nicest results, but any milk will work. That said, if you aren’t wanting to use dairy, you can replace it with an equal amount of water.
Butter – Like the milk, the melted butter provides nice flavour in this loaf, but can be replaced with an equal amount of liquid oil, such as vegetable, canola or any neutral-tasting oil.
Flour – unbleached all purpose flour is always my first choice for yeast bread baking. If you don’t have unbleached, regular all purpose flour is fine. If you only have bread flour, it can be used, but you will probably need less flour over-all. If you like, you can replace up to 1 cup of the all purpose flour with whole wheat flour. (You may need less flour over-all if you add whole wheat flour and your loaf will be more dense in texture.)
Yeast – You can use either active dry yeast or regular instant yeast here (such as SAF Brand). As this is a classic two-rise recipe, rapid or quick rise yeast isn’t recommended here.
Recipe tips!
- Scalding the Milk for Yeast Bread Baking – it is often suggested that milk used in yeast breads be scalded. That just means heating it to 181F. The heating process denatures the whey proteins in the milk, which tend to inhibit yeast activity. If you don’t mind the extra step, it’s a worth it, in my opinion. Just be sure to have a thermometer to be sure you heat it to 181F and then it’s very important to let it cool sufficiently before add your yeast. Again, use a thermometer to test. You want the milk to cool to 105-110F for active dry yeast. Instant yeast can handle a little warmer, up to 125F.
- Plumping Raisins – As raisins are by nature a dehydrated fruit, the process of “plumping” them by soaking in hot water is just returning some hydration to the fruit. Not only are they lovely in the bread after plumping, but they don’t soak in any of the moisture from the dough, which un-plumped raisins can, drying out the dough and the resulting loaf.
- Plump raisins by soaking them in very hot or boiling water for 10-15 minutes. Drain and pat dry. I like to toss them in a bit of flour when adding to bread, as it helps them grab onto the dough and incorporate more easily and quickly.
- Hiding the Raisins in the Dough – if you’ve ever tasted a burnt raisin, you know that it’s not a pleasant flavour. It’s bitter and unappealing. The best tip for raisin bread is to be conscious of keeping all the raisins inside the dough and not exposed on the outside of the dough after your form it into a loaf. Push any exposed raisins into the dough and you won’t have any bitter raisins to deal with after you bake your loaf.
- Always hold back some of the flour – While all yeast bread recipes include a quantity for the flour, it will never be exact, as flour brands or humidity can vary from kitchen to kitchen. As such, you never want to just dump the specified quantity of flour into the bowl all at once. A good rule of thumb is to add 3/4 of the specified flour and mix in well. Then, if needed, continue adding more flour, in very small increments, mixing between additions, until your dough is the desired consistency. Generally you’re looking for a smooth, moist, but not sticky dough, that wraps around the kneading hook and cleans the bowl.
- Cinnamon – This is a classic raisin-only bread, which is a different bread from a cinnamon raisin bread. If you really want to add cinnamon, you could add some (a teaspoon or so) to the dough, but keep in mind that cinnamon is a yeast inhibitor, so its presence in the dough will slow the rise considerably. Be prepared to extend the noted rising times. This is why you often see cinnamon raisin breads swirled, to prevent slowing the yeast.
Storing and freezing
Store cooled bread in an airtight container at room temperature for 2-3 days. You can extend the shelf life by refrigerating.
This bread will also freeze well up to 2 months.
Want to save this recipe?
Enter your email and I’ll send it to your inbox. Plus, you’ll get great new recipes from me every week!
By submitting this form, you consent to receive emails from Seasons and Suppers.
You can unsubscribe at any time.
Get the Recipe: Classic Raisin Bread
Ingredients
- 1 cup (240 ml) milk, scalded *see instructions below
- 1 cup raisins, plumped *see instructions below
- 3 cups (375 g) all purpose flour, unbleached recommended, spooned and levelled
- 2 1/4 teaspoons active dry or instant yeast
- 1 1/2 Tablespoons white granulated sugar
- 1 teaspoon fine table salt
- 1 1/2 Tablespoons butter, melted and cooled, salted or unsalted
- 1 large egg
For glazing after baking:
- 2 Tablespoons white granulated sugar
- 2 Tablespoons hot water
Instructions
- Scald the milk: Heat the milk in a small saucepan on the stove-top over medium heat, stirring occasionally, until it reaches 181F. (If you don't have a thermometer, this will be when the milk starts to steam and small bubbles form around the edges. Don't let the milk boil! Pour milk back into the measuring cup and let stand until cooled to lukewarm or about 105F.
- **If using active dry yeast, add the yeast to the lukewarm milk. *Ensure it has cooled to lukewarm. If too hot, it may kill the yeast. Stir in and let stand 5 minutes.
- Plump the raisins: Add the raisins to a small bowl. Cover them with very hot water and let stand until needed.
- In a large bowl or the bowl of a stand mixer fitted with the kneading hook, add 2 cups of the flour, the instant yeast, the white sugar and salt. Mix briefly to combine.
- Add the lukewarm milk (or milk/yeast mixture if you used active dry yeast) to the flour mixture. Add the melted butter (*be sure it is cooled so it doesn't cook the egg you will be adding next :). Add the egg. Knead to combine well. Start adding more flour, in small increments, until the dough wraps around the hook and cleans the bowl.
- Drain the raisins and toss in a little flour. Add to the dough in the mixer or bowl and mix to combine. Add a bit more flour, if needed.
- Grease an 8×4-inch loaf pan and set aside.
- Remove the dough to a floured surface and knead briefly (1-2 minutes), until smooth. Form into a ball.
- Place dough into a greased bowl, cover and let rise until doubled, about 1 hour.
- Remove dough to a lightly floured surface and pat into a rectangle about 9 inches long and 5 inches wide. Bring the edges along the long side in towards the centre and pinch together. Flip the loaf over. Push any exposed raisins back into the dough, so they don’t burn. Place into prepared loaf pan. Cover and let rise until doubled, about 45 minutes.
- Preheat oven to 350F. (not fan assisted)
- When loaf is ready, bake in preheated oven for about 35 minutes or until it reaches an internal temperature of 190F. **Check loaf after 25 minutes of baking. If it is dark enough, lay a sheet of aluminum foil over-top to prevent further browning. Continue baking until done.
- Remove from oven and immediately remove from the loaf pan to a cooling rack. While the loaf is still hot, mix up the sugar/water glaze and brush the top of the loaf. Allow to cool before slicing.
Notes
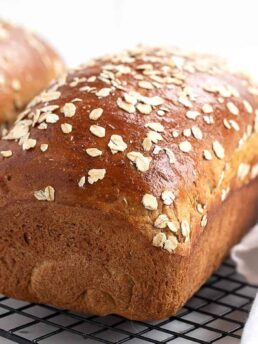
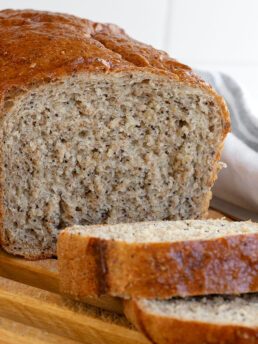
More bread recipes to love!
Hi! I’m Jennifer, a home cook schooled by trial and error and almost 40 years of getting dinner on the table! I love to share my favourite recipes, both old and new, together with lots of tips and tricks to hopefully help make your home cooking enjoyable, stress-free, rewarding and of course, delicious!
I made this bread and it was great but is the dough supposed to be so sticky . How long are you suppose to mix it with the dough hook for? I did not want to add too much more flour
Hi Mary, you want the dough to wrap the dough hook and clean the bowl. The flour needed for bread will never be precise, as it will vary from brand-to-brand and kitchen-to-kitchen. So it is fine to add a bit more flour, if needed, to bring the dough together. Simply add it a Tablespoon at a time, as needed, until it gets to that point.
Thanks for this recipe and all the info you have added on this page. The bread is awesome and information was appreciated.
Thanks, Brian :) So glad you enjoyed it!
Great bread but 3c flour wasn’t enough for mine.
Glad you enjoyed it, Joanne. Thanks!
The most delicious raisin bread! It was wonderful toasted and buttered. Thank-you so much. Your recipes are always the best!
Jennifer – I use metric for baking/cooking & I can’t seem to find where in the instructions to convert to metric. Could you advise please?
Thank you..
Hi Dianne, the metric equivalents for the liquid and flour are in parenthesis in the ingredient list. For the smaller ingredients, a teaspoon is 5 ml and a Tablespoon is 15 ml.
Jennifer – thank you so much for your prompt reply!! Honestly don’t know how I missed the information in brackets.😞
No worries, Dianne :) Enjoy!