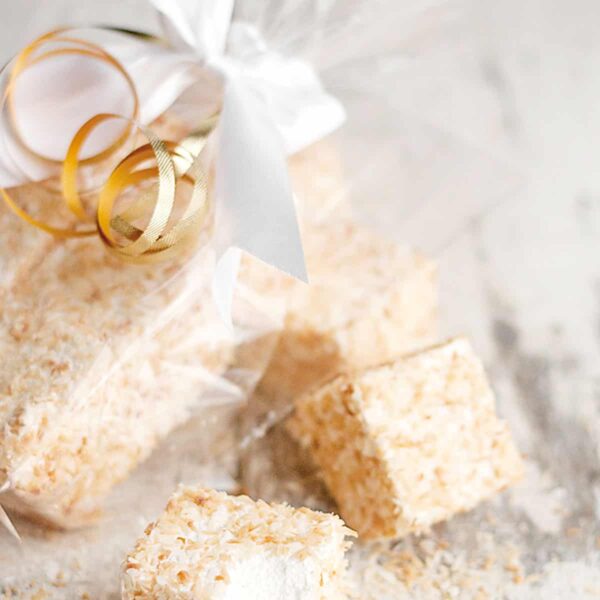
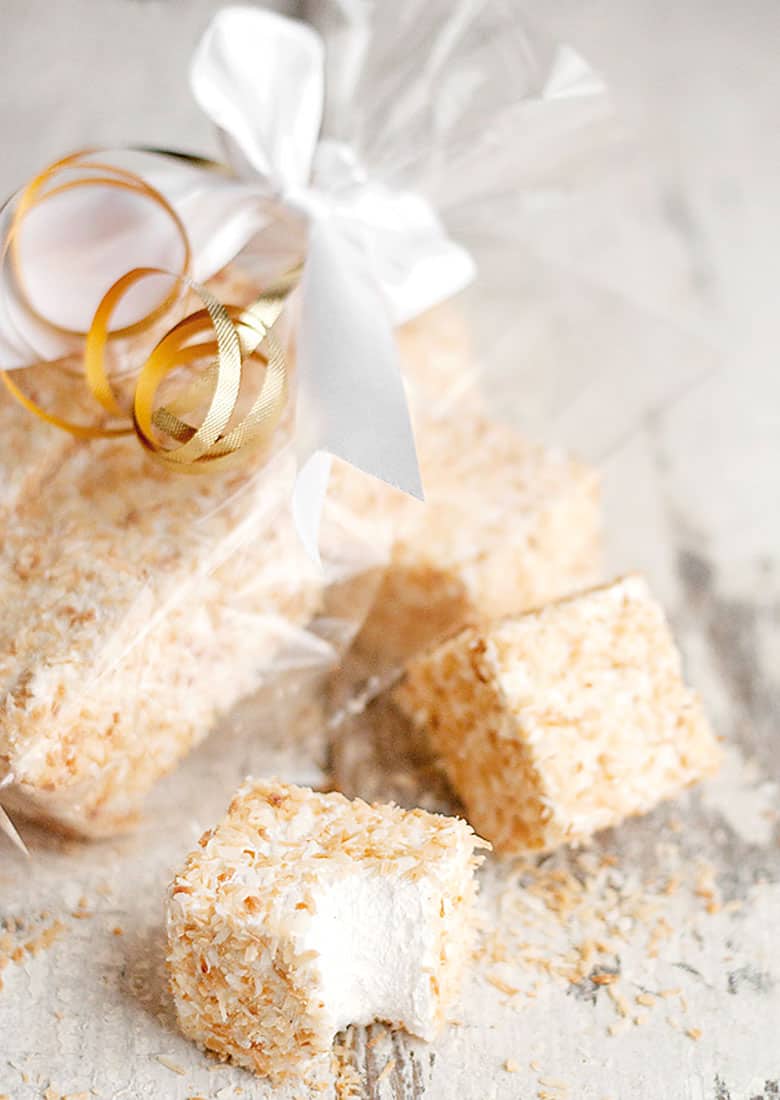
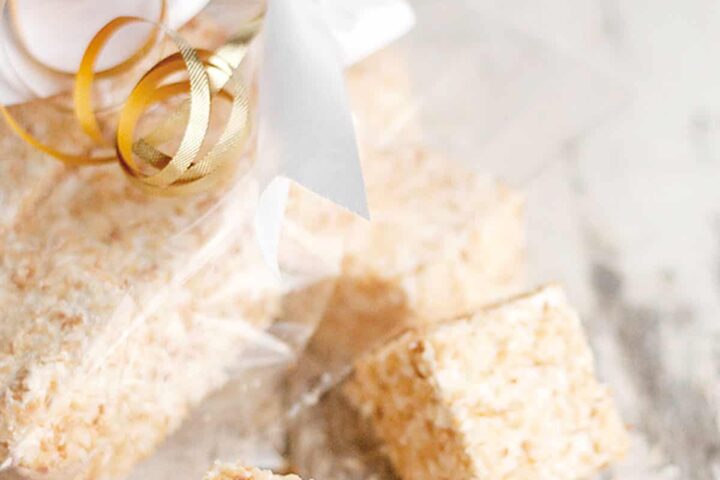
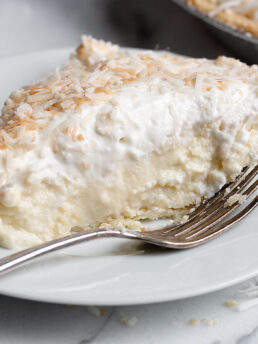
These homemade toasted coconut marshmallows are so easy, you don’t even need a candy thermometer to make them! These homemade marshmallows make great holiday gifts!
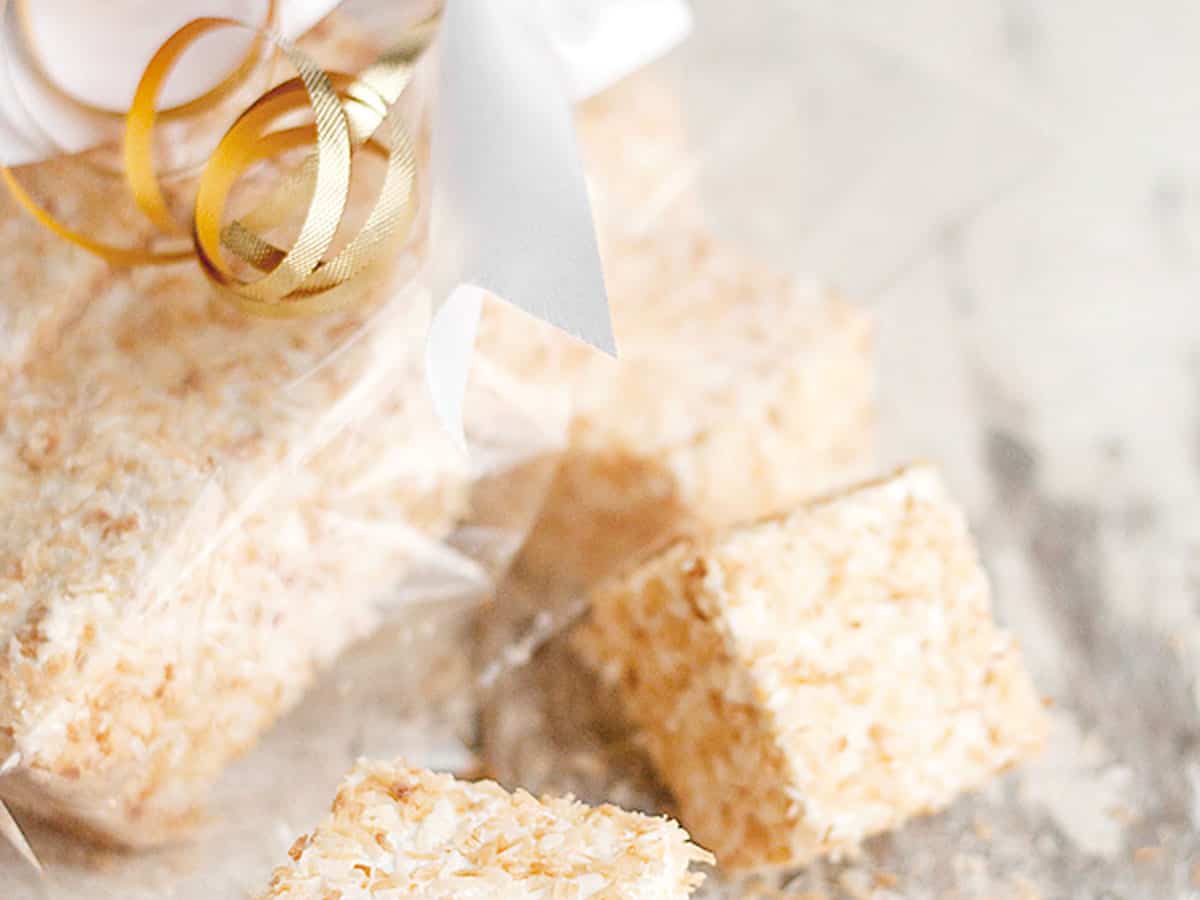
These homemade toasted coconut marshmallows make a perfect holiday gift, as they are all at once pretty, handmade and tasty. They are also such a treat for anyone afraid to tackle making themselves at home.
Bag them up and tie with a pretty bow and keep them around for giving. They are also great for party or wedding favours throughout the year.
Ingredients and Substitutions
Coconut – the recipe specifies unsweetened coconut, as the marshmallow itself is sweet. Using sweetened coconut may make it overly sweet overall.
Corn Syrup – corn syrup is highly recommended for a number of reasons. First, it is neutral tasting. Secondly, corn syrup is an invert sugar, which is critical to prevent sugar from crystallizing curing the heating process. Light corn syrup is recommended for both the lighter flavour and colour.
Recipe Tips
- I loved that there is no need for a candy thermometer for this recipe, instead just instructions to boil the sugar for 1 minute. A great homemade marshmallow recipe to use if you don’t have a candy thermometer.
- I also loved the the yield of this recipe, producing about 24 one-inch square marshmallows in my 7×11 pan. A 9×9-inch square pan could also be used for this recipe.
- The marshmallow making process goes more smoothly if you have all your ingredients and tools out and at the ready.
- Do be careful when working with the hot sugar syrup, as it can burn skin easily. That part is definitely not kid-friendly.
Making Ahead, Storing and Freezing
Homemade marshmallows keep incredibly well. Store in an airtight container for several weeks.
For longer storage, freeze up to 3 months!
Want to save this recipe?
Enter your email and I'll send it to your inbox. Plus, you'll get great new recipes from me every week!
By submitting this form, you consent to receive emails from Seasons and Suppers.
You can unsubscribe at any time.
Get the Recipe: Toasted Coconut Marshmallows
Ingredients
- 1 cup water, divided
- 3 Tablespoons + 1 1/2 teaspoons unflavored powdered gelatin, (3 envelopes - envelope is 1/4 oz. each for 3/4 oz. total)
- 2 cups granulated white sugar
- 1/2 cup light corn syrup
- 1/2 teaspoon fine salt
- 2 Tablespoons pure vanilla or vanilla bean paste
- 2 cups unsweetened shredded coconut
Instructions
- Spray a 9x9 or 7x11 inch baking pan and line with parchment paper (I cut mine to fit flat on the bottom, with the edges of the paper over-hanging the sides. The ends are fine just sprayed.)
- In a stand mixer fitted with a whisk attachment, pour in 1/2 cup of the water and sprinkle the gelatin over. Let stand.
- In a medium saucepan over high heat, stir together the sugar, corn syrup, salt and the remaining 1/2 cup of water. Stir until sugar dissolves and mixture begins to boil. Stop stirring and once mixture comes to a rolling boil, continue boiling for 1 minute. Remove from the heat. (*I like to carefully pour mixture into a 2-cup glass measuring cup, to make it easier to pour into mixer).
- Turn the mixer to low and mix the gelatin a bit to loosen. Very slowly and carefully add the hot sugar mixture by pouring it gently down the side of the bowl. Continue to mix on low until all the sugar mixture is added.
- Turn the mixer to high and whip the mixture for 10 to 12 minutes until the marshmallow batter almost triples in size and becomes very thick. If you have a smaller mixer bowl, you may need to scrape down the sides of the bowl frequently to avoid the batter overflowing as it grows. Stop the mixer, add the vanilla, and then whip briefly to combine.
- Transfer the mixture to the prepared baking pan (a silicone bowl scraper works like a charm for thiand use a spatula or bench scraper to spread the marshmallow evenly in the pan, pushing it down into the corners. Work quickly, as the marshmallow becomes more difficult to manipulate as it begins to set.
- Spray a sheet of plastic wrap liberally with cooking spray and lay it across the top of the marshmallow, sprayed side down. Using you fingers, smooth the plastic wrap on top of the marshmallows a bit to seal it smoothly and tightly against the mixture.
- Leave the marshmallow to set at room temperature for at least 3 hours or, even better, overnight. The marshmallow will be too sticky and soft to cut if you try too soon.
- Meanwhile, pre-heat oven to 325° Spread coconut out evenly on a baking sheet. Cook for 5-8 minutes, stirring regularly, until coconut is a uniform golden brown colour. Remove from oven and transfer to another baking sheet to cool.
- When marshmallows are ready, grab the edges of the parchment and lift the marshmallows from the pan. Remove the plastic wrap from the top and fold down the parchment on the sides. Using a pizza cutter or a large knife, cut the slab into 1- × 1-inch squares. Roll each of the freshly cut marshmallow squares in the cooled, toasted coconut on the baking sheet. Allow marshmallows to sit in the coconut to dry slightly before packaging up (30 - 45 minutes).
Notes
More Coconut Recipes to Love!


Hi! I’m Jennifer, a home cook schooled by trial and error and almost 40 years of getting dinner on the table! I love to share my favourite recipes, both old and new, together with lots of tips and tricks to hopefully help make your home cooking enjoyable, stress-free, rewarding and of course, delicious!
Does the toasted coconut stick to the uncut edges? (The top and bottom)
Hi Kara, it doesn’t stick quite as well as on the cut edges, but it still sticks.
I put toasted coconut in the bottom of my sheet pan and then cover the top
Have you tried adapting this recipe into chocolate marshmallows?
Hi Mariah, No I haven’t.
Oh yes, oh yes. I’ve been wanting to do marshmallows recently and finally bought gelatin. But I don’t think I could make anything as beautiful as these! Just stunning
Thanks Sarah. I love this recipe from Butter Bakery. Very light and fluffy and super easy (no candy thermometer required!)
Just so pretty and light! I love how simple you make this sound! I don’t care for marshmallows (unless they’re in Rice Krispie Treats) but these must be just so tasty. Merry Christmas Jennifer!
Thanks so much, Sophie. I have this sudden urge to go make Rice Krispie Treats (the power of suggestion :)
Merry Christmas to you as well, Sophie!
they are perfect for holiday drinks!
I think so too, Dina.
I love homemade marshmallows and adding coconut sounds wonderful!
I really loved the coconut on these, Laura. Great for eating out of hand and went so well with the creamy, sweet marshmallow.
These look fabulous! My question is how do you store them? Freeze…..in a ziplock….and what is the shelf life…..thanks
Hi Terra. I have never frozen them and I’m not sure they would freeze well (could be wrong, but my best guess). I store them in a large cookie tin. I sprinkle a bit of extra icing sugar on the bottom, to absorb extra moisture. They keep well for a couple of weeks. They don’t get hard per se, but more the sugar in the marshmallow tends to crystalize a bit. I find they don’t last long enough to go bad. When they’re gone, I just make another batch :)
Homemade marshmallows are on my must-make list! I love the coconut coating!
I have made mostly plain ones over the years Laura, but loved these toasted coconut ones. So pretty and tasty!
Time for me to try the homemade marshmallows too! The toasted coconut make those sugar treats so much more tempting!
You should, Angie. It seems like a big project before you start it, but once you make them once (and taste them), you’ll wonder why you waited so long to try them.
I have never made mellows before but this
looks so good and delicious and worthy
looking enough to be a gift :P Xx
Thanks so much :)
How have I never made homemade marshmallows before?! Okay, that needs to change VERY soon!
You must, Chung-Ah. And after you do, you’ll never eat a store-bought one again, I suspect.