These easy homemade pizza buns are just like the ones at the grocery store! Save money by making your own pizza buns at home. They are easy and freezable, too!
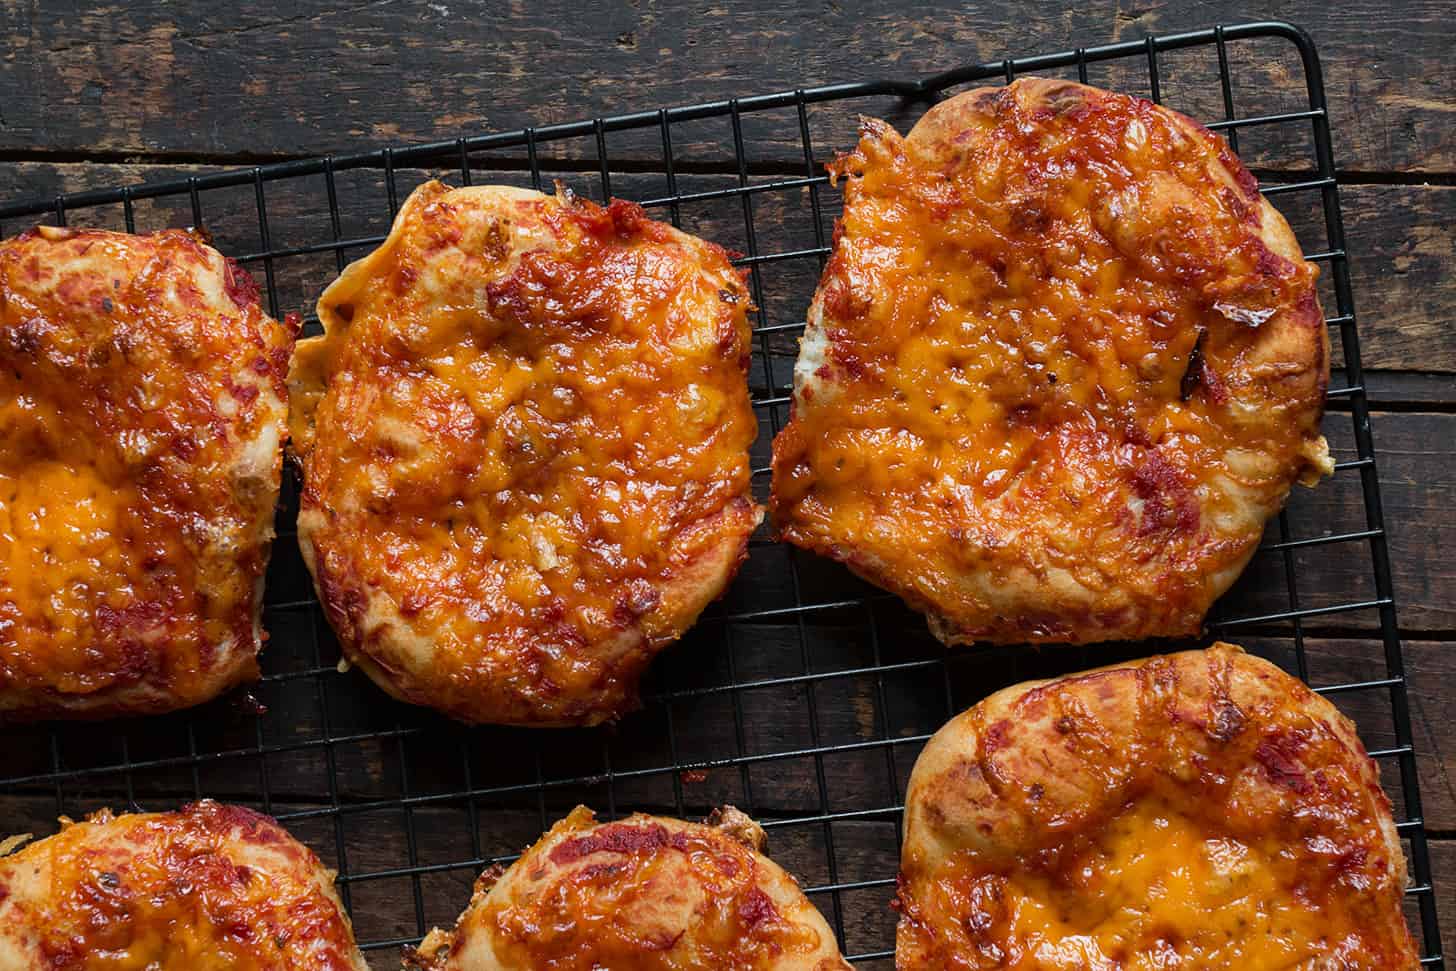
In just about 90 minutes and about $4 in ingredients, you can make a dozen pizza buns that are guaranteed to be immediately popular with your family!
Since these pizza buns freeze beautifully, fill your freezer and always have ready-to-heat-and-eat snacks or lunch box treats.
Ingredients and substitutions
A few notes about the key ingredients …
Yeast – you can use either Active Dry Yeast or Instant Yeast to make these pizza buns. Be sure to see the special instructions in the Recipe Card if using Active Dry yeast.
Pizza Sauce – use your favourite canned pizza sauce (I love Mutti™!) or make your own.
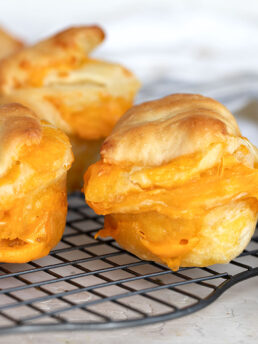
Cheese – I used cheddar cheese, because that’s what the pizza buns in the store have on them. I generally use an Old cheddar, for the most cheddar flavour. Of course, you can always use mozzarella (or another cheese), if you like. Or a mixture of different cheeses. That’s the great thing about making your own pizza buns. You get to make all the decisions :)
How to make pizza buns
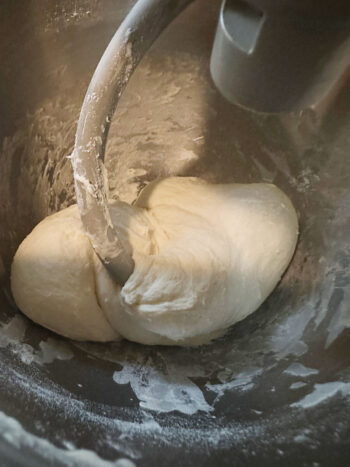
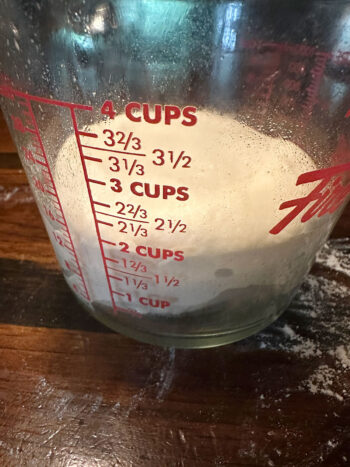
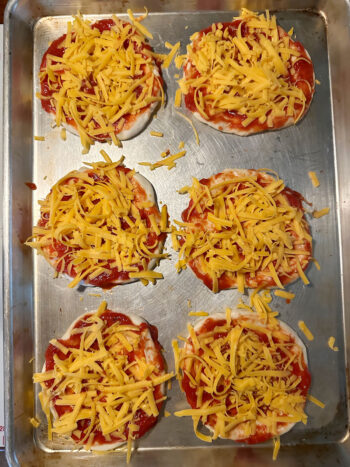
- Mix the dough until it is still moist, but wraps the dough hook and cleans the bowl in places.
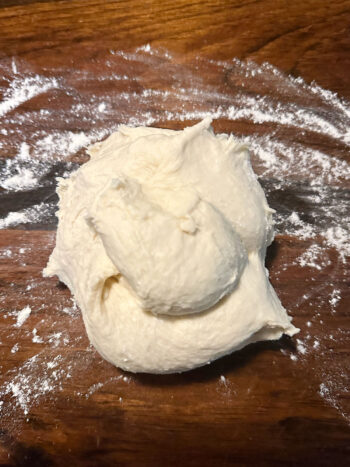
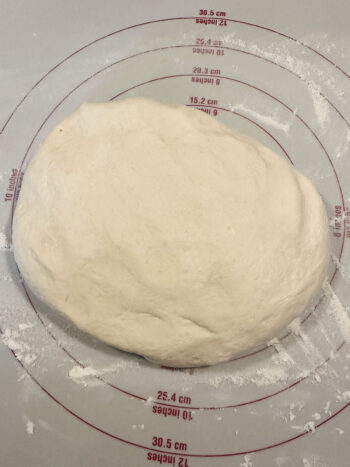
- Remove the dough to a floured work surface and knead briefly. The dough shouldn’t stick to your hands or the work surface. Add a bit more flour if it does.
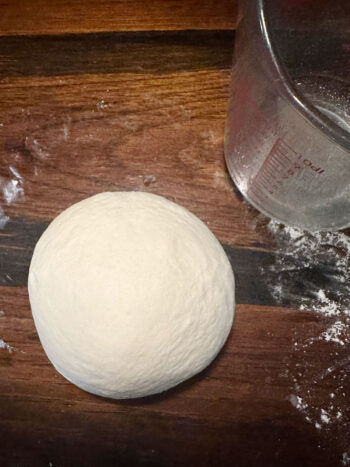
- Form dough into a ball.
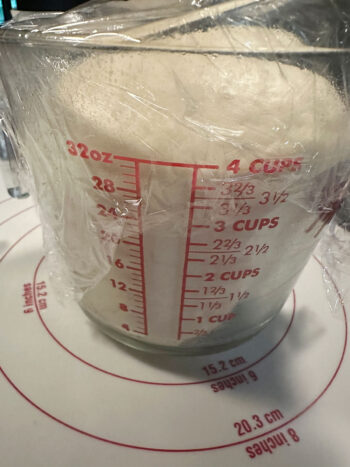
- Place the dough into a greased bowl or 4-cup measuring cup and cover with plastic wrap.
- Allow the dough to rise until doubled, about 30-40 minutes.
- Remove the dough to a floured work surface and deflate.
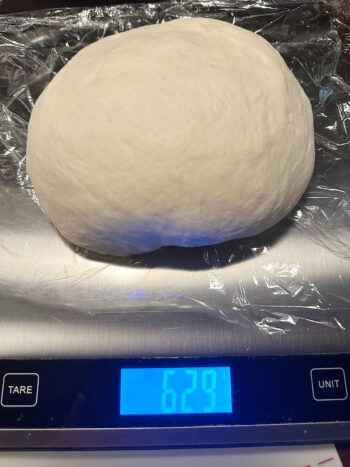
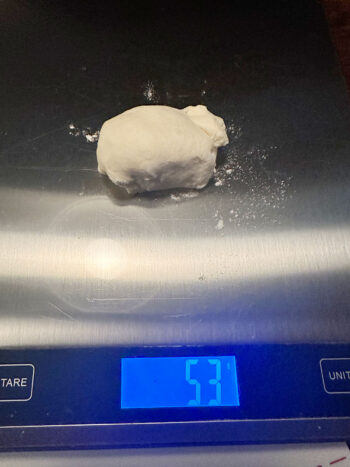
- If you have a scale, weight the dough, then divide by 12, to get the amount needed for each piece.
- Weigh out each piece (mine were 53g apiece).
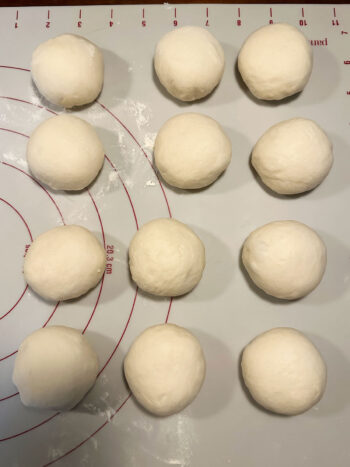
- Form all the pieces into balls.
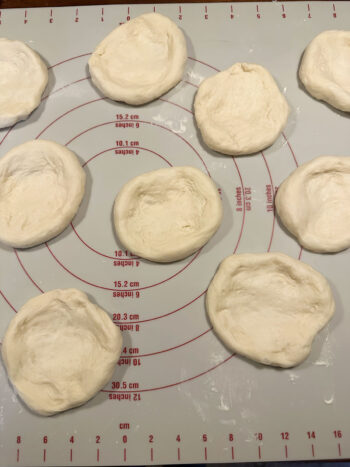
- Start stretching the dough, stretching out to about 3-inches in diameter. Place onto baking sheet.
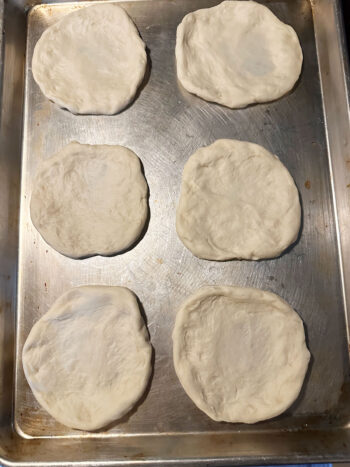
- Stretch the dough rounds a bit more, until each one is about 5-inches in diamter.
- Top each dough round with pizza sauce (spreading right to the edges!) and cheddar cheese. Allow to rest 20-25 minutes on the pan, then bake.
Recipe video
This pizza bun recipe is also available in a longer form video in my YouTube “Cook Along” playlist. Great for beginner bakers, as you can see the process in more detail. View the longer Pizza Bun Recipe Video on YouTube.
Recipe tips!
- This pizza buns dough is a fast riser! It usually doubles for me in 30-35 minutes, so don’t wander too far :)
- If you don’t want to bake two baking sheets at one time, you can place the second sheet into the refrigerate after stretching the dough to 5-inches, but before topping. Keep in the refrigerator while the first batch bakes, then remove from the fridge, top with sauce and cheese, then let rest about 30 minutes before baking off.
- Baking at 375 F. will produce a crispy crust. If you prefer a softer pizza bun, bake at 350 F. instead and extend the baking time slightly. Also, be sure to use parchment paper to line the baking sheets. Finally, if you place the buns into an airtight container while still slightly warm, they will be softer.
Making ahead, storing, freezing and reheating
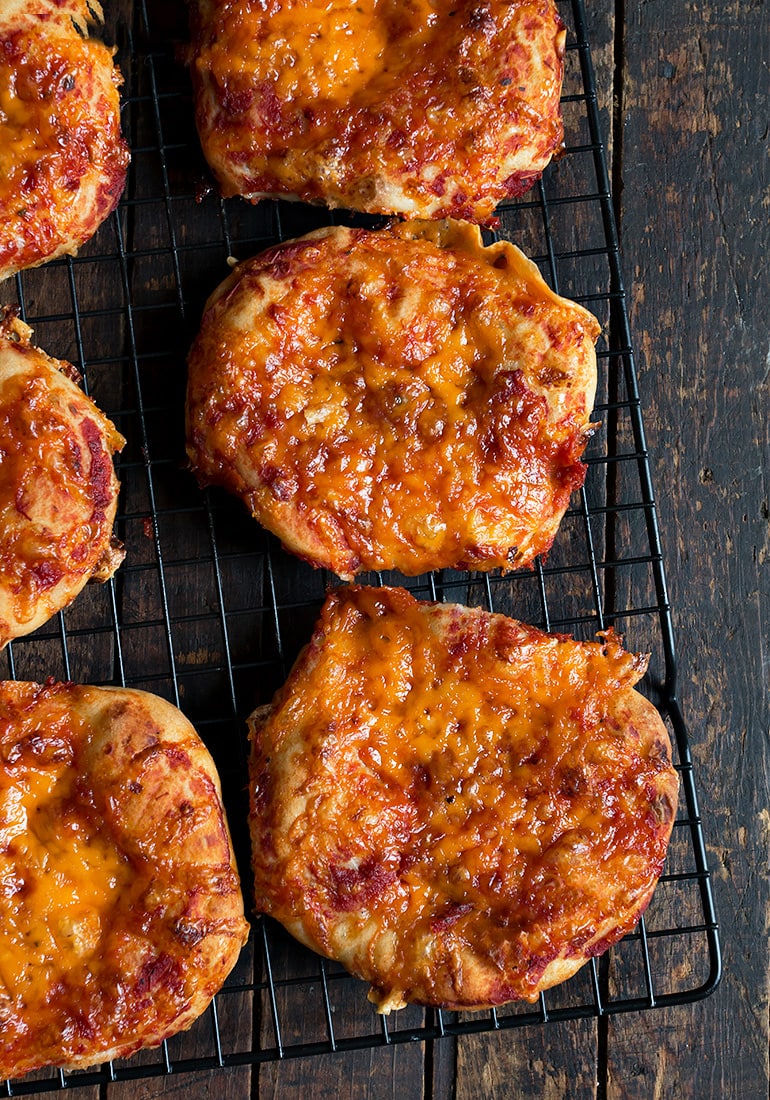
Store baked pizza buns in an airtight container in the refrigerator for 3 or 4 days or freeze for longer storage. They will keep well in the fridge for 3-4 days or in the freezer for up to 3 months.
These buns freeze really well. Transfer to an airtight container or freeze bag. Enjoy straight from the freezer, with no need to thaw. Just place the frozen buns on a baking sheet and warm in a preheated 400° oven for 7 or 8 minutes until warmed through.
Want to save this recipe?
Enter your email and I’ll send it to your inbox. Plus, you’ll get great new recipes from me every week!
By submitting this form, you consent to receive emails from Seasons and Suppers.
You can unsubscribe at any time.
Get the Recipe: Homemade Pizza Buns
Ingredients
For the pizza bun dough:
- 2 1/2 – 3 cups all-purpose flour, spooned and levelled
- 2 teaspoons sugar
- 1 teaspoon salt
- 2 1/4 teaspoon Active Dry or Instant yeast
- 1 cup lukewarm water, lukewarm, about 105F
- 1 Tablespoon vegetable, canola or other neutral oil
For the toppings:
- 1 1/2 cups pizza sauce, store bought or make your own
- 3 cups sharp cheddar cheese, shredded
Instructions
- I have recently updated this post, but rest assured that the original recipe above has not changed. I have adjusted the yield of this recipe from 16 buns (original) to 12 buns (new), for a bit bigger pizza buns. I've also added some additional detail to the instructions.
- *For Active Dry yeast, you'll need to proof the yeast in 1/4 cup of the lukewarm water and a pinch of sugar before adding to the bowl. Be sure to reduce the additional lukewarm water added accordingly (only use 3/4 cup).
- For the dough: In a large bowl or the bowl of a stand mixer fitted with the kneading hook, mix together 2 cups of the flour, the sugar, salt and the Instant yeast. In a measuring cup, combine the lukewarm water with the oil. Add the lukewarm water mixture to the dry ingredients and mix to combine. (Add the Active Dry yeast mixture now, if using). Knead by hand or with the mixer, adding more flour in small increments, as needed, until the dough comes together into a smooth dough, that wraps the kneading hood and cleans the bowl. (I find I generally end up using just shy of 3 cups of flour in total.) Remove the dough to a floured work surface and knead briefly. The dough shouldn't stick to your hands or the work surface. If it does, add a touch more flour, as needed. Grease a bowl and place the dough ball into the bowl. Cover with plastic wrap and let rise until doubled, about 30 – 45 minutes, depending on how warm your kitchen is.
- Prepare two large baking sheets. You can use bar or line with a sheet of parchment paper. Set aside.
- Remove the dough to a floured work surface. Divide the dough into 12 equal pieces You can do that by weighing the entire piece of dough, then dividing by 12 to calculate the weight for each piece, then weighing out the pieces individually (mine were 53g each). Alternately, you can cut the dough evenly in half. then cut each piece in half again, repeating until you have 12 roughly equal sized pieces.
- Take a piece of dough. Form it in to a ball, then stretch in to a circle about 3 inches in diameter. You don't need to stretch them completely at this point. Once you have stretched each one, go back and stretch each piece to about 4-inches diameter. Repeat with each piece of dough, placing 6 on each of the prepared baking sheets (you can place them fairly close together as they don't spread much, but don't allow them to actually touch each other). On the baking sheet, stretch the rounds one last time, until they are about 5 inches in diameter.
- Using a Tablespoon measure from your cutlery drawer, top each piece of dough with with a heaping Tablespoon of pizza sauce, spreading it over the top, going right to the edge, as far as you can without it spilling over the sides. Top with a generous amount of shredded cheddar cheese. Repeat with all the buns. Let stand 20-25 minutes, while you preheat the oven.
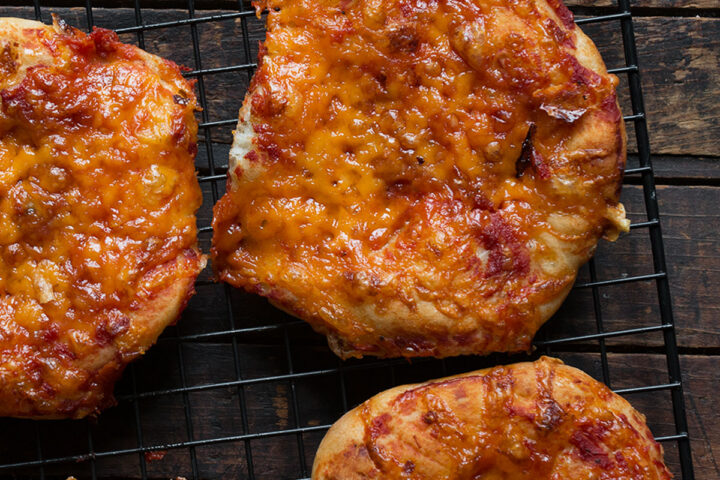
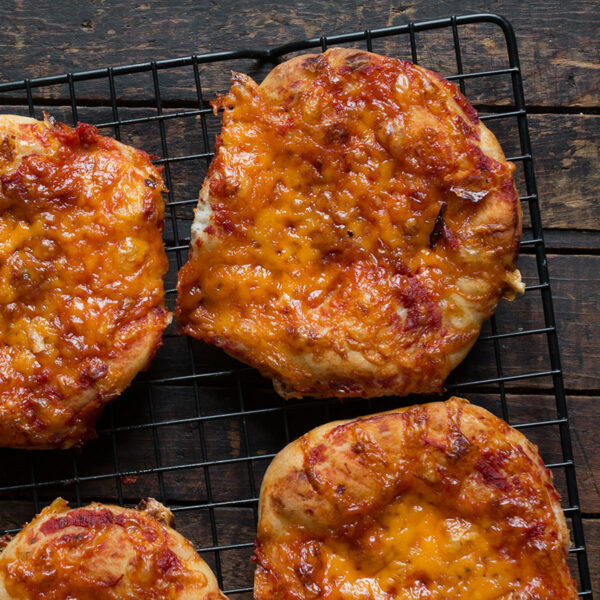
- With racks in the upper and lower third of your oven, preheat oven to 375° F. (regular bake setting/not fan assisted). *For softer pizza buns, bake at 350F and extend the baking time slightly. After the buns have stood for 20-25 minutes or so (or until they look a little puffy around the outside edges), bake in preheated for 20-25 minutes , switching the pans from top to bottom half way through baking. Cook golden and bubbly. Remove from oven then immediately remove to a cooling rack to cool completely. Enjoy immediately or place in an airtight container and refrigerate. Or see below for freezing instructions!
- Freezing: These buns freeze really well. Freeze them on baking sheet and then transfer to a freezer bag. Enjoy straight from the freezer, no need to thaw! Just place the frozen buns on a baking sheet and warm in a preheated 400° oven for 7 or 8 minutes.
Notes
More recipes to love!
Hi! I’m Jennifer, a home cook schooled by trial and error and almost 40 years of getting dinner on the table! I love to share my favourite recipes, both old and new, together with lots of tips and tricks to hopefully help make your home cooking enjoyable, stress free, rewarding and of course, delicious!




The most amazing and delicious recipe, usually double the recipe as they are that good. I have made with Plant based cheddar and add toppings to some which kick them up a notch.
So glad you are enjoying them, Laura and yes, the are great for playing with toppings, too :) Thanks!
I hate how much pizza buns cost especially when they’re so delicious.
This was my first attempt at them and they turned out amazing!
You can eat them as is, or carefully slice it to make a sandwich with hot mortadella with NOTHING else needed. Or any other meat you enjoy of course.
Thank you for sharing a simple yet AMAZING recipe!
So lad you are enjoying them and loving the idea of making a sandwich with them :) Thanks so much!
Such a great recipe. The whole family love them! Thanks for posting 🙂
So glad you are all enjoying them, Cassandra :) Thanks so much!
I grew up in Canada eating pizza buns all the time. Now that I live in the US and can’t have them I have searched high and low for a recipe so I can make them at home. This is it! Can’t wait to give them a try!
So glad you found them, Sarah :) I’m pretty sure these will satisfy your craving. Enjoy!
I just made these after my kids went to bed. I ate 3 of them! They are great. A batch in the freezer and the rest ready for camp lunches.
So glad you enjoyed them, Jennifer! I love having these in the freezer, too :) Thanks so much.
A favourite after school snack. The kids requested this for lunch Tuesday when they are here during the teacher’s strike. Great recipe and easy to make!
Glad you are enjoying these! Too bad about the strike situation. Hoping it can be resolved soon.
Just bought four of these for 5.29 at Zehrs. I will try this recipe for sure. Yummy♥️
I had a hard time paying for these (though I did enjoy eating them :). Nice to have an option to save money and still be able to enjoy them, too!
Great recipe! Easy to make and customize, and best of all… yummy!
So happy to hear, Christa :) Thanks so much!
I’m going to give it a try I spend $5.99 for 3 buns it’s expensive buying them so existed to try
They are expensive, especially considering they are pretty easy to make at home. And they do freeze beautifully and re-heat quickly (from frozen!). Enjoy!
This is a great recipe. I did find they were more like an actual pizza instead of the pizza buns…. what did I do wrong?
Hi Amanda, I’m not sure you did anything wrong. Maybe you were just expecting something different. These are “copycats” of the pizza buns that are sold at all the grocery stores here in Ontario, Canada. They call them pizza buns, so that’s what I call them. They are really just little pizzas.
I’m in BC Canada and this is one variety we get in the store. Today I picked some up to take on a hike and saw “pizza pretzels,” “pizza buns,” “mozza buns,” and “mini pizzas” lol I’m sure there is little difference. Our local buns are puffier and tend to have a layer of cheese rolled inside. These are more like the mini pizzas and they are all awesome. Thanks for the recipe! Mine are in the oven now. Look great so far! I came here because I also love these, but can’t justify buying them as much as me and my kids want lol
Thanks Shara! I think you’ll love having these on hand. I sure do :)
Omg these are amazing and super easy to make. Thanks so much for the recipe.
So glad to hear, Tanya! Thanks :)
Made these today and served them with homemade ham and pea soup for supper. Huge hit with the family! Gobbled them up! Thanks for this easy and yummy recipe!
So glad to hear, Caron! Thanks :)
Amazing recipe!! I tripled the batch and added jalapenos or banana peppers to some of mine! Everyone was raving about them! Especially great, heated up over the camp fire! Thanks for the fool proof recipe! Officially your newest fan!
Thanks so much, Sammi :) So glad you are enjoying them!
I’m not sure, in the way it is written, which oven rack you should bake the homemade pizza buns on? Thank you for the recipe!!
Hi Nellie, if you are baking the two pans at the same time, you would put one rack in the bottom (2nd position from bottom, likely) and one rack in the top (2nd position down from the top). Then you would put one sheet on each rack and rotate them top to bottom about halfway through baking so they bake evenly. All that said, if you have a big pan and can get all of them on one pan, just bake on a rack in the center position all the way through baking. Hope that helps :)
Hi, just wondering how you would make the dough in a bread machine? Any tips would help thanks :-)
Hi Sarah, I don’t have a bread machine but from what I understand you could just dump all the dough ingredients in and run it through the dough only cycle. You would have to use bread machine or instant yeast of course. After that just shape, top and bake :)
These look like the perfect after school snack or fast weeknight dinner – I’d be in carb heaven! :)
Thanks Laura and yes, carb heaven for sure :)